Blogcrush (noun): An affliction characterized by the insatiable need for content created by an admired blogger. Often accompanied by gleeful skipping when the blogger replies to comments or otherwise acknowledges the sufferers’ existence. May cause a feeling of annoyance or neglect in significant others.
When I first discovered The Clever Bunny this spring, I was immediately infected with a severe case of blogcrush. Baby, I’ve got it BAD. Katy Cartland’s lovely style, ingenious DIYs, and stunning photography are highly addictive. Fast forward a few months and to my utter amazement, Katy and I are now online penpals! We are planning a Skype date soon and I’m hyperventilating a little over “meeting” the object of my awe.
But enough about my shameless over-enthusiasm. Today I’m pleased to present an easy-to-make yet totally luxe DIY project by Katy herself.
Seriously, how awesome is this DIY Happy Holidays Marquee Sign??
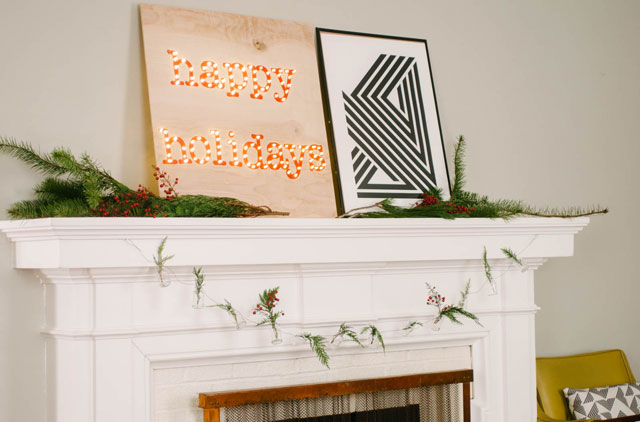

Ok ok, I’ll stop prattling on now and pass the reins to Katy:
………………………………………………………
DIY Happy Holidays Marquee Sign
What You Need:
- one piece of ply wood (or any kind of wood, shape or size of your choice)
- an electric drill
- a ¼” wood spade (or paddle) drill bit – looks like this
- letter stencils – letters should be large enough to drill ¼” holes into!
- pencil
- paint brush
- your favorite holiday paint color
- 2 sets of 70 bulb traditional LED string lights
What You Do:
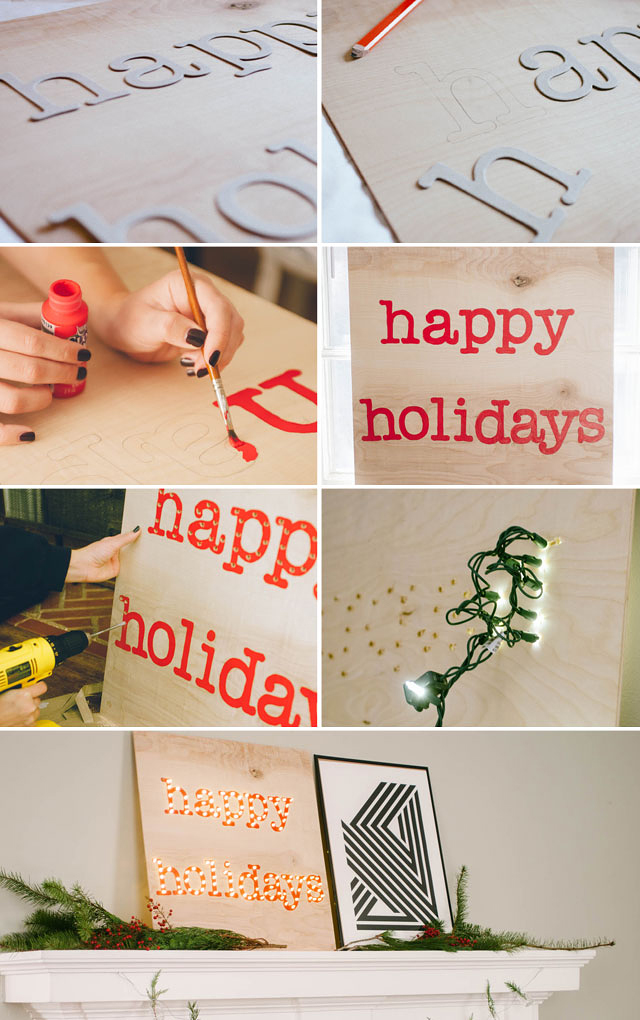
I decided to keep it simple – although in retrospect, this sign would be really cute painted white with red letters! Or even with white diagonal stripes. Luckily, this project wasn’t too time consuming, so I could always give it another go.
I used my favorite typewriter font letter stencils to trace “Happy Holidays” on the piece of plywood. Then, I painted inside the letters with true red paint.
After letting the paint dry overnight, I started drilling holes in the letters. I had 140 lights, and 13 letters, which gave me room for about 10+ holes per letter.
After drilling, I turned my sign around and began plugging the lights into the holes in the letters, from the backside.
Then I just simply plugged in my sign and added a few sprigs of fresh pine needles and holly berries from my front yard to my mantel!
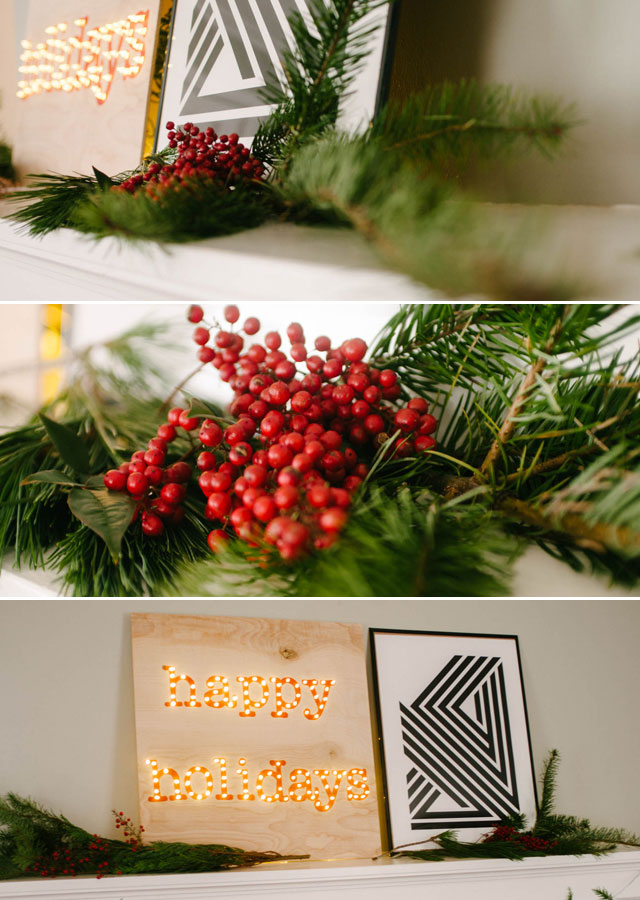
Being someone who never decorates for the holidays, this was a fun way to finally join in on the holiday fun but still stick to my own, quirky style. It’s fun and simple!

………………………………………………………
Thank you so so much, Katy, for sharing this gorgeous tutorial with me and Jade and Fern!
What do you think of this DIY holiday decor piece?
Please hop over to The Clever Bunny to check out Katy’s other DIYs and show her some blog love!
And don’t blame me if you catch blogcrush. You can’t say I didn’t warn you.

!!! This is amazing! I love it. Ohhhhh I wish I were more skilled at these kinds of DIY projects!
-Becca
Ladyface Blog
It’s easier than it looks! If you can hold a drill you can build this project. 🙂
that looks lovely! and kind of like candy corn 🙂
Haha, I see it! Too funny. Thanks for stopping by, Daria!
This is so gorgeous and festive! I’d say your blog crush is completely justified!
She’s pretty brilliant! 🙂
So great, I love this idea. What a beautifully simple mantel.
Thanks for visiting, Jeran! Didn’t Katy do an awesome job?
Hello Marlene! We just wanted to let you know that we have nominated you for the Blog of the Year Award. We truly enjoy reading your posts and love all the inspiration. You can learn more about your award here: http://thelittlethingsdiy.com/2013/12/17/blog-of-the-year-award-2013/
xoxo,
Keya and Erica
WOW! Keya and Erica, I am blown away! Thank you soo soo much for thinking of my little bloggy. You’ve made my month! xoxo!