Spring is coming!
I can tell it’s finally happening because Boston’s 7-foot snowbanks have melted down to 4 feet. Go us.
It’s been a Winter to end all Winters and I am ready for sun and warmth and light jackets and seeing something other than exhaust-stained ice mountains when I look out the window. Like maybe some flowers, that would be nice.
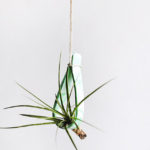
Until that happens, I am bringing spring inside and finally sharing my tutorial for DIY mounted air plants.
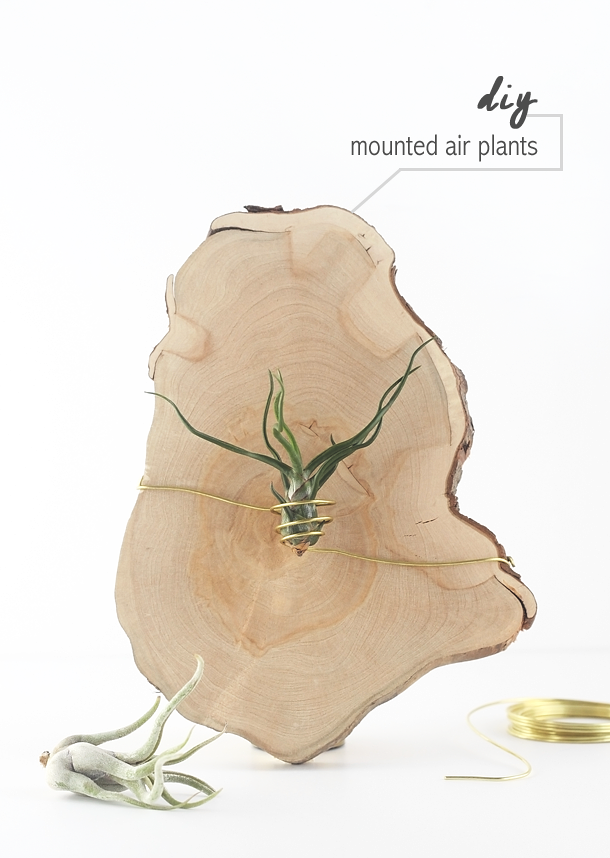 You may remember this project—and my promise to blog it—from my living room makeover six months ago. I am a final contestant for the coveted Slowest Blogger Award.
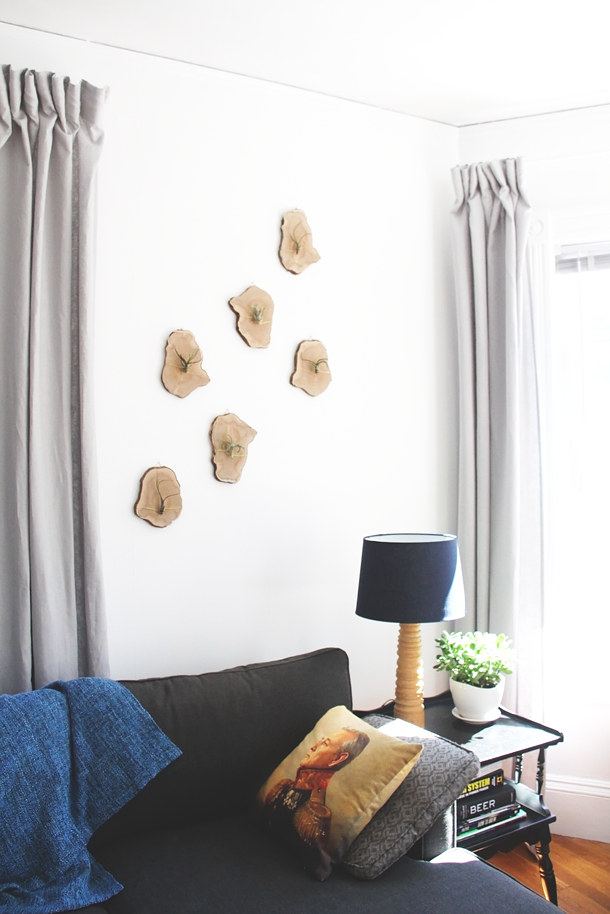
Let’s just pretend the delay was part of a clever strategy to time this post with Daylight Savings. Because what better way to celebrate the longer days than mixing up a summery cocktail and making a planty craft? Other than a vacation in Mallorca, but I can’t give any of us that, so crafts it is.
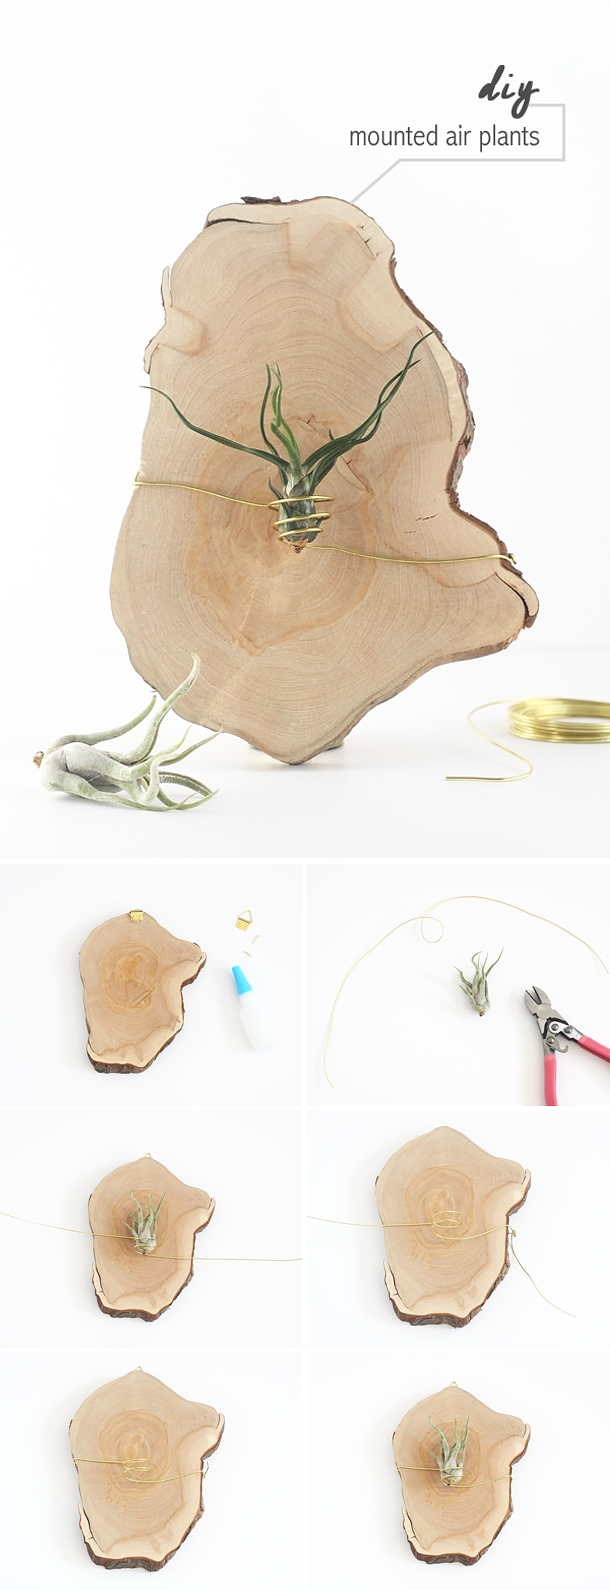
DIY Mounted Air Plants
Skill Level: The easiest.
Time: 20-30 minutes for each.
What You Need:
16 gauge brass wire
wire clippers or strong scissors
pliers (You can use your hands to twist the wire, but pliers are helpful if you got ’em).
small brass nails
hammer
picture hangers
super glue (Optional for if you want to be lazy when attaching the hangers).
air plants (Try The Air Plant Shop, they were very reasonable and the little plants I ordered from them are still thriving!)
wood slices (I purchased these beauties from CypressClocksThings on Etsy).
***A note on air plant care: So easy! Just soak in water once a week, give it a little shake, let dry on the counter for a bit, and put it back! My air plants have been thriving for a whole year now with this watering method. If you want more info, the Air Plant Shop has a great care section here.
***Another note: A kind reader just informed me that copper is toxic to air plants! I did not know this when I designed this project. Brass wire is made of zinc and copper; however, my air plants have been thriving and even growing in their wire-wrapped mounts for over 6 months now. So it’s possible there is not enough copper in the wire to affect them, or that they don’t absorb it from minimal contact. All I can say is, it’s been working for me! But to be safe you could always use steel wire instead, or brass-colored aluminum wire (found at craft stores).
What You Do:
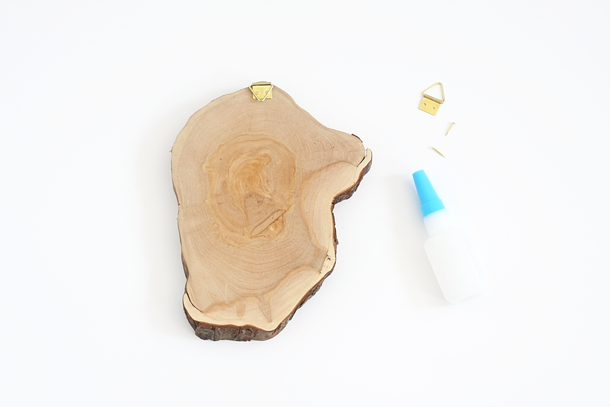
Step One — Attach a picture hanger to one side of the wood slice using super glue or hammer and nails.
Step Two — Snip off a piece of wire roughly 20″ long and bend a circle into the middle. You’re going to make a little “cage” for the air plant to sit in.
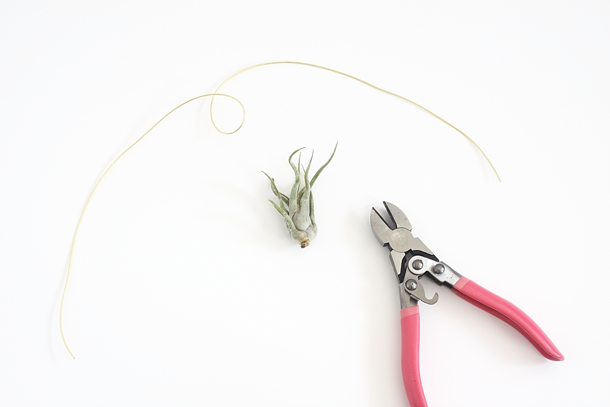 Step Three — Twist the wire around another time or two until it can support the air plant. Position the plant on the wood slice so you know where to attach it.
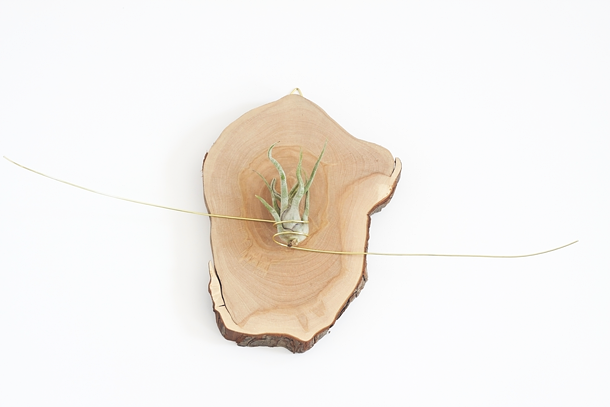 Step Four — Gently tap a nail into each side of the slice.
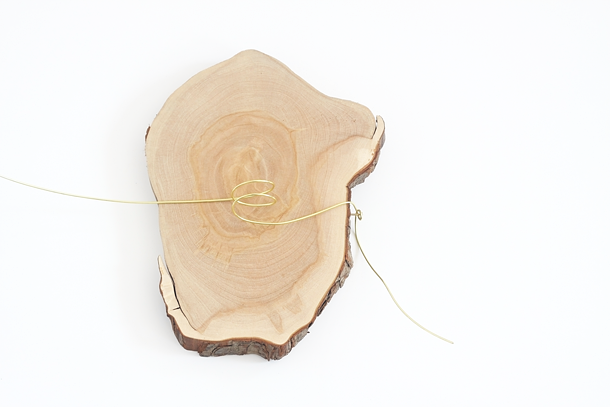 Step Five — Twist the wire around the nail, then tap the nail all the way in.
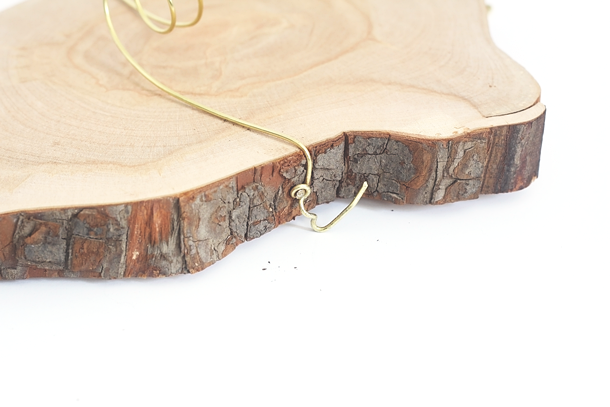 Step Six — Trim the ends off the wire and hang your new mounted air plant.
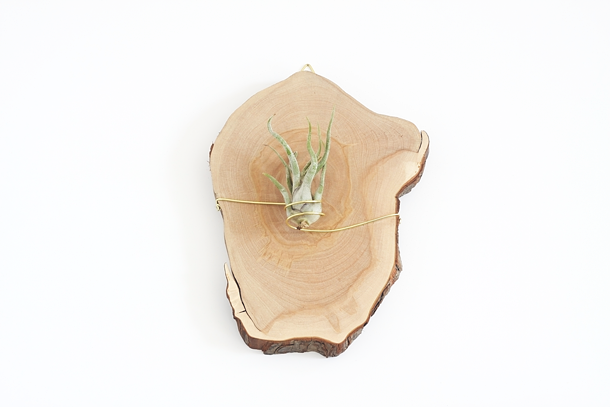 Make a couple of mounted air plant friends and now you have a dramatic, living wall installation. Take that, winter.
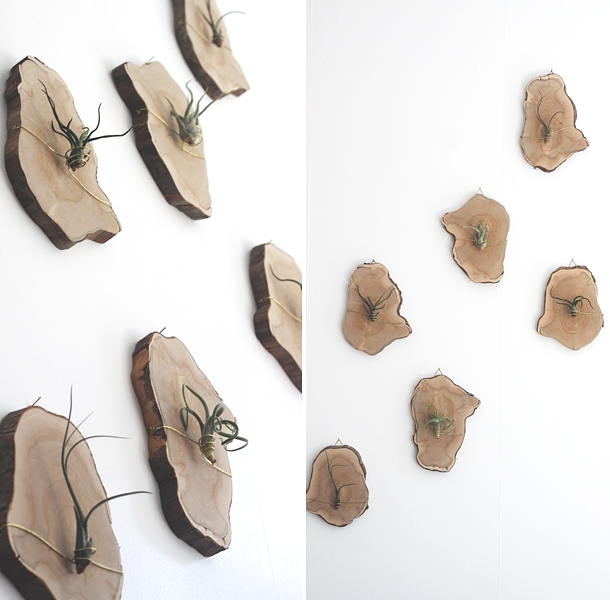
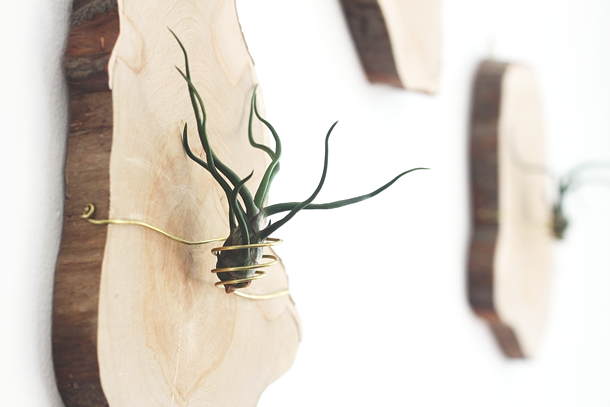 Here’s hoping spring really does come soon. I need more green in my world to rejuvenate after all the snow and sickness.
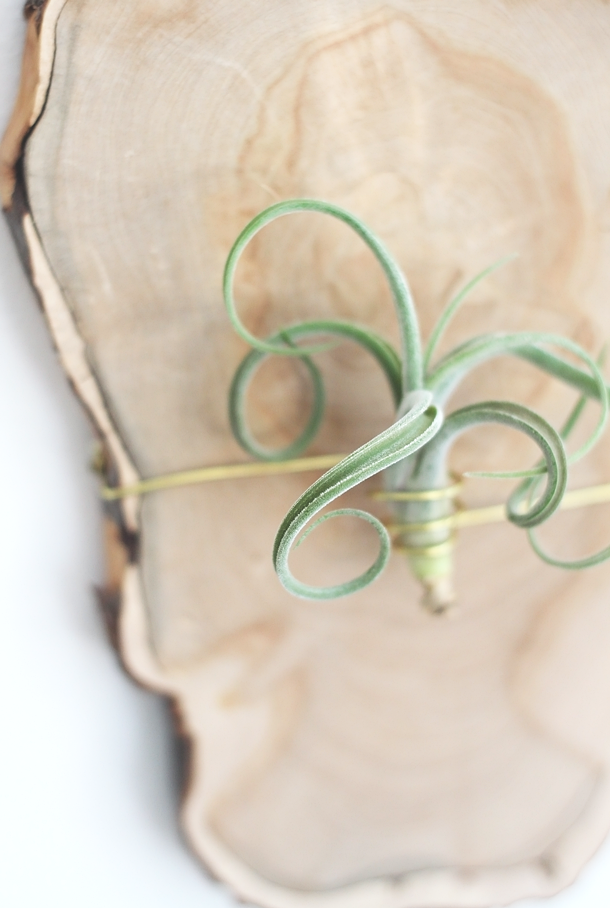
 What’s the first thing you’re going to do when the warm weather really arrives? Assuming you’re not one of those lucky jerks living in sunny Southern California. Not that I’m jealous…



Love these- gorgeous and simple- awesome!
Aww, thank you Laurel! xoxo
Awesome idea!!!
PLEASE be sure not to use copper.
Copper is toxic to air plants. 🙁
BTW. It is sunny & warm in south florida!
… Too warm.
Oh wow, I didn’t know that! Thanks for telling me, I’ll add a note! Enjoy your Florida sun! 🙂
Yes. And too many bugs
The wire coiling is pretty genius, and I looooooooove the shapes of the wood slices. Makes the entire installation look like it’s moving!! Gorgeous.
Thank you, Amy! I love the brass and wood combo. 🙂 xoxo
These are so pretty! Love them!
Oh yay, thanks Alexis! 😀
I’ve been wanting to bring some air plants into my home for ages and you make this look so easy! Definitely going on my must-try list 🙂
Do it! Air plants are so fun, they are so easy to take care of! 🙂
I love how you did this! I did a similar project last year (below), but I love what you did what you did way more!
Emilie
http://www.lifebylyons.com/2014/10/air-plant-art.html#.VTfE26Z1TBw
Thank you, that is so sweet! But your project is so pretty! I LOVE your idea of using a frame, so clever! Thank you for visiting and for sharing!
I love this!!!! I’ve wanted air plants for years but didn’t know where to get them. The one time I ordered one, was from one of those magazines that there are a dozen of with different names but the same stuff in them, but what I got was a fake thing that looked weird and obviously didn’t grow! So now I know where to get the real deal! Thanks!! And I’m loving your DIYs!!!
Oh yay, I’m so glad I could help you out with sources! I hope you enjoy your air plants! And thank you so much for your kind words!
WOW!! Simply amazing! Thank you!
Aww, thank you! Such high praise! 😀 Thanks for stopping by!
Beautiful project, but brass is made of copper and zinc. Since copper is toxic to air plants, I would assume brass is also.
Wow, Pam, thank you so much, I didn’t know that! I’m just reading up on it now and I will make a note in the post. My guys have been doing really great, in fact they’ve grown since I hung them in the fall, so I wonder if the copper content of brass wire is low enough? At any rate, thank you for letting me know!
The copper would have to be in a form that is biologically available. This is the same reason pennies in a fountain do not kill the fish with their copper. 🙂
these are so pretty… And seem fairly easy. I’ll probably just take the easy way around 😉 And I would consider you a Lucky *Duck* (cuz I’m nice) i wish it snowed. 🙁 Especially as a kid. It’s more fun. And a plus that I’d be able to shovel snow out of ppl’ driveways for $. Yes that I’m jelous
Well you are more than welcome to come shovel us out of our next 6-foot snowdrifts! 😉 Glad you enjoyed the project–thanks for visiting!
How often do you water and how
Good question! Air plants are really easy, they just need water once a week. I take them out of the holders, put them in a tupperware, add enough water to mostly cover, and let them soak for 30 minutes to an hour or two (depending on how long I forget about them). Then just shake them off, let dry on the counter for a bit, and put them back. It sounds like a lot but since most of it is just waiting–ie, ignoring–it goes fast. Mine have been thriving for a year now! The Air Plant Shop has some great care tips, which I will add to the post: http://www.airplantshop.com/Articles.asp?ID=263
Can airplants be left in outside wall on winter
Hi Elizabeth, I’m not sure! I’m really not an air plant expert and it probably also depends on what winter is like where you live. You can refer to the care guide I linked to in the post for more information on air plants. Good luck!
what type of wood are your slabs?
These pieces are cypress, which I purchased at this amazing Etsy shop that has just fantastic wood pieces of all kinds, which they harvest from dying trees in a bayou: https://www.etsy.com/shop/CypressClocksThings
Girl, these are so cool!!
Thaaank youuuuu! I feel like they are very “you,” actually! xoxo
Hi what was your status, about the brass?
Did it contain so low amount of copper, that it does not harm the plants?
Do you find any information about this, maybe a link?
Hi Kaj! Yes, I think the wire did not affect the plants at all! They made it for 1.5 years and only finally died after I neglected to water them for a few weeks (oops). If you’d like to make something similar I think you’ll be safe! xoxo