This post is sponsored by Wayfair, but all words/ideas/opinions are entirely my own!
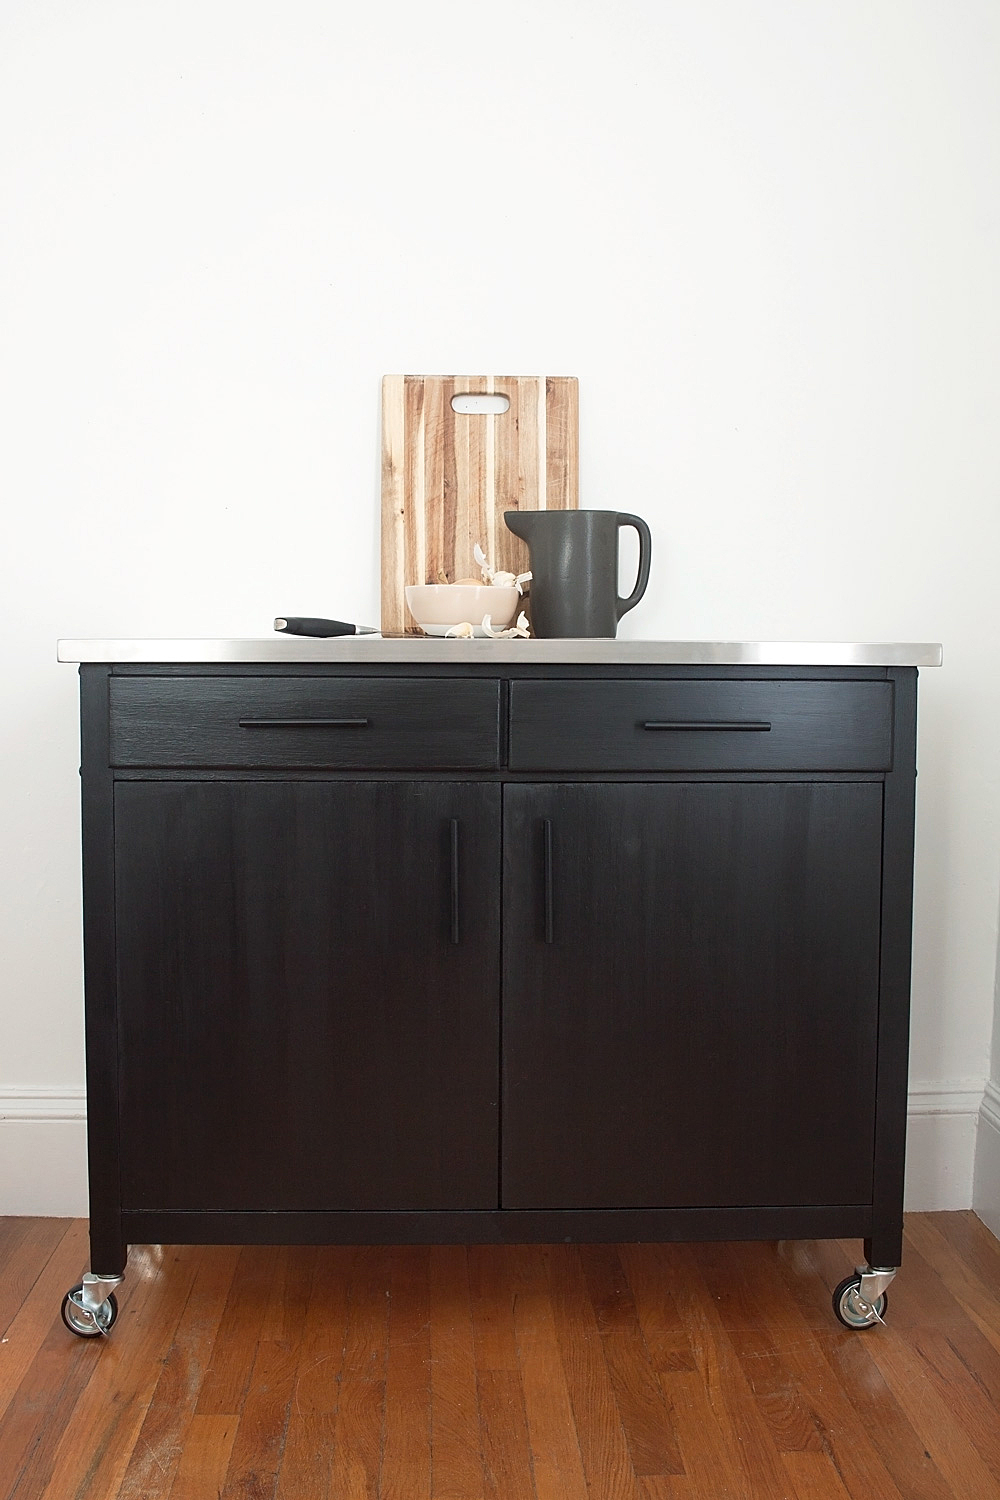
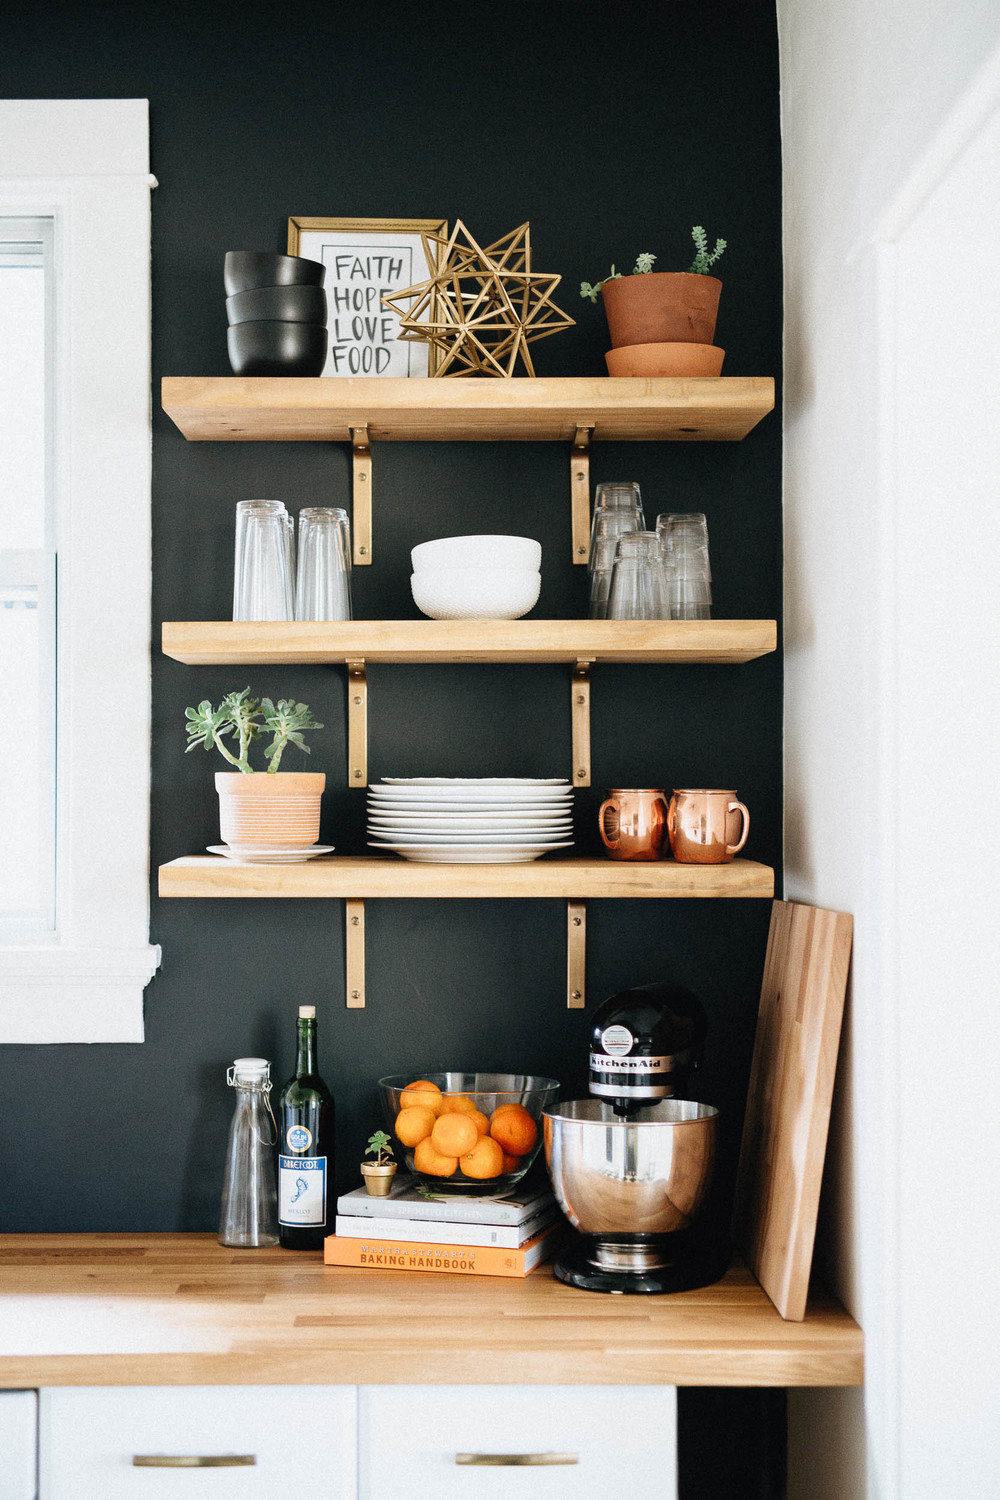
The kitchens I like—the ones that make me go “ooooooo” and start scheming ways to casually move in without the owners noticing—those kitchens all seem to feature a lot of airy, open storage.
But open storage, like bacon-scented soap, is underwhelming in real life.
Expectation:
image credit: We are the Brauns
Reality:
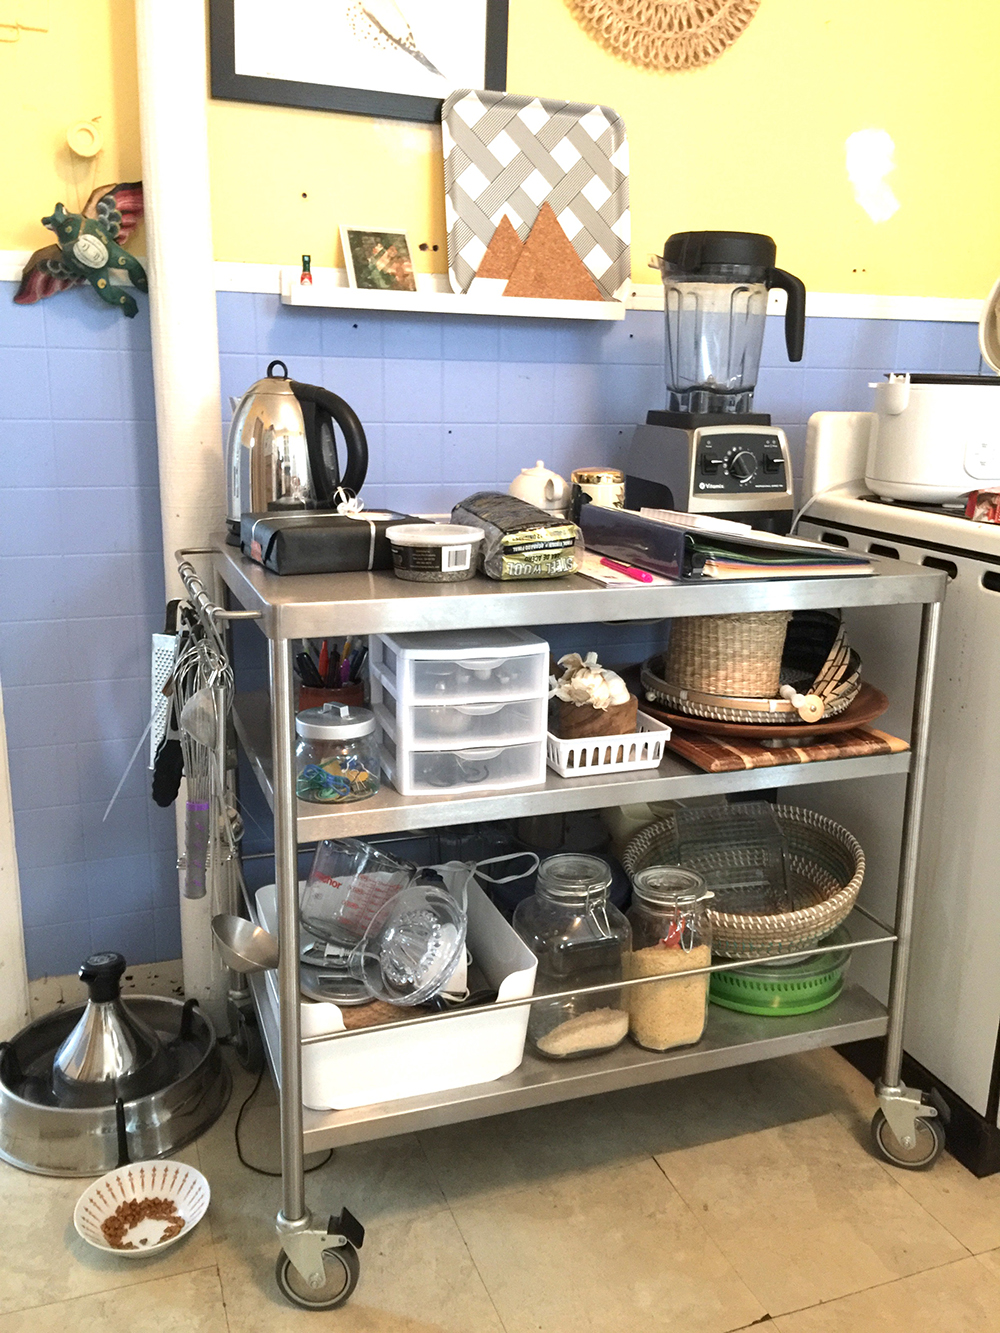
Ouch.
It’s times like these that you have to roll up your sleeves and just DIY your own closed storage. Which is totally possible thanks to the magic of a little thing called the hardware store.
Behold, how to create the perfect kitchen cart:

Full disclosure — this isn’t the easiest DIY if you don’t have access to your own power saws (who does?). However, if you are willing to harass the folks at your local hardware store enough times, they eventually will cut your wood perfectly to size, and then all you have to do is drill everything in place. And sand. And paint. And hang doors.
Ok, it’s a beast of a project, but if you are on a tight budget, need real storage in the kitchen, and can use a power drill, you can do this! And look how worth it!
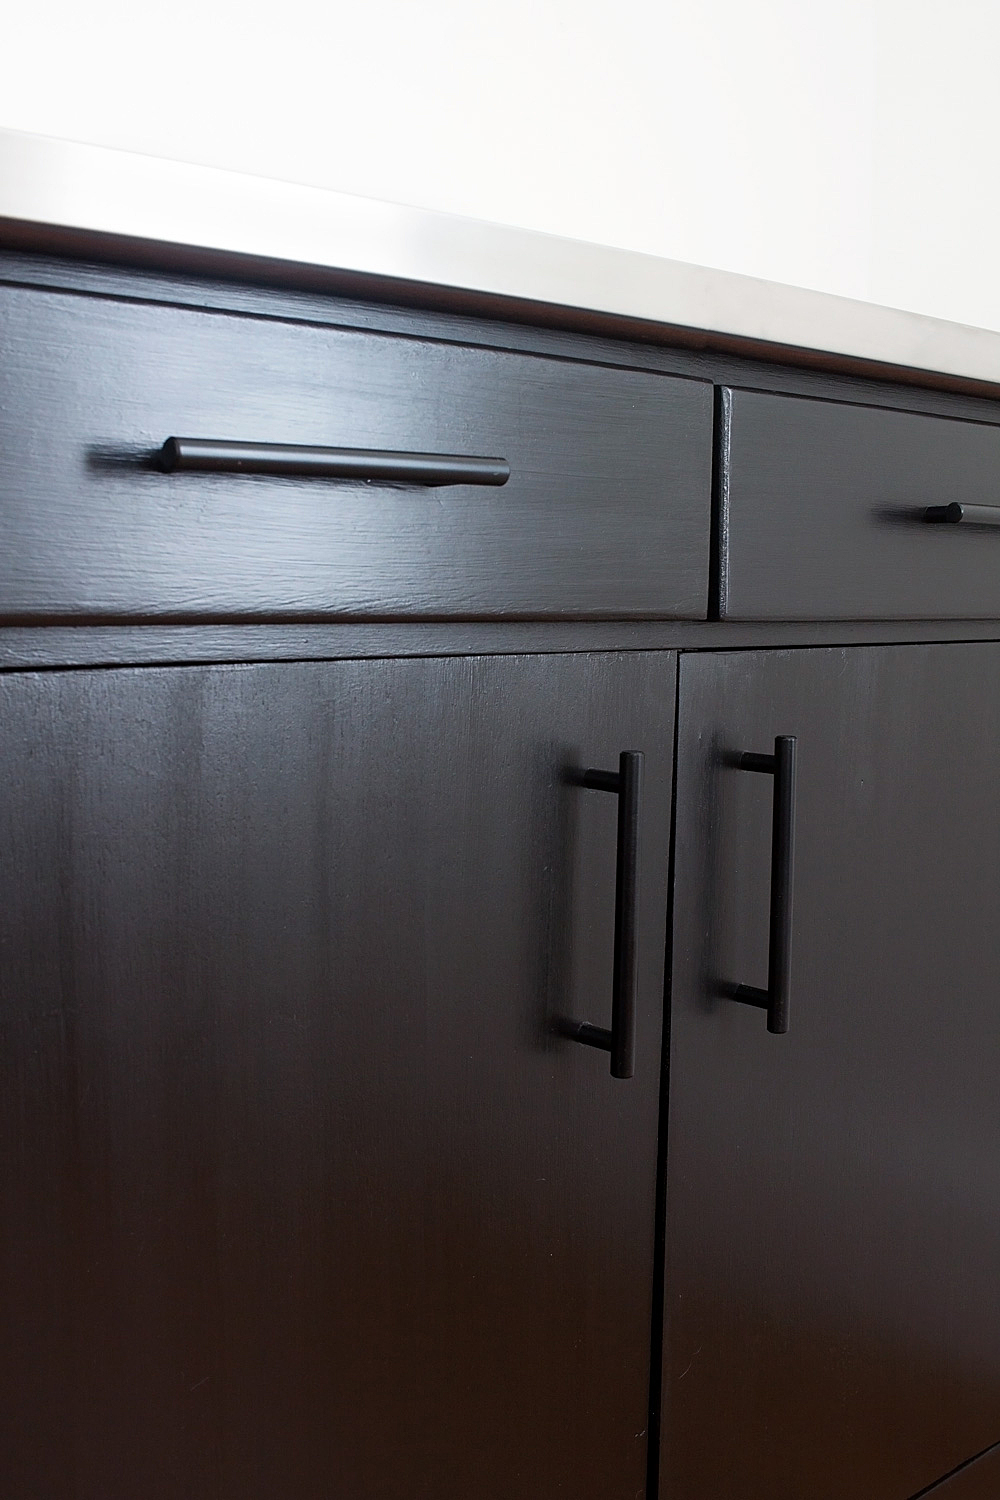
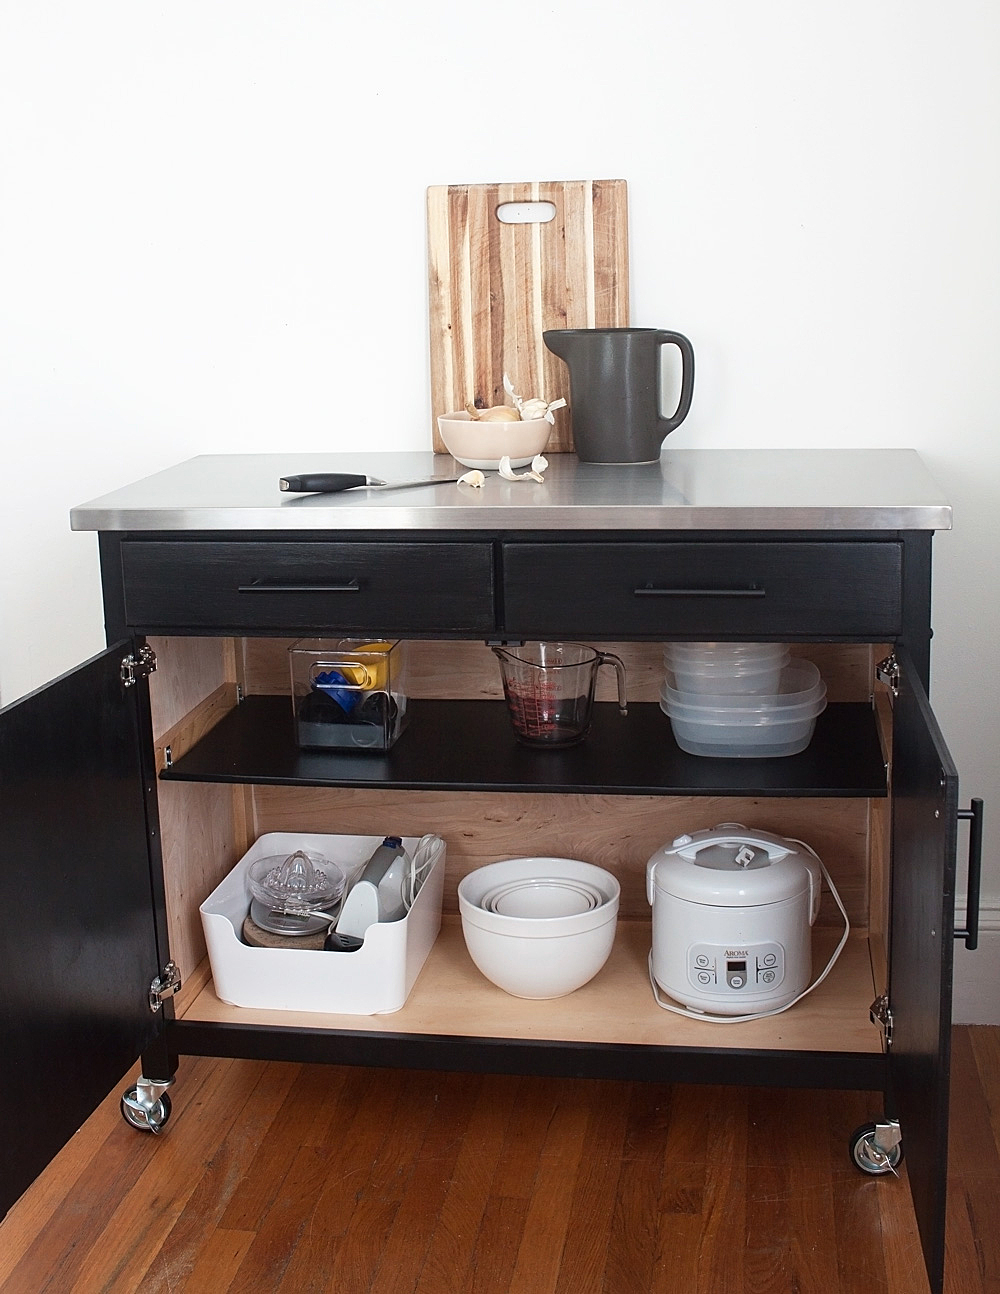
Clearly this is not all the crap that was on the metal cart. But that’s the point — there are DOORS on this one so I can hide all that junk and don’t have to show it to you ever again.
How to Create the Perfect Kitchen Cart
Skill level: Difficult, in that you need to measure carefully, haul wood around, use a power drill and sander, and ideally have a very patient friend to help you hold stuff and provide a shoulder to cry on when you mess up the paint and have to repaint…
Time: About a week of some daily labor, if you are slow like me (plus dry time if you are painting)
What you need:
- a kitchen cart
- pencil, ruler, measuring tape, bubble level, and possibly a T-square
- power drill and bits
- wood screws
- sandpaper, plus a power sander if you don’t want to lose your mind
- cabinet hinges*** (see note on doors below!)
- cabinet door handles
- wood panels to close the back and sides of the cart (I had a large panel of underlayment cut to size as it was the cheapest)
- 1/4″ or 1/2″ plywood or MDF to make your doors*** (see note on doors below!)
- primer
- paint
- brushes or roller
- painter’s tape
- lots and lots of coffee
What you do:
Before doing ANYTHING else, you need to check on some things about the cart you are transforming! I made a cheesy little graphic to show you.
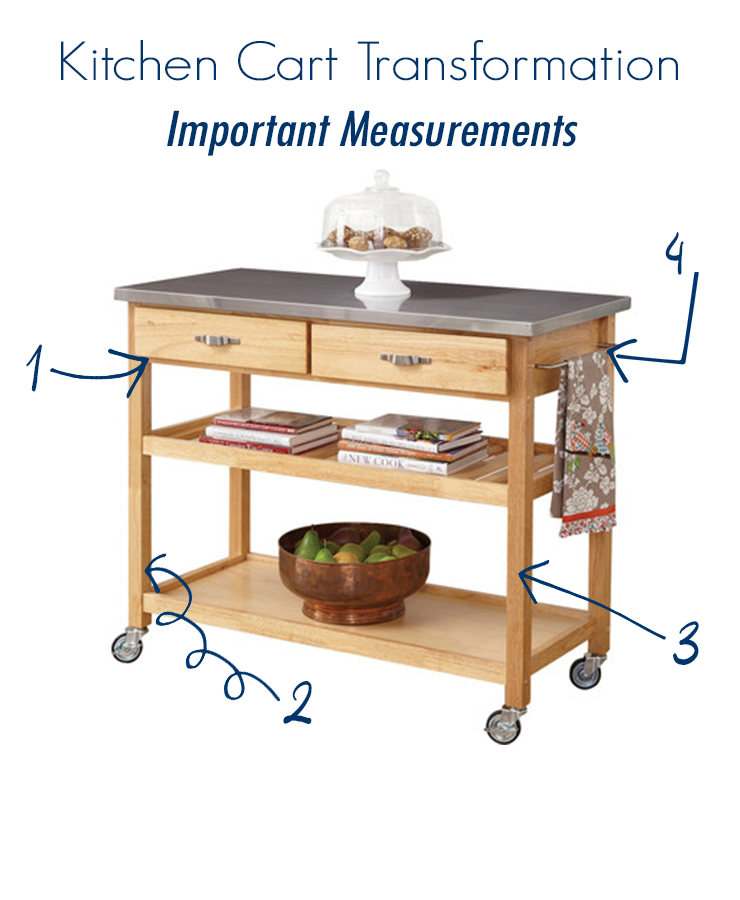
1: Is there enough room under the drawers to accommodate a door?
2: Is the width of the legs front-to-back wide enough for hinges?
3: Is the width of the legs side-to-side wide enough for hinges?
4: Are any features on the sides of the cart (such as a rail or hooks) removable?
***A note on doors!
You have to decide how you want to hang your doors: full overlay, half overlay, or inset. (See this illustration for what I mean). This will determine what size your doors should be and what kind of hinges you need. Building this cabinet has taught me that inset doors are the hardest because you have to get them lined up oh-so-very perfectly. Save yourself some trouble and go with full or half overlay! (Then buy the correct hinges!)
Ok, grab your measuring tape and a gallon jug of coffee. This is it for real.
Step one: Have all your wood cut down to size. You will need three flat panels to attach to the sides and back of the cart. Then you will need two pieces for the doors (which you are going to measure for a full or half overlay because you are paying attention, yes?).
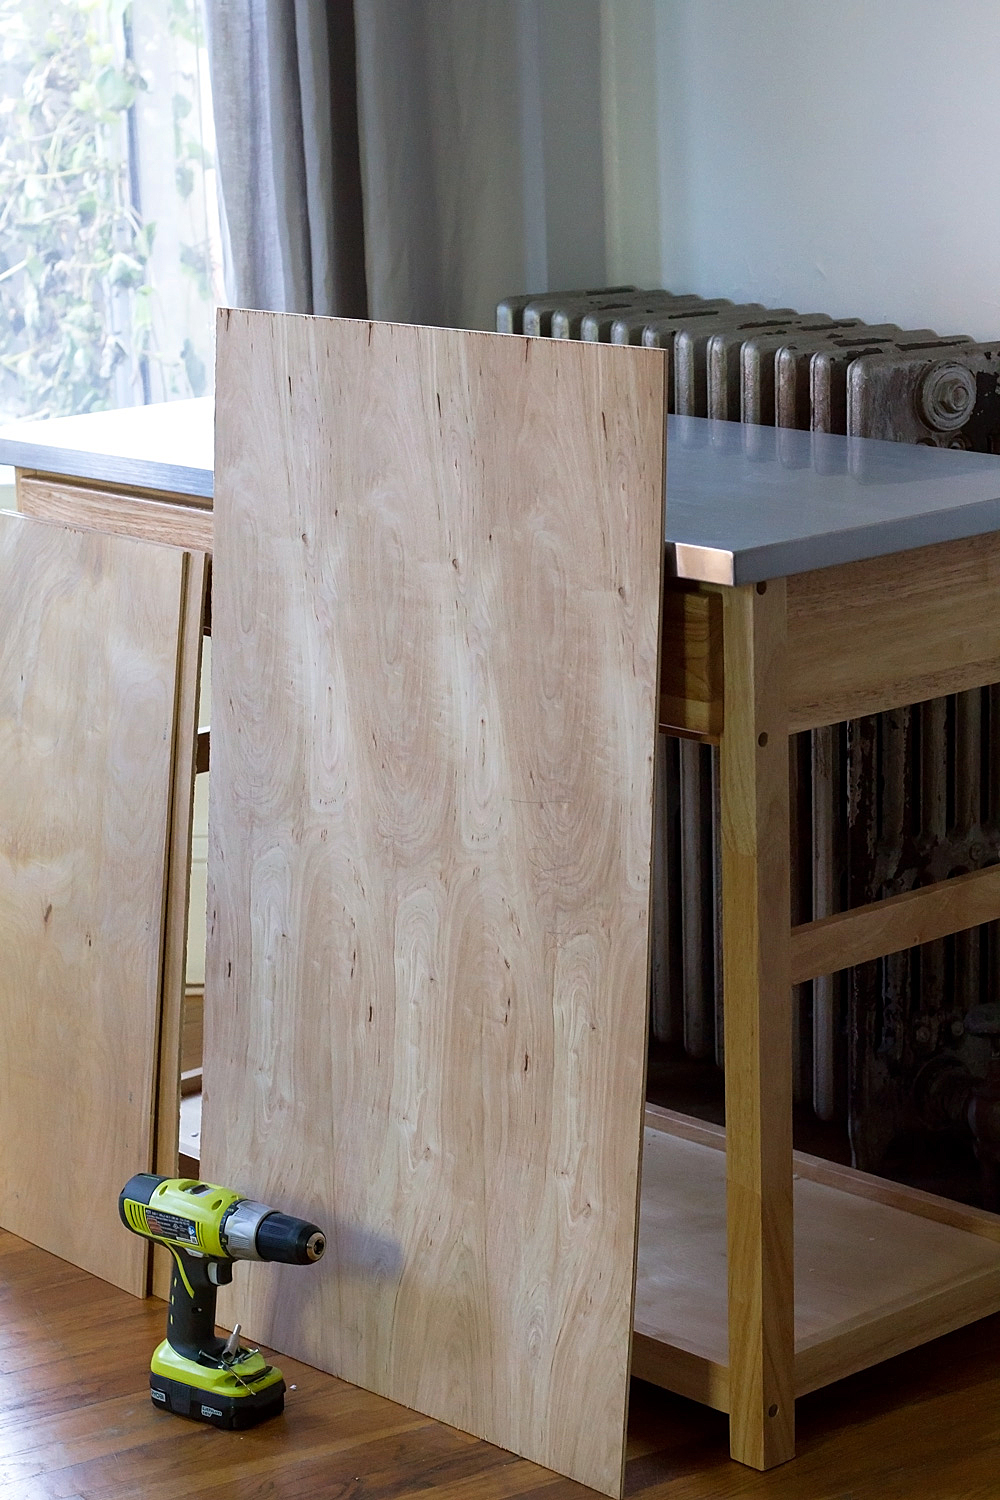
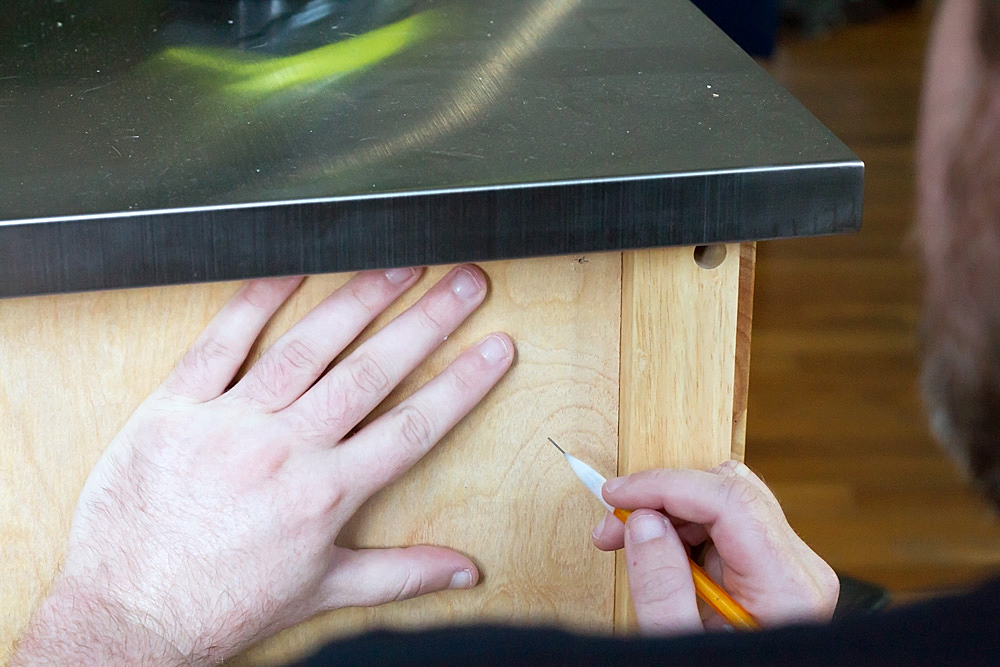
Step two: Hold your first panel up to the cart, then drill pilot holes through the panel into the side of the cart. This is a good time to enlist that patient friend/Instagram husband.
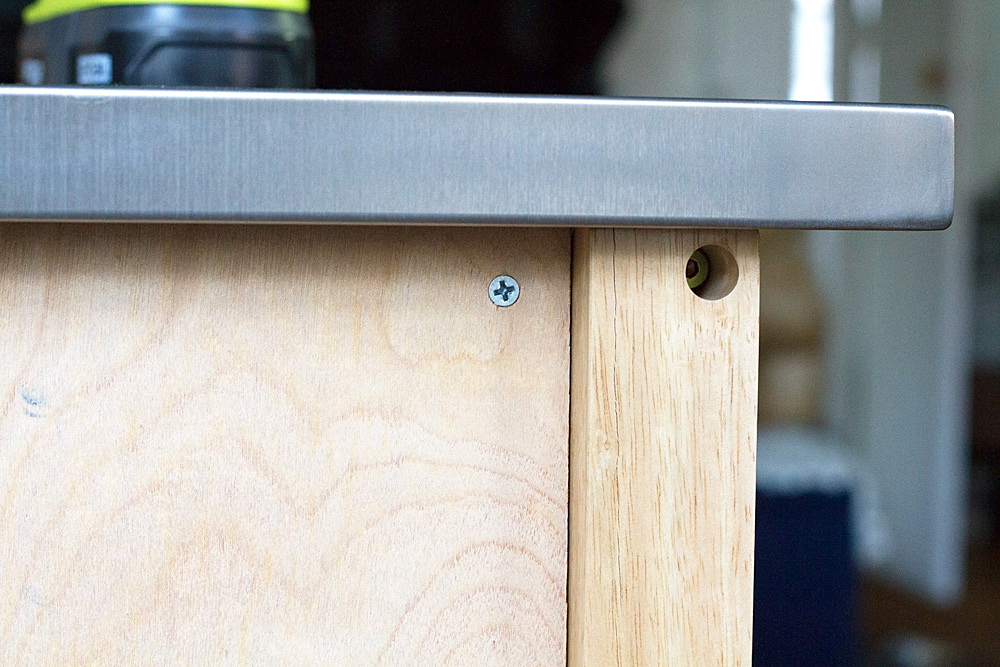
Step three: Screw the panel onto the cart. Repeat for the other side and the back.
Step 4: Be proud of yourself! Your cart is starting to look like a cabinet. Go ahead and sand it all down with 120 grit sandpaper, then 220 grit sandpaper. Tape it up for painting.
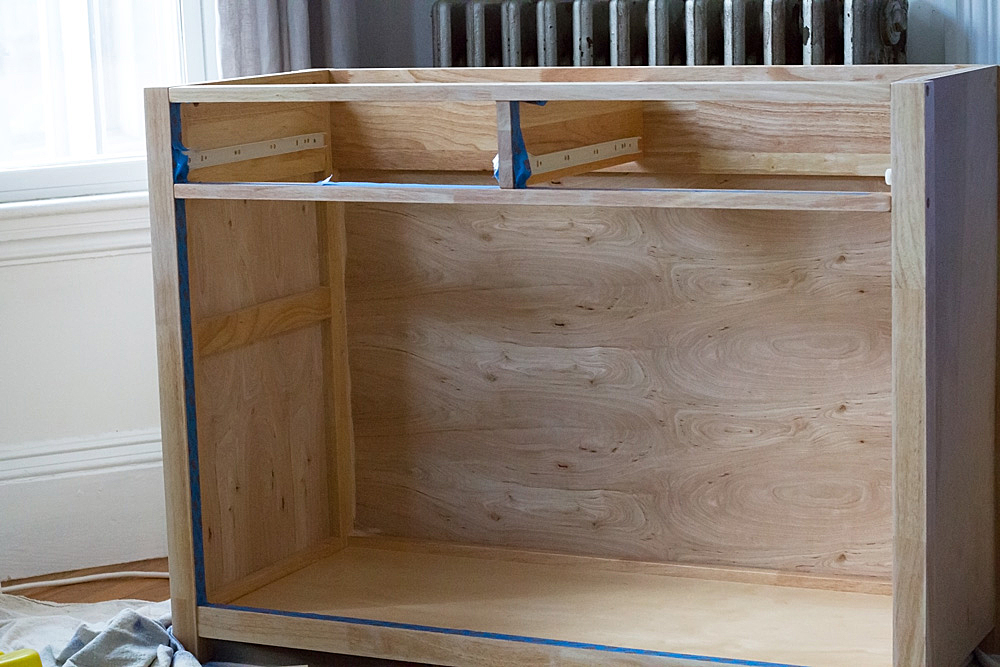
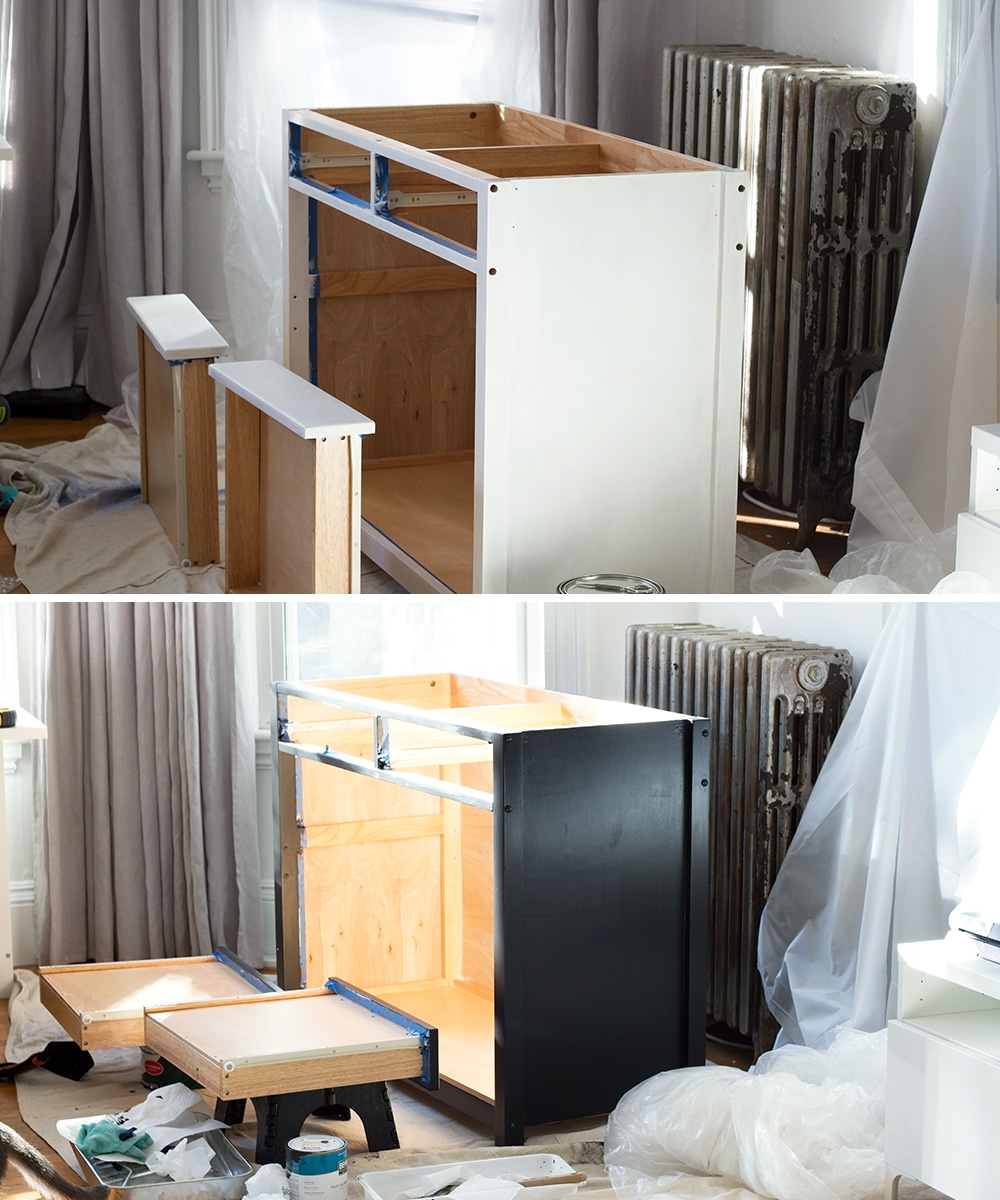
Steps 5 and 6: Prime and paint the cabinet, drawer fronts, and doors. DO NOT skip primer, I’ve tried that many a time and it always ends in peeling paint.
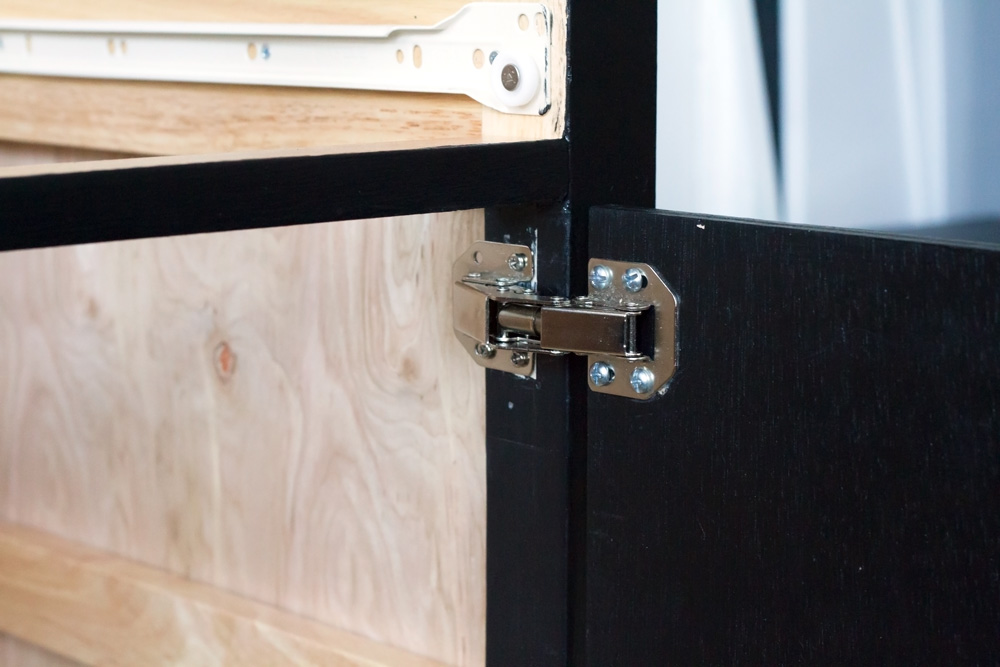
Step 7: Attach your doors with the hinges! I feel bad not showing detailed photos for this step, but your hinges will come with a template and instructions which will explain things way better than I ever could. Also this post is long enough as it is.
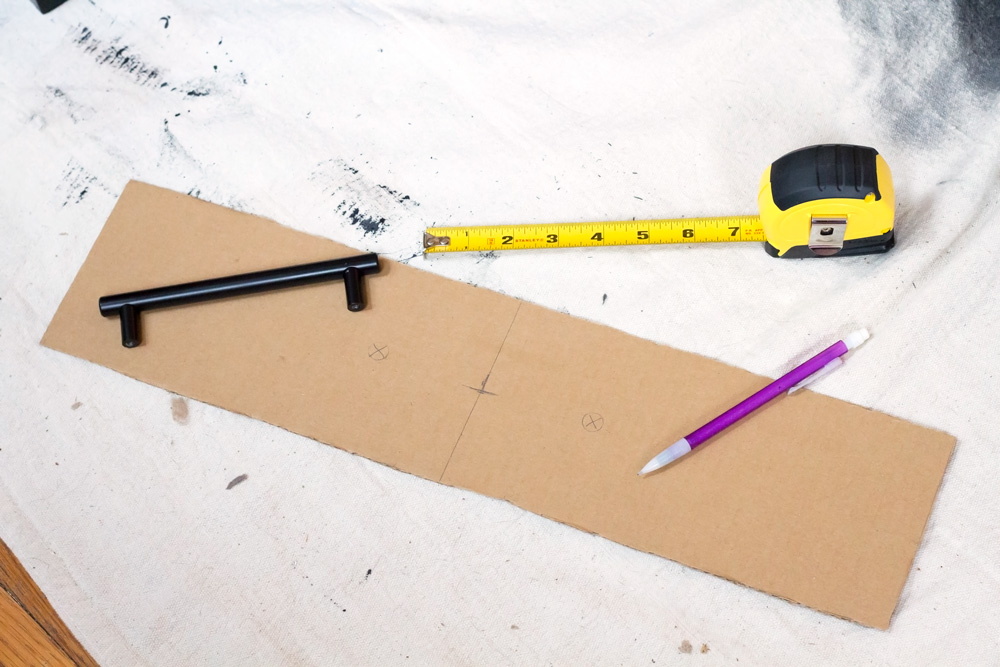
Step 8: Attach the handles to your drawers and doors. Tip: create a template by tracing the front of the drawer and using it to mark your holes, it makes it so much easier to do install them evenly.

And one final step: If there is a slight gap between your doors (remember, I had trouble with inset doors!), you can close it by cutting a strip of wood to size and attaching it to the inside of one of the doors. This actually used to be a yardstick I got at the hardware store for free!
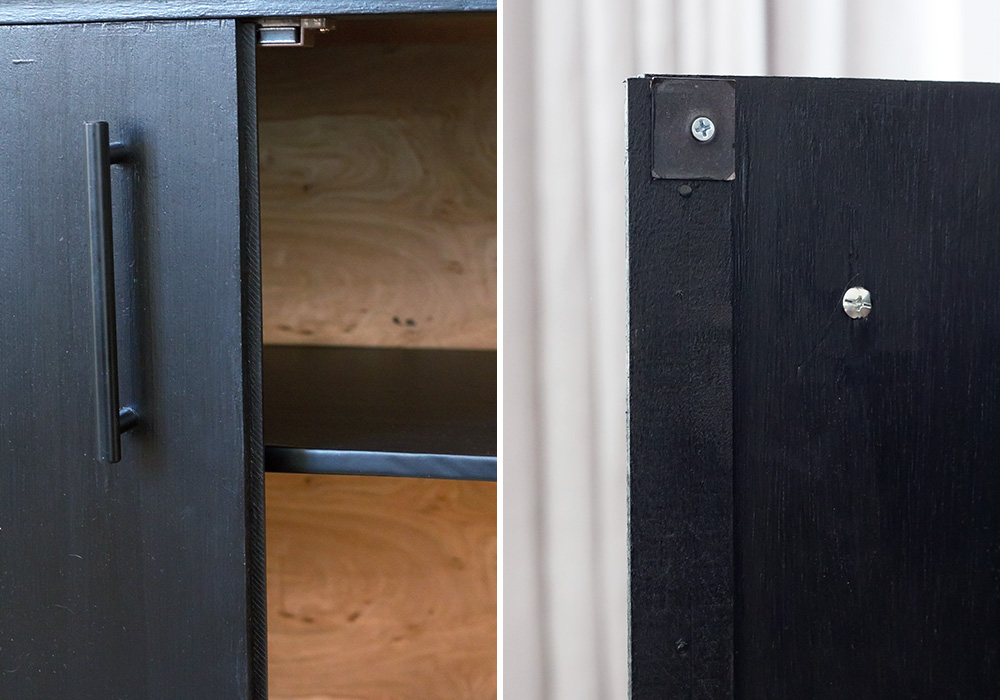
And you are finally done omg omg omgeeeeee!
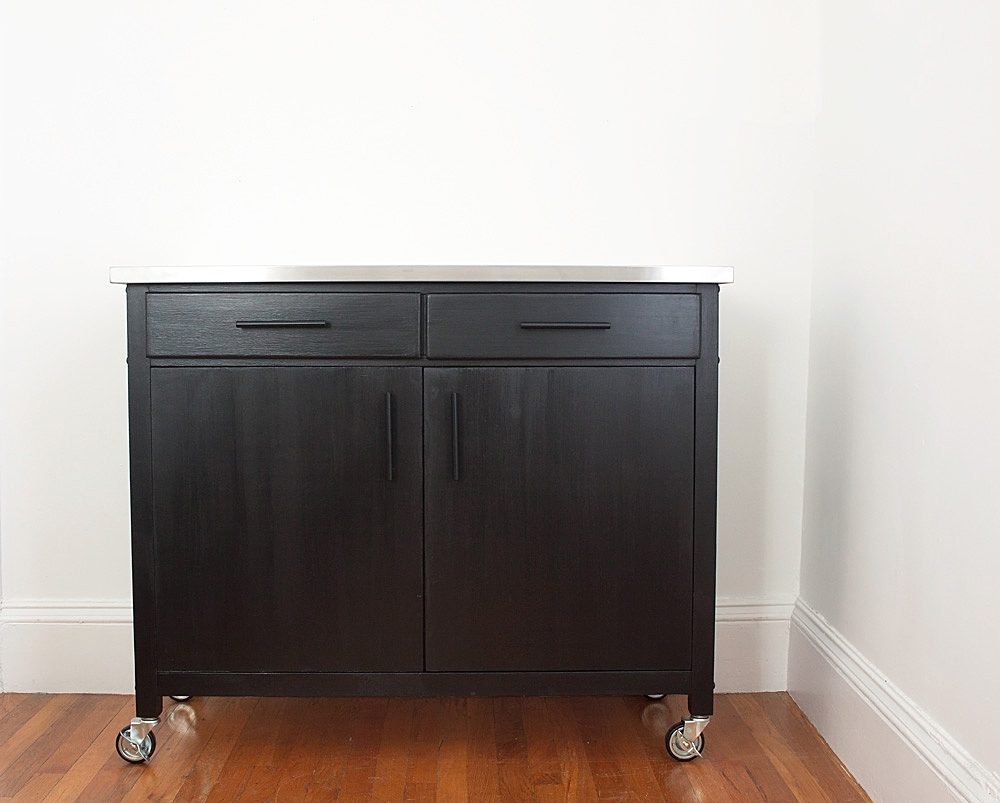
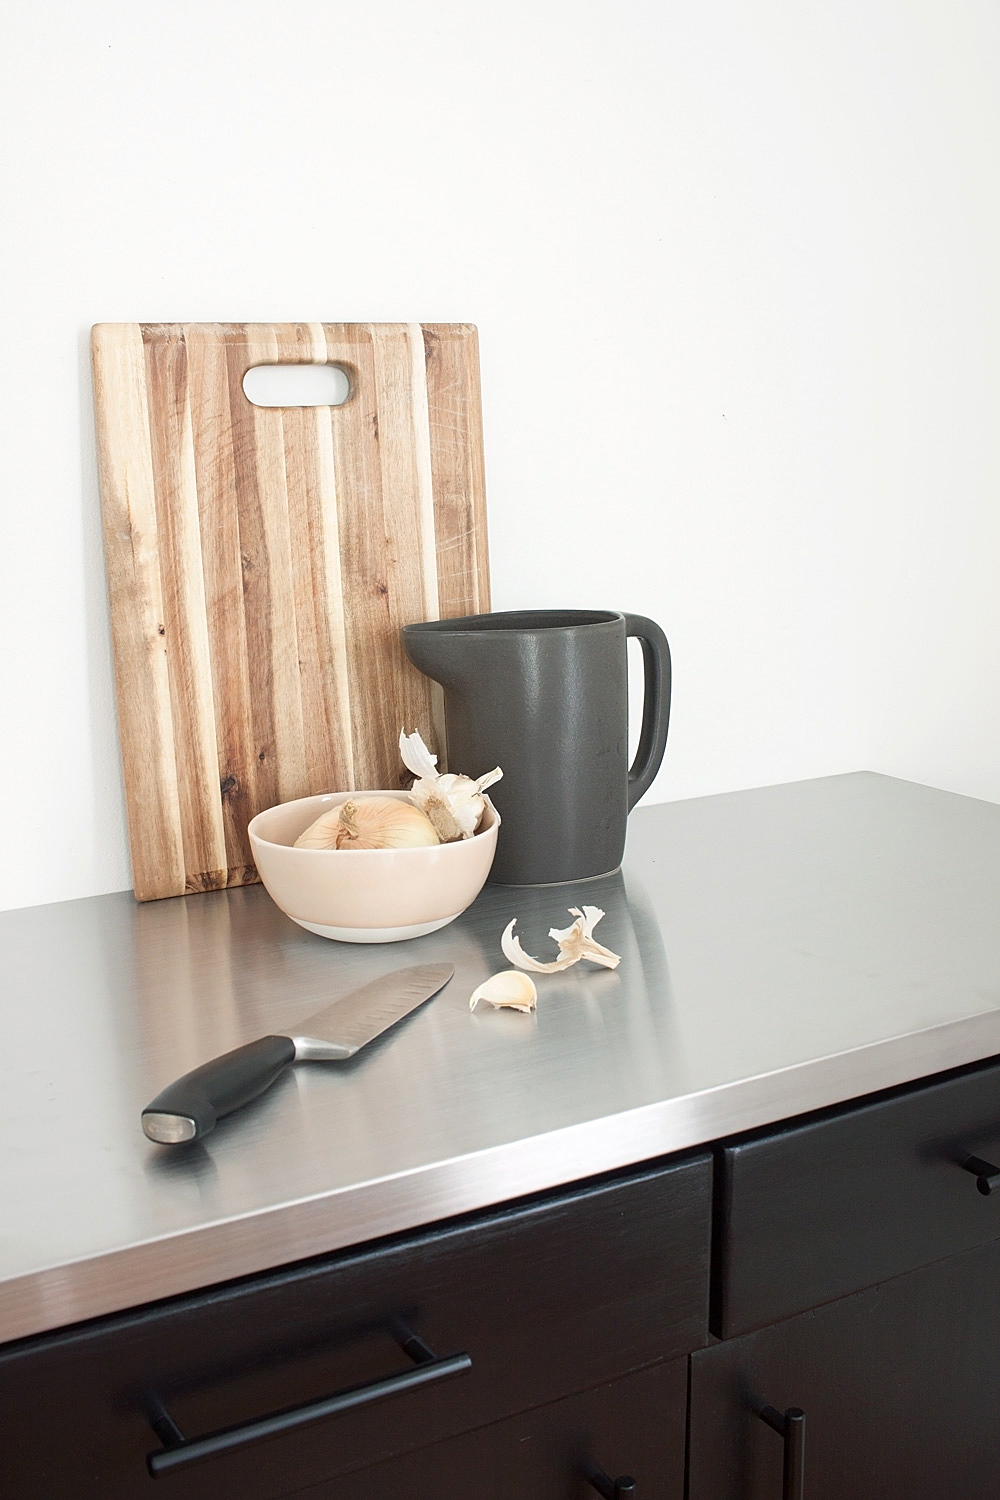
Things I learned from tackling this project:
+++ Black paint shows every little imperfection. Every. Single. One.
+++ Humans really should have evolved to have at least four arms and hands.
+++ Starting a furniture-building project right before the holidays is a bad idea.
But I also learned how to attach cabinet doors. And we now have TWO DRAWERS in our kitchen! (If this makes no sense to you, see my kitchen post for the woes on old apartments).
If you made it to the end of this post, you my hero. I did my best to describe all the steps used for this project, but if you have ANY questions let me know!
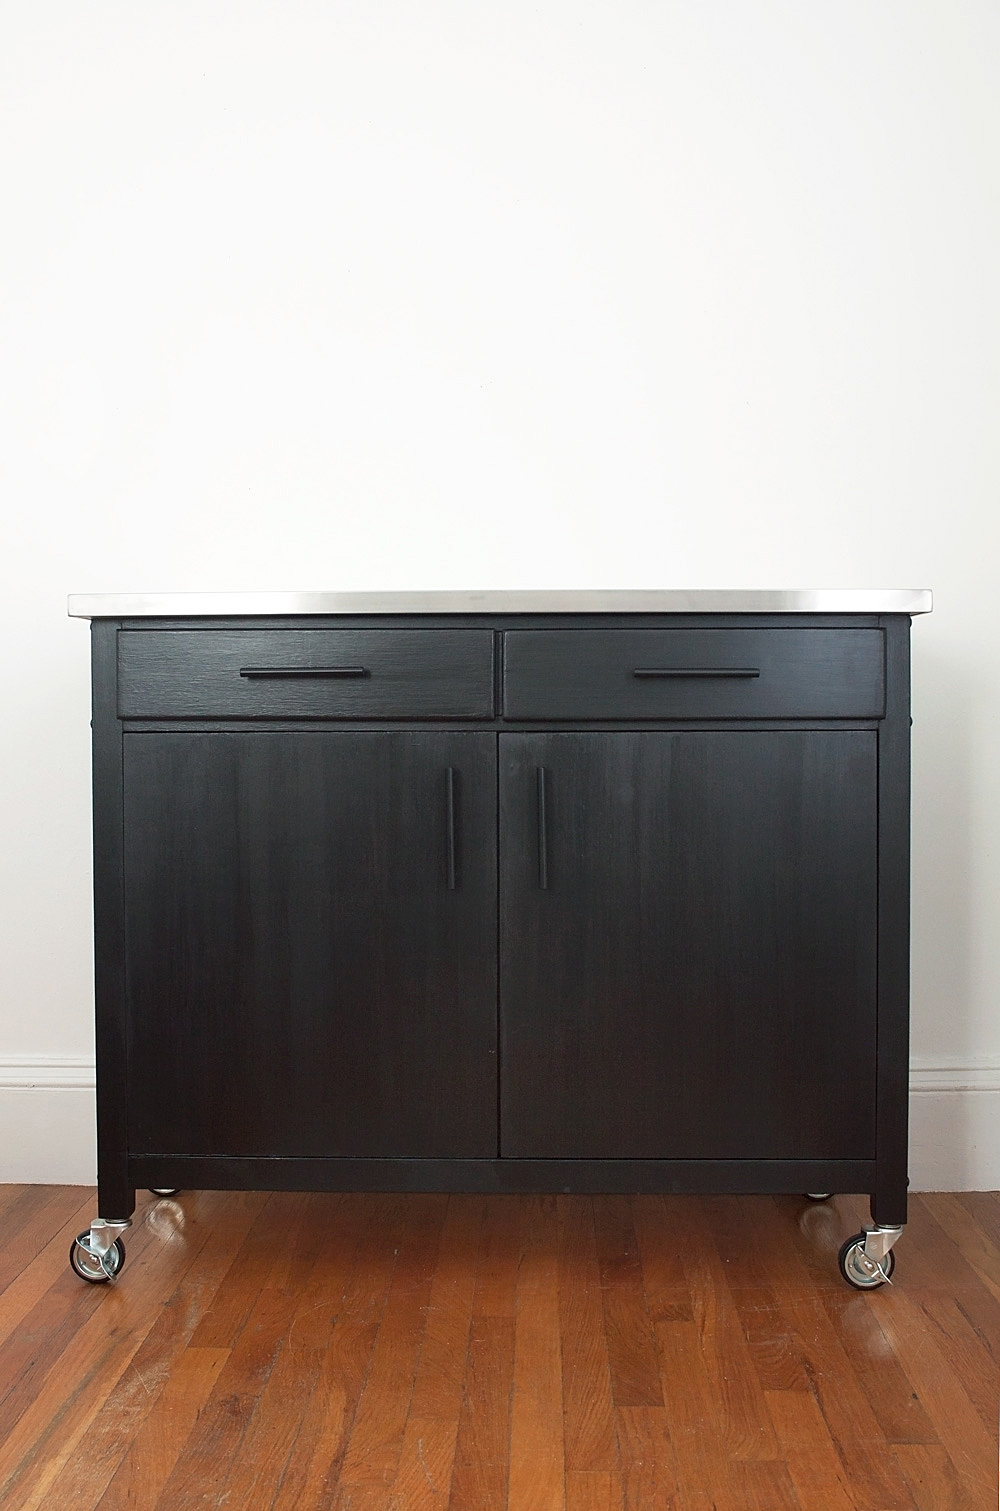
A HUGE “thank you” to Wayfair for providing the product for this DIY! And thank YOU, readers, for supporting the brands that allow me to keep creating fresh and free content for you! xoxo



Girl, this kitchen cart is perfect! I wouldn’t have guessed it not being a store bought cart had I not seen the tutorial. All that coffee and tears were well worth it!!
Thaaaannnnk youuuuuu! I am rolling it into my kitchen tomorrow and am SO stoked!
Way to go!!! This turned out perfectly and yay for more kitchen storage!!
You have no idea how little storage we have! We have pots and pans living in the entryway because there is only one cabinet in our kitchen, lol. Thank you, lovely!
This is such an impressive DIY undertaking! And such a smart idea to solve a problem. Way to go!
Thank you thank you, Haeley! 😀
Girlll I had no idea you actually built the doors onto this! it turned out SO good!!
Thank you so much! That means a lot coming from a furniture guru!
This kitchen cart is perfection! And also, thank you for showing the expectation vs. reality of open storage…I’m always looking at those beautiful open shelving pins on Pinterest and thinking “am I a horribly messy slob who obviously can’t get her shit together? my kitchen does NOT look like that…” lol
-Clarissa @ The View From Here
Hahaha, the “reality” is SO true! I love the look on Pinterest, but I think in a kitchen I could keep at MOST one shelf looking pretty with everything out in the open. I’m glad you appreciated it! 😀
When I read the title I thought it’d be fun storage jars or organizing tips- this completely blew me away! I agree about the 4 arms… the second set should be much longer for photo taking XD
YES! So much better than my shaky-handed Instagram husband. Thank you for your kind words! xoxo