THIS POST IS SPONSORED BY IKEA STOUGHTON, BUT ALL IDEAS & OPINIONS ARE ENTIRELY MY OWN.
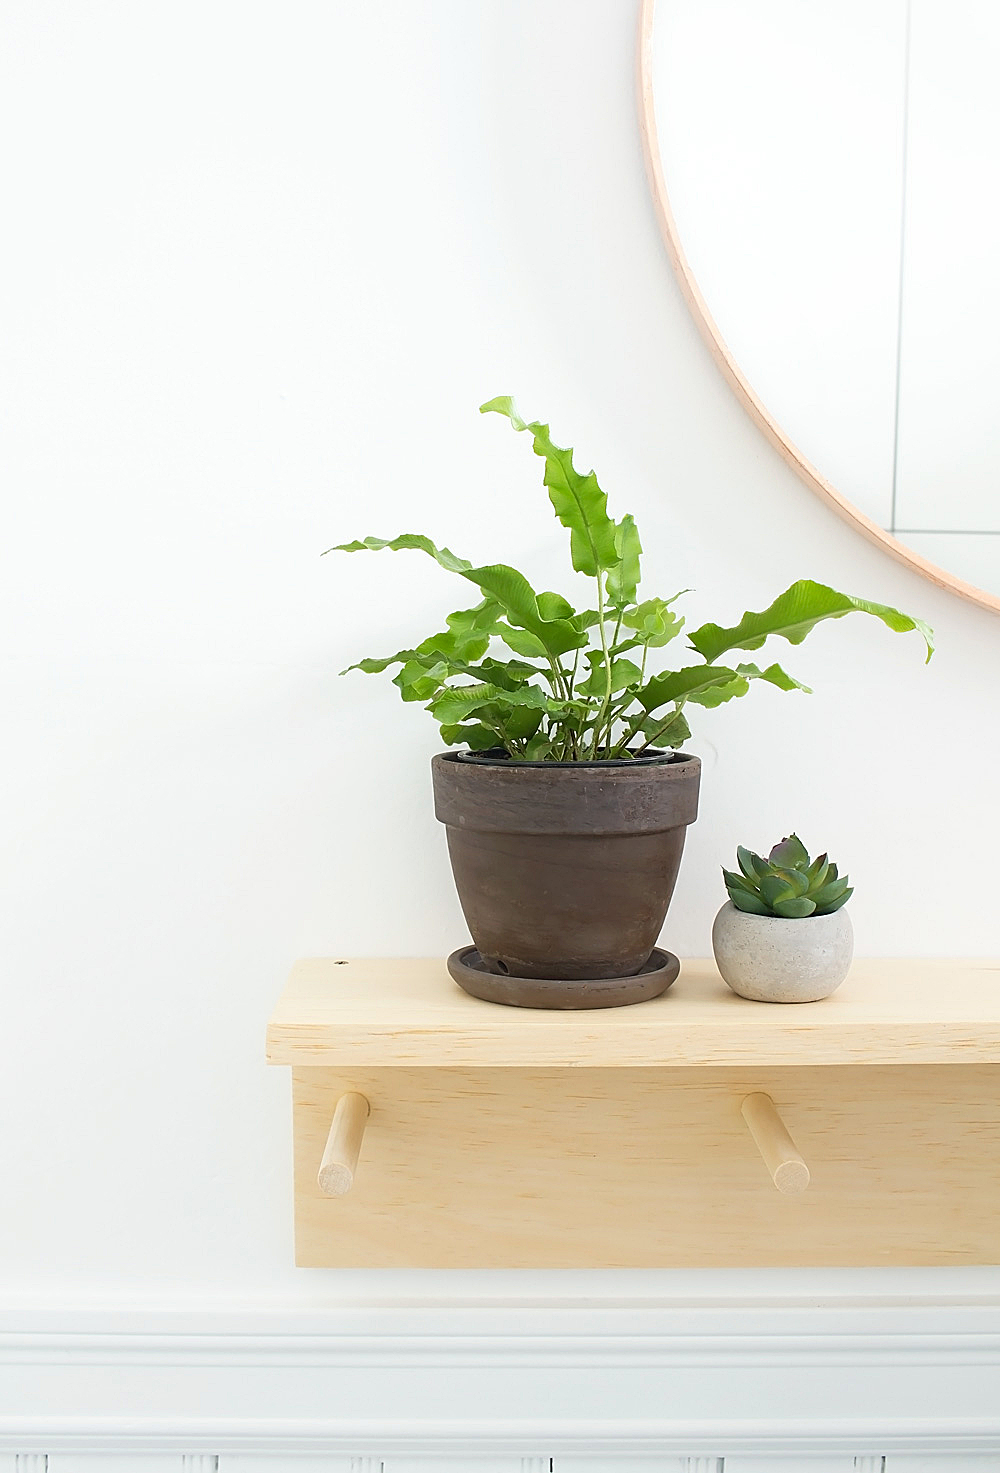
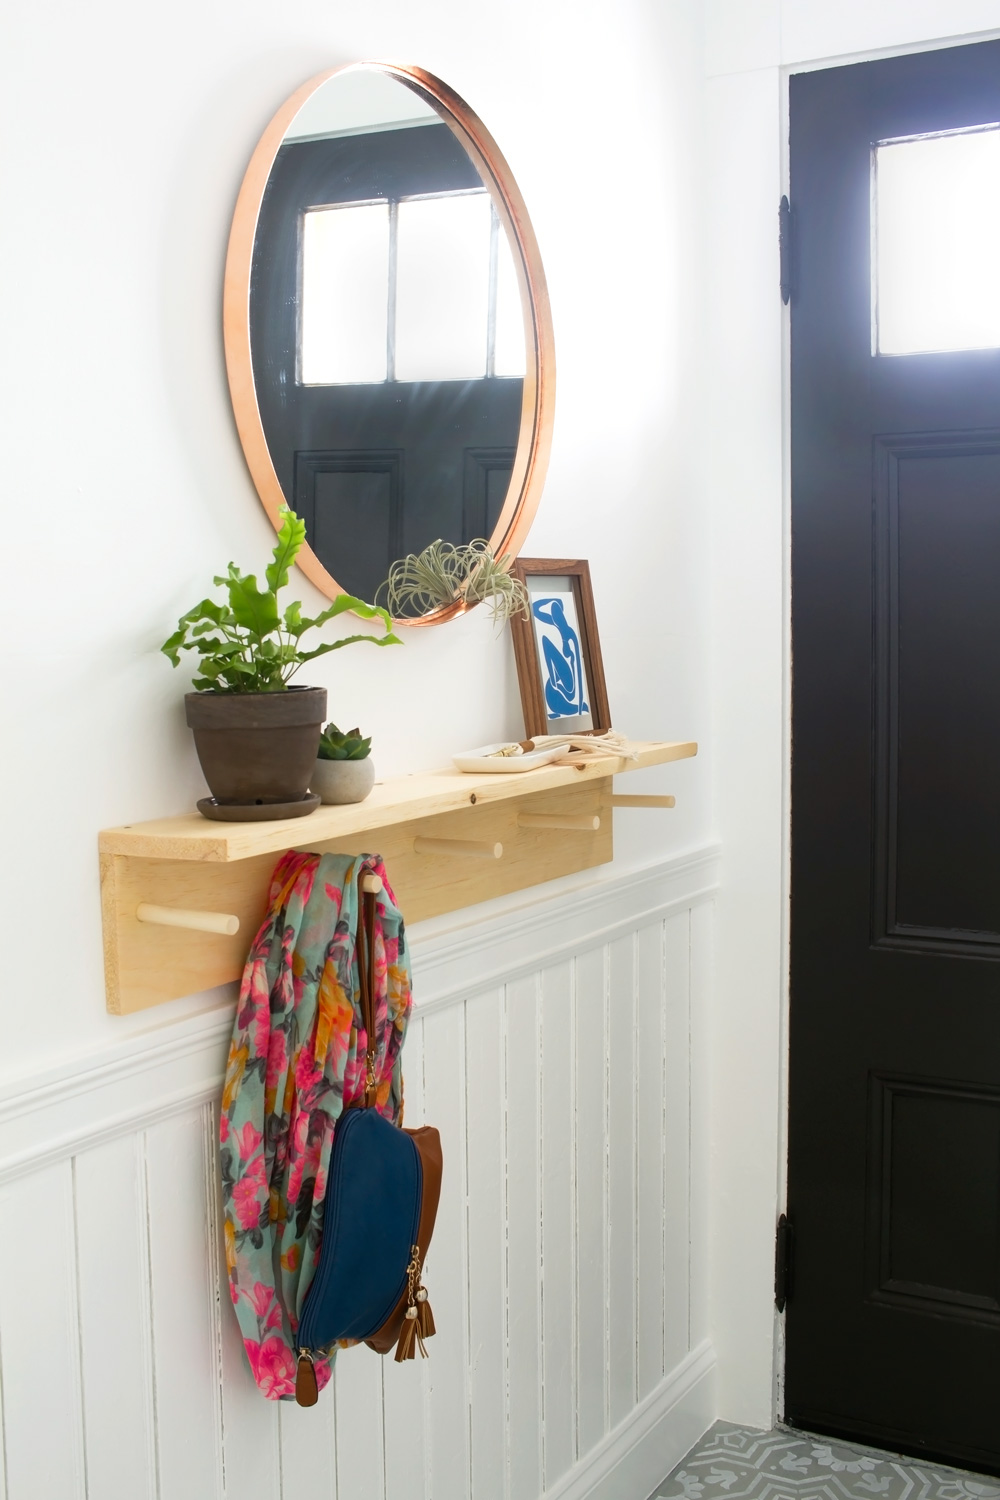
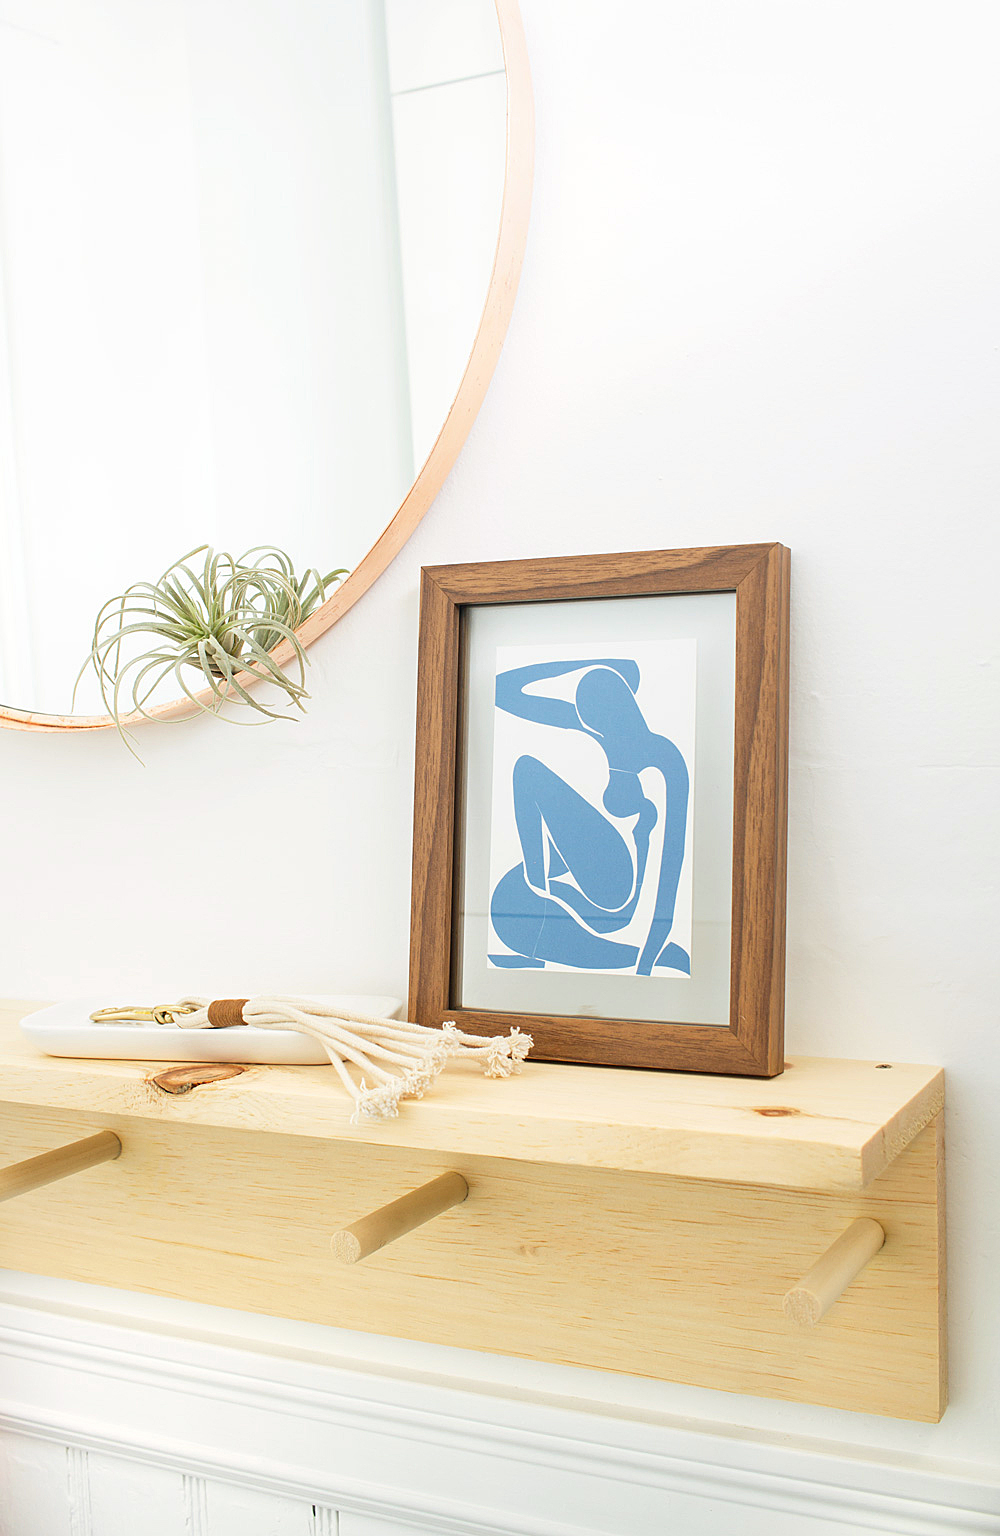
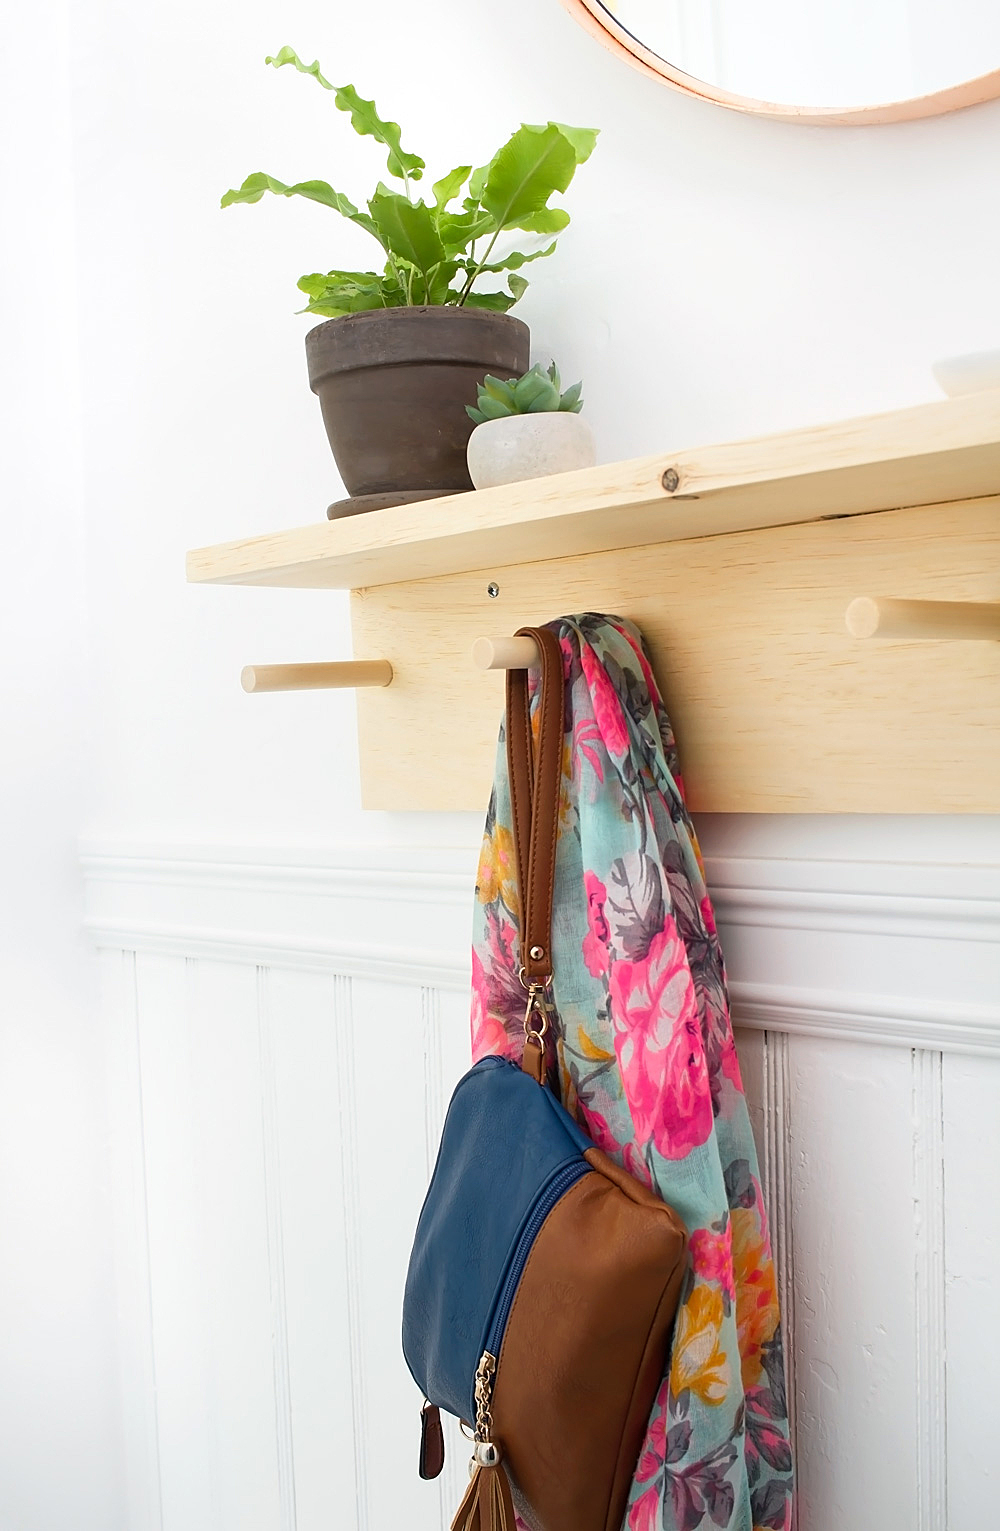
My favorite thing about the entryway makeover — other than the stenciled floor, and the copper mirror, and the BESTA storage — ok I can’t really pick a true favorite, but one of the things I really love is the minimal DIY entryway coat rack. Not only is it a lovely change to have our jackets accessible and organized, but having a space on the shelf with some plants and accessories makes me smile every time I come home.
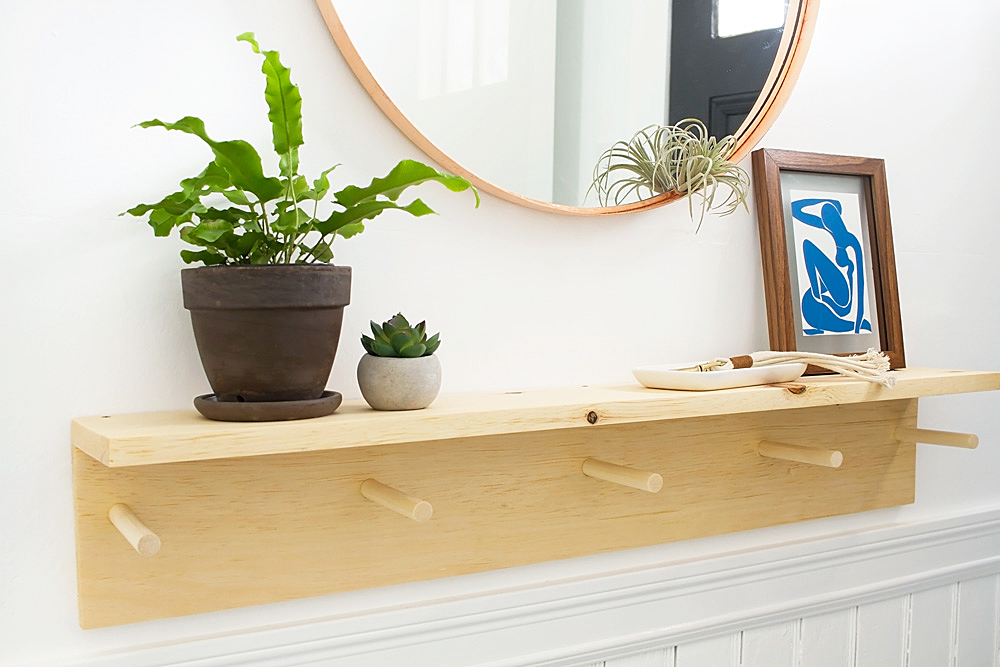
But the very BEST part of the shelf/coatrack hybrid? It only took one afternoon to make! All you need is a power drill and a few supplies and you can make your own. Ready?
Minimal DIY Entryway Coat Rack
Skill-level: Easy, you just need a hardware store to cut your wood for you, and a power drill!
Time: A few hours.
What you need:
+ a 6″ wide board cut into two 36″ long pieces. The board pictured here is “common board” which is soft pine. You can use a fancier hardwood if you prefer, like maple or cherry.
***Note: I have no idea why wood is sized this way, but a board marked “6 inches wide” is actually 5.5 inches wide. The best way to know what you’re getting with wood is to bring your measuring tape to the store.
+ one 48″ dowel cut into six 4.5″ pieces
+ 150 grit and 220 grit sandpaper
+ two quick-grip clamps
+ a power drill with standard bits
+ a spade bit that is the same width as your dowel rod (for a 5/8″ dowel use a 5/8″ paddle bit)
+ two brass mending plates (this will act as a brace on the back of the shelf to connect the two boards)
+ short and long screws — see instructions below for details
+ mounting hardware to hang the coat rack (the type you use will depend on your wall material; for plaster use toggle bolts, for drywall use drywall anchors)
+ a pencil
+ painter’s tape or washi tape
What you do:
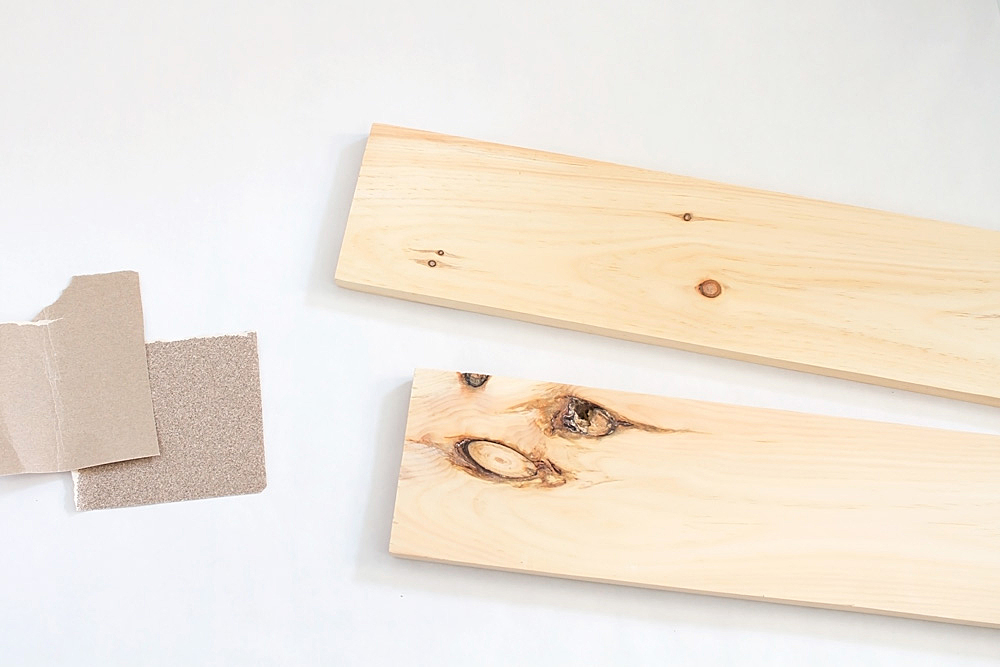
Step 1 — Have the hardware store cut down your wood and dowel for you, then give them a good sanding with medium and then fine grit sandpaper. I know sanding often doesn’t seem necessary but it will really polish your shelf and give it a professional look, so don’t skip it!
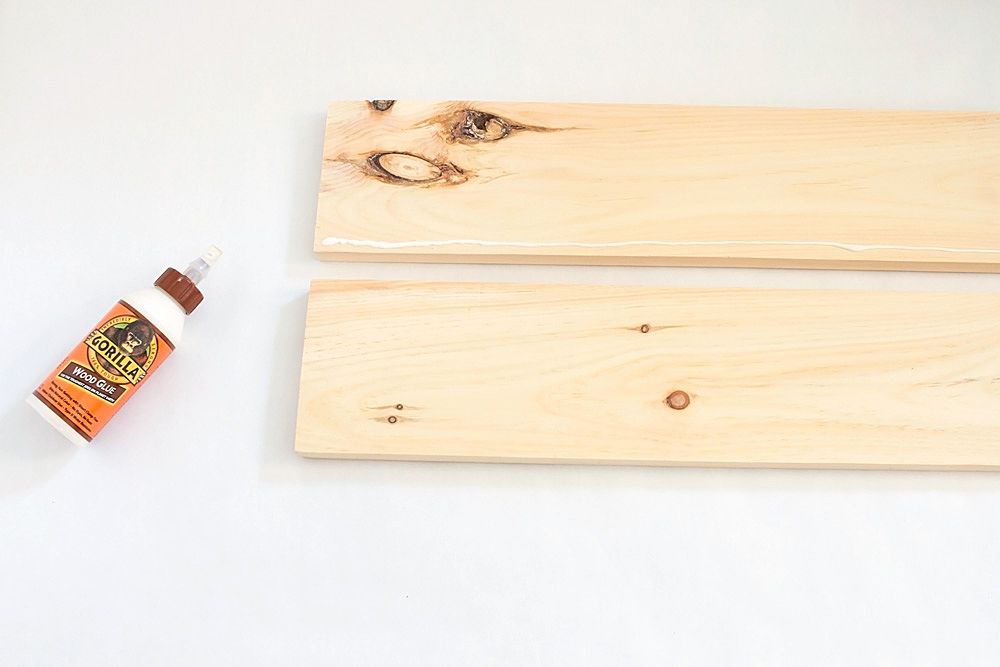
Step 2 — Apply a line of glue to along the length of one board.
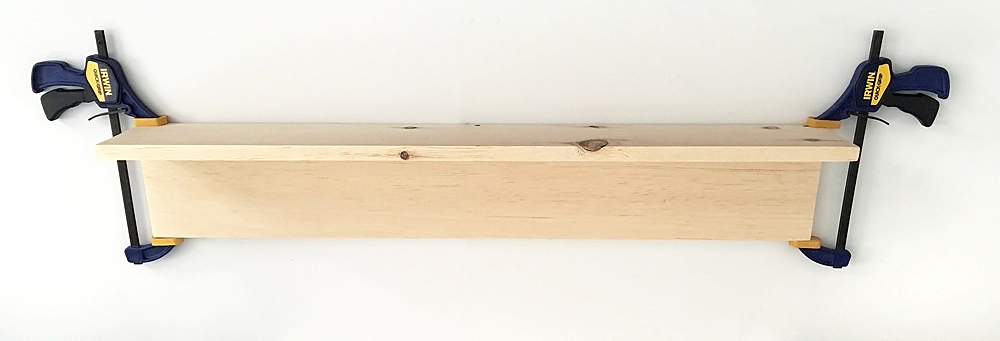
Step 3 — Tip the board with the glue on it upright and hold it against the edge of the second board. Clamp the boards on each end as pictured. Make sure to wipe away any excess glue right away with a damp paper towel.
I know this perspective is really weird but I flipped the picture around so you could see that the board standing upright is going to be the shelf, while the one lying flat is the rack which will hang against the wall.
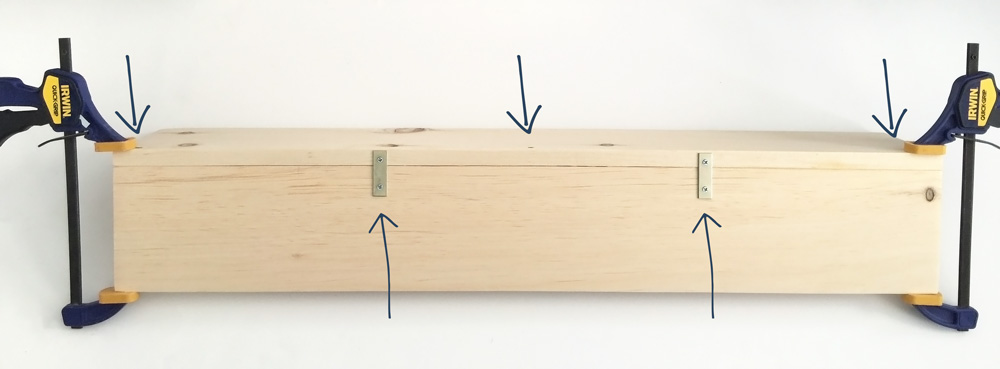
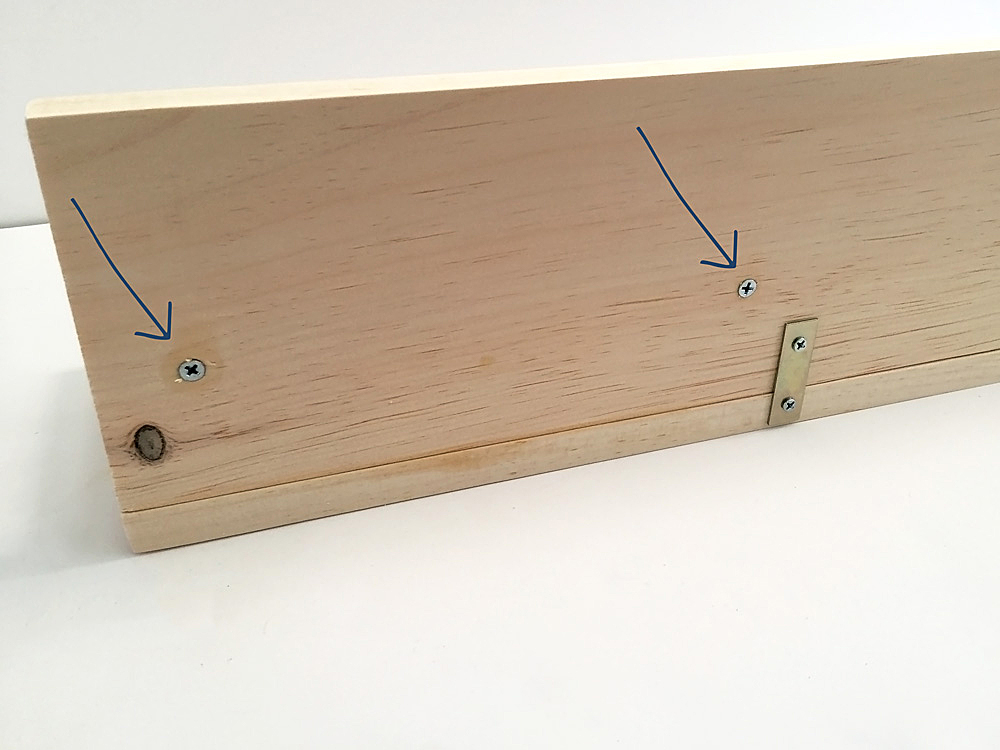
Step 4 — Give the glue at least 20 minutes to dry, then drill three screws down through the top of the shelf. Now flip the piece over so you can access the back. Attach two mending plates to the back to help make a stronger hold between the two boards.
***Make sure you use short screws for the end of the plate that will attach to the back of the rack part, you don’t want the screws to go all the way through or they will be visible in the front!
Step 5 — Use the tape to mark a straight line on the board, then trace one dowel in the center of the board. Use this center dowel as a guide to space the other dowels evenly, and trace around each one so you know where to drill.
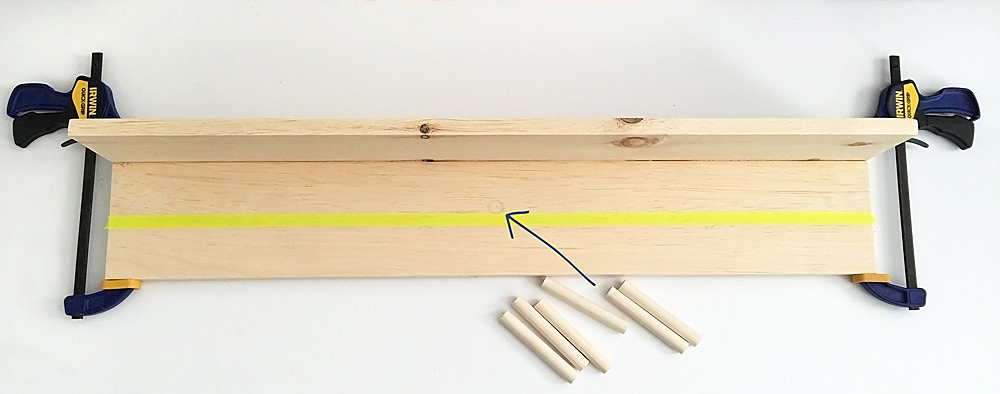
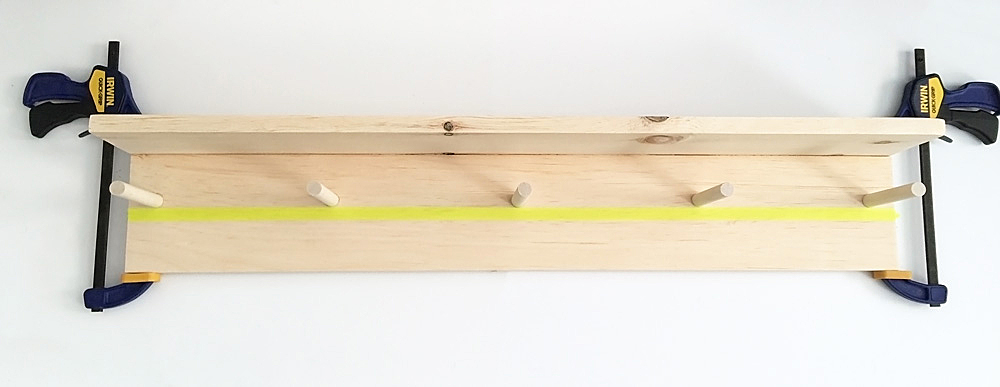
Step 6 — It’s very VERY important not to drill all the way through the board in the next step, so first we are going to make a drill guide. Grab your spade drill bit and use the tape to mark how deep to drill. Place the tape so that you will drill about 3/4 of the way through the board. This will also make it so that each dowel coat hook is the same length when the piece is finished!
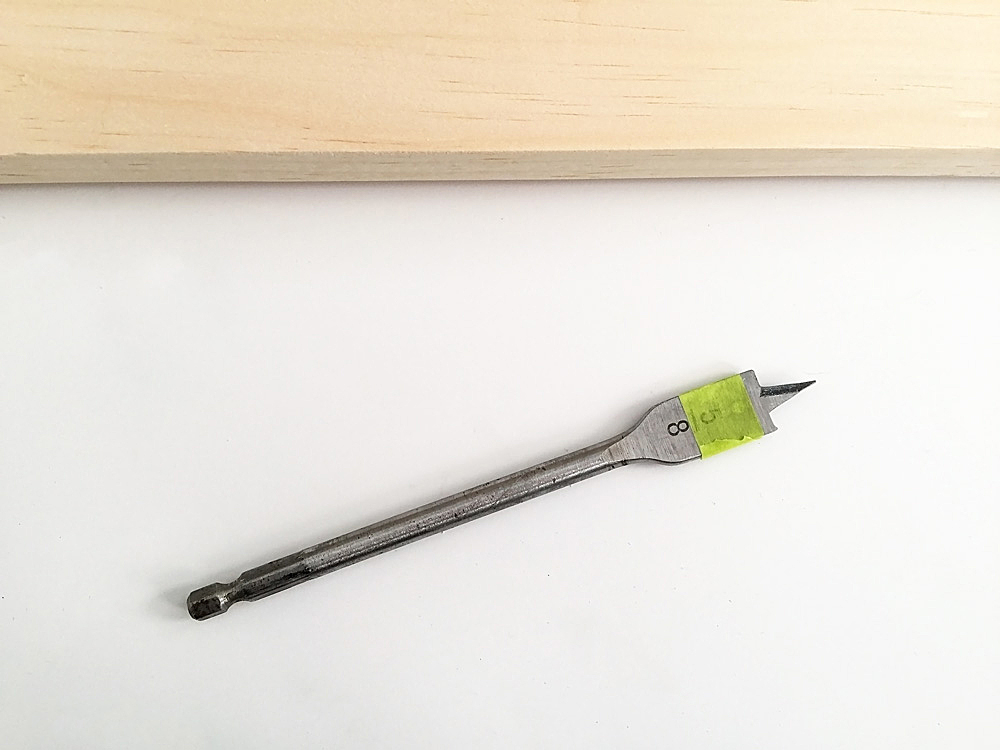
Step 7 — Drill the holes for each dowel. Remember, don’t drill all the way through, STOP drilling when you reach the tape guide. Place a little wood glue on each dowel, and insert each one into a hole. Wipe off the excess glue right away.
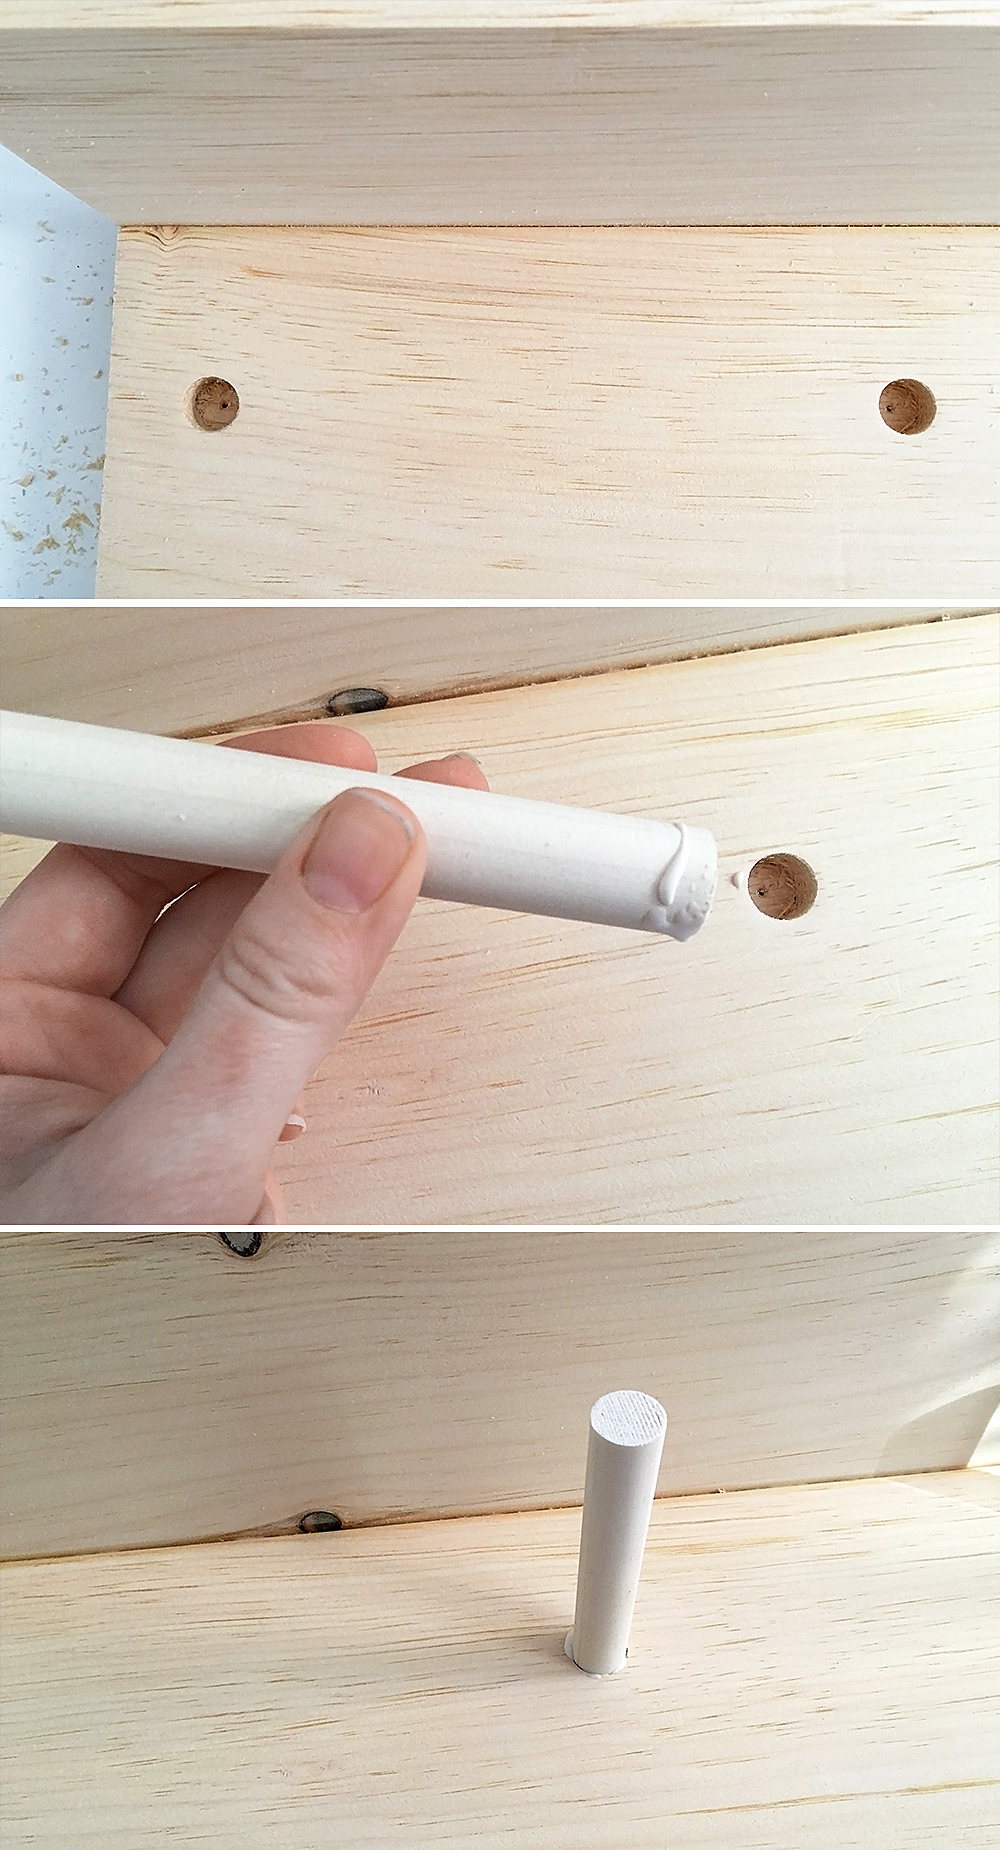
Step 8 — Once the wood glue has dried at least 20 minutes (so the dowels no longer wiggle around when you touch them), drive a screw through the back of the rack right through the dowel. This will strengthen the dowels so you can hang heavier coats and bags.
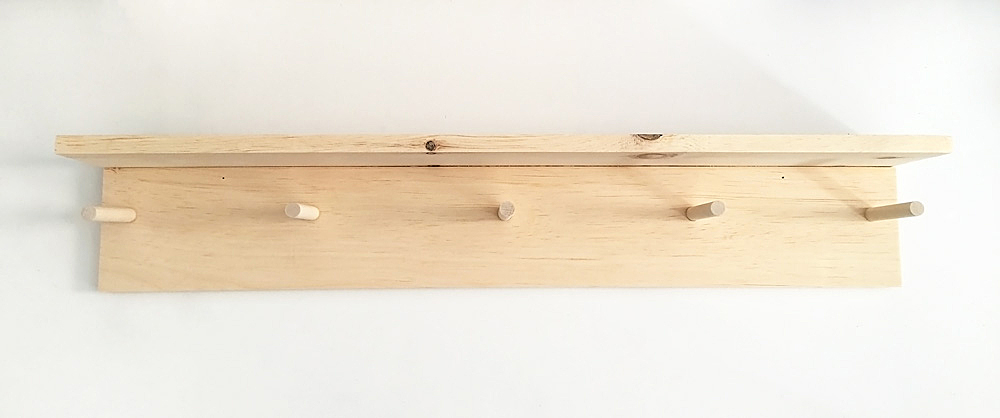
And that’s it! All that’s left is hanging the shelf on the wall. If you have plaster walls, you can check out my tutorial on how to hang shelves using a toggle bolt.
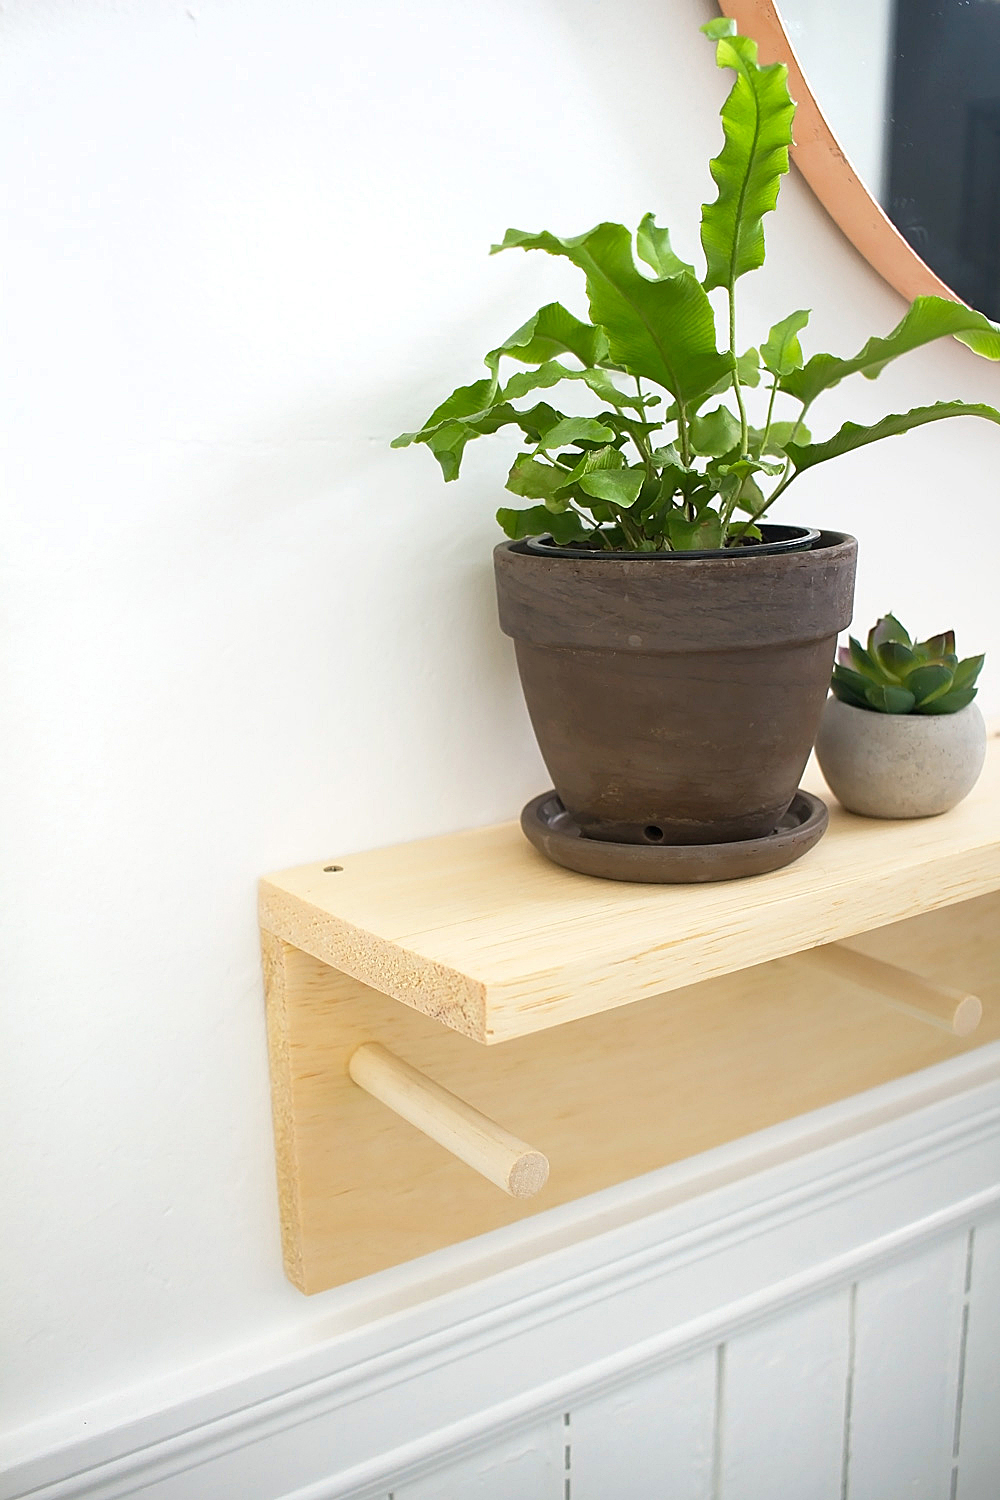
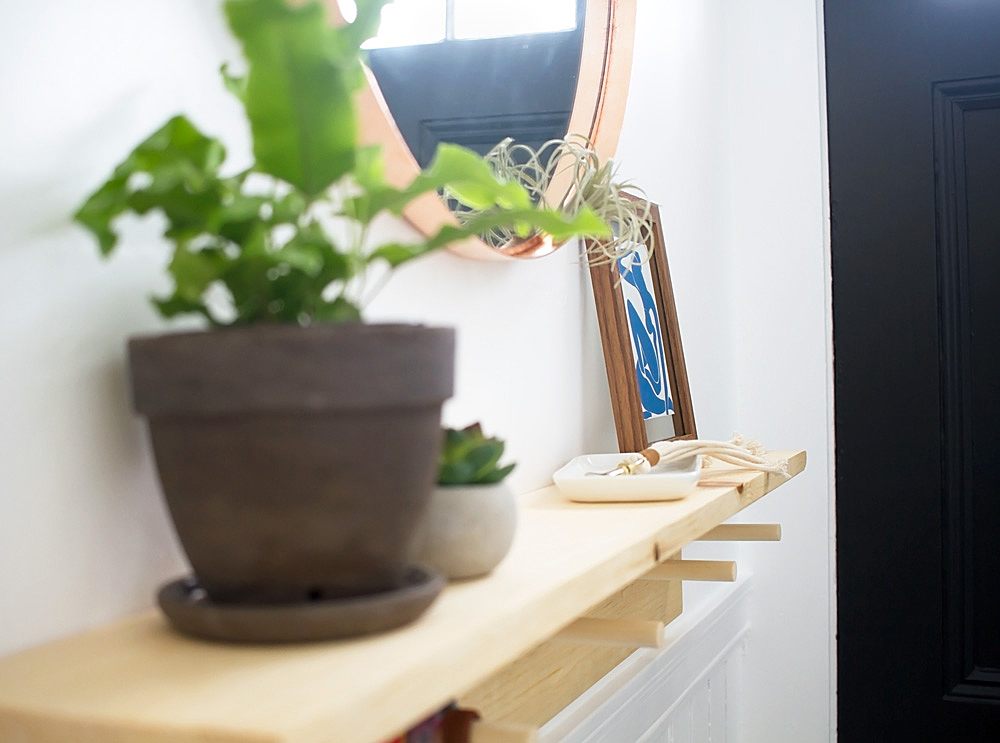
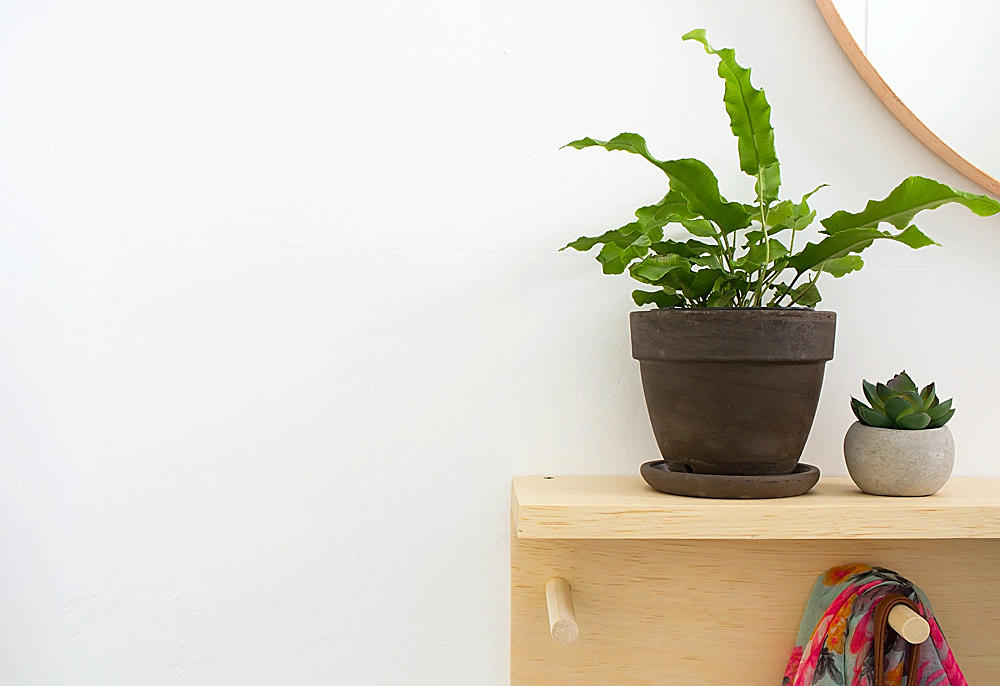
I love the convenience of having a coat rack with a shelf, one or the other on its own is just never enough storage for me. And what do you think of the unfinished pine? I’ve been really enjoying the Scandinavian look of lighter wood tones.
Read the whole entryway makeover series:
+ DIY concrete-look stenciled floor (coming soon!)

Ah, she’s a beauty!! Just pinned this great idea.
Awww thanks!! 😀 <3
this is SO good! Love that cute little space in your home!
THANK YOU! I’m a little obsessed and wish I could just live in that nook, lol! 😉 xoxo
Love having the shelf as part of the coat rack!! Perfect for keys and mail. Great work!
YES! An essential for me. Thank you for the love!
Such great instructions and a beautiful end result!
Thank you so much Shrimpy! xoxo
So gorgeous! I’d love to make one for our bedroom…and maybe paint it coral of course!
Aaahhhh it would be so cute in coral! Maybe dipped? Love that idea, I hope you make it!
I love this coat rack! It’s perfect for small entry ways
Thank you Tan! I feel like this could fit in the tiniest of entryways!
This is beautiful! And I love how simple it is to put together – even I could manage this, and I have next to no woodworking skills. 🙂
Thank you Stephanie!! Yes the best woodworking projects are the ones that don’t require woodworking skills, lol! 😉 xoxo