You all had to know it was coming — a copper DIY!
I couldn’t have ended 2017 without just one more.
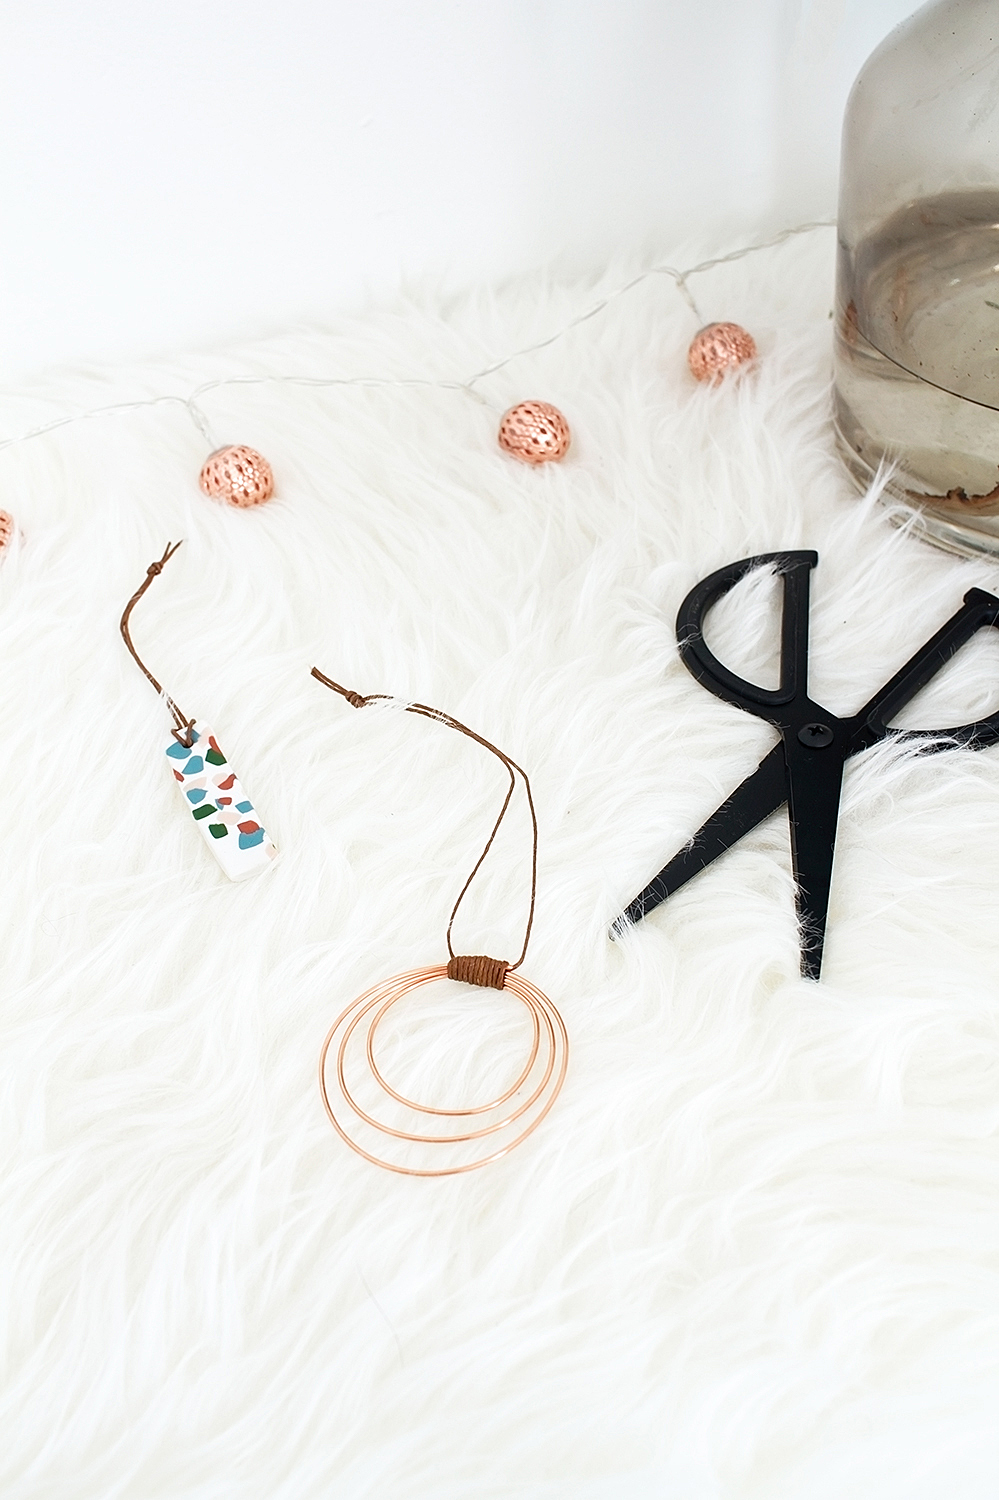
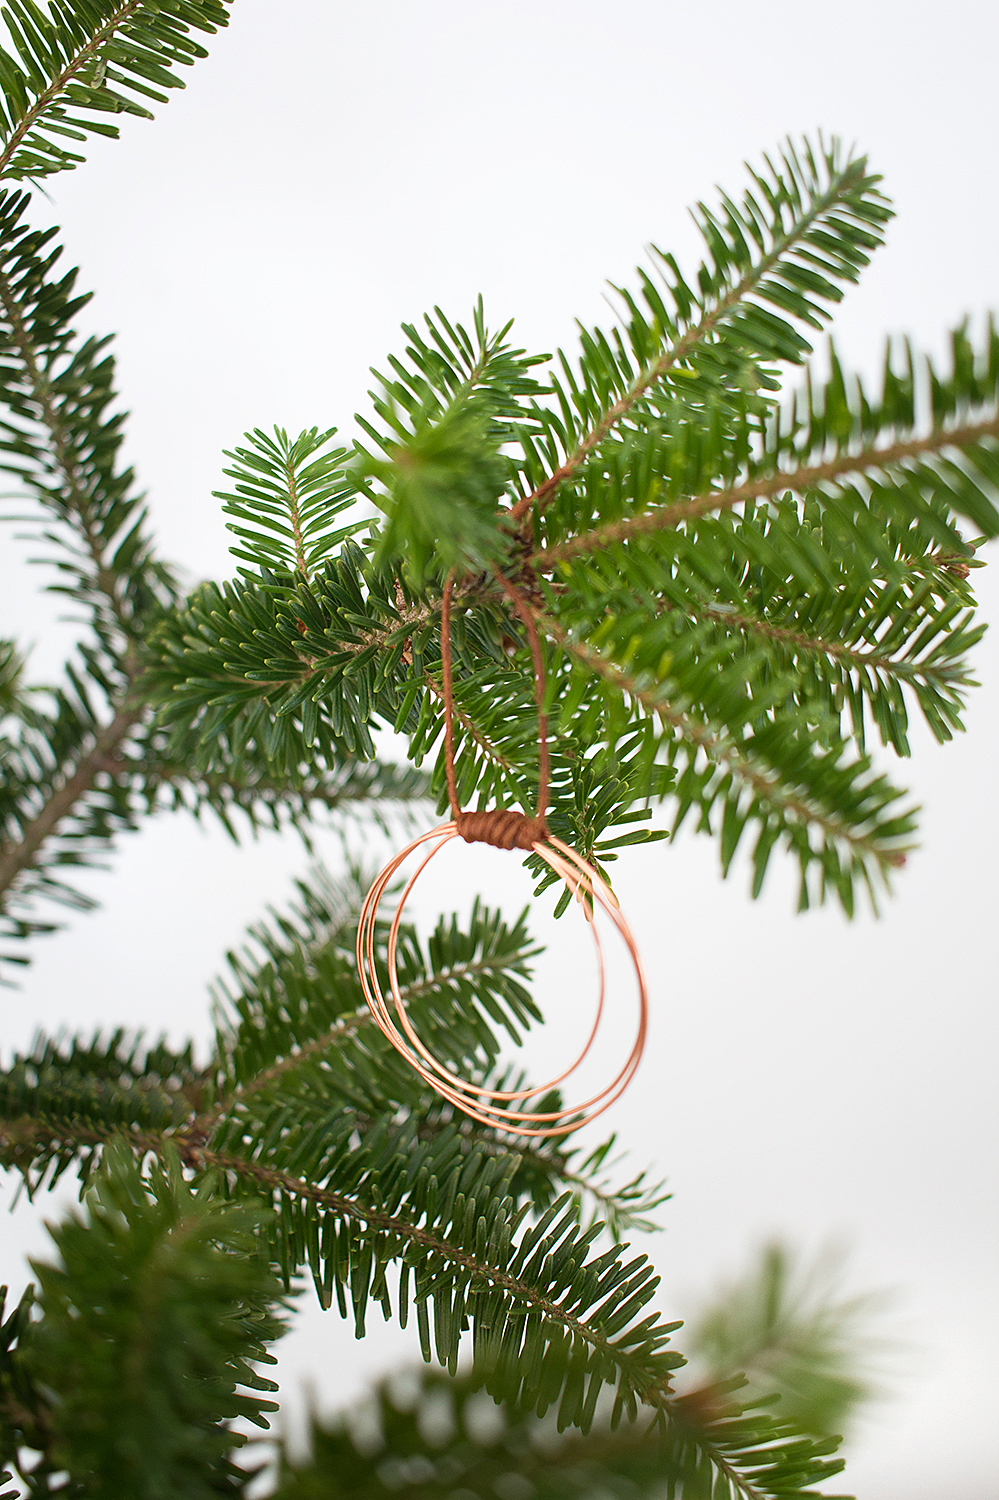
These DIY copper wire hoop ornaments are even faster than yesterday’s craft — you can make one in just ten minutes. You’ve got a spare ten minutes between now and Monday, right? Well maybe just, we’ve definitely hit Ludicrous Speed in terms of end-of-the-year craziness.
Anyways, if you’ve got some copper wire, a glue gun, and some cord or string, you can craft this ornament in no time flat. You know you need just a little more decoration for your tree. Doooo it, doooo it!
Yes I am a craft enabler, that’s my official job title.
DIY COPPER WIRE HOOP ORNAMENTS
SKILL LEVEL: The easiest.
TIME: 10 minutes per ornament.
WHAT YOU NEED:
+ copper wire in whatever thickness you choose
+ waxed cotton cord
+ hot glue gun and glue sticks
+ wire cutters or strong scissors
WHAT YOU DO:
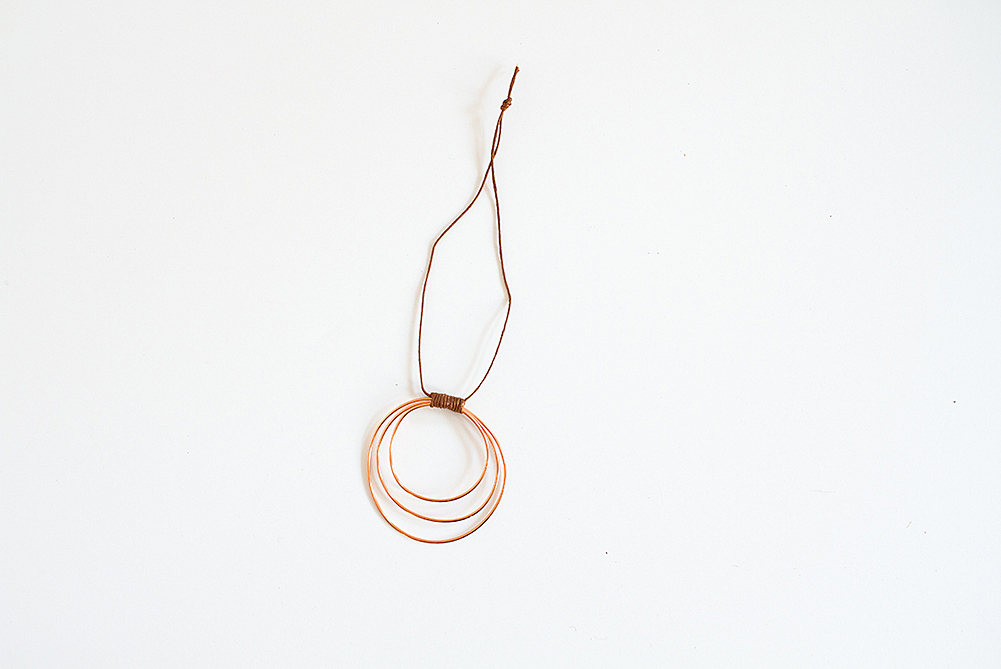
STEP 1: Cut a piece of wire about 12″ long.
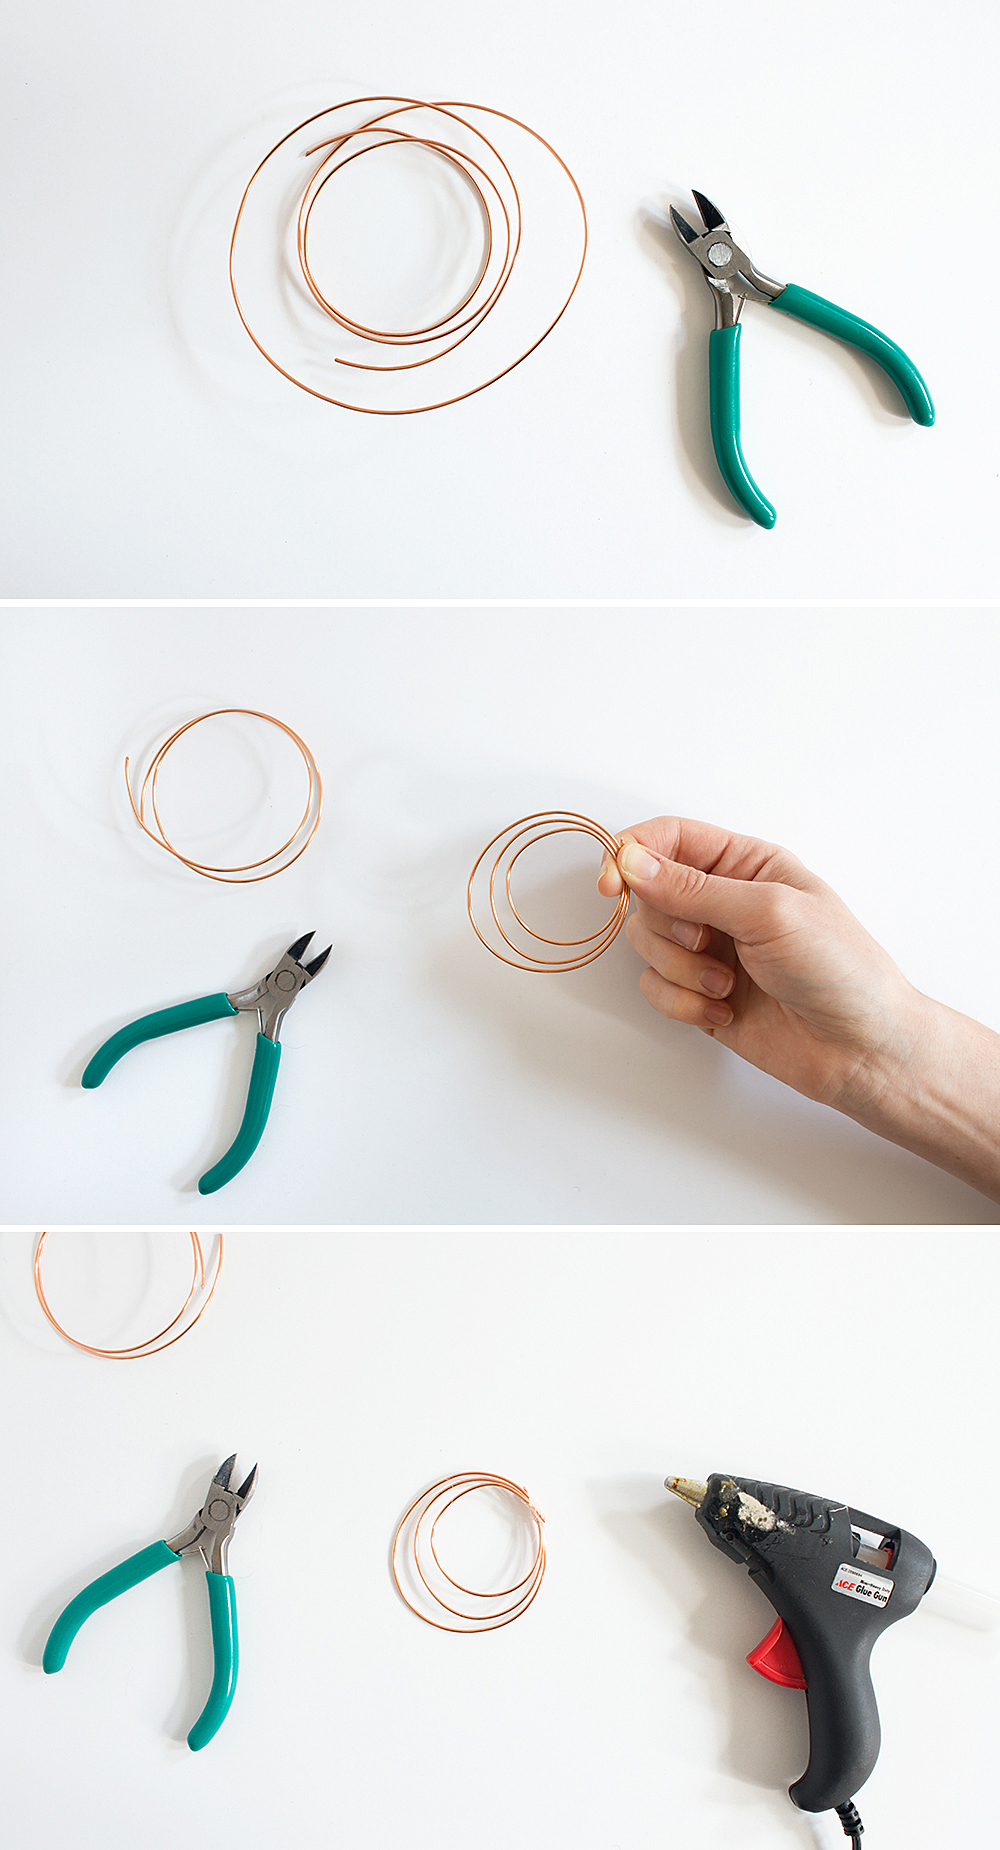
Tip: It’s helpful to use wire that’s still coiled (not unwrapped or kinked) for this project so you can make a nice even circle.
Shape the wire into concentric circles, with the two ends of the wire at the top.
Add a strip of glue to the top of the circle to secure the ends in place. Try to smooth out the glue so it’s flat (not a big bubble/lump).
STEP 2: While the glue cools, cut a piece of cord 14″ long.
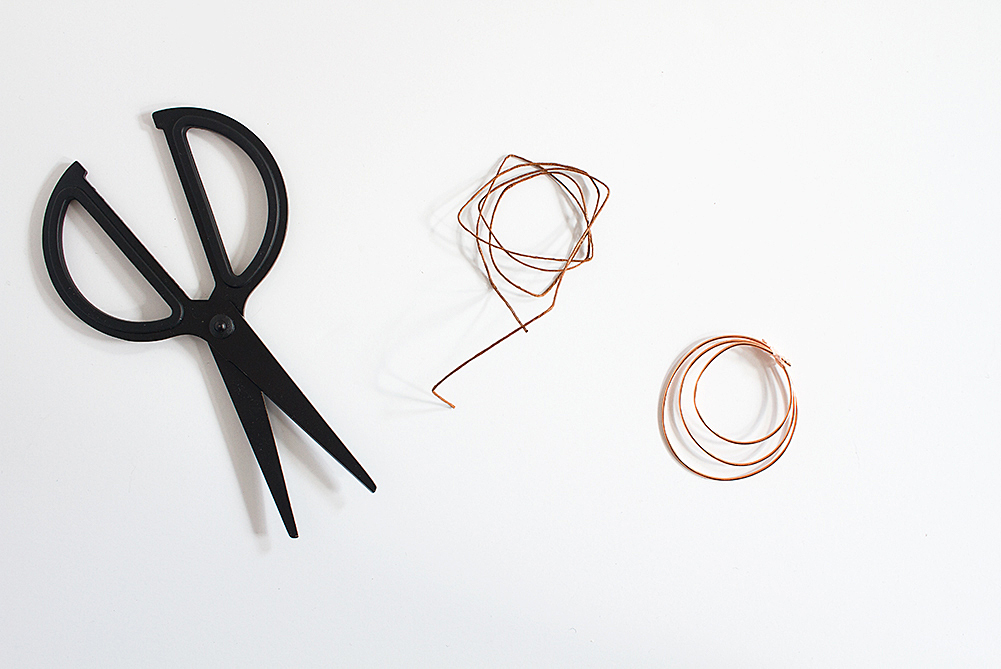
STEP 3: Now you are going to cover the glue by wrapping it in cord. To do this, make a gathering knot by forming a loop with the cord. You should have long tails on both ends.
I have a really hard time photographing this knot, so check out this diagram for how it should look!
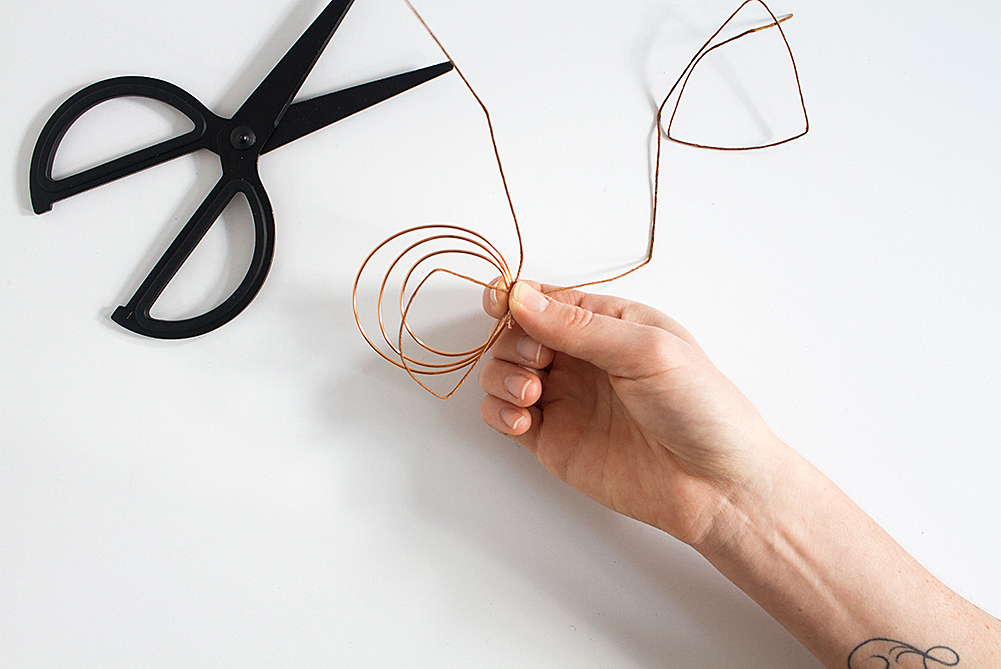
STEP 4: Pull the top piece of cord over and around the loop and the wire. Keep wrapping it tightly until all of the glue and the ends of the wire are covered. Leave the end of the loop exposed.
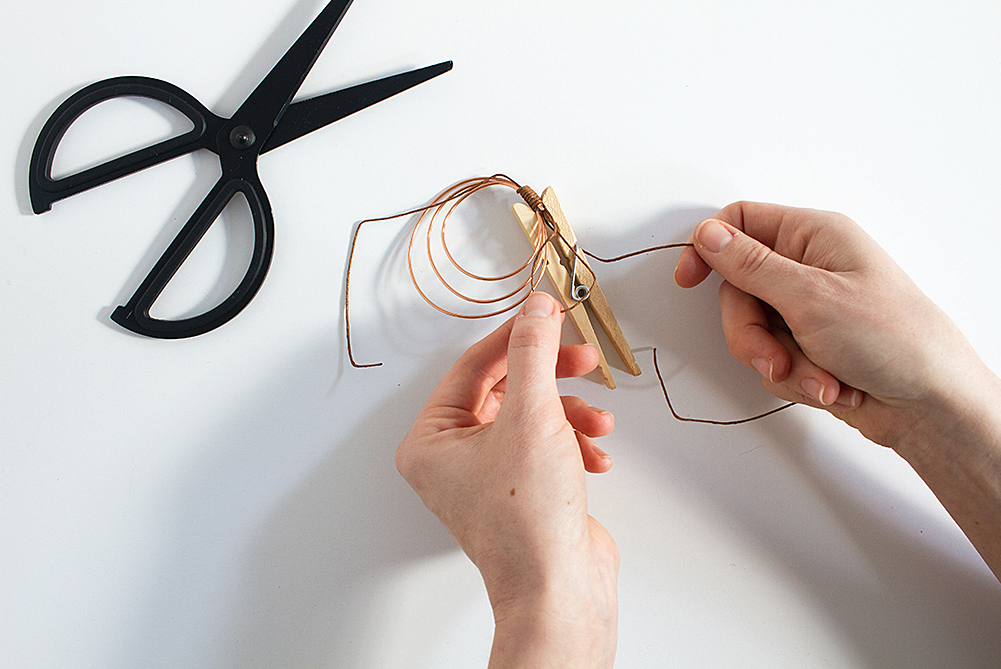
If this makes you feel like you have sausage fingers, you can use a clothespin to clip the cord and help you hold it in place!
STEP 5: Thread the lower tail of cord through the loop, and then pull on both tails in opposite directions to draw the loop into the wrap so it is completely hidden.
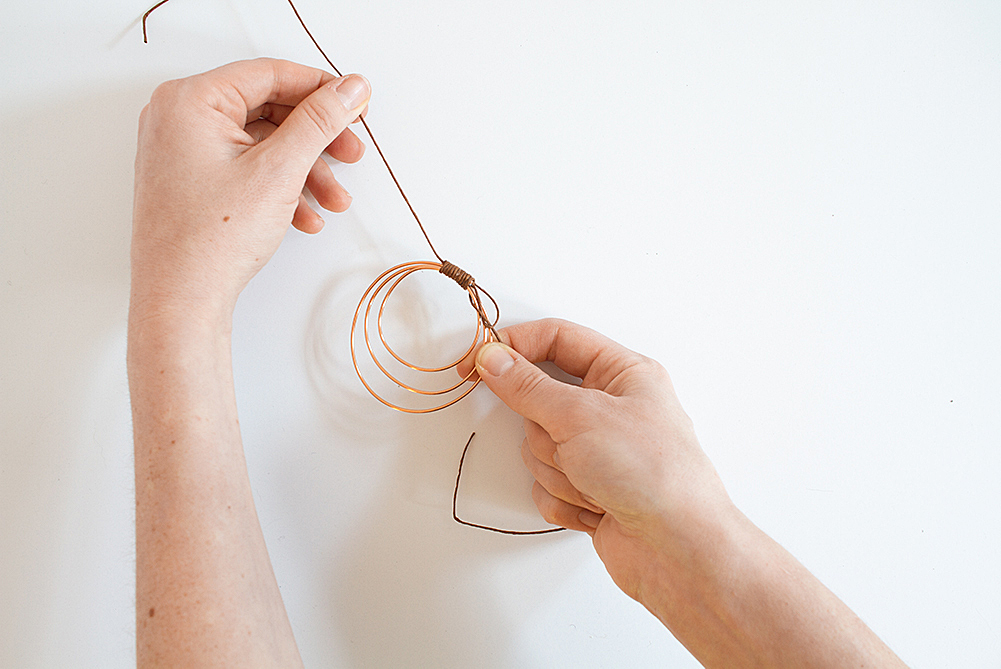
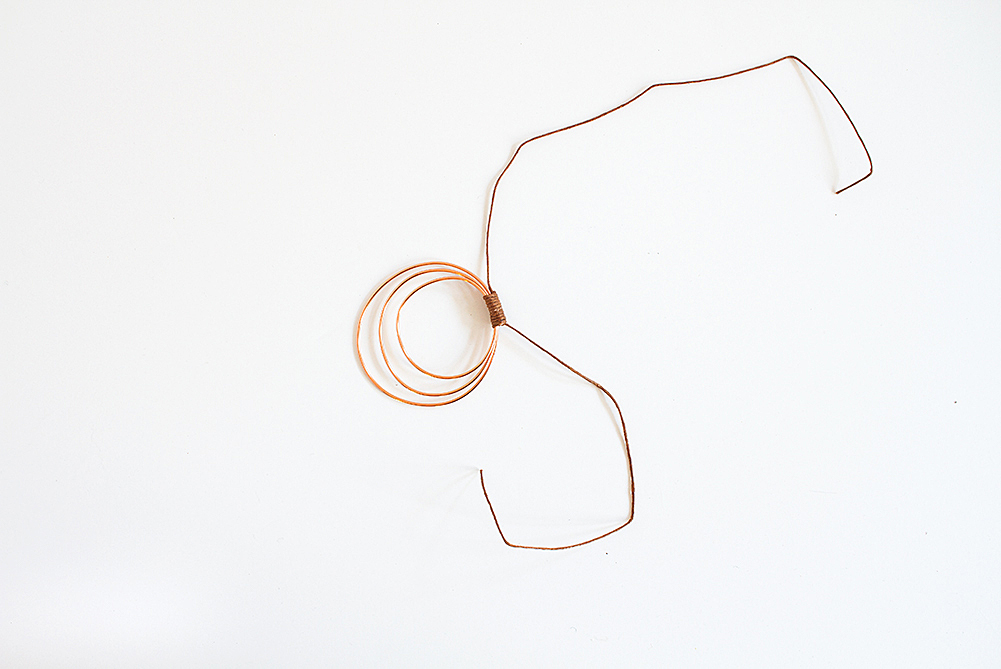
STEP 6: Trim the tails if you need to, then knot them together. And you’re done!
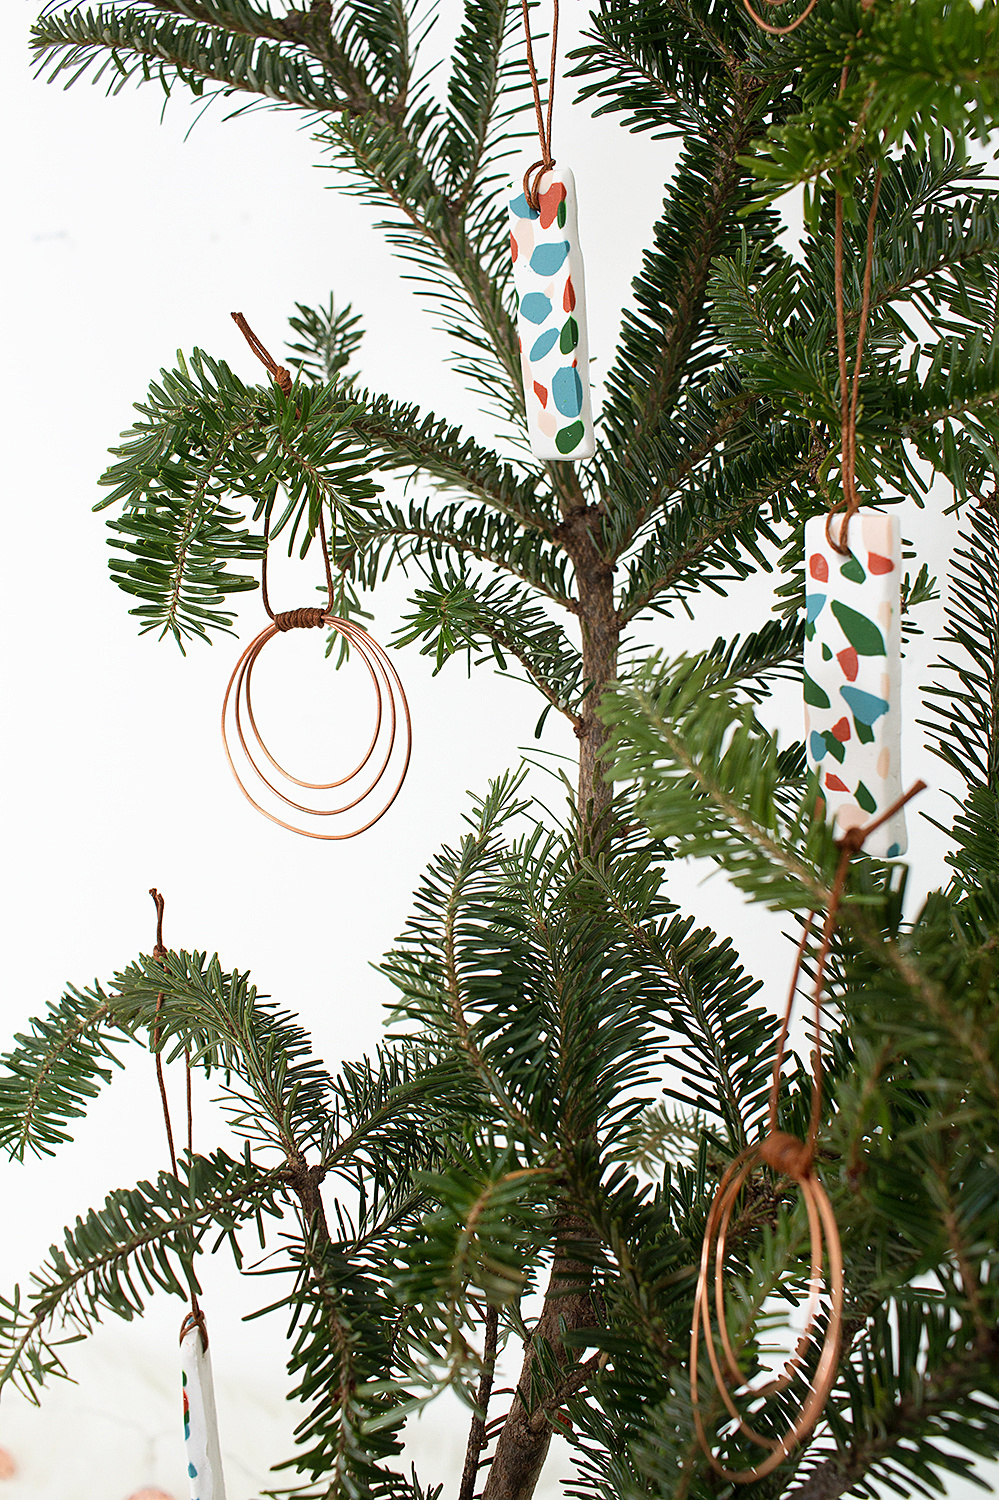
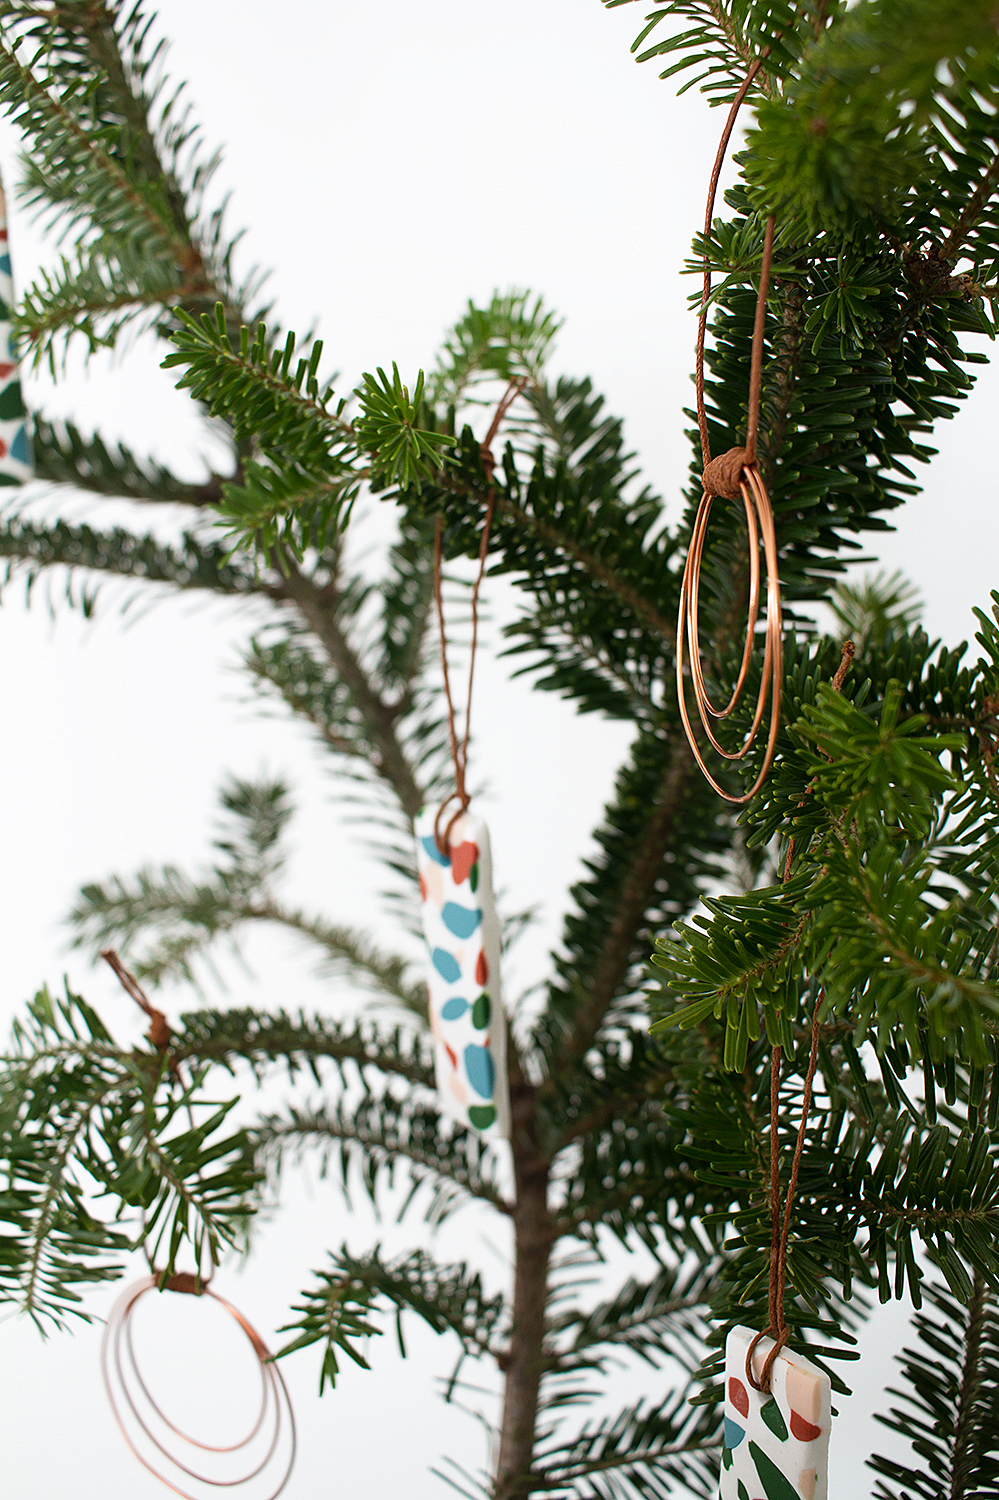
Three holiday crafts in three days, I am officially ready to hibernate until April.
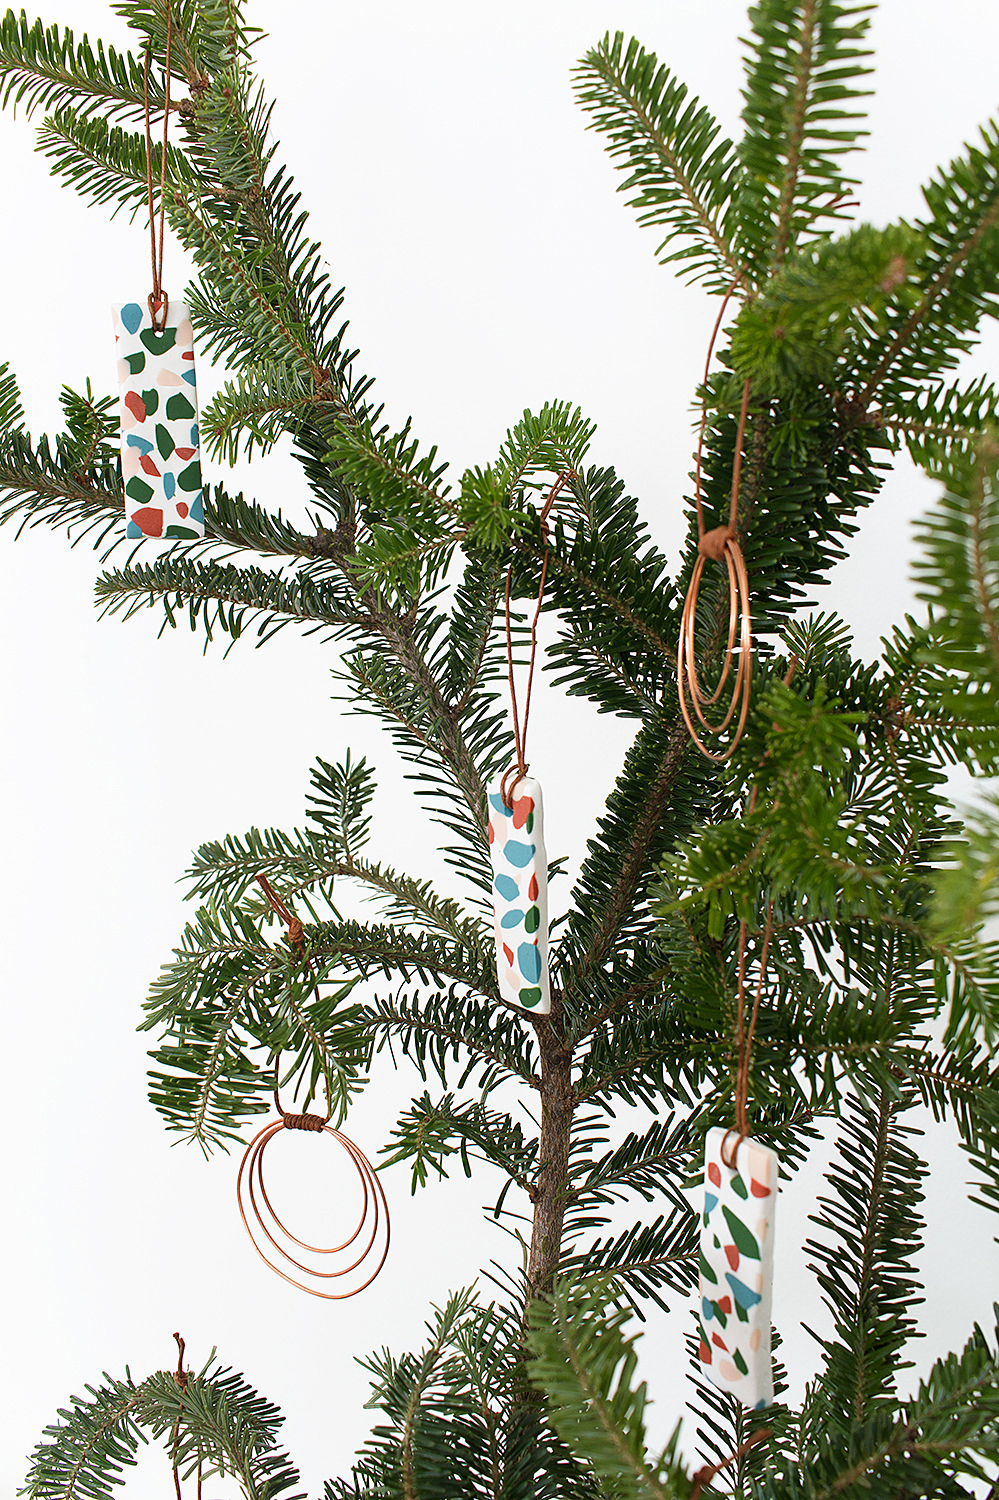
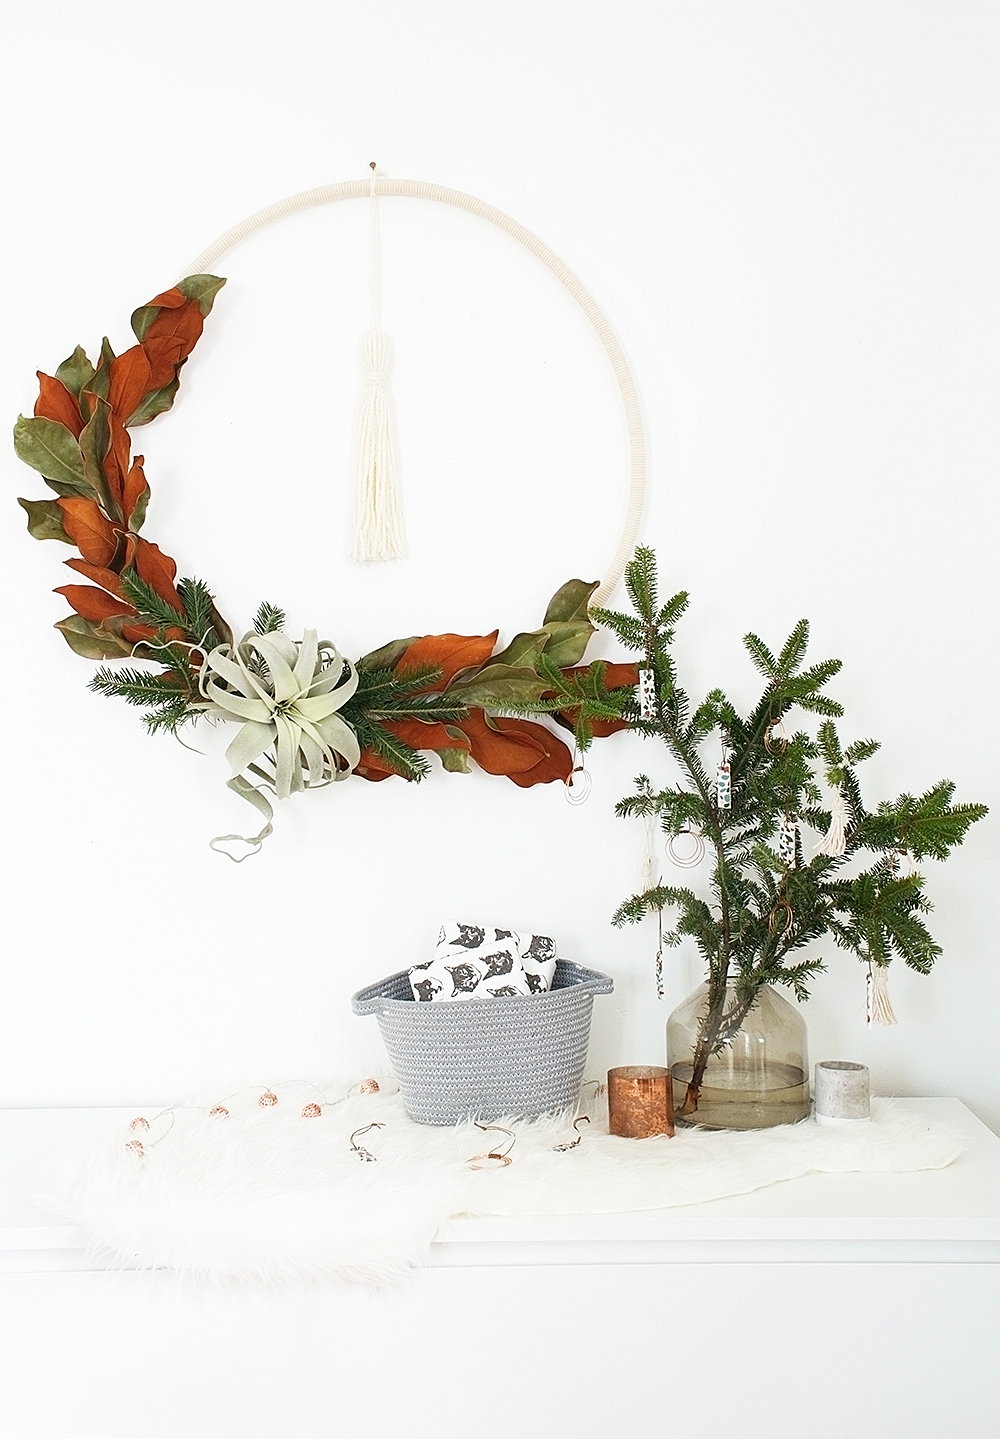

Do you like making crafts for the holidays? I have to admit, they’ve become my favorite…
Oh and…Merry Everything! xoxo


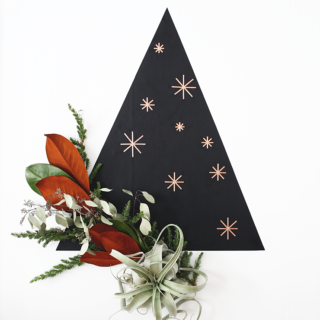



Love your style. My oldest daughter is looking to decorate her room and this would be nice in a giant version for her wall.
Oh my goodness, I would LOVE to see this done as a giant version! Copper tubing from the hardware store would work well. Please send me a pic if you end up making it! Thank you so much for your sweet comment. xoxo Marlene