It might seem silly to post a DIY the week of Thanksgiving, when everyone is preparing to cook and not craft. Whatever, I’ve been sitting on this project for a while, just humor me! Besides, now you can plan ahead.
In the last few years, I’ve struggled to find ways to decorate for the holidays without resorting to buying expensive stuff or being too traditional. Traditional is great, too, it’s just, you know, I’m a unique and beautiful crafter-snowflake. Here is one of my decor solutions for this year: DIY Faceted Gemstone Ornaments.
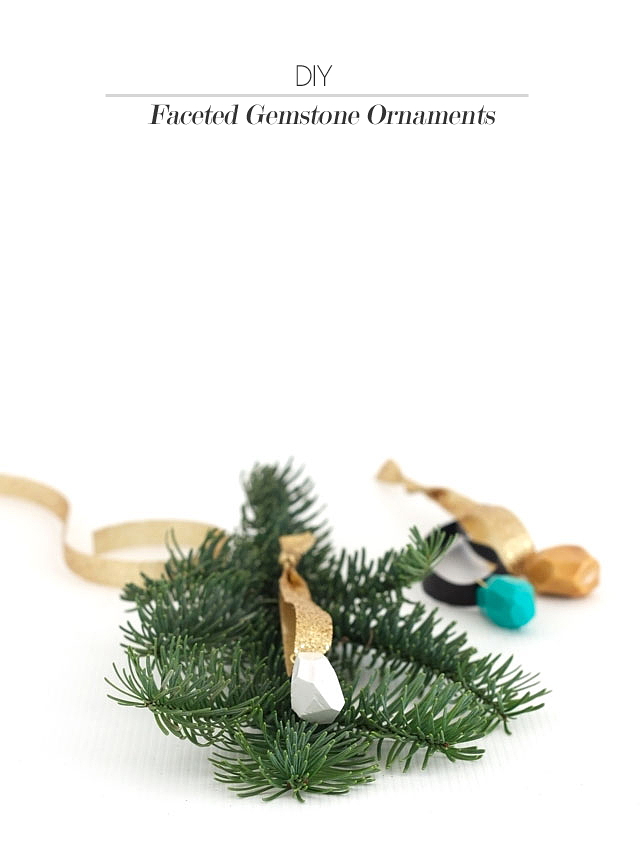
They’re modern! They’re easy to make! And yes, you read that title right—this is version one, meaning there is a version TWO coming up in the next few weeks. While you wait in rapturous anticipation, read on for the project deets.
What You Need:
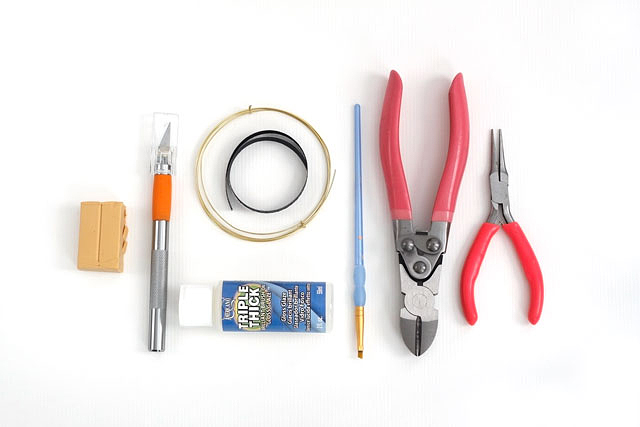
- polymer clay (1 block of clay will yield 4-5 ornaments)
- craft knife
- thin gauge wire
- ribbon for hanging
- wire cutters and small pliers
- clear glossy finish and brush (optional but awesome)
What You Do:
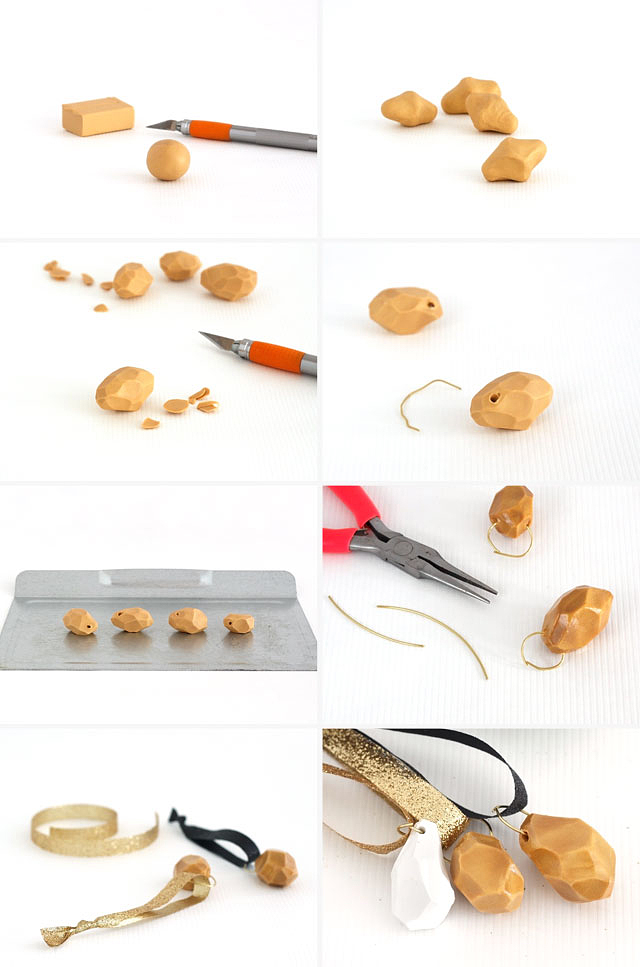
Cut the clay into 4 pieces and warm each piece in your hands, rolling it into a ball.
Smush the balls into more angular forms (what is that shape called? Geometry feels a very long time ago).
Leave the clay pieces alone for a few minutes until they cool down—this stuff is impossible to cut when it’s warm. When cool, use the craft knife to make “facets” by cutting off angular bits all the way around. If the clay starts to warm up again and your facets get mushy, move on to another ornament or do some sit-ups until it cools down. I don’t actually do sit-ups while crafting, I just look at Pinterest.
Once you are happy with the shape of the ornaments, allow to cool once more, then use a piece of wire to poke a hole through each gemstone. Be careful not to make the hole too close to the top or the clay may crack when baked.
Bake the ornaments according to package directions (mine took about 25 minutes at 275°F).
When cooled, paint each ornament with a glossy clear coat (optional, not pictured).
Loop a piece of wire through each hole to form a jump ring.
Thread ribbon through the jump rings and tie off, and you’re done!
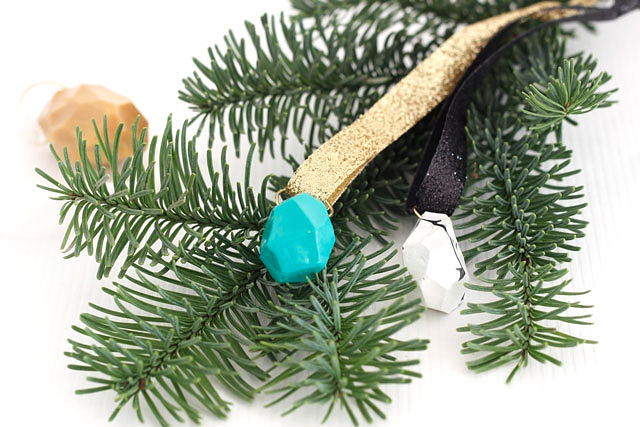
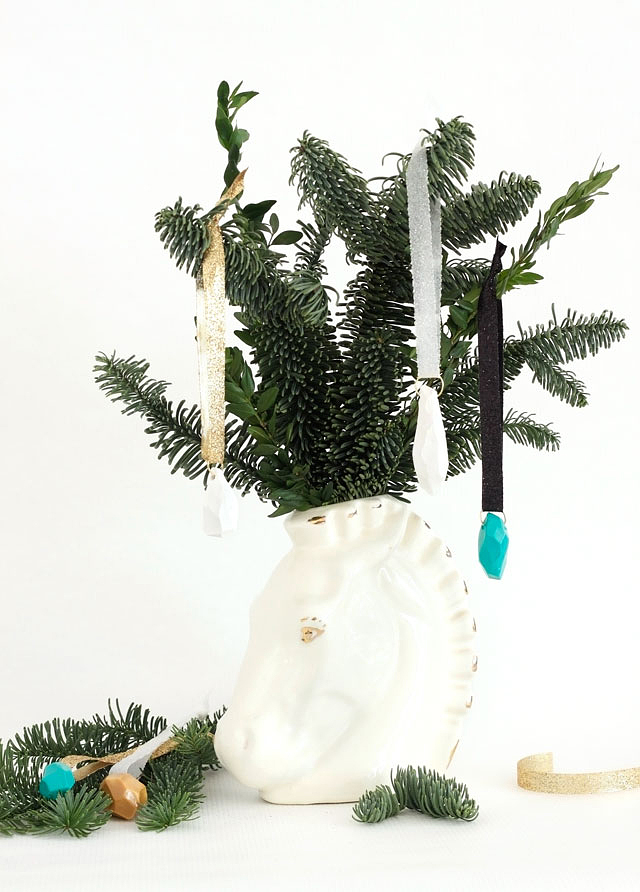
I got carried away buying glittery ribbons at my local craft store, but glittery things are always worth it, don’t you think?
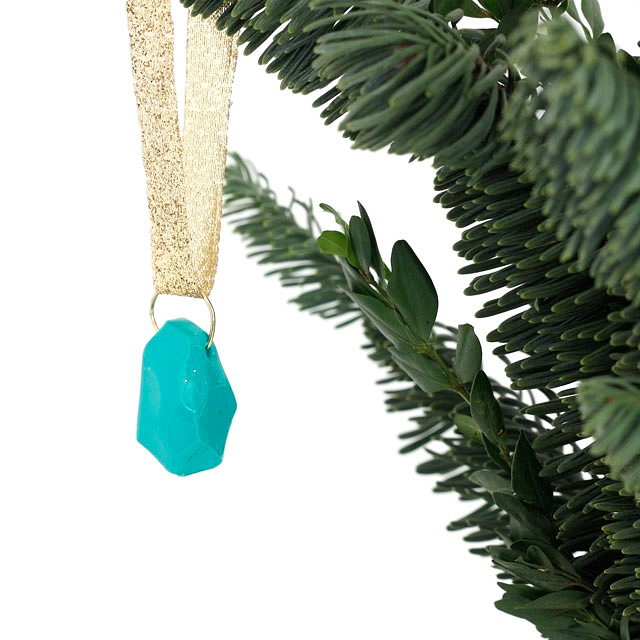
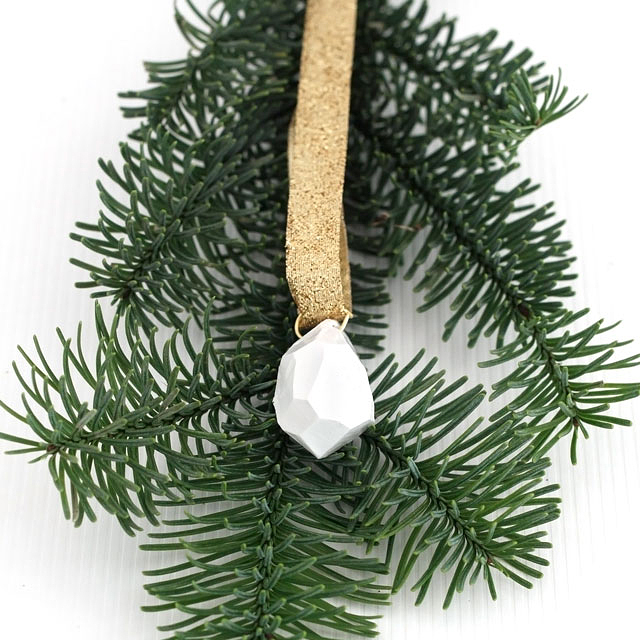
What do you think of this little project? Do you hang handmade ornaments this time of year?
Stay tuned for v. 2—and Happy Thanksgiving!
…………………………………………………
This project was featured on Curbly and Henry Happened!
I LOVE it!!
Thank you so much!
Very cool!
Thanks, auntie!
These are so gorgeous! I can’t wait to see version 2!
-Becca
Ladyface Blog
Thank you Becca! I need to get busy making them… 🙂
I cant believe this i was jussst toying with my clay for this exact same idea yesterday! Now youve lined it out properly with tools and directions–I am so grateful ;D New follower here!
Jeanine, this confirms that great minds think alike! 😉 Thanks for following my little bloggy, I appreciate it!!! xoxo
Not silly AT ALL. No rule that you can’t make whatever you want whenever you want!
These are gorgeous, Marlene. Can’t wait to see version 2!! Thanks for sharing at the Handmade Holiday Link Party 😀
Thank you, Amy, you are so right! And thank you for the compliment too. 🙂
I’m really digging these. They would look so good topping gifts too! Thanks for linking up at the Handmade Holiday Link Party. I will definitely be coming back for v 2.0. 😉
Thank you Alexis! You are so right about the gift toppers (look out, friends and family!). Thanks for stopping by!
looking good, I love faceted things. and love your vase!!!
Thank you on both counts!
I loved it ! gemstones ornaments looks so classy
I couldn’t agree more!
These are fantastic ! Thanks for sharing
Thank you, that is so sweet! I think they would make great keychains too. xx