A couple weeks ago I was suffering from some serious #jungalow envy.
So naturally, I went out and bought as many plants as I could fit in my little granny-chic rolling shopping cart and arduously wheel home uphill for 30 minutes. It was a lot of plants. My wallet might say too many plants, but I say “too many plants” is an oxymoron.
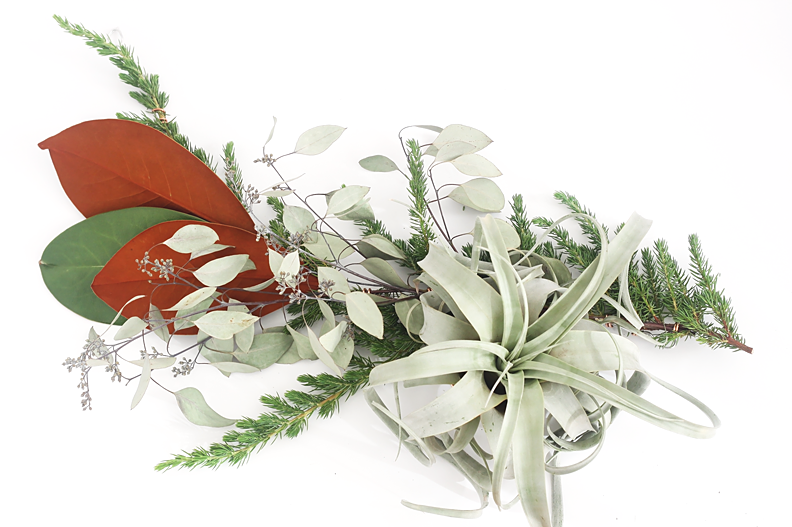
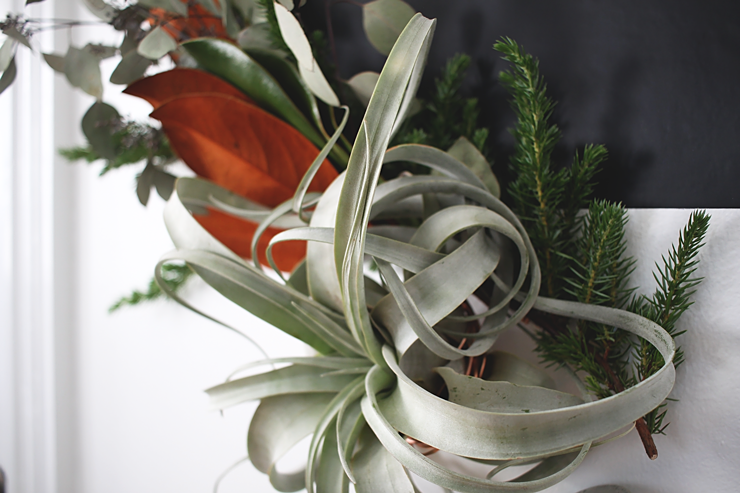
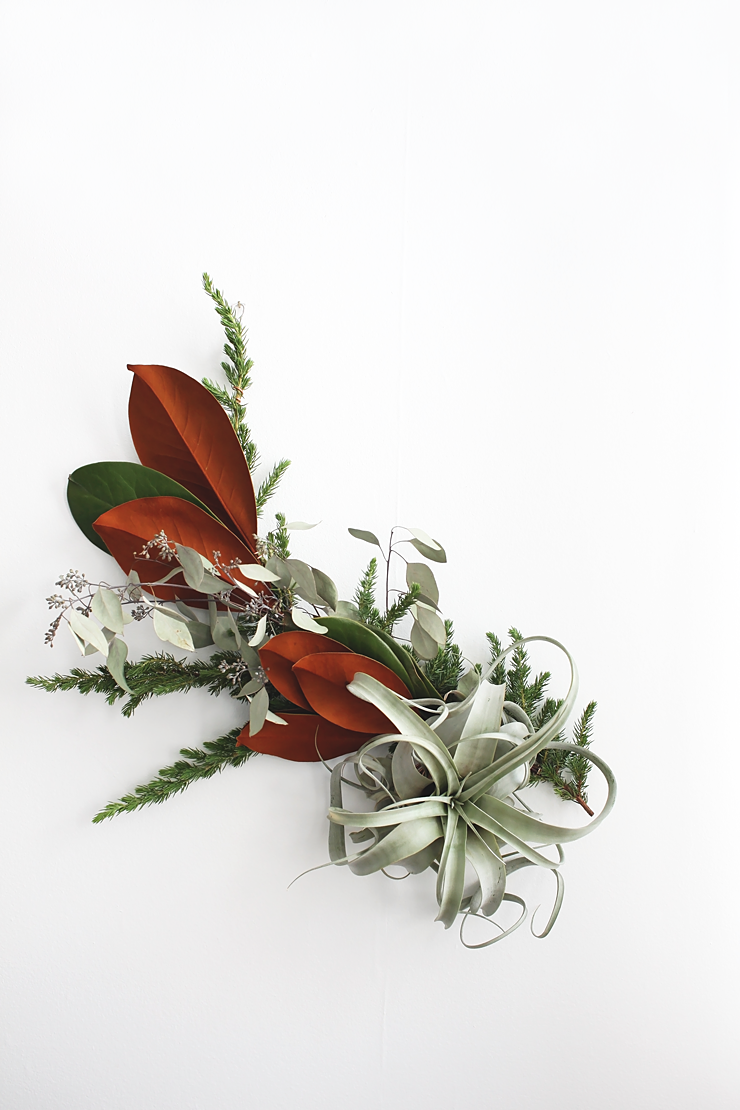
The star of the haul was a giant, exotic, perfect xerographica air plant I named Ruby. Ruby demanded a special project be made just for her. I obliged and this DIY modern air plant garland was born.
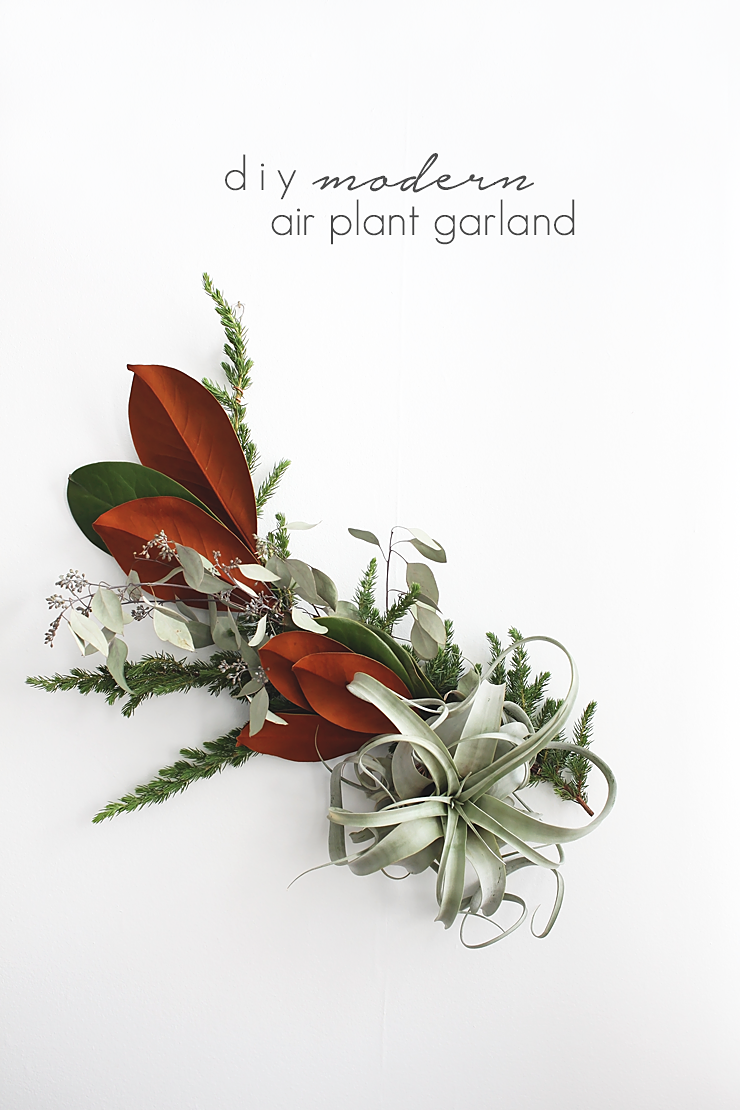
I mean look at that thing. Have you ever seen a plant more deserving of her own blog post?
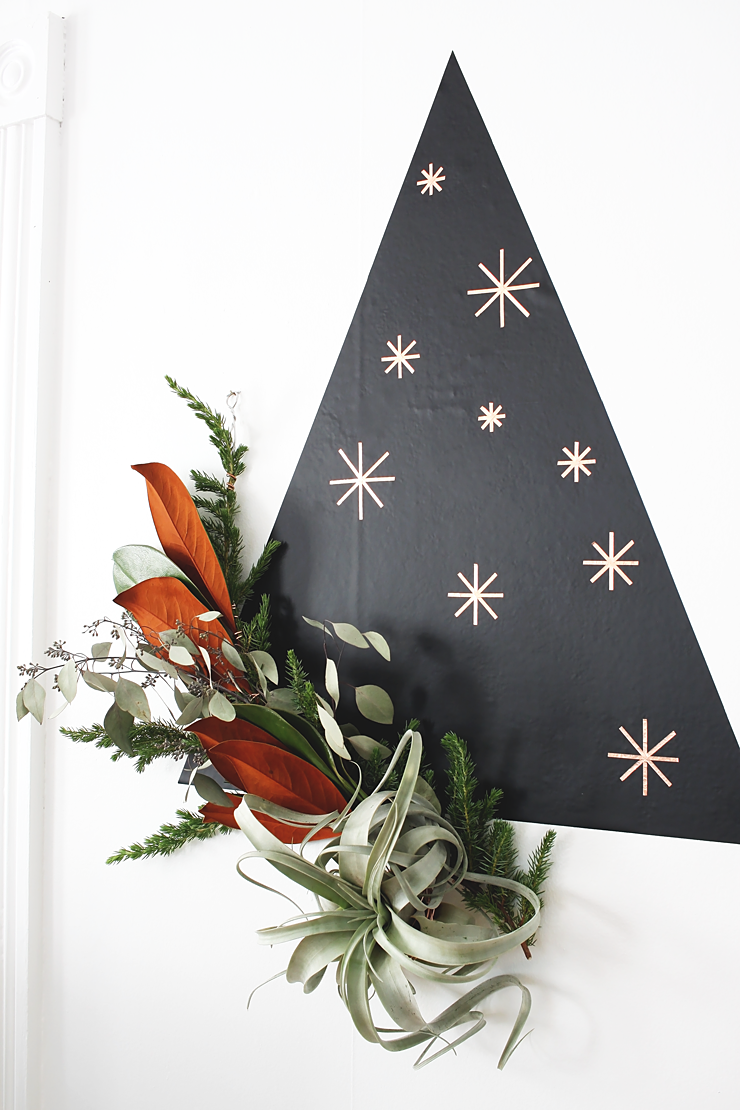
Clearly magnolia and air plants were made for each other. That coppery brown and sagey green…heart eyes.
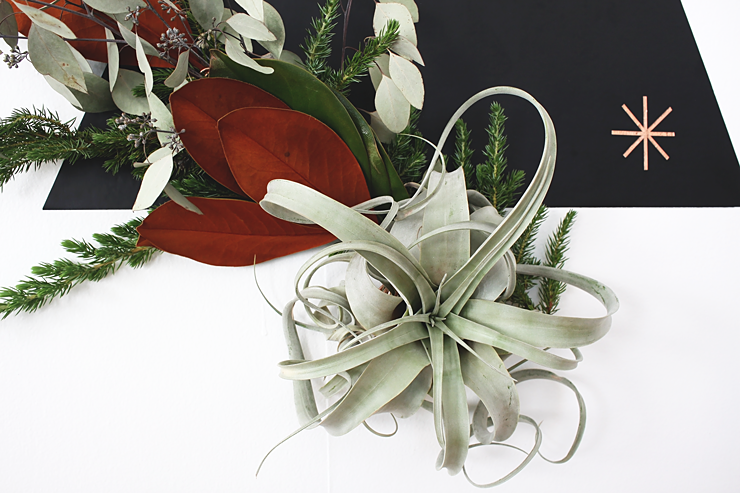
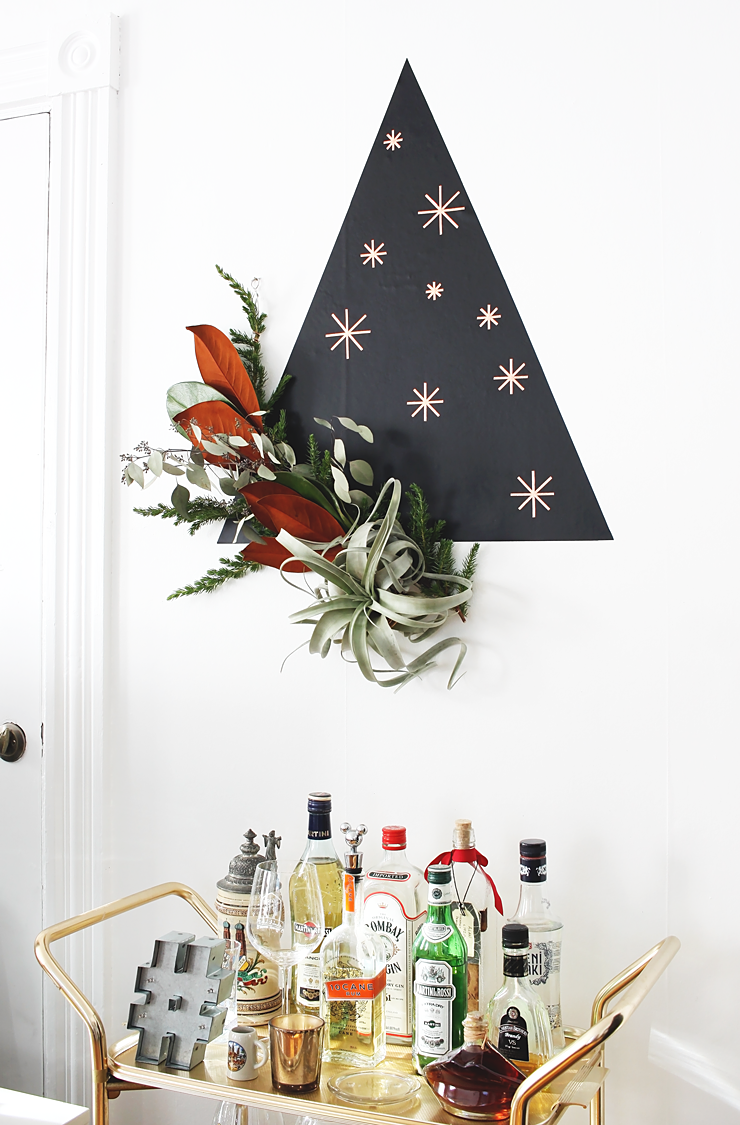
I know I’m not the only one with a giant crush on air plants, so go grab your own collection of Rubies and whip up this little garland to incorporate those air plant babies into your holiday decor.
DIY Modern Air Plant Garland
Skill Level: the easiest
Time: 30-45 minutes
What You Need:
+ 12 gauge wire for the base* (A thicker wire will be easier to work with and hold its shape better. Tip: the lower the gauge number, the thicker the wire. Because whoever came up with gauge ratings wanted to mess with everyone.)
**Note! Copper is toxic to air plants. The wire I used is aluminum wire that is colored copper. Check your labels!
+ floral wire* (or more of the same wire you used for the base)
+ wintry greenery and florals. Some faves: magnolia leaves, juniper or spruce, eucalyptus, thistles, boxwood, wax flowers, dried yarrow, cotton, silver brunia…I like growing things. A lot.
+ air plants! For you Boston locals, Ricky’s Flower Market in Somerville has a fabulous selection and is where I scored Ruby the Beauty. For the rest of you, I recommend The Air Plant Shop—I used their air plants in my mounted air plant project, and they are STILL ALIVE. Check out their handy guide to keep your babies thriving.
*Affiliate links. This means if you purchase, I will earn a small commission at no extra charge to you, which is pretty sweet because it helps me pay blogging bills, so thank you! I will only link to products I have used or would use myself, pinky promise!
What You Do:
Step One – Bend a length of wire in half and form it into the shape you want your garland to follow. I know I wanted something more modern and organic than a traditional wreath, so I ended up with this squiggly shape. You can hold it up to the wall as you work to see how it will look. Make loops at the ends so you can hang it later.
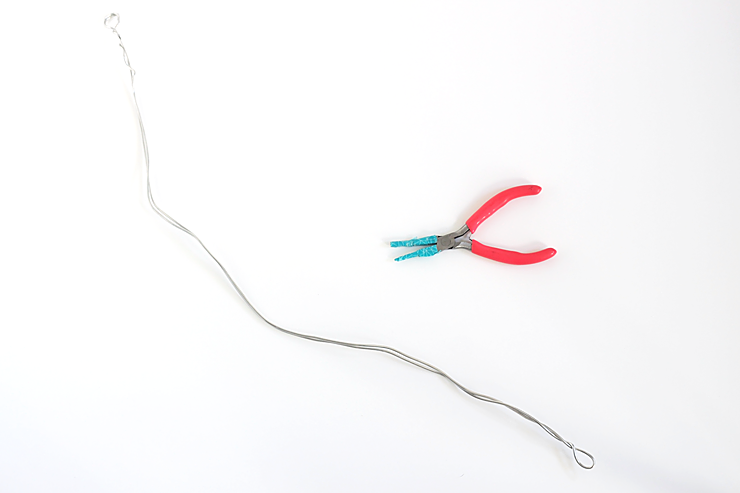
Step Two – Begin attaching your greenery to the wire, starting with the bushiest/densest greens to make a good strong base. Attach with bits of wire by twisting the wire around the stem of the plant and the base wire. Floral wire will obviously be more blended in, but I enjoy little touches of copper whenever possible and have craploads of the stuff on hand so I just used copper jewelry wire.
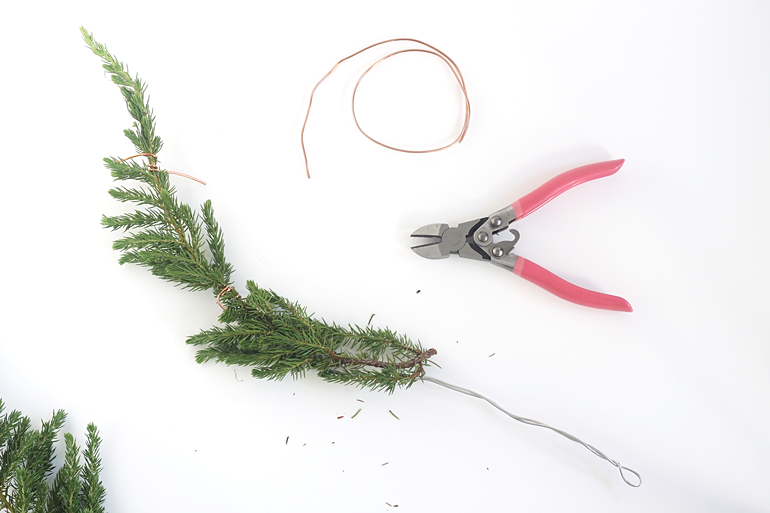
Step Three – Keep attaching your greens until the whole base wire is covered. Then you can start layering on the next stems; in this case, magnolia leaves.
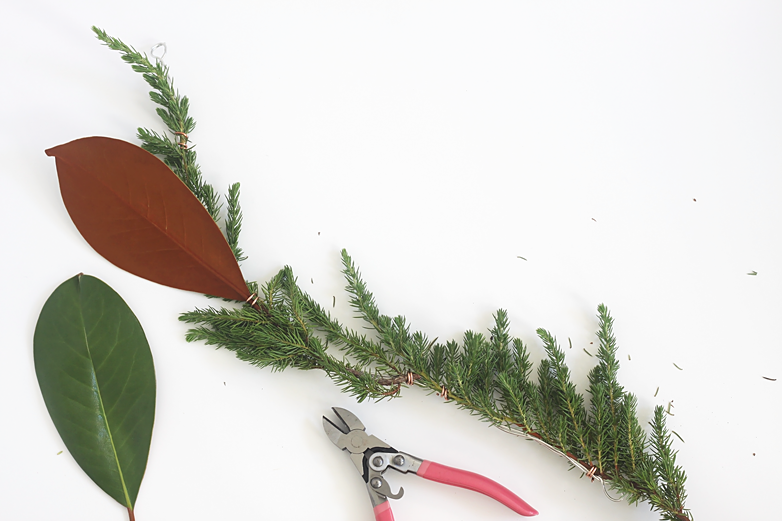
Step Four – Save your most delicate stems for last so they create a dainty top layer.
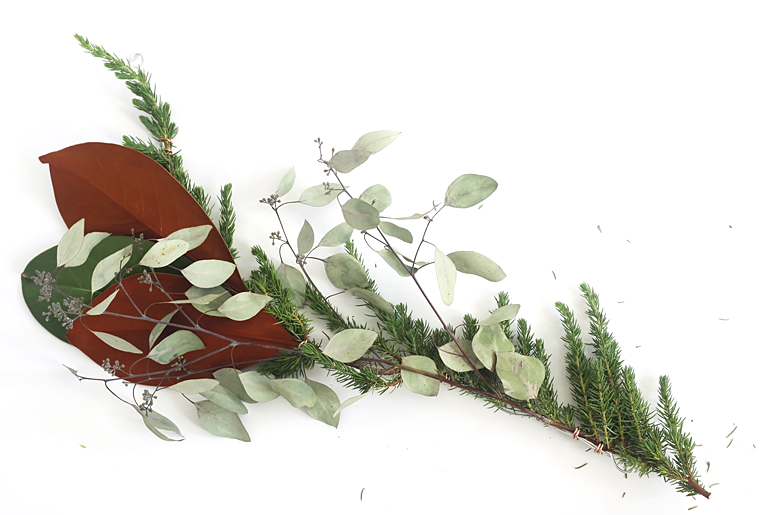
Step Five – Now grab your air plant and some more wire. We are going to create a cradle for the plant to sit in. I use the word “cradle” intentionally because air plants are delicate babies and we don’t want to injure them for the sake of our holiday decor, do we now?
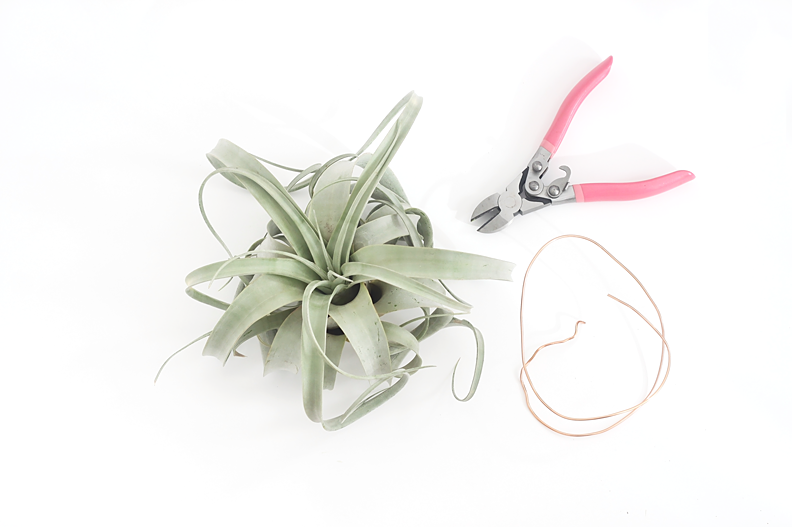
Step Six – Wrap the wire several times around the base of the air plant. If it’s a heavy one like a big xerographica, you’ll want to gently weave the wire in front of a few of the thicker leaves to help support the weight.
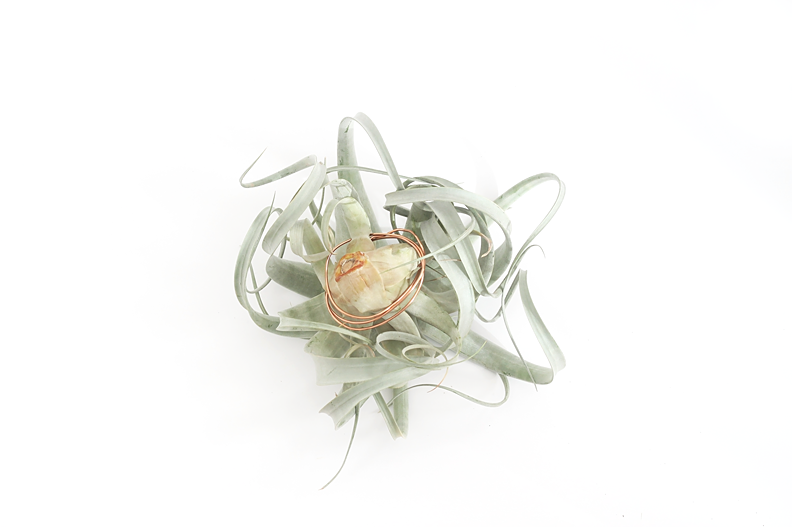
Step Seven – Cut off a bit of wire to make a hook. Your air plant will still need to be taken down for its weekly bath, so attaching it to the garland with a hook will make this much easier!
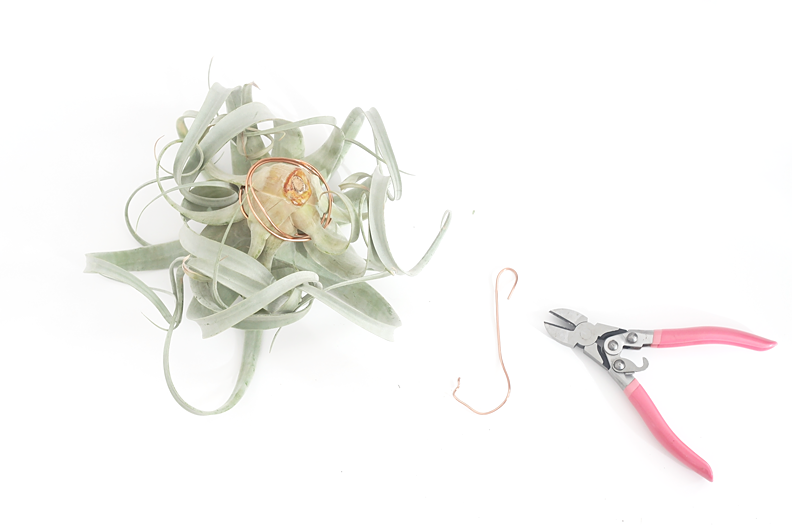
Step Eight – Attach one end of the hook to the wire “cradle” and twist it around a few times.
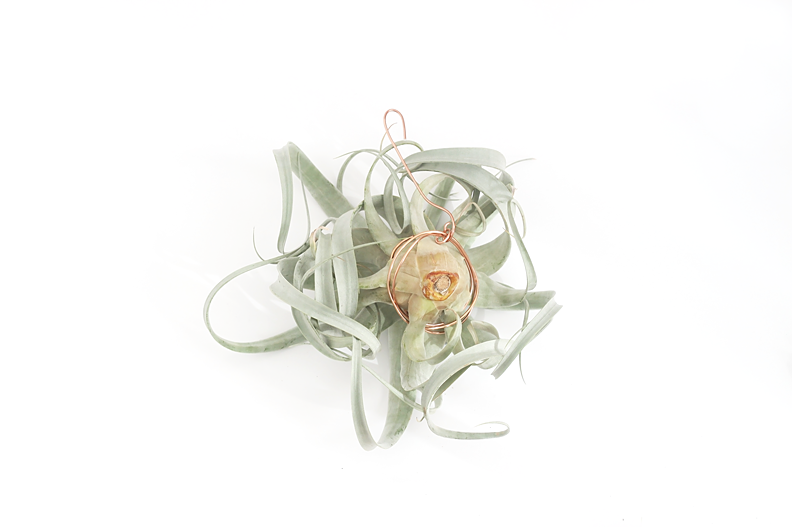
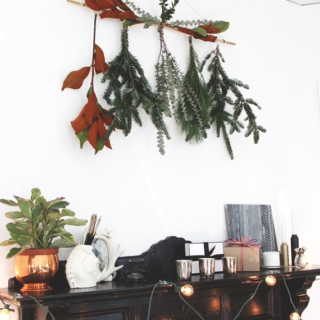
Step Nine – Then hang the other end of the hook onto the garland. And that’s it! Hang the whole thing up with nails and you’ve got yourself a modern garland with everybody’s favorite plant trend.
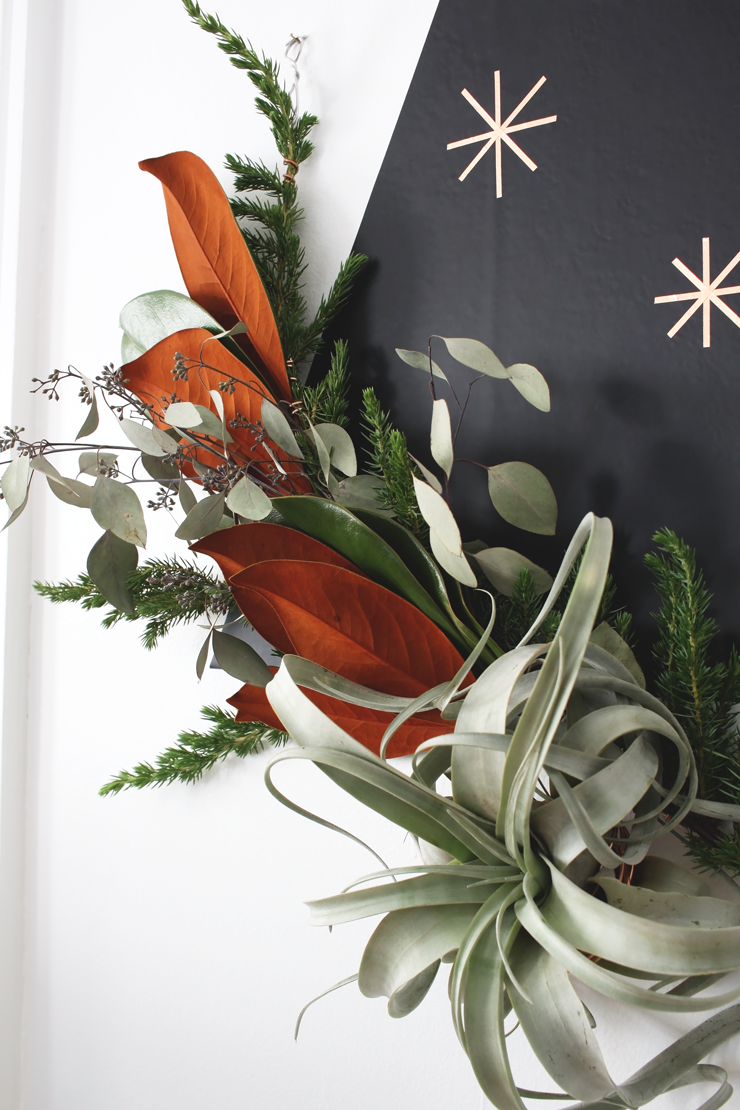
Once I got the garland up on the wall I realized it needed just a wee bit more magnolia and spruce to fill it out, which I just added on by attaching it with wire like before. So really making a garland is very flexible, just keep adding and rearranging until you’re happy with it!
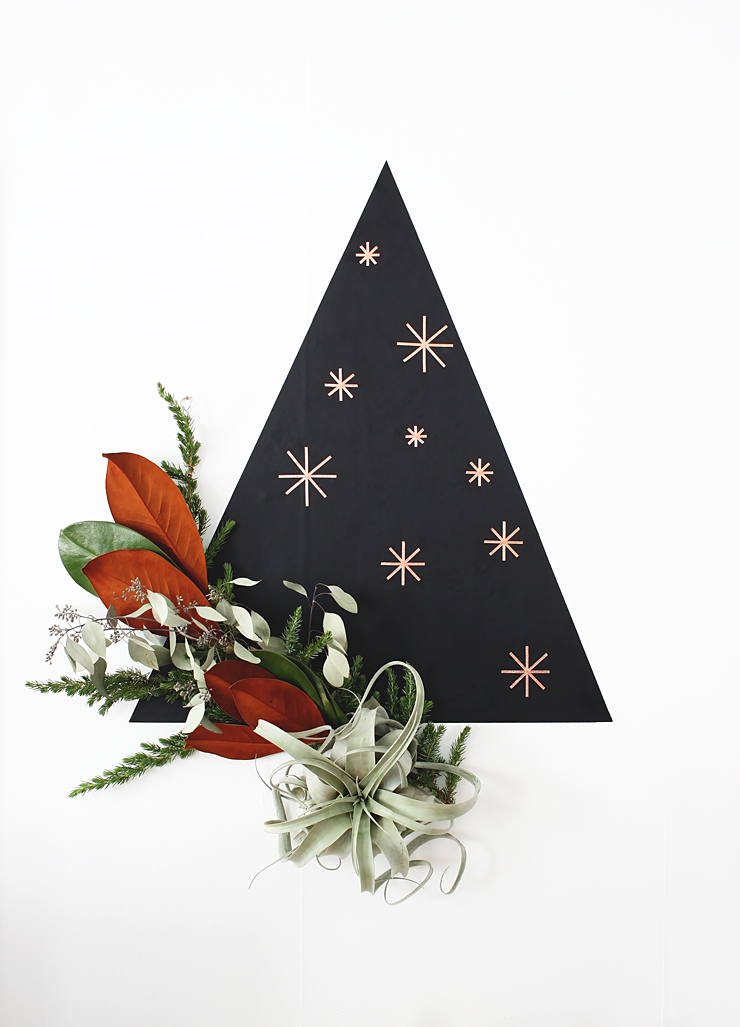
Can we talk about my alternative Christmas tree for a minute? We are seriously lacking in space for a real tree, so I like to come up with different ideas to hang one on the wall. This year wide black contact paper* is my material of choice, decorated with little copper tape* stars because I will always always use copper tape on everything. I was going to make a DIY out of this…but it’s really just cutting a triangle out of contact paper and hanging it up.
Only problem is the black really highlights the bumpy walls. I’m sure you have better things to do than judge my bumpy bumpy walls, but just in case…please don’t judge my bumpy bumpy walls. This apartment is over 100 years old, you’ll look bumpy too at that age.
Do you like decorating with greenery for the holidays? Fess up, how big is your plant and/or air plant hoard?


Love this idea! And i love that contact paper tree with the stars, sooooo pretty
Thanks, Laurel! I’m digging the tree too, I want to make a little forest! xoxo
Girl, GOR-GEOUS! Pinning now 🙂
Yay! Pinterest love is the best love! Thank you, lovely! xoxo
So much prettiness going on here!!! And your photos are spot on.
THANK YOU! That means so much! xoxo
This is beautiful!
Thank you so much! xoxo
This is really so gorgeous and unique! I love it paired that modern black tree over your bar cart. Such a nice vignette!!
Thank you, Haeley! It’s definitely made our living room feel very festive. xoxo
Aww, thank you Haeley! It’s definitely made our living room look nice and festive. xoxo
This is beautiful Marlene! Also great for an all year round garland. A garland is for life, not just for Christmas 😉
YES! A garland is for life, not just for Christmas–love it! Haha. Thank you, Fran! xoxo
YES! “A garland is for life, not just for Christmas.” So quotable and true. 😉 Thanks Fran! xoxo
Next, will you please share your tips for keeping these beauties alive? This thing is gorgeous. I’ll tell you what’s not so pretty though is having a dead air plant hanging in your bathroom for a couple months. Not that I would know.
Dead air plants are also not so pretty on your coffee table. But we are totally not speaking from experience here. 🙂 Thanks SO much for your kind words! I definitely recommend checking out The Air Plant Shop’s care guide I linked to in the post — I’m not affiliated with them in any way, I just have used their guide for my smaller air plants and they are still kicking a year later! Here’s hoping I can keep Ruby happy too!
Are you kidding me right now girl? This is SO GOOD!!!!!!!
Thank you, girl! You just made my day! <3
Somehow just finding this, and LOVE
Yayayay, thank you! Air plants on all the things, yes? xoxo