Truthfully, the holidays are kinda overwhelming me right now.
What with craziness at my day job, refereeing my fighting cats, housework, applying to social media management positions (yes! exciting! but scary!), doctors’ appointments, and trying to pretend I have some kind of social life…it just doesn’t feel like I have time to celebrate Thanksgiving, much less the Big C.
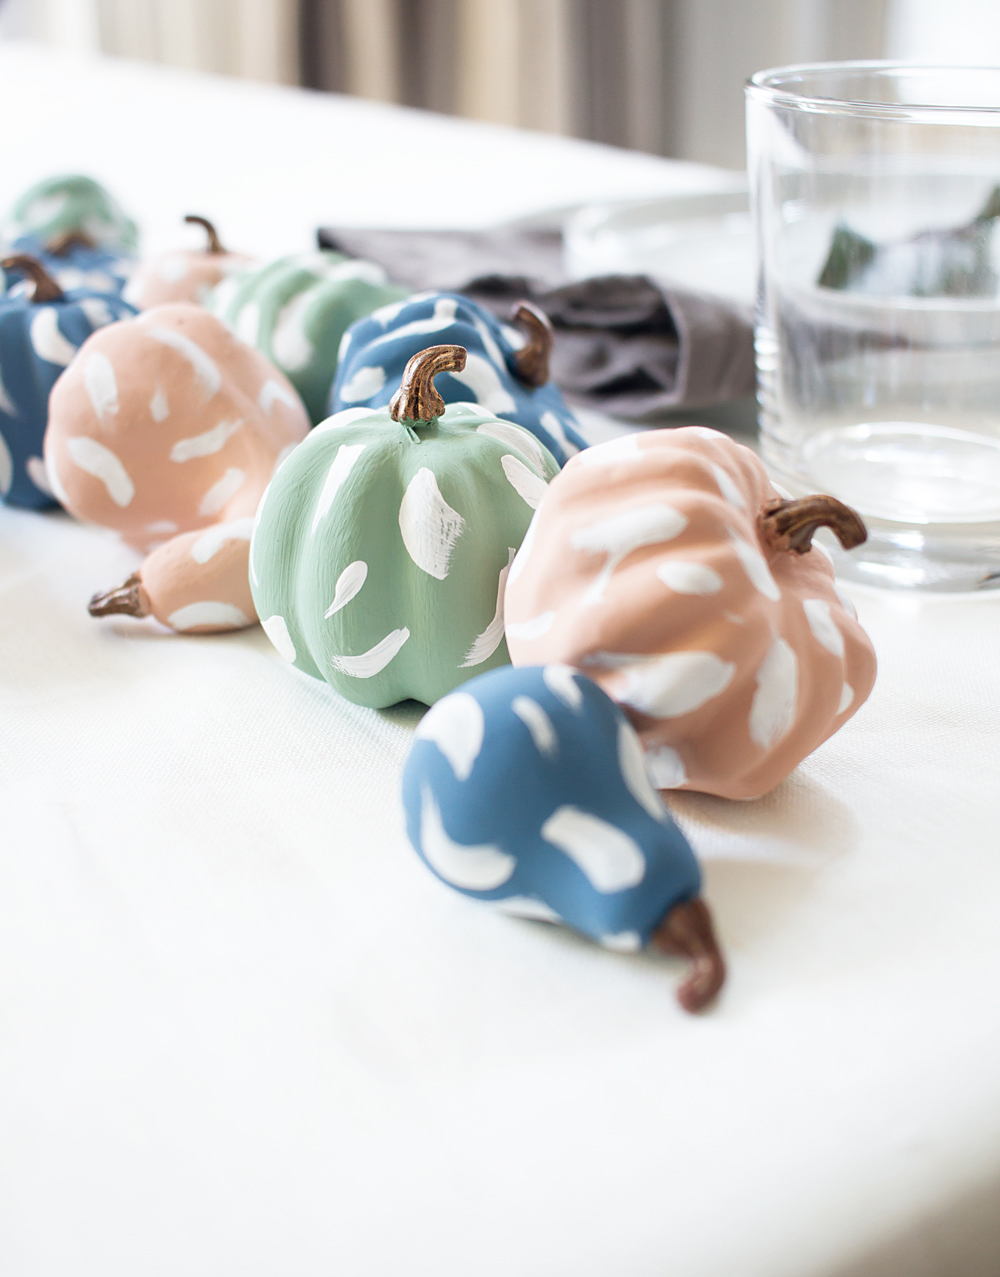
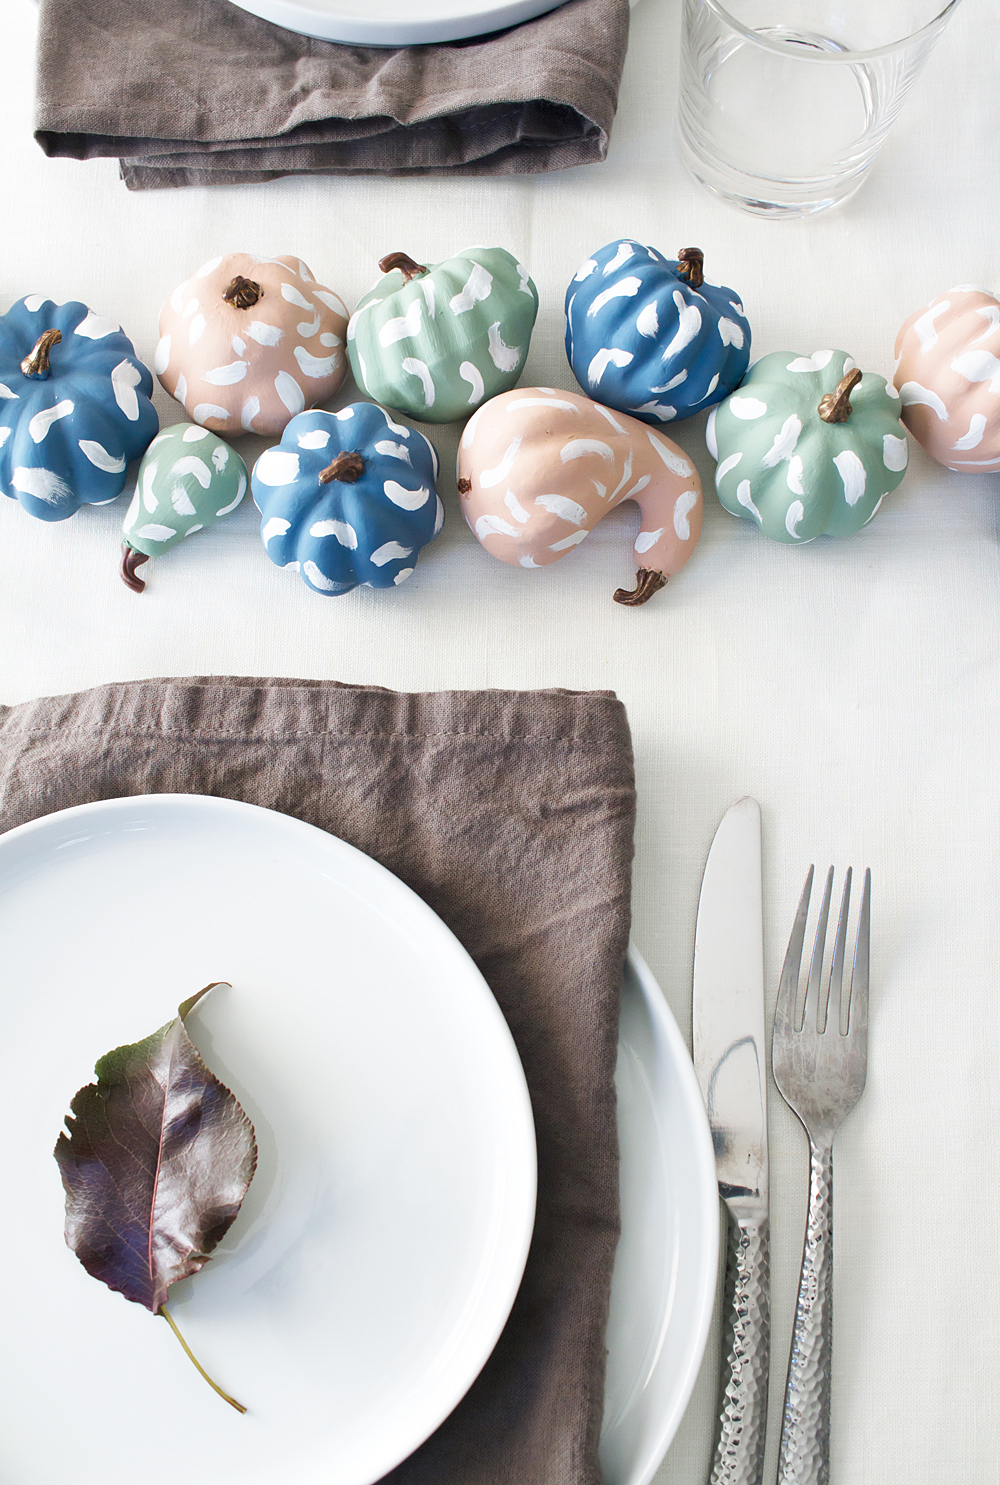
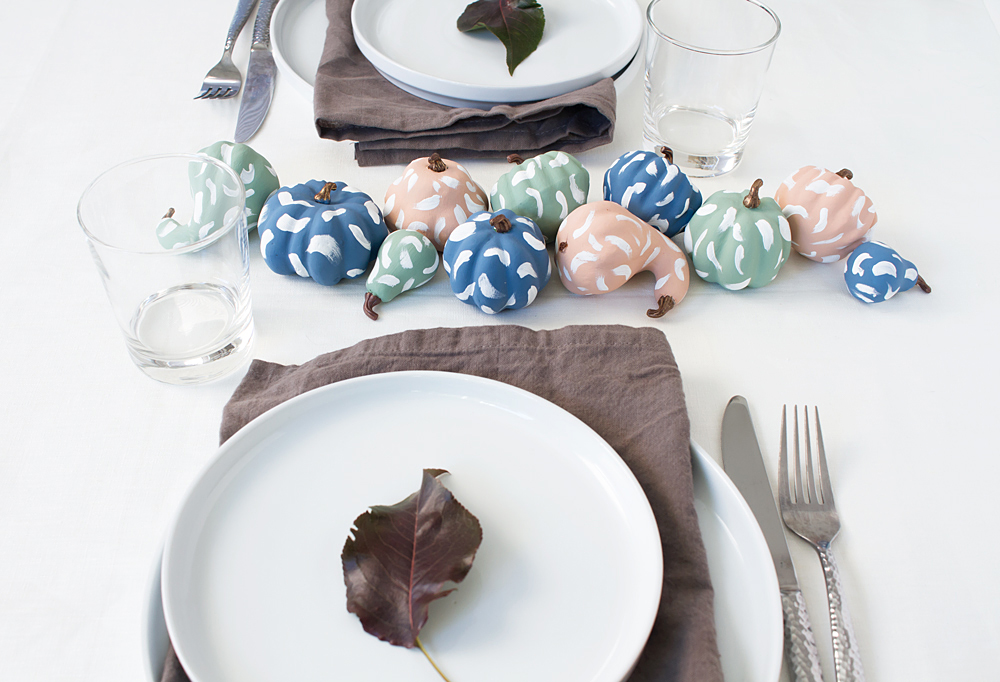
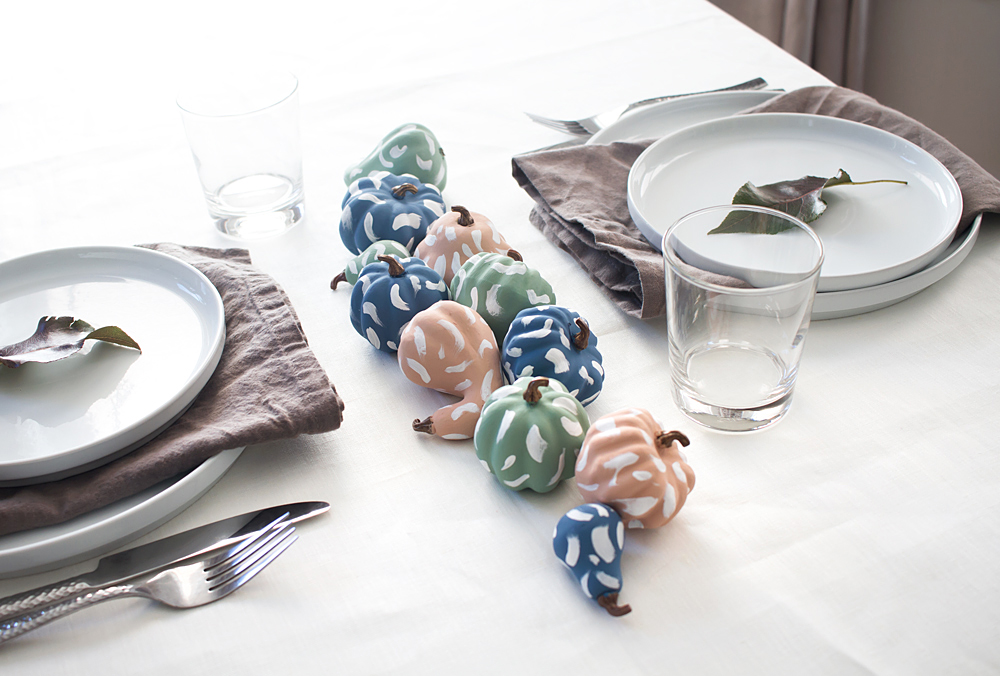
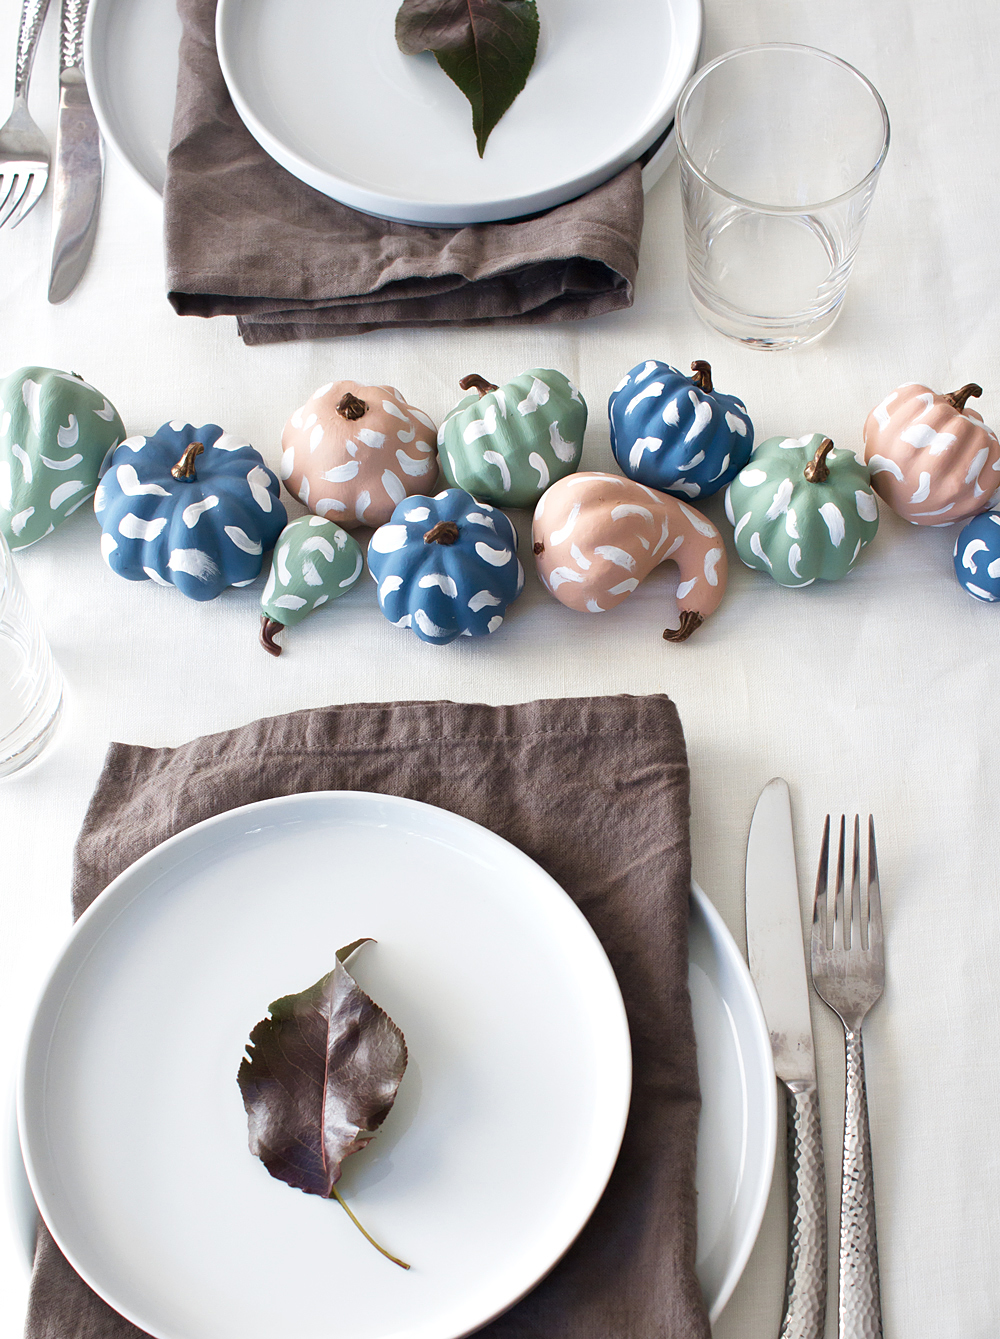
But I took some time this past weekend to do a little holiday crafting, and the result was magical. Not just because I really love how these DIY pastel brushstroke pumpkins came out, but because…I slowed down. I breathed. I painted.
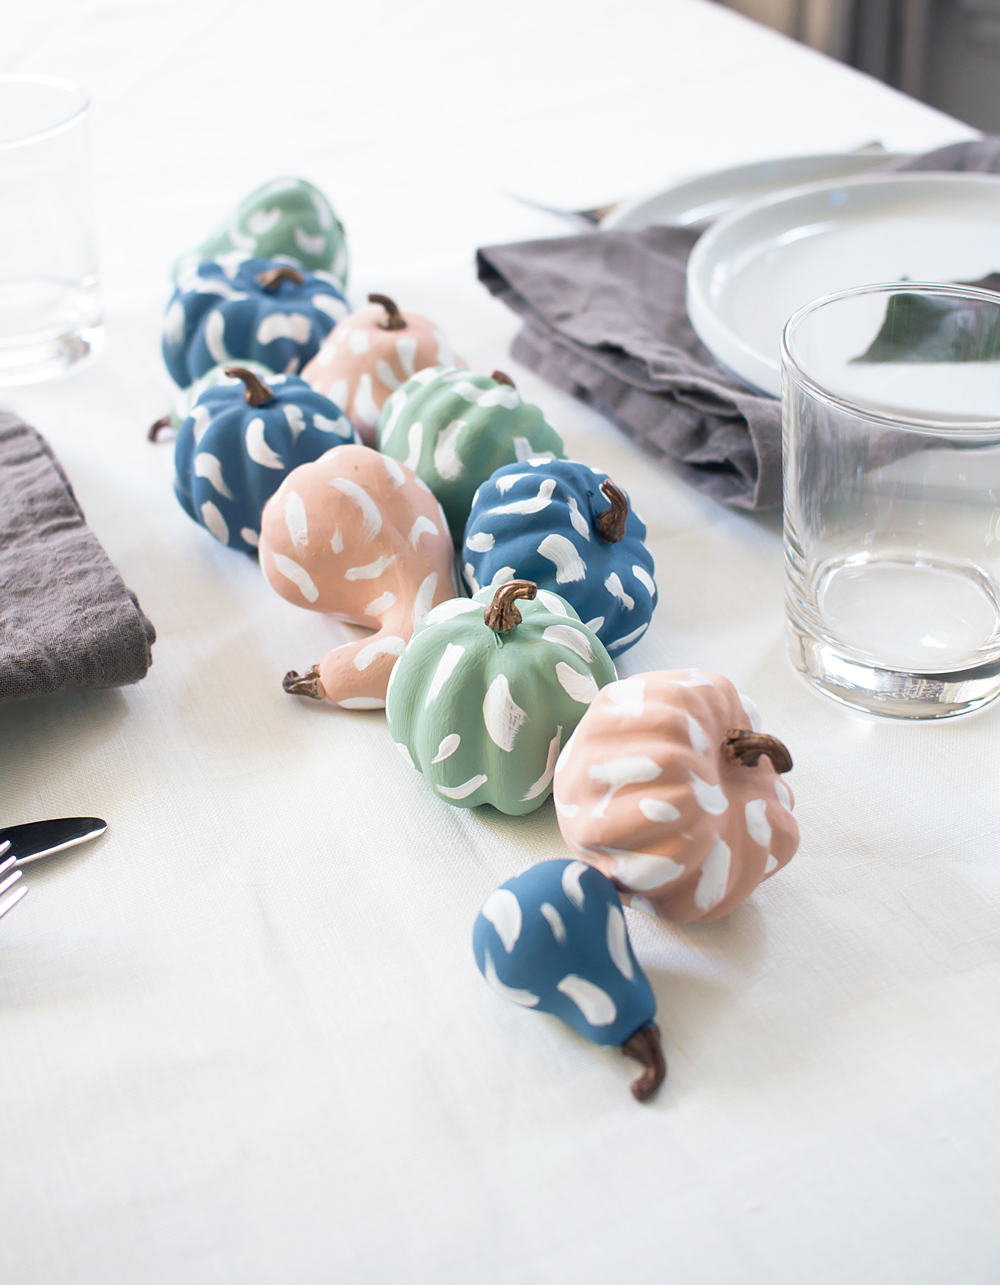
Making is meditative, guys. So even if you feel like an out-of-control lawn mower during this crazy time we call THE HOLIDAYS, take some time for yourself. Craft. Have a glass of wine and pull out the paints. And whip up this easy project for a cute Thanksgiving centerpiece DIY while you’re at it.
I did something really bad when I photographed this project: I didn’t shoot any step-by-step photos.
GASP.
Here’s why: this DIY is actually just like my DIY modern brushstroke Easter eggs. I liked them so much that I wanted to repurpose them as a fall craft. I know, I KNOW, it’s so lazy! Don’t fret though, because you can find detailed tutorial photos on that post, if you need pictures to accompany the instructions below. Will you forgive me?
THIS POST USES AFFILIATE LINKS. THAT MEANS IF YOU PURCHASE, I WILL EARN A SMALL COMMISSION AT NO EXTRA CHARGE TO YOU, TO HELP ME PAY BLOGGING BILLS. I ONLY LINK TO PRODUCTS I HAVE USED OR WOULD USE MYSELF, PROMISE!
DIY PASTEL BRUSHSTROKE PUMPKINS
SKILL LEVEL: Super easy.
TIME: A little over an hour with drying time.
What you need:
+ artificial gourds and pumpkins* (you could use real ones, too)
+ craft paints in sage, denim, coral, and white
+ craft paint brushes* (I like having a variety pack like this to experiment with different brush textures)
+ paint palette* or empty yogurt cups
+ masking or painter’s tape
+ scrap paper for blotting and practicing
What you do:
Step 1: Tape the stems of the gourds to keep them from getting painted, then paint each gourd a solid color. You will need 2-3 coats — make sure to allow each coat to dry completely!
To make these muted pastel colors, I mixed a drop of gray paint into each color to tone down the saturation and make them a little more modern. Totally optional.
Step 2: While your gourds are drying, you can play with creating brush strokes on the scrap paper. Different brushes will create a different stroke, so try a few out and vary the angle and pressure to see what you like.
Step 3: Once the gourds are dry, add the white brush strokes.
And that’s it! Modern Thanksgiving centerpiece done. They would also make super cute place cards if you painted names on them.
I’m making myself scarce next week while I eat all the vegan Thanksgiving foods and prep my big handmade gift roundup coming up soon. In the meantime, don’t forget to enter the My Favorite Things giveaway! 10 other bloggers have gift baskets too, so check the post to enter their giveaways as well.
Have a WONDERFUL Thanksgiving, everyone.

I really love these Marlene! What a pretty, unexpected color palette for a Thanksgiving table!
I can’t get enough of these colors! Thank you so much, Haeley! xoxo
This is gorgeous Marlene! Just pinned. And I love you didn’t even show step by steps because that means you just enjoyed making. xo
I DID enjoy making these little guys! Sometimes you just gotta savor it. 🙂 Thank you, friend! xoxo