Sometimes when my iPhone is covered in sawdust and my hand is cramping up and I accidentally sand off my beautiful stain and have to start over on a project, I wonder why I DIY.
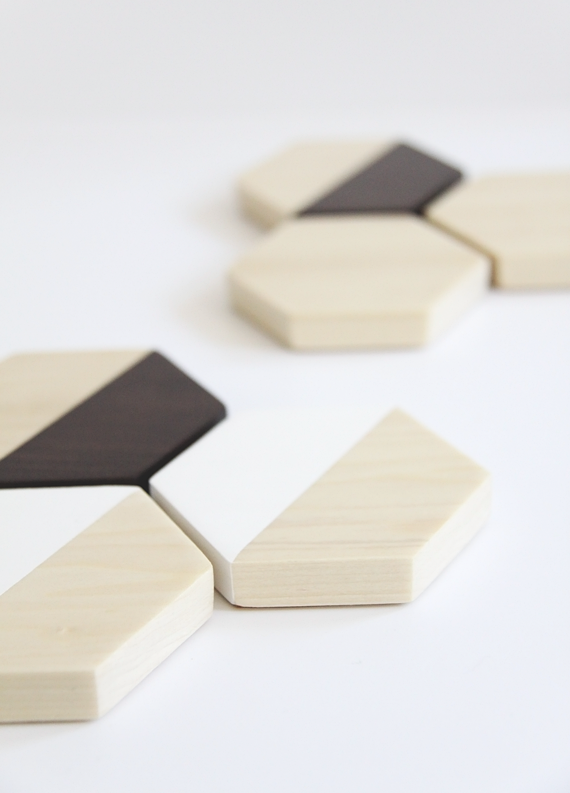
And then I get to the end of a project and see this:
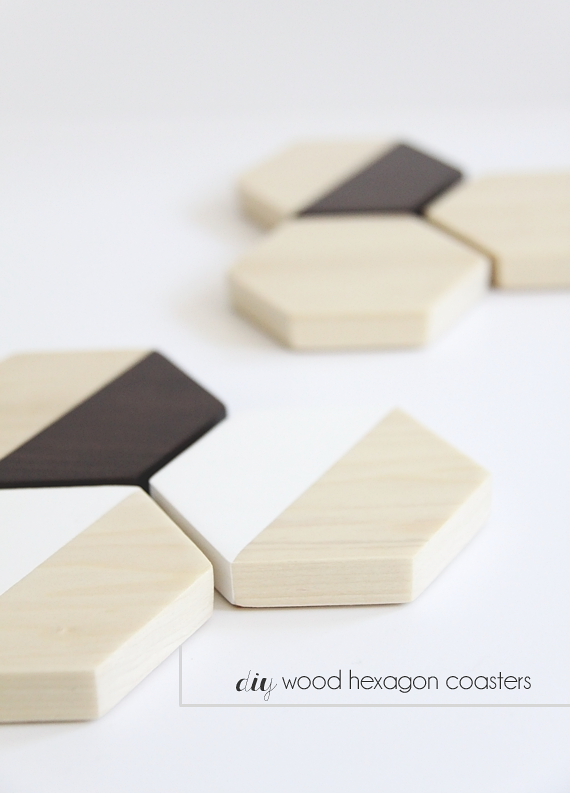
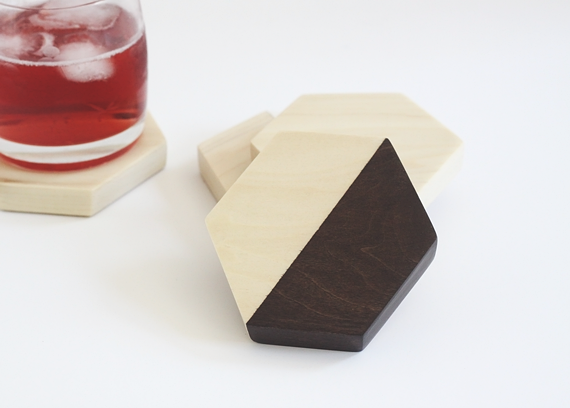
And I remember that it’s so awesome to make things.
You need coasters. You want to be filled with badass DIY pride. Clearly that means you need to make this project.
I’m not gonna lie—this is probably the most involved DIY I’ve posted to date. But it’s still easy and doable, so don’t shy away if you’re a newbie maker. Plus the bulk of the work involves hand-sawing, making it the perfect opportunity to tone the bicep of your dominant arm. And who doesn’t want one sexy arm?
And there’s a template! Templates mean easy! Let’s make hexagon coasters!
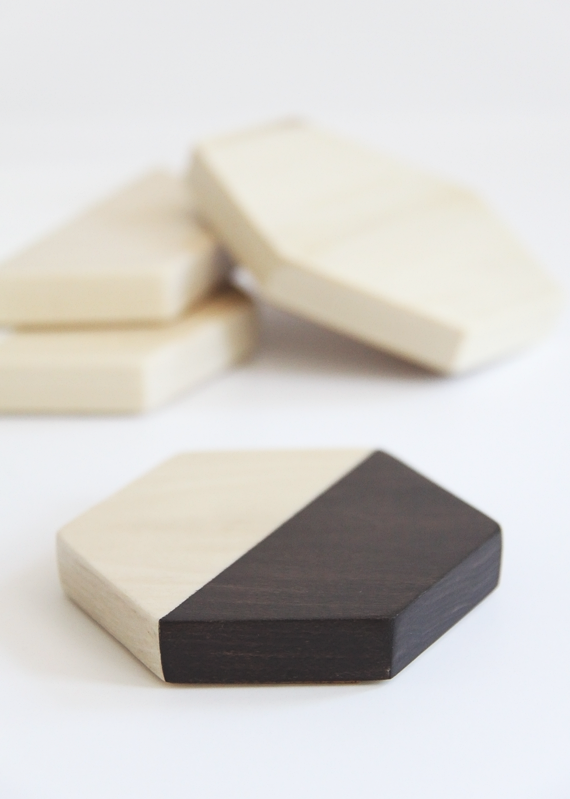
DIY Wood Hexagon Coasters
Skill Level: Easy, but involved
Time: 6 hours active, 2 days total
What You Need:
- hexagon template (download below)
- poplar hobby board (4′ long, 4″ wide, 1/2″ thick)
- mini hacksaw with fine teeth and a thin blade
- C-clamp
- 120 grit and 220 grit sandpaper
- painter’s tape
- wood stain and/or white craft paint (the stain I used was Zar oil-based in Moorish Teak)
- clear polycrylic finish
- foam brush
- self-adhesive cork roll
- miscellaneous: scrap wood, lint-free rags (old cotton tees work well), pencil, ruler, scissors
Step One – Procure your wood and have it cut down into squares at a hardware store! Or if you have a power saw (if you do, may I steal it?), use that. Wood board widths are marked larger than they are—a 4″ board liked I used here is actually 3.5″ wide, so be sure to tell your helpful hardware store wood cutter that you want 3.5″ x 3.5″ squares.
Tip: Don’t worry about having too many squares, go ahead and have the whole board cut down, that way you’ll have extras if you mess up.
Step Two – Cut out the hexagon template and trace it onto the wood squares. You’ll only be cutting the corners—four cuts per square. Not too bad, right?
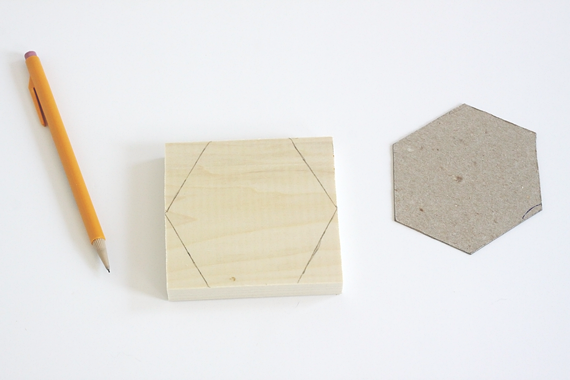
Step Three – Clamp the squares down to a work surface and saw off the corners following the template. You may think that you don’t need the clamp and can just hold down the coaster while sawing, but this will make your wrist hurt A LOT. Trust me.
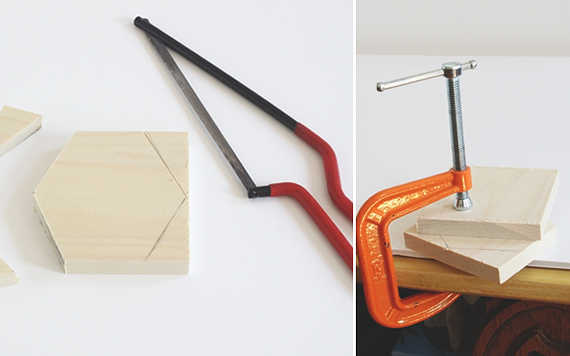
I’ve included a (terrible) pic of the clamp so you can see how to use it. Stick a piece of scrap wood between the clamp and the coaster to protect it. The work surface doesn’t have to be fancy; I used a tiny rickety folding table in my driveway and it worked great!
Step Four – When all the coasters are cut out and your arm has turned to jelly, take a break. Then sand each coaster thoroughly, first with 120 grit sandpaper, then 200 grit. Wipe off all dust with a damp rag.
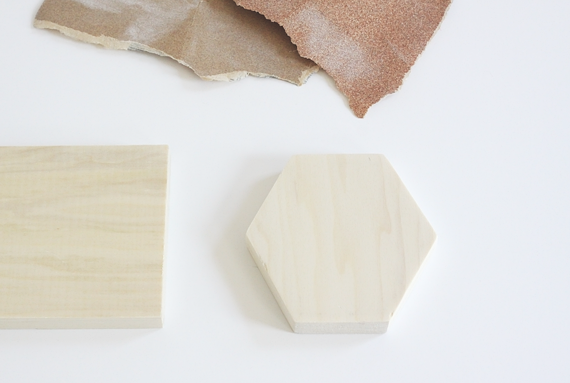
In case you’ve never worked with wood and aren’t convinced that sanding is necessary, take a look at the comparison between unsanded (left) and sanded (right). Look how soft and light and smooth the sanded coaster is! Sanding is necessary!
Step Five – Decorate!
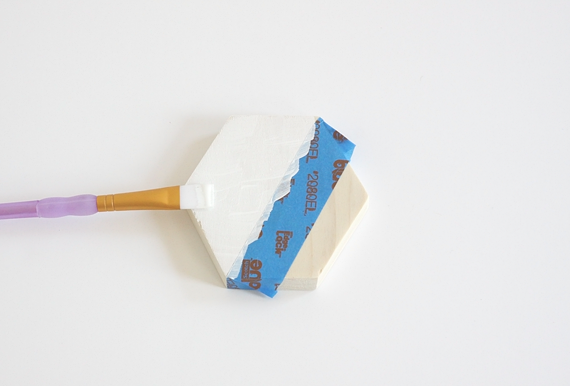
I color-blocked some of my coasters with white craft paint and dark wood stain, but you can obviously decorate yours however you want. This post is already too long to explain how to stain wood, but there are excellent tutorials online—this video on This Old House should teach you the basics (watch through minute 2).
If you decide to stain only part of the coasters like I did, use a good quality painter’s tape pressed down REALLY REALLY well, and peel off the tape at a 45° angle as soon as you have the excess stain wiped off of the coaster (to prevent stain that is on top of the tape from bleeding through onto the wood). This is an advanced technique so don’t worry if it takes you a few tries!
Step Six – Seal the coasters with a clear polycrylic finish to protect them and give them a nice satiny sheen. I like to apply polycrylic with a cheapo foam brush, just be sure to follow the instructions on the can.
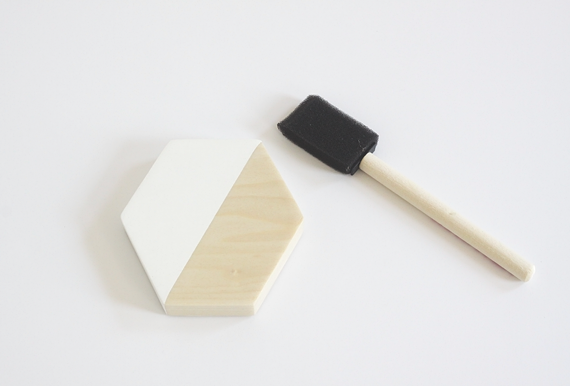
There are spray-on finishes you can use too, I’m just not sure which ones are good for stained wood as I haven’t used them myself, so if you want to go that route you’ll have to ask a hardware store.
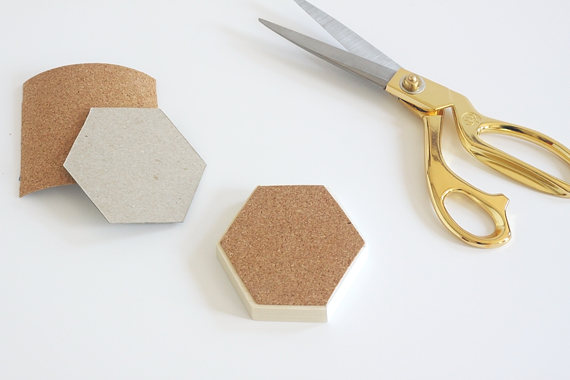
Step Seven – Finally, use the hexagon template to cut out the adhesive cork and apply it to the back of the coasters. Cut the cork just a smidge smaller if you don’t want it to show from the top side.
And that’s (finally) it!
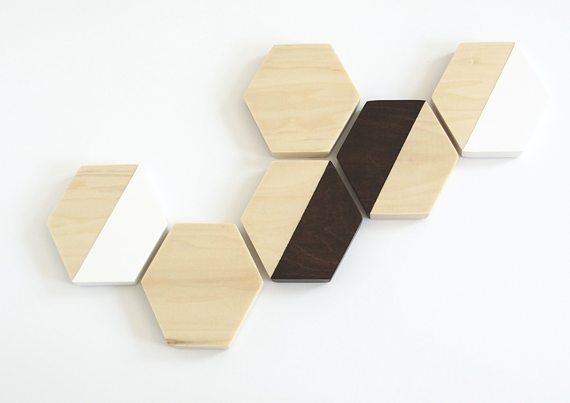
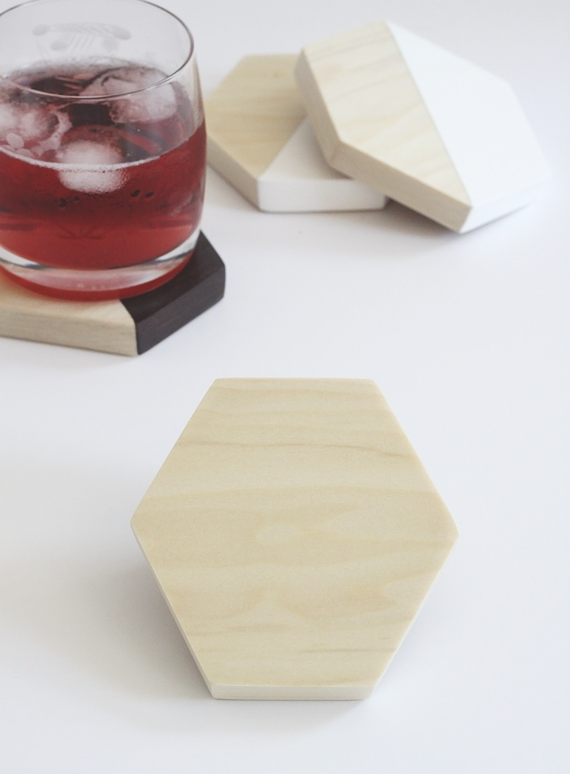
I’m a little in love with how the coasters came out. And I’m very excited to have more hexagons in my apartment (my honeycomb wall decal has to come down soon so we can paint the lavender living room).
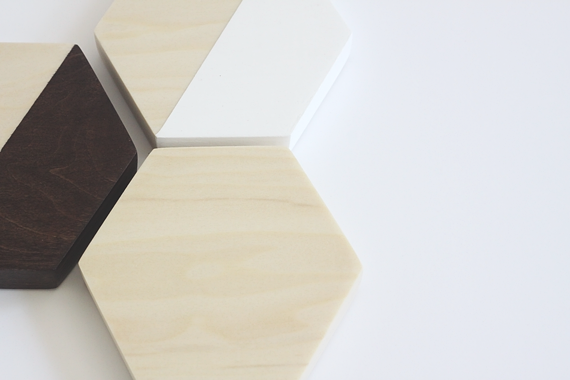
Yes, there are a number of steps, BUT they are all entry-level on the DIY skill scale. If I can do it, you can do it!
What do you think of this DIY? Is there a mini hacksaw in your future?
Dude. These are amazing. I’m so impressed that you HAND sawed them. I’ve only done one project where I had to do that and I swore I’d never do it again, and I was only cutting each wood piece once.
But THESE. These are so worth it- I’m blown away!
Thank you thank you! It really wasn’t that bad, poplar is a on the softer side of woods—but I still want a power saw. I’m so glad you like them, thanks for stopping by girl!
Wow, wow, wow!!! I LOVE these Marlene! I am pinning right now and convincing Joel to help me make these asap 🙂
XO
What a compliment, thank you! If you do make them, show me pictures! xoxo
SO GOOD! Girl, these are seriously amazing. Love the photos too. ::high five!::
Yay, thank you! ::High five!::
These are fantastic! I’m loving the simplicity of them…yet they are wonderfully unique for coasters! Good on ya 🙂
That’s so sweet, thank you! I adore simple designs, glad I was able to make one. 🙂
So fun and simple, and I love how sleek they are!
Thank you, Kevin! That is quite a compliment from a stylish guy like you!
Wow!! Beautiful coasters 😉
Thank you so much! 🙂
I love these coasters. So simple but effective. I might have to cheat and use my husbands drop saw though! 🙂
I think “cheating” with power tools is totally acceptable! 🙂 Thanks for your kind words! xo
These are amazing! You know you had me at hexagons 🙂
XOXO
Becca | Ladyface Blog
Thank you Becca! I always know I have you at hexagons. 😉
These are gorgeous Marlene! I love the simplicity and they’re SO well done… like they are perfect.
My goodness, thank you! What a compliment! xoxo
Stunning! Totally worth all the headaches of DIY. These are so pretty! Thanks for linking up at The Makers. We are excited to have you!
Thank you Corey! I may complain sometimes but the DIY headaches are always worth it! 🙂
Hahaha – one sexy arm. Everyone wants it. These are great, and I’m totally impressed that you sawed them by hand. Thanks so much for linking up with us at The Makers. 🙂
I am still rocking that right toned bicep! 😉 Thanks for stopping by, Alexis!
These are so lovely, I’ve shared them on my blog today in a Hexagonal DIY round up 🙂
Aww, thank you so much! What a fabulous roundup, honored to be included! xoxo
These coasters are so beautiful.
I just found your blog and I really like it.
Thank you Evelyn, that means so much to me to hear! Hope you stick around! 🙂 xoxo
Ohh! amazing result! I keep the tutorial to do. thanks!
Thank you, that is so kind! Thanks for stopping by! 🙂
Marlene–I’m a big hexagon fan (maybe a bee in a past life? :), so I HAD to include these in my “10 Legitimately Cool Gifts for Mom” list. Maybe I can convince my 3-year-old to make them for me…?
Aww, thank you so much! That is so kind and flattering. Also, a great way to teach your 3-year old about the importance of upper body strenght. 😉