This post is sponsored by Minted, but all words/ideas/opinions are entirely my own!
It’s not the thought that counts.
It’s the gift wrap.
Yep, I am a material girl. The holidays may be all about giving and kindness and love and all good things, but let’s be real—I like presents. And my liking of a present increases by 27.2% when the gift wrap is pretty. 68% when the prettiness involves oh-so-shiny gold foil. (Those are real statistics, husband, hope you are paying attention).
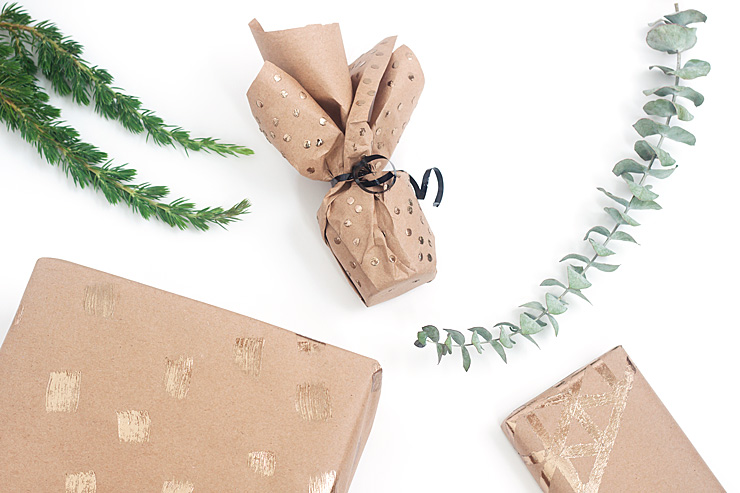
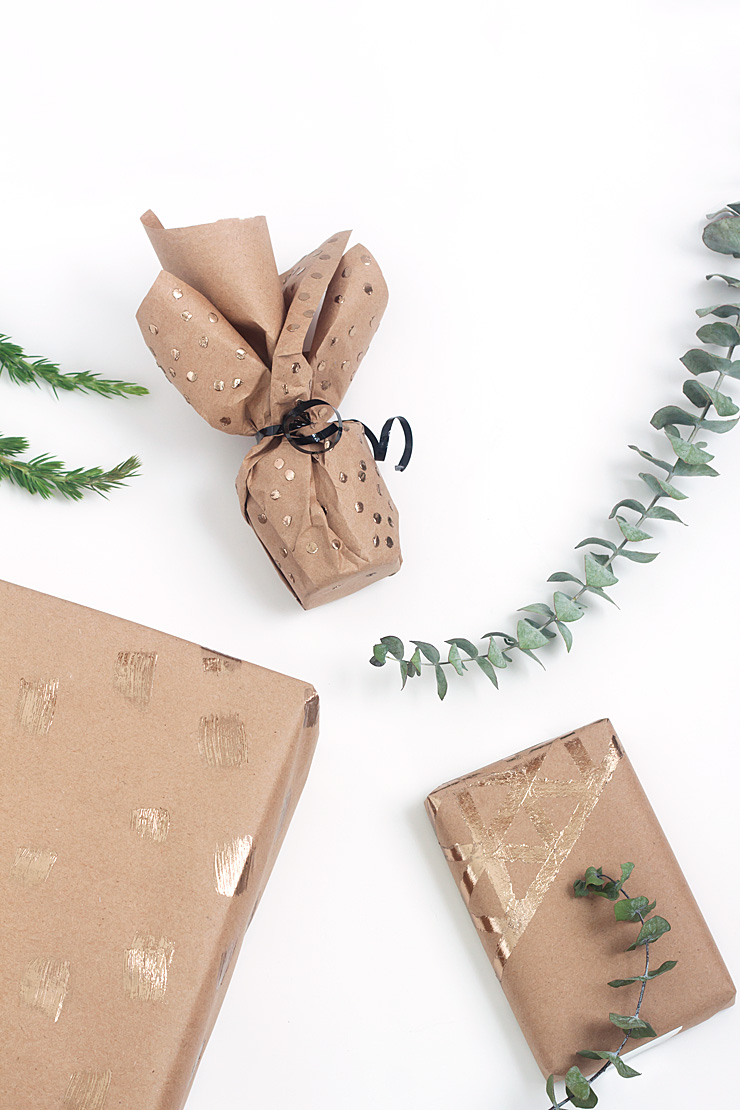
This year I’m making my gifts pretty pretty pretty with three easy ways to diy gold foil wrapping paper.
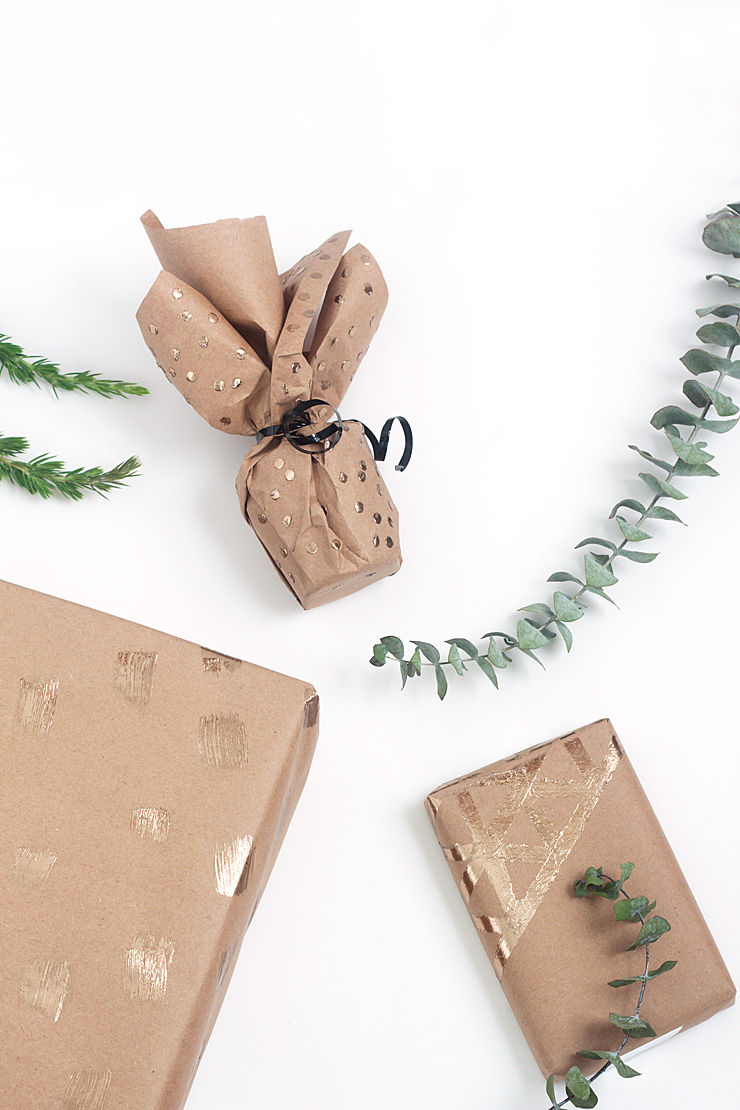
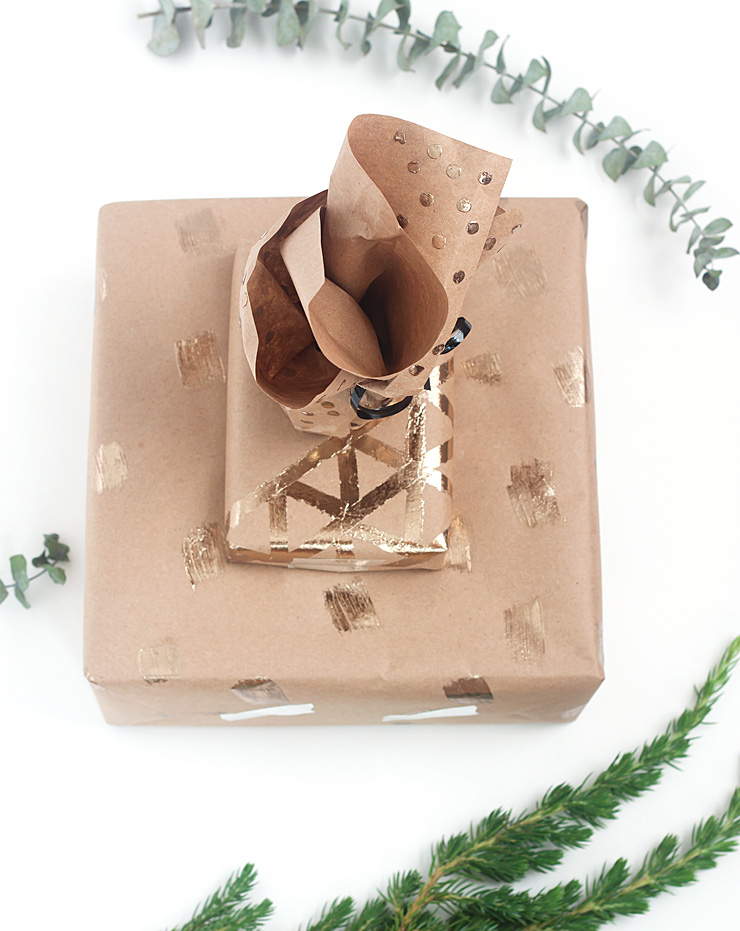
Easy gold foil? Yes, really. No fancy machines, no laminators. Just a couple simple craft store basics and you will have the most coveted gift at the Yankee swap. On the outside, at least, I can’t do anything about what you put inside.
DIY Gold Foil Wrapping Paper
Skill Level: absolute beginner (assuming you can wrap a present)
Time: 30 minutes or less per technique
What You Need:
+ kraft paper or other plain wrapping paper
+ double-sided tape (grab one in a rolly dispenser to save your sanity!)
+ paintbrush (I found that a softish bristle brush worked best)
+ scissors
+ bone folder OR save yourself the money and use a credit card
+ the perfect card to finish off your gift presentation
Geometric Gold Foil Wrapping Paper
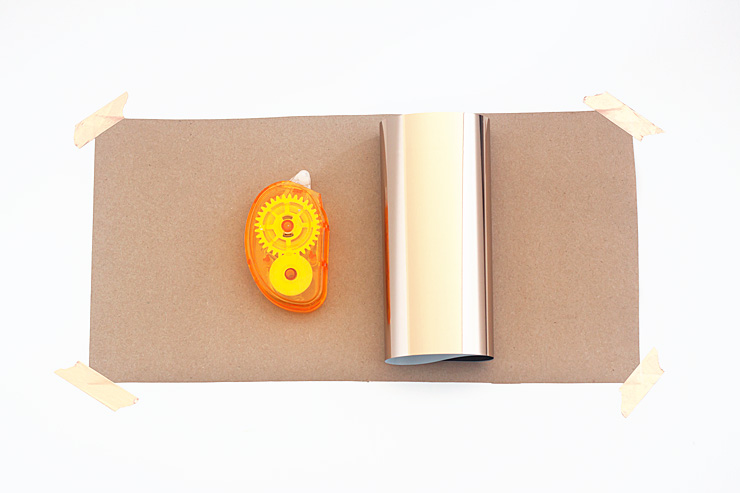
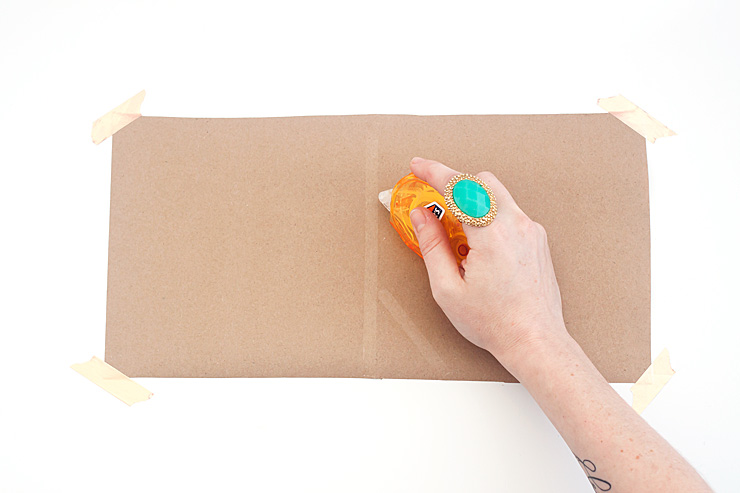
one – Use your tape runner to create a pattern on the paper. No need to overthink it, it can be as simple as a few stripes.
two – Place a gold foil transfer sheet on top of the tape—shiny side up!
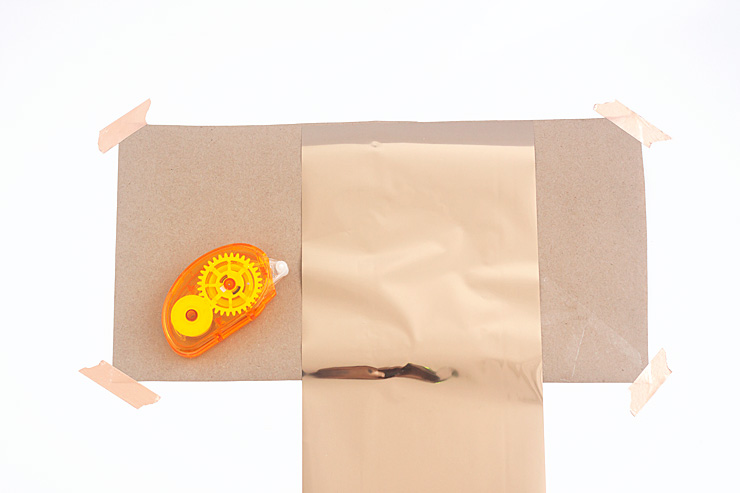
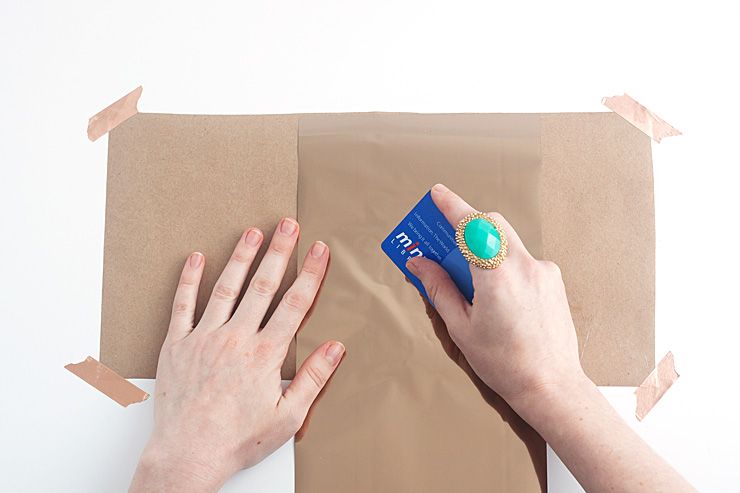
three – Use a bone folder, your finger, or a credit card to rub over the foil where it’s covering the tape. I used my library card so you can’t steal my identity, hehehe. As you rub you will see and feel the foil start to separate from the sheet.
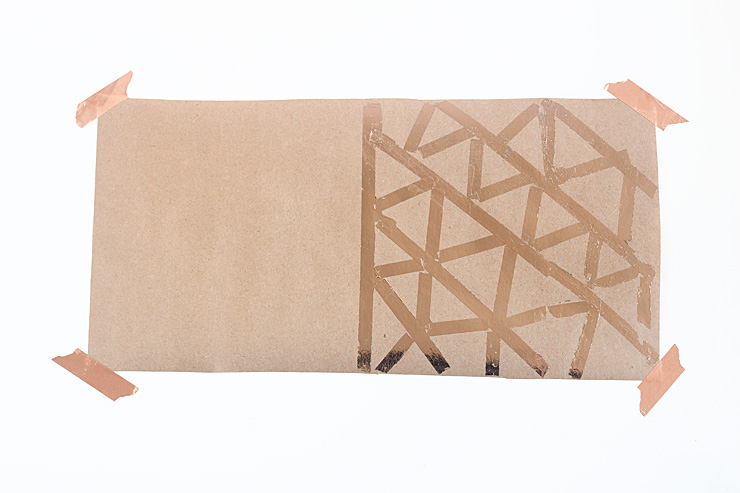
four – Peel off the sheet and see your pretty foiled pattern. If there are any areas that you missed or that aren’t as shiny as you want, just put the sheet back down and rub over it again.
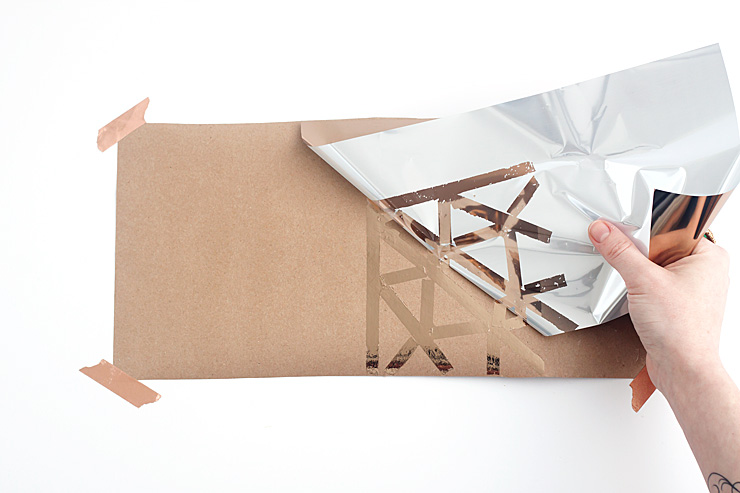
**Note: Because the foil is being transferred from the foil sheet to the wrapping paper, the foil sheet will be left with lots of empty naked spaces. DO NOT get these naked spots on the exposed sticky tape! It will get super stuck and pull and rip and you will be a sad panda.
five – Keep “painting” with the tape and adding foil until you’re happy with your pattern. Wrap your gift!
Confetti Gold Foil Wrapping Paper
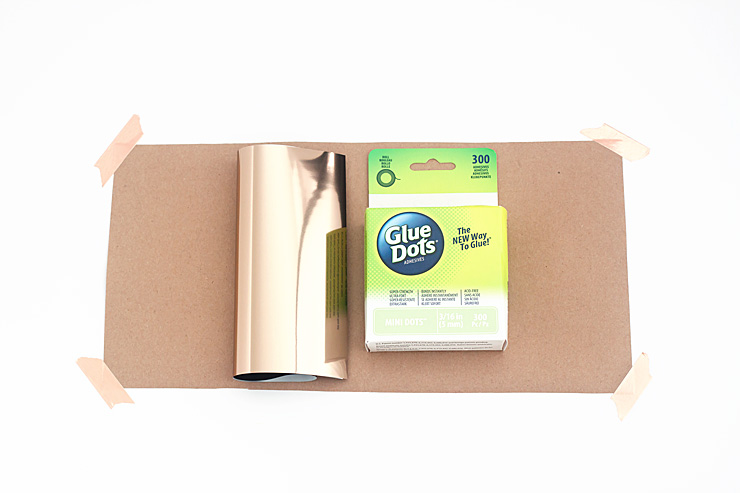
one – Peel a glue dot off of the glue dot tape.
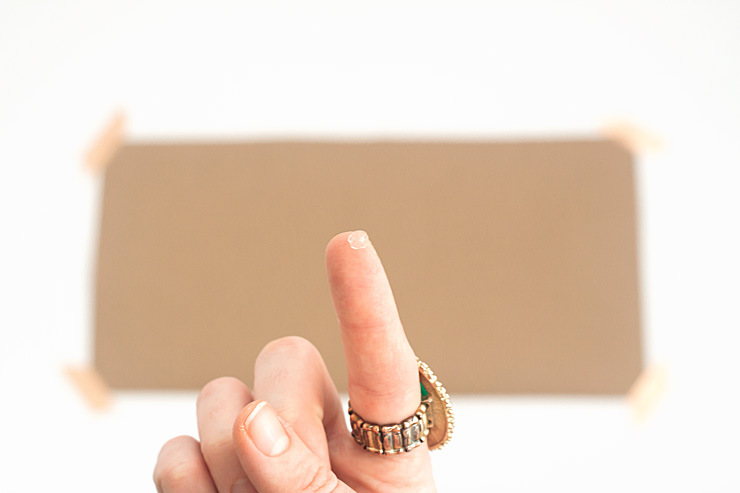
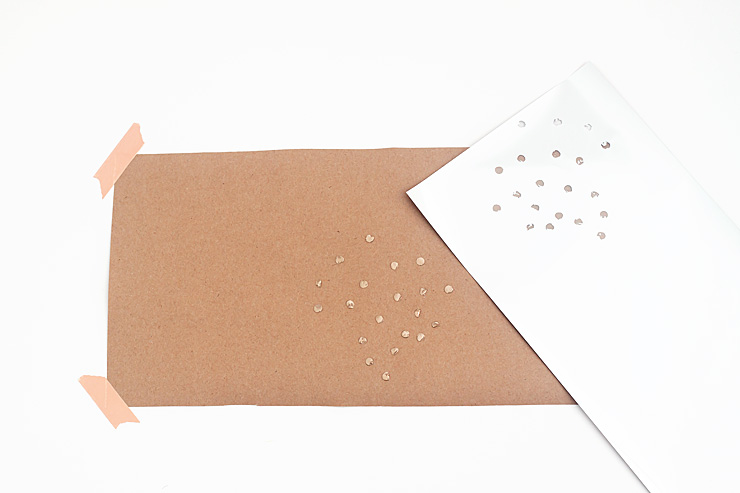
two – Stick the glue dot onto your paper. This seemed easier with cold hands, so if you find that the glue dots are sticking to your finger more than to the paper and you are not permanently cold like me, try running your hands under cold water to cool them down. The single dot is a little hard to see, so here is a fancy highlighting technique called pointing:
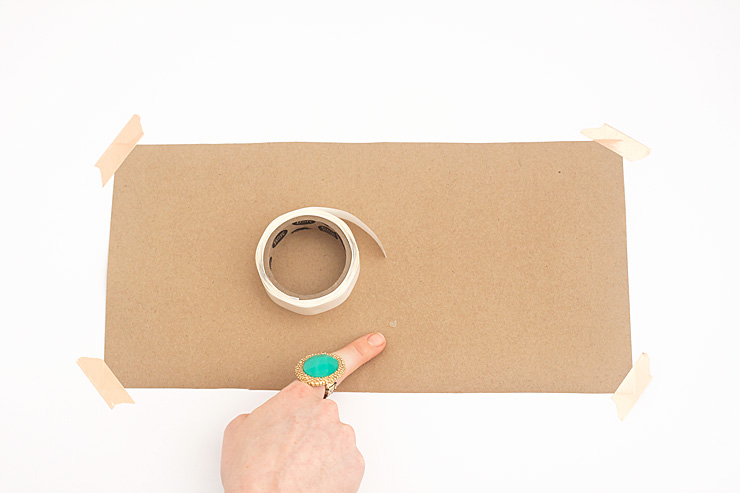
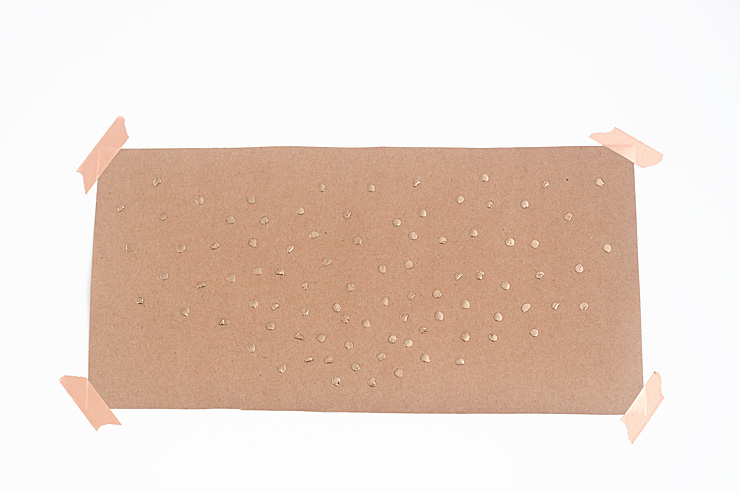
three – Repeat lots of times!
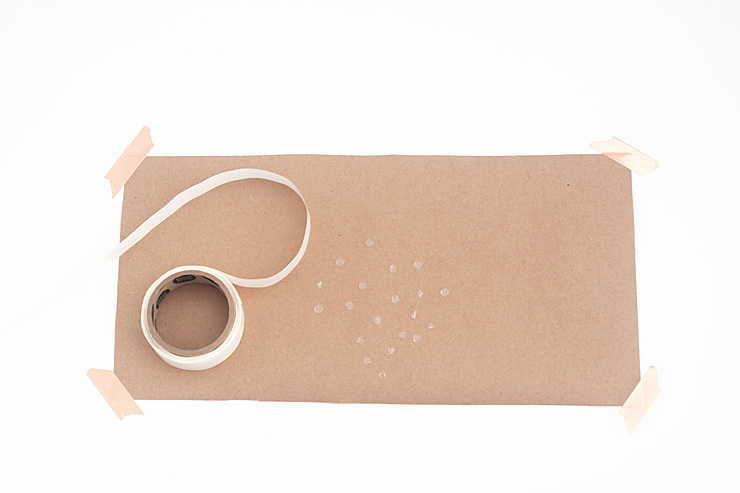
four – Place a gold foil transfer sheet over the dots. Transfer the foil by rubbing as above. The dots are so tiny it was easy to just use a finger for this one.
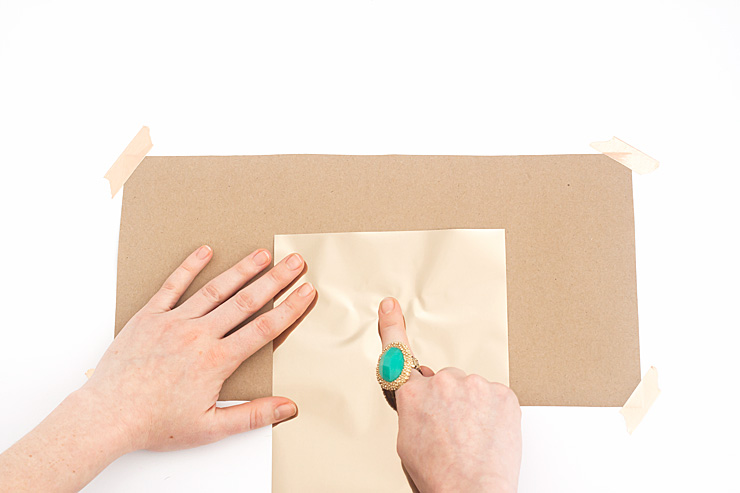
five – Peel and reveal. Wrap your gift!
Brushstroke Gold Foil Wrapping Paper
**Note: The other two techniques you can definitely do on your already wrapped gift, but this one you’ll want to do on the paper before wrapping the gift so the adhesive doesn’t bleed through.
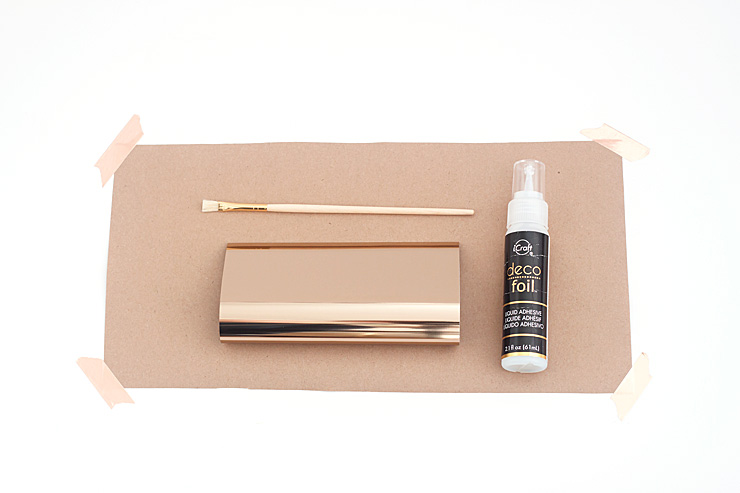
one – Pour out some foil liquid adhesive and start brushing it on the paper. You want the adhesive to be thick, but not globby. I got about 3-4 good thick brushstrokes with one loaded brush, then went back over each stroke without reloading the brush to thin the strokes out a little.
Different brushes will give you a different look, so don’t be afraid to play around a bit before painting your final gift wrap.
Don’t worry about perfection here, perfection is boring. You can see on my final box that I started with very uniform brushstrokes that gradually got sloppy more freeform as I went along. I promise no one will notice because a) gold foil, and b) you made your own gift wrap.
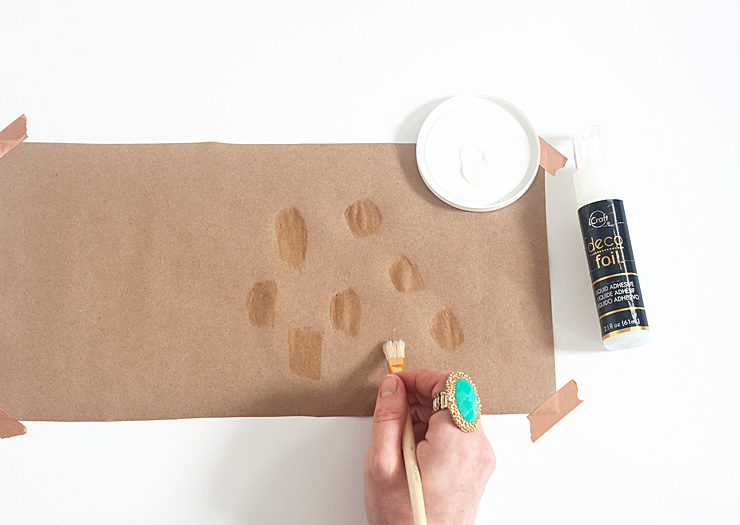
two – After you’ve made all the brushstrokes, let the adhesive dry. The directions on the kind I used say to wait an hour, but it really only took about 15 minutes. The adhesive should feel dry but sticky. Test it with your finger after 10-15 minutes—it should feel tacky to the touch but not come off on your finger.
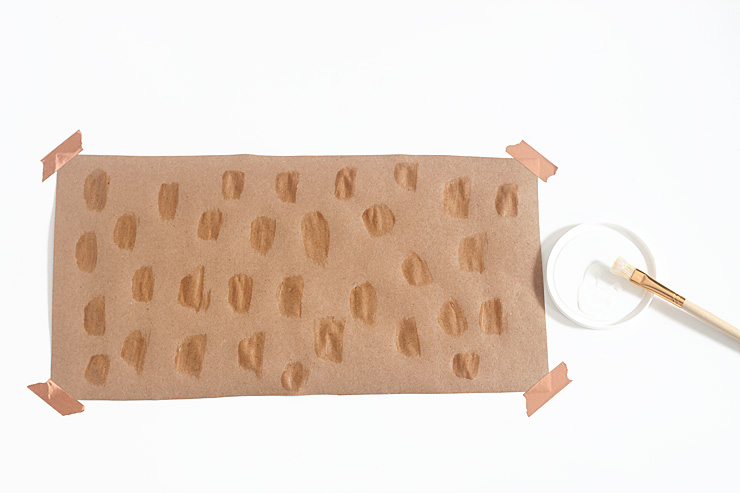
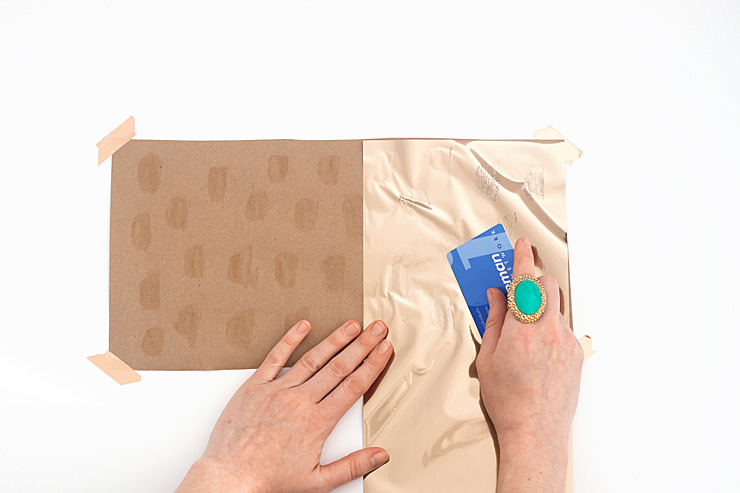
three – When the adhesive is dry and tacky, place a gold foil transfer sheet over the brushstrokes—all together now—shiny side up. Use your finger/bone folder/credit card to rub the foil onto the wrapping paper.
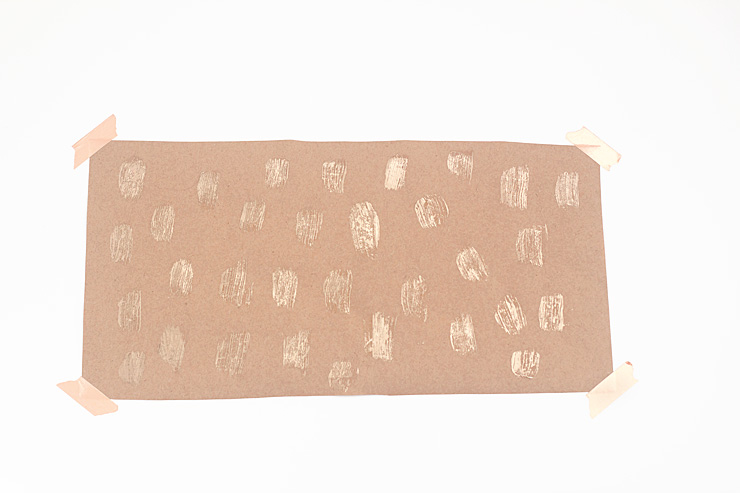
Ta-da! Remember, if you missed any spots, just put more foil down and do it again. It’s a very forgiving little DIY.
Wrap your gifts and enjoy the delighted faces of your giftees!
And don’t forget to grab a card! Minted has a huuuuuge selection and rush shipping so you can still make the big day.
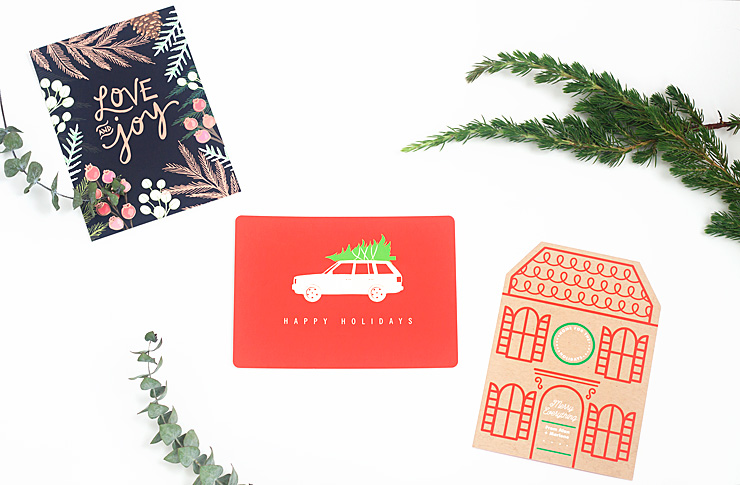
My favorite is the car card, it makes me think the Griswolds are coming over.
So who else always gets their holiday cards out late? (Me, I’m the worst).


Oh man that gold foil is beautiful! And Minted always has the best holiday cards!
Thank you, Rachel! I’m loving all things shiny this year (and really, every year). 🙂
Just love the first design using tape, such a fun pattern! And Minted hands down has the best cards!!
Thank you, I’m loving that pattern too! Fun to make as well, and I want to foil all the things. 🙂 LOVING my Minted cards! xoxo
These are all gorgeous! And genius idea using the glue dots!!
I love this! So much better then just store purchased gold wrapping paper, hand made just makes it all the more lovely xx
Handmade is ALWAYS better! Thank you thank you! xoxo
The last wrapping is my favorite. So beautiful!
http://www.kelseymarie.co
Aww, thank you so much! I’m partial to that one too. 🙂 xoxo
These are just gorgeous — and SUCH a great way to use up the leftover bits of foil from other projects, too. Love Minted, too! <3
YES, the leftover bits of foil! Especially with the dots, you can just use the tiniest little corners. Thanks Lindsay!
Gorgeous wrapping! I love the way to gold looks against the kraft wrapping paper! And those cards are adorable! And I have definitely wrapped up empty Amazon boxes too 😉
Hahaha, so glad I’m not the only one with the empty boxes! Thanks so much, Rachel!
This project makes me want to use my gold foil that has been collecting dust! Love how they turned out!
What, you have gold foil that isn’t being used?? For shame! 😉 Thanks, Marwa! xoxo