This post is sponsored by IKEA Stoughton, but all words/ideas/opinions are entirely my own!
Last year I discovered that my local hardware store teaches mini home repair workshops on the weekends. Which is how I found myself trekking over one morning, chai soy latte in hand, to watch a demonstration on plaster walls.
I was the only person who showed. Apparently plaster walls are not as riveting to my neighbors as they are to me.
But if you’ve ever lived in a pre-1950s home, you know the agony of those crumbly plaster slabs masquerading as walls. Boston-area readers, I know you’ve been there: how hammering a tiny nail hole turns into spackling a tennis ball-sized gash. Or how the cleanup from that tiny hole fills an entire vacuum cleaner cup with dust and bits of horsehair (ew ew ew ew ew). Or how it’s impossible to hang anything heavier than a cheapo 8×10 frame.
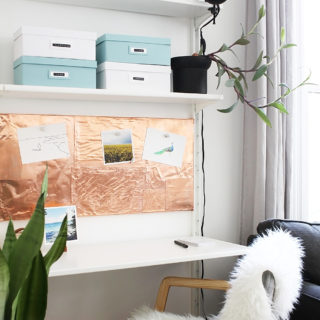
Well, my home repair nerdiness has paid off, because I have learned a secret. And that secret has allowed me to finally, finally have the modern, open, bright white Scandinavian workspace of my dreams.
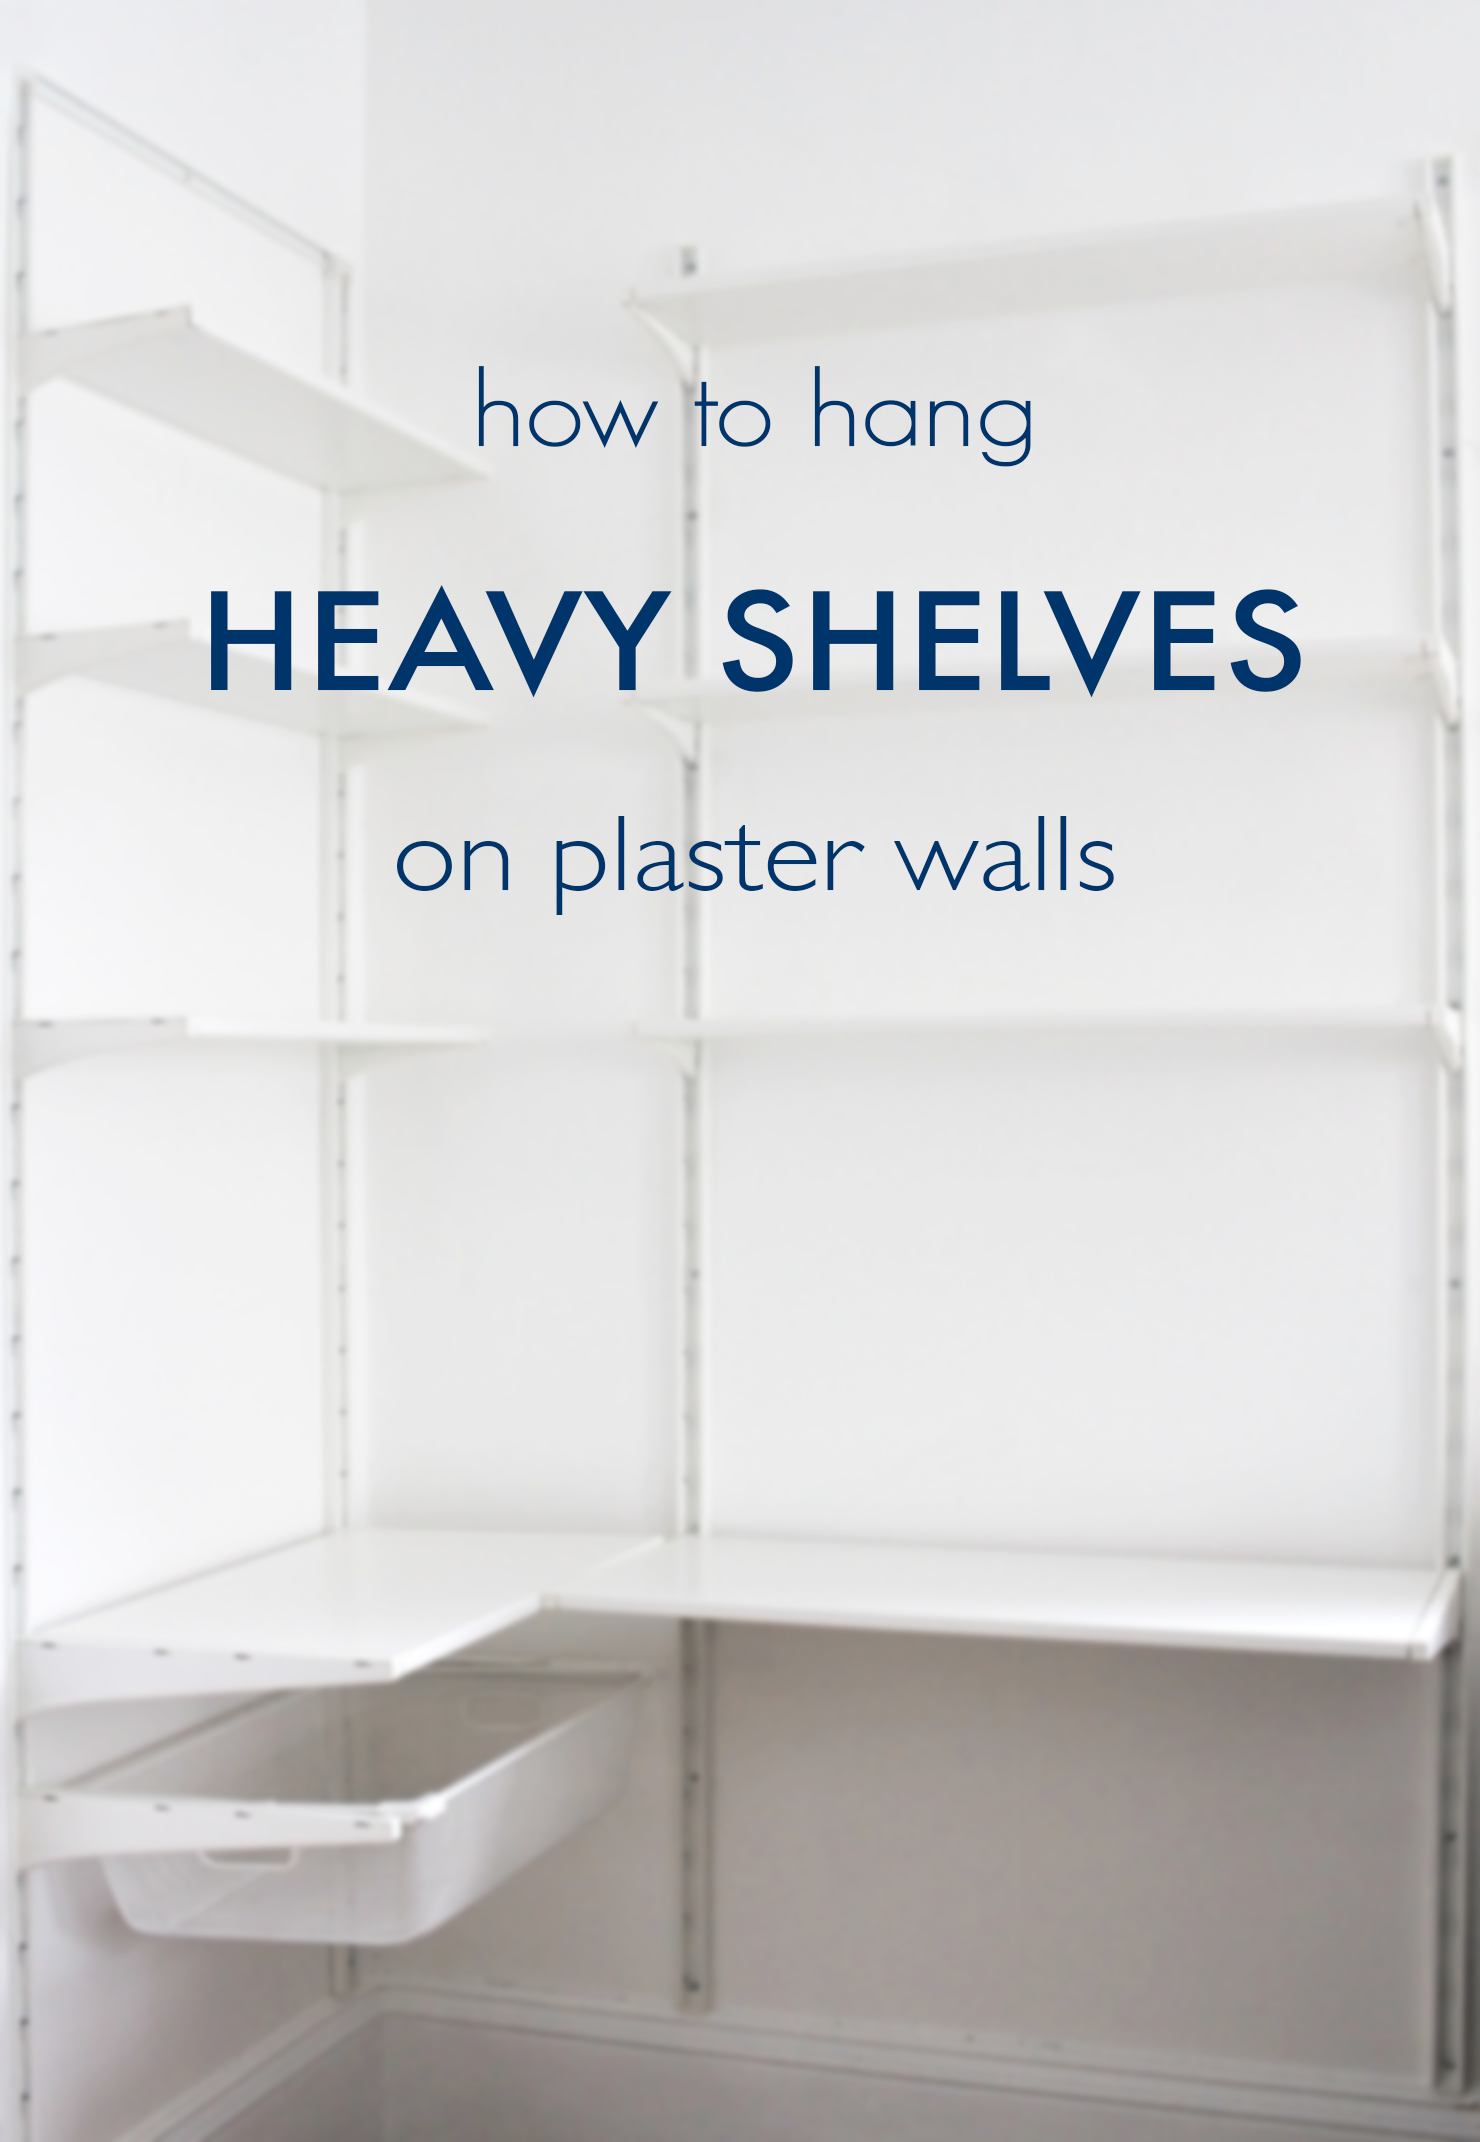
That’s right, you can hang up stuff in your charmingly impractical turn-of-the-20th-century home. All you need is a little piece of hardware you’ve probably passed a million times while bee-lining it for the copper pipes in the plumbing aisle: the toggle bolt.
If I sound a little info-mercially, it’s because I’m practicing for my debut Vanna White impression below, which is not embarrassing at all. But first, everything you need to learn how to hang heavy shelves on horsehair plaster walls:
Tools + hardware:
- (16) 3/16″ x 3″ toggle bolts
- (16) pan head #10 x 1 1/4″ wood screws (be sure to get screws with a pan head, which helps hold the ALGOT track in place)
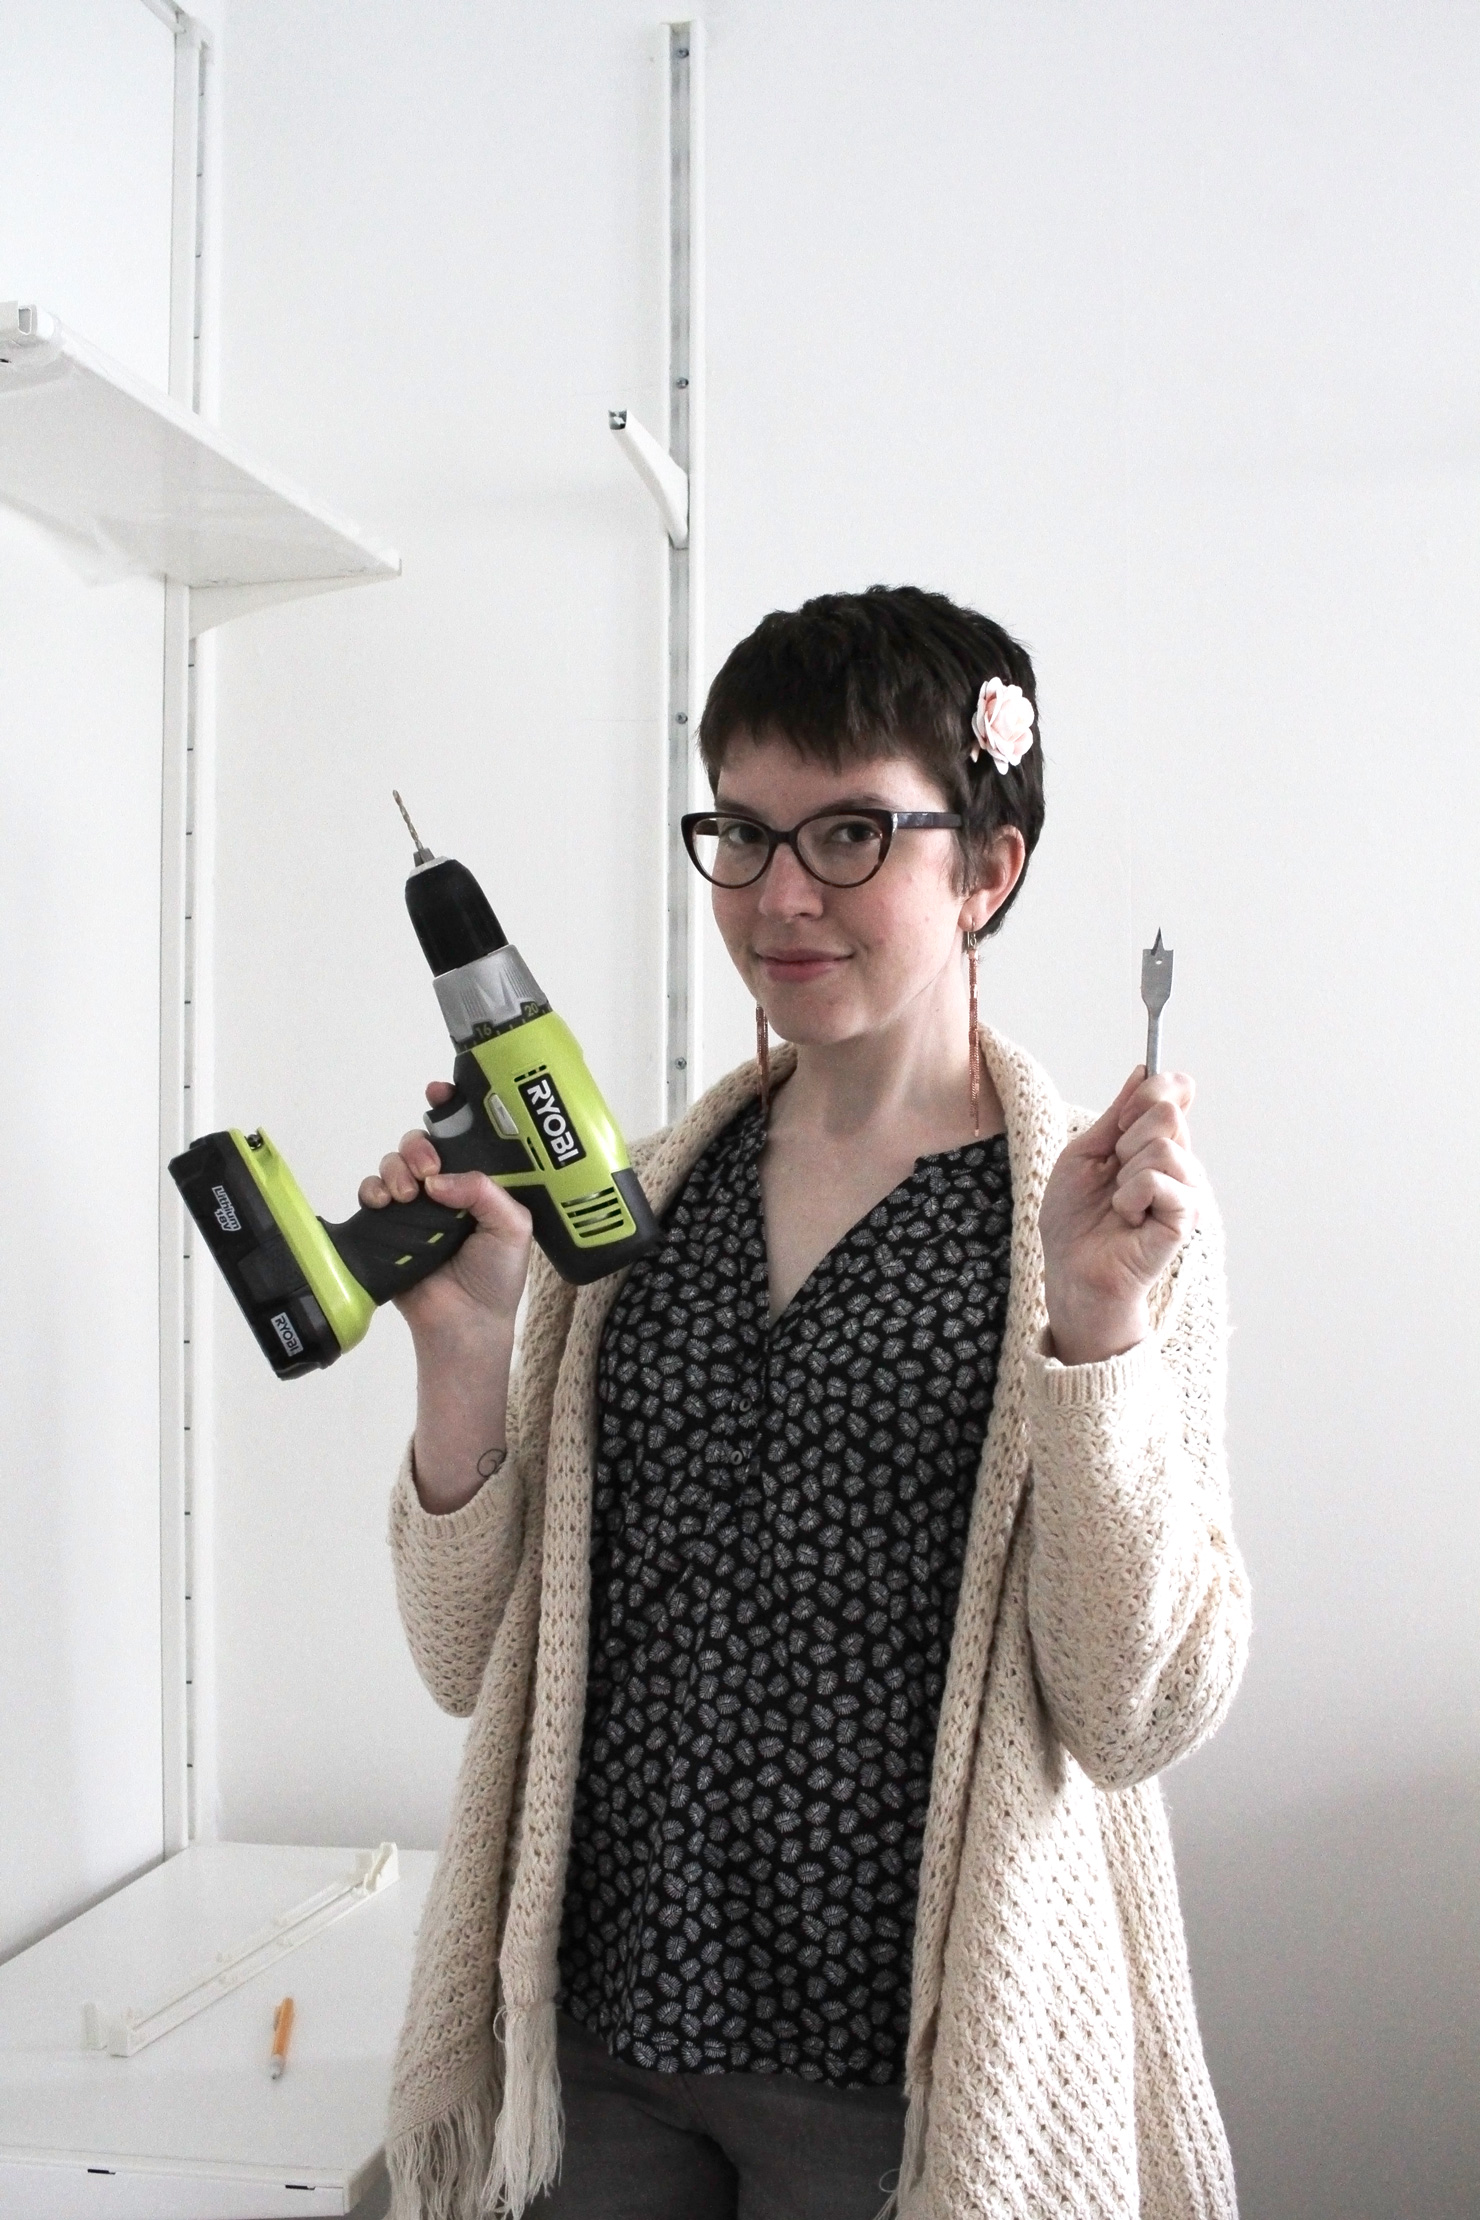
- power drill (I’ve got this Ryobi drill/driver combo kit and LOVE it)
- 1/8″ drill bit for pilot holes
- 5/8″ spade drill bit (***if you get a different size toggle bolt, make sure you have the corresponding drill bit so you make the right size hole)
- bubble level
- pencil
- a helpful friend, unless you have eight arms, in which case please can I hire you to help me with my next project?
IKEA ALGOT components for my corner workspace layout:
- (4) 77 1/8″ wall uprights
- (1) 23 5/8″ x 15″ shelf
- (1) 31 1/2″ x 15″ shelf
- (6) 15″ brackets
- (3) 31 1/2″ x 7 1/8″ shelves
- (3) 23 5/8″ x 7 1/8″ shelves
- (12) 7″ brackets
- (1) 15″ x 23 1/2″ x 5 1/2″ mesh basket
- (1) pull-out rail for basket
- (2) suspension rails in the corresponding size (this guy is optional; I hung one shelf system with and one without the suspension rail, and preferred not using it)
Ok, first we need to learn how to install a toggle bolt. It’s super easy as long as you know how to use a drill. (Which is also super easy, but if you’ve never done it, just ask the employees at your local hardware store). To show you just how the toggle bolt works, I photographed a short demo using a bit of scrap wood. Here we go:
How to use a toggle bolt:
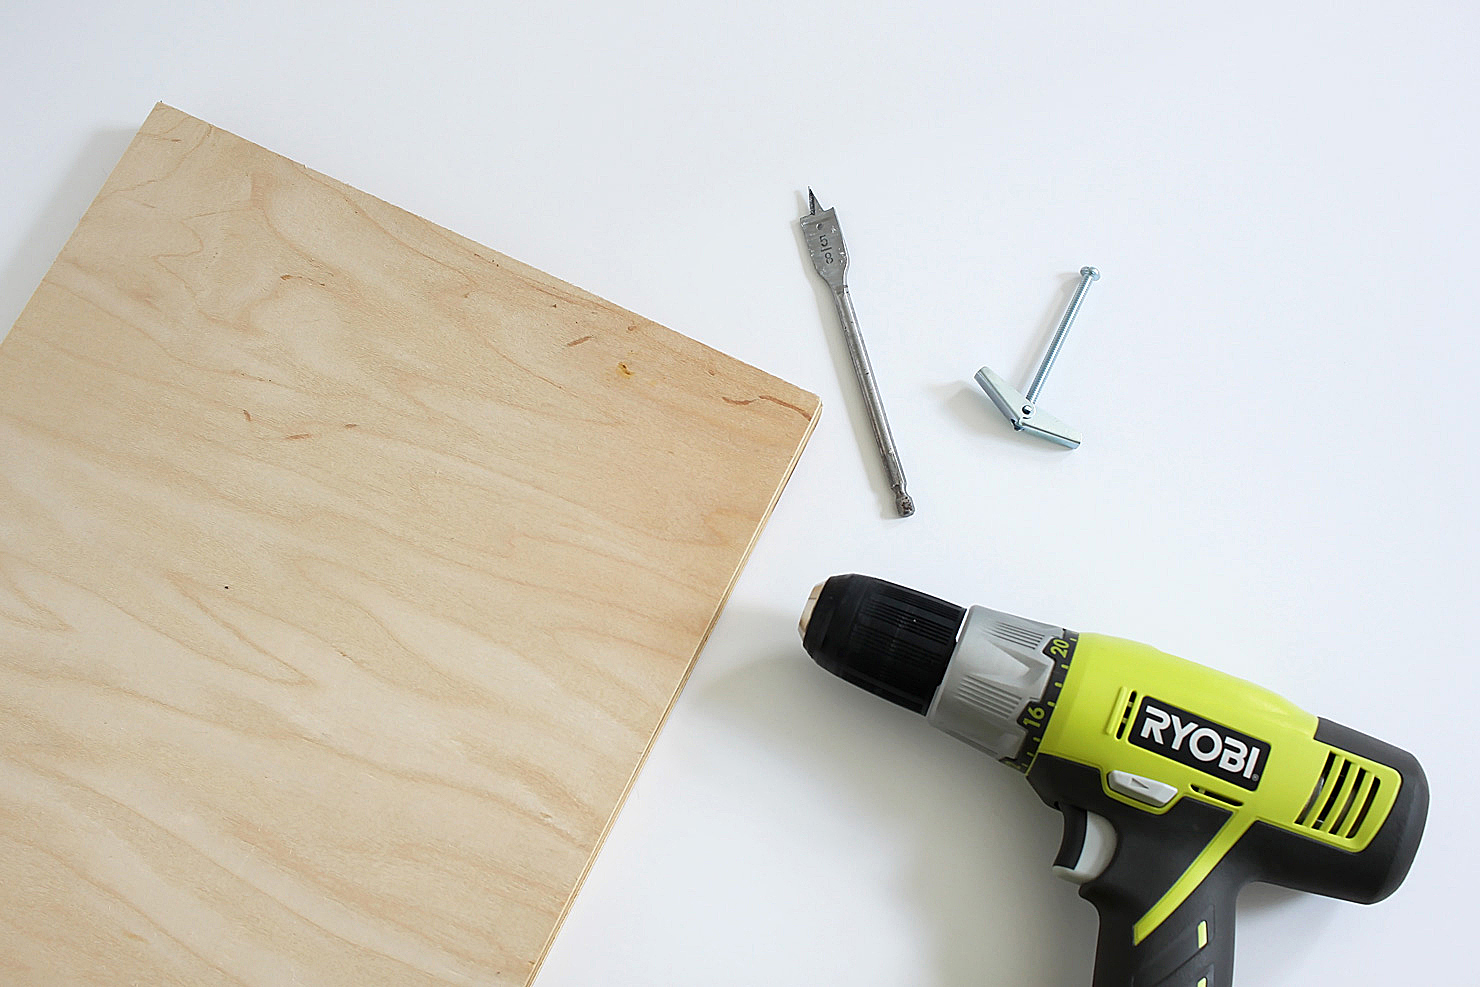
Grab your drill, a small drill bit, a spade drill bit that’s big enough to fit the toggle, your toggle bolt, and whatever it is you’re hanging up (in this case, ALGOT wall uprights).
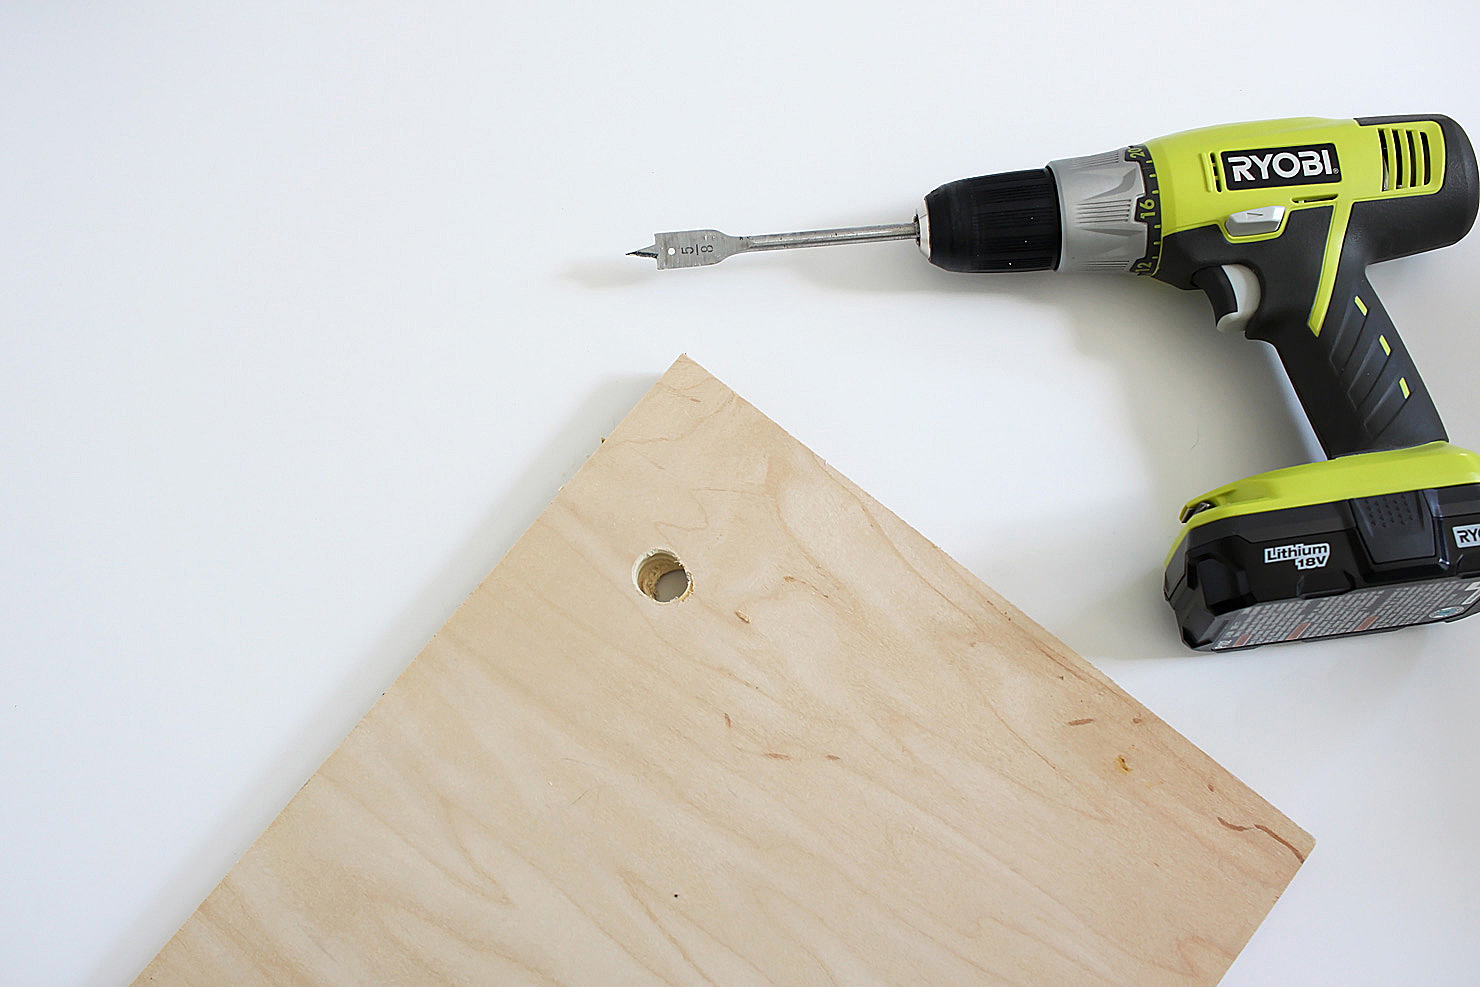
Drill a hole with your spade bit.
***When drilling into horsehair plaster walls, first drill a small pilot hole with the regular drill bit to help prevent the plaster from cracking. Then make the hole bigger with the spade bit.
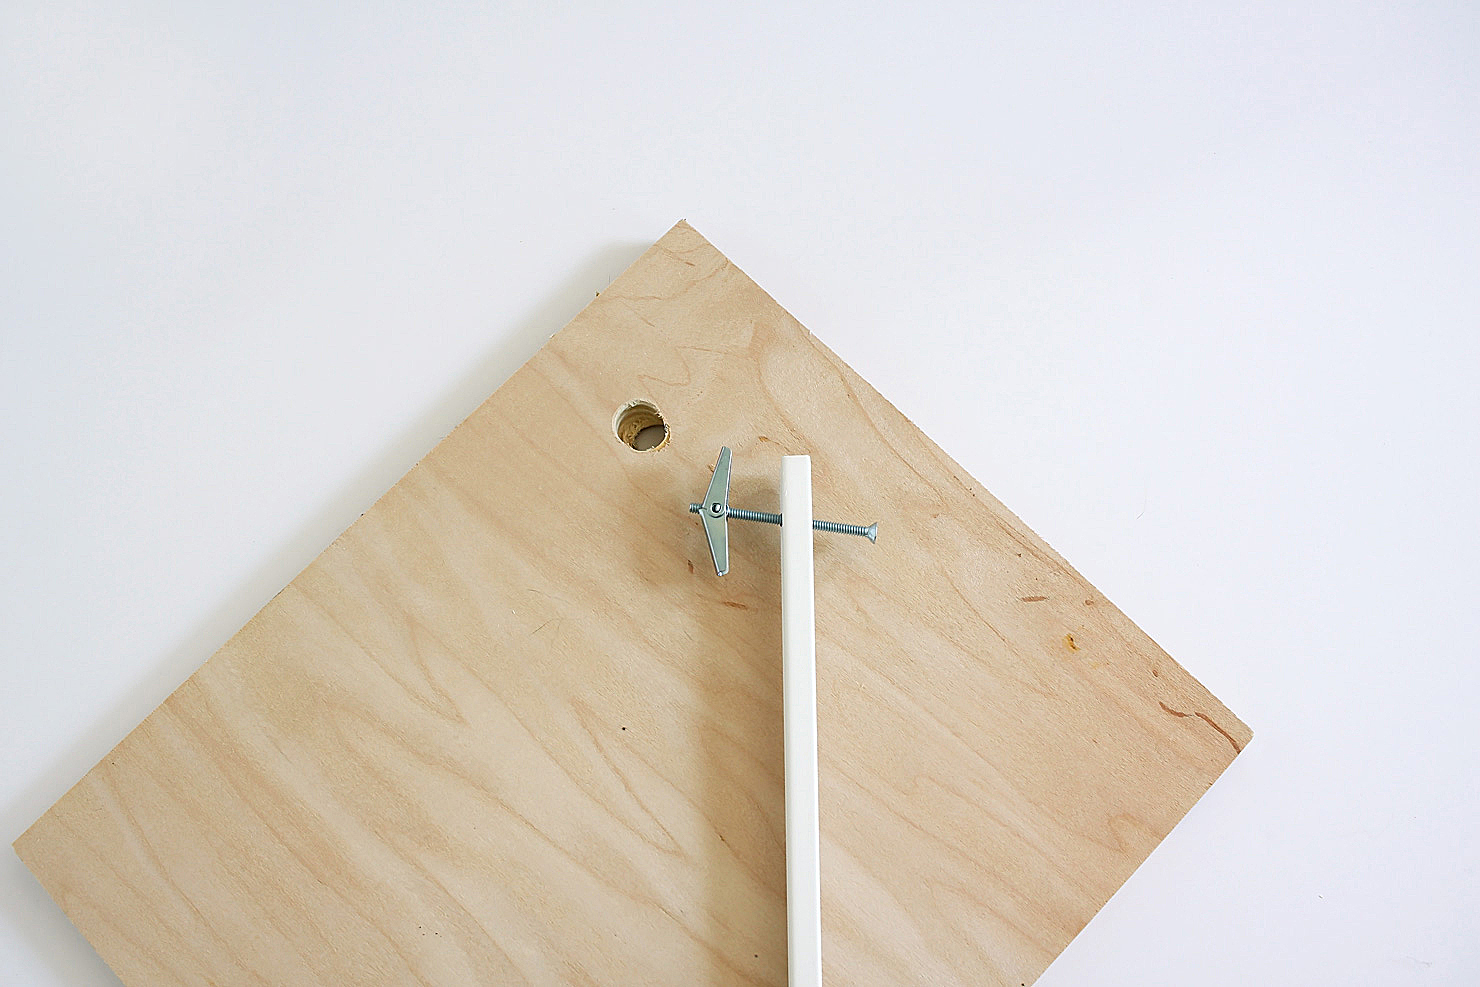
Thread the bolt through the hole in the bracket, and attach the toggle from the other side. Don’t tighten it — you want it to be able to push all the way through the thick wall, so it needs to be on the end of the bolt as pictured.
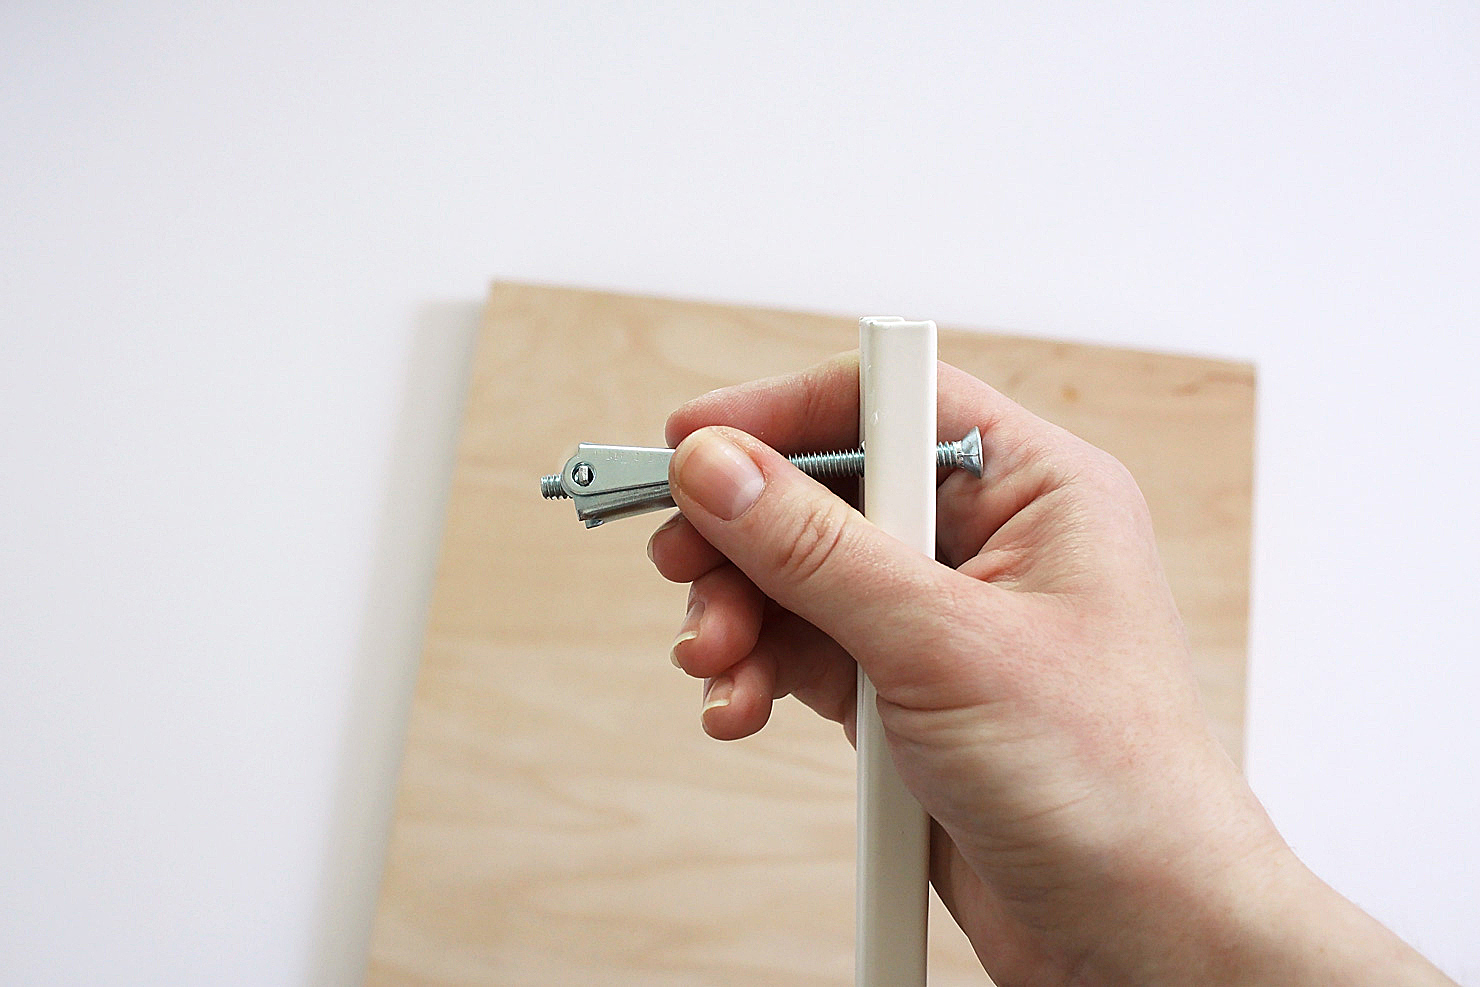
Close the toggle…
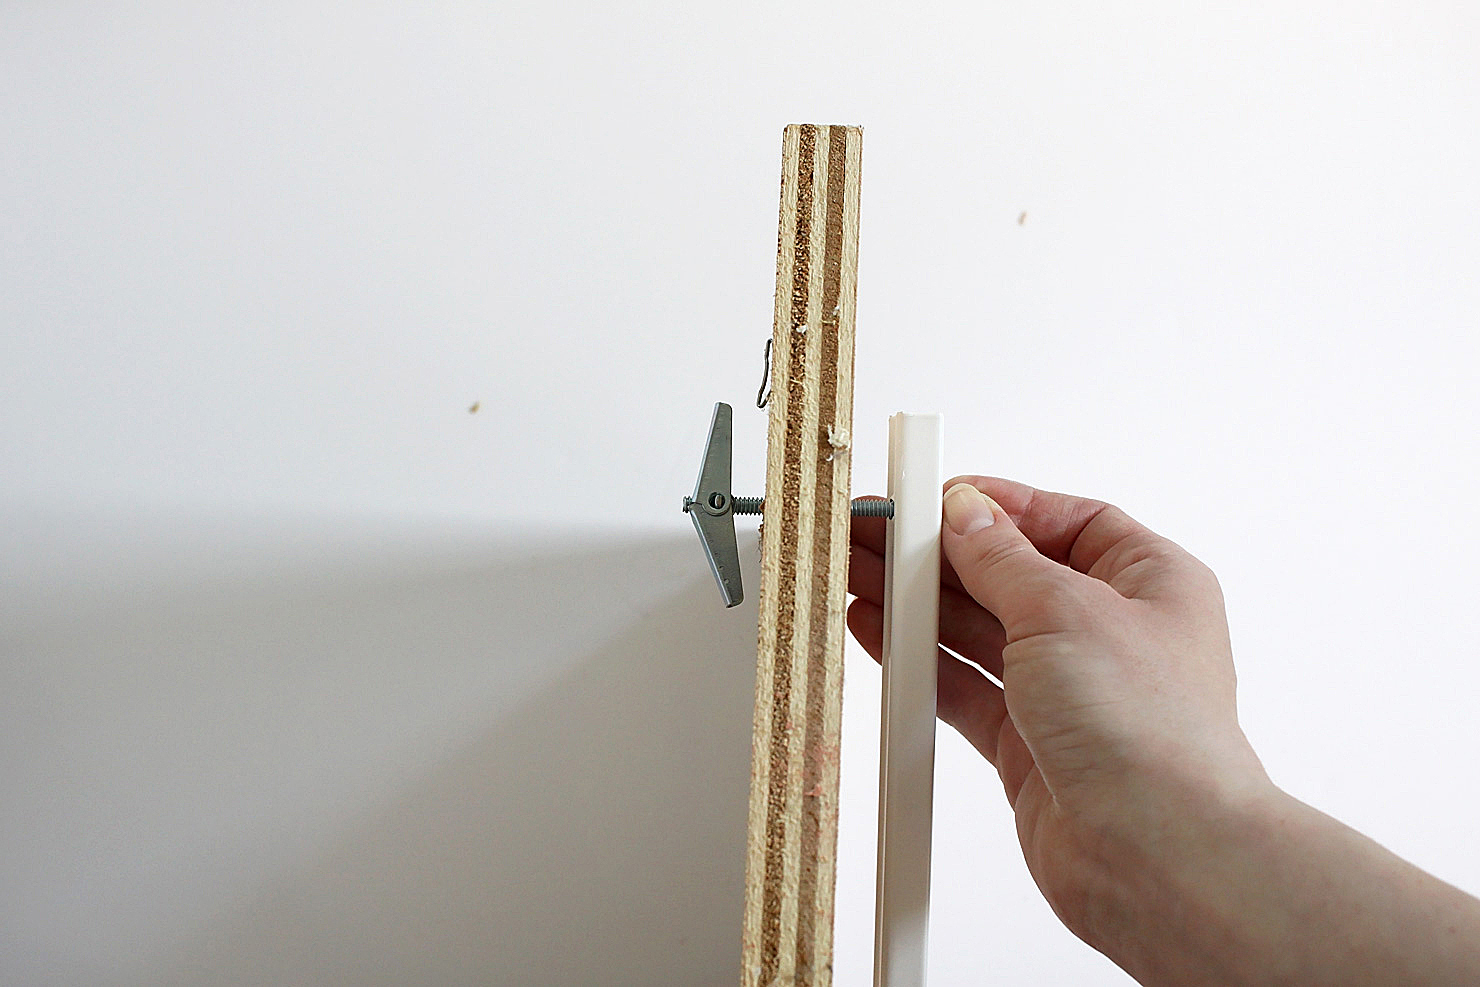
And push the toggle through the hole. Inside the wall, the two “wings” will pop open like an umbrella.
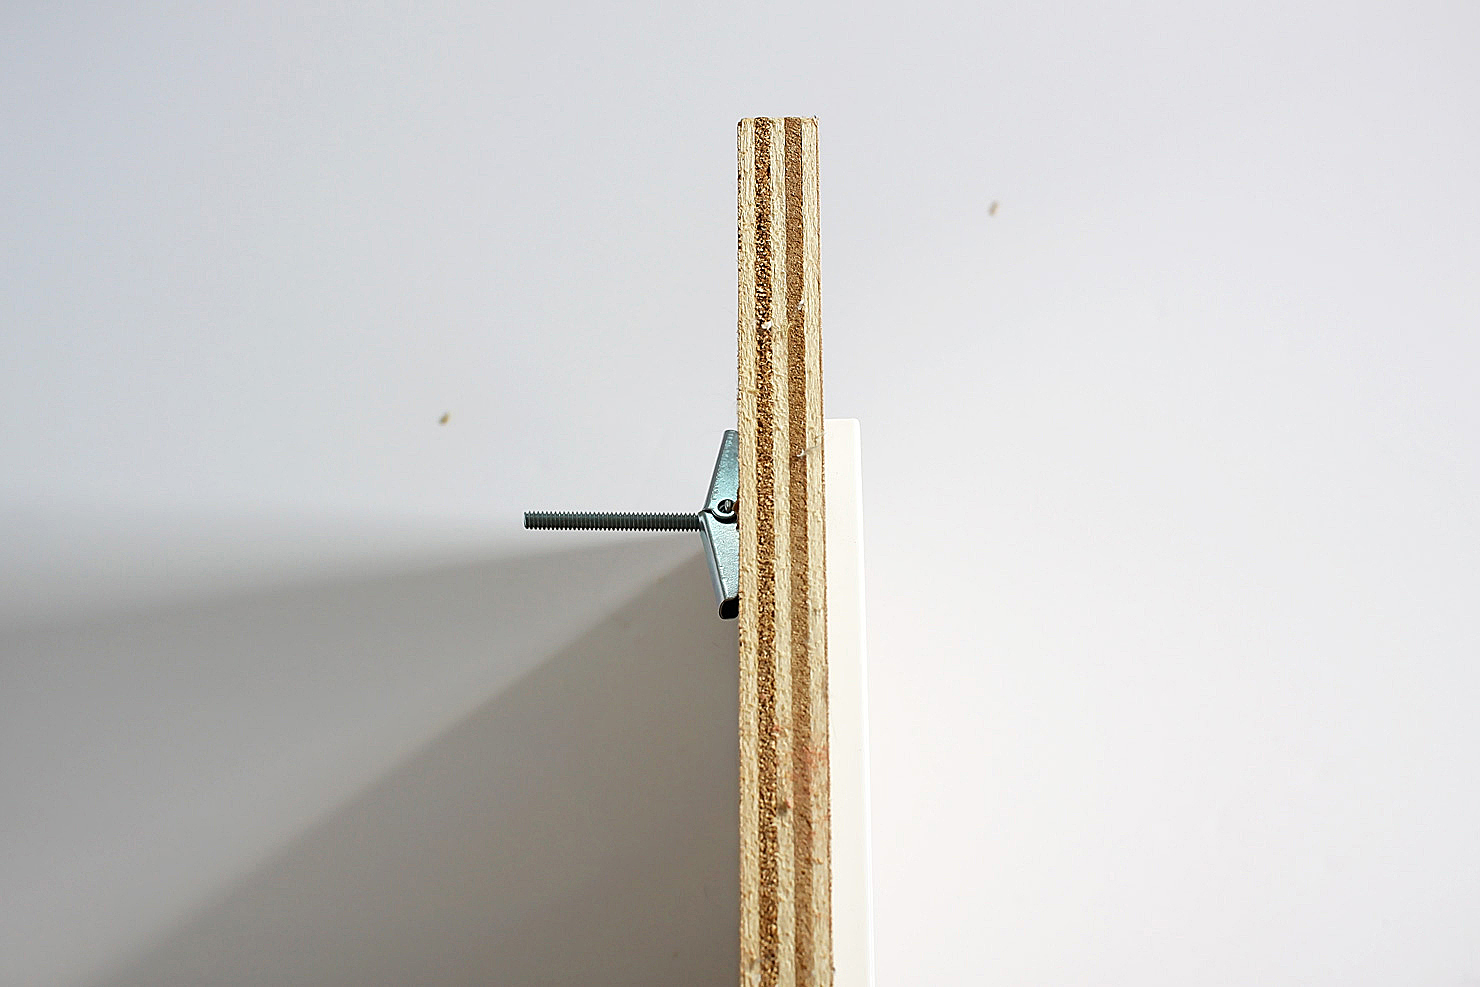
Tighten the bolt with the power drill as far as you can until it stops. The toggle will now lie flat against the lathe inside the wall, distributing the weight of the bracket/shelf/heavy mirror and keeping the bolt in place.
Easy, right? Now we’re ready for the real thing. Go shop IKEA and then come back here to hang those heavy shelves.
FYI, this next part was totally impossible to photograph “live” because even with two people there were just not enough hands to shoot and install at the same time. Get ready for some killer reenactment photos!
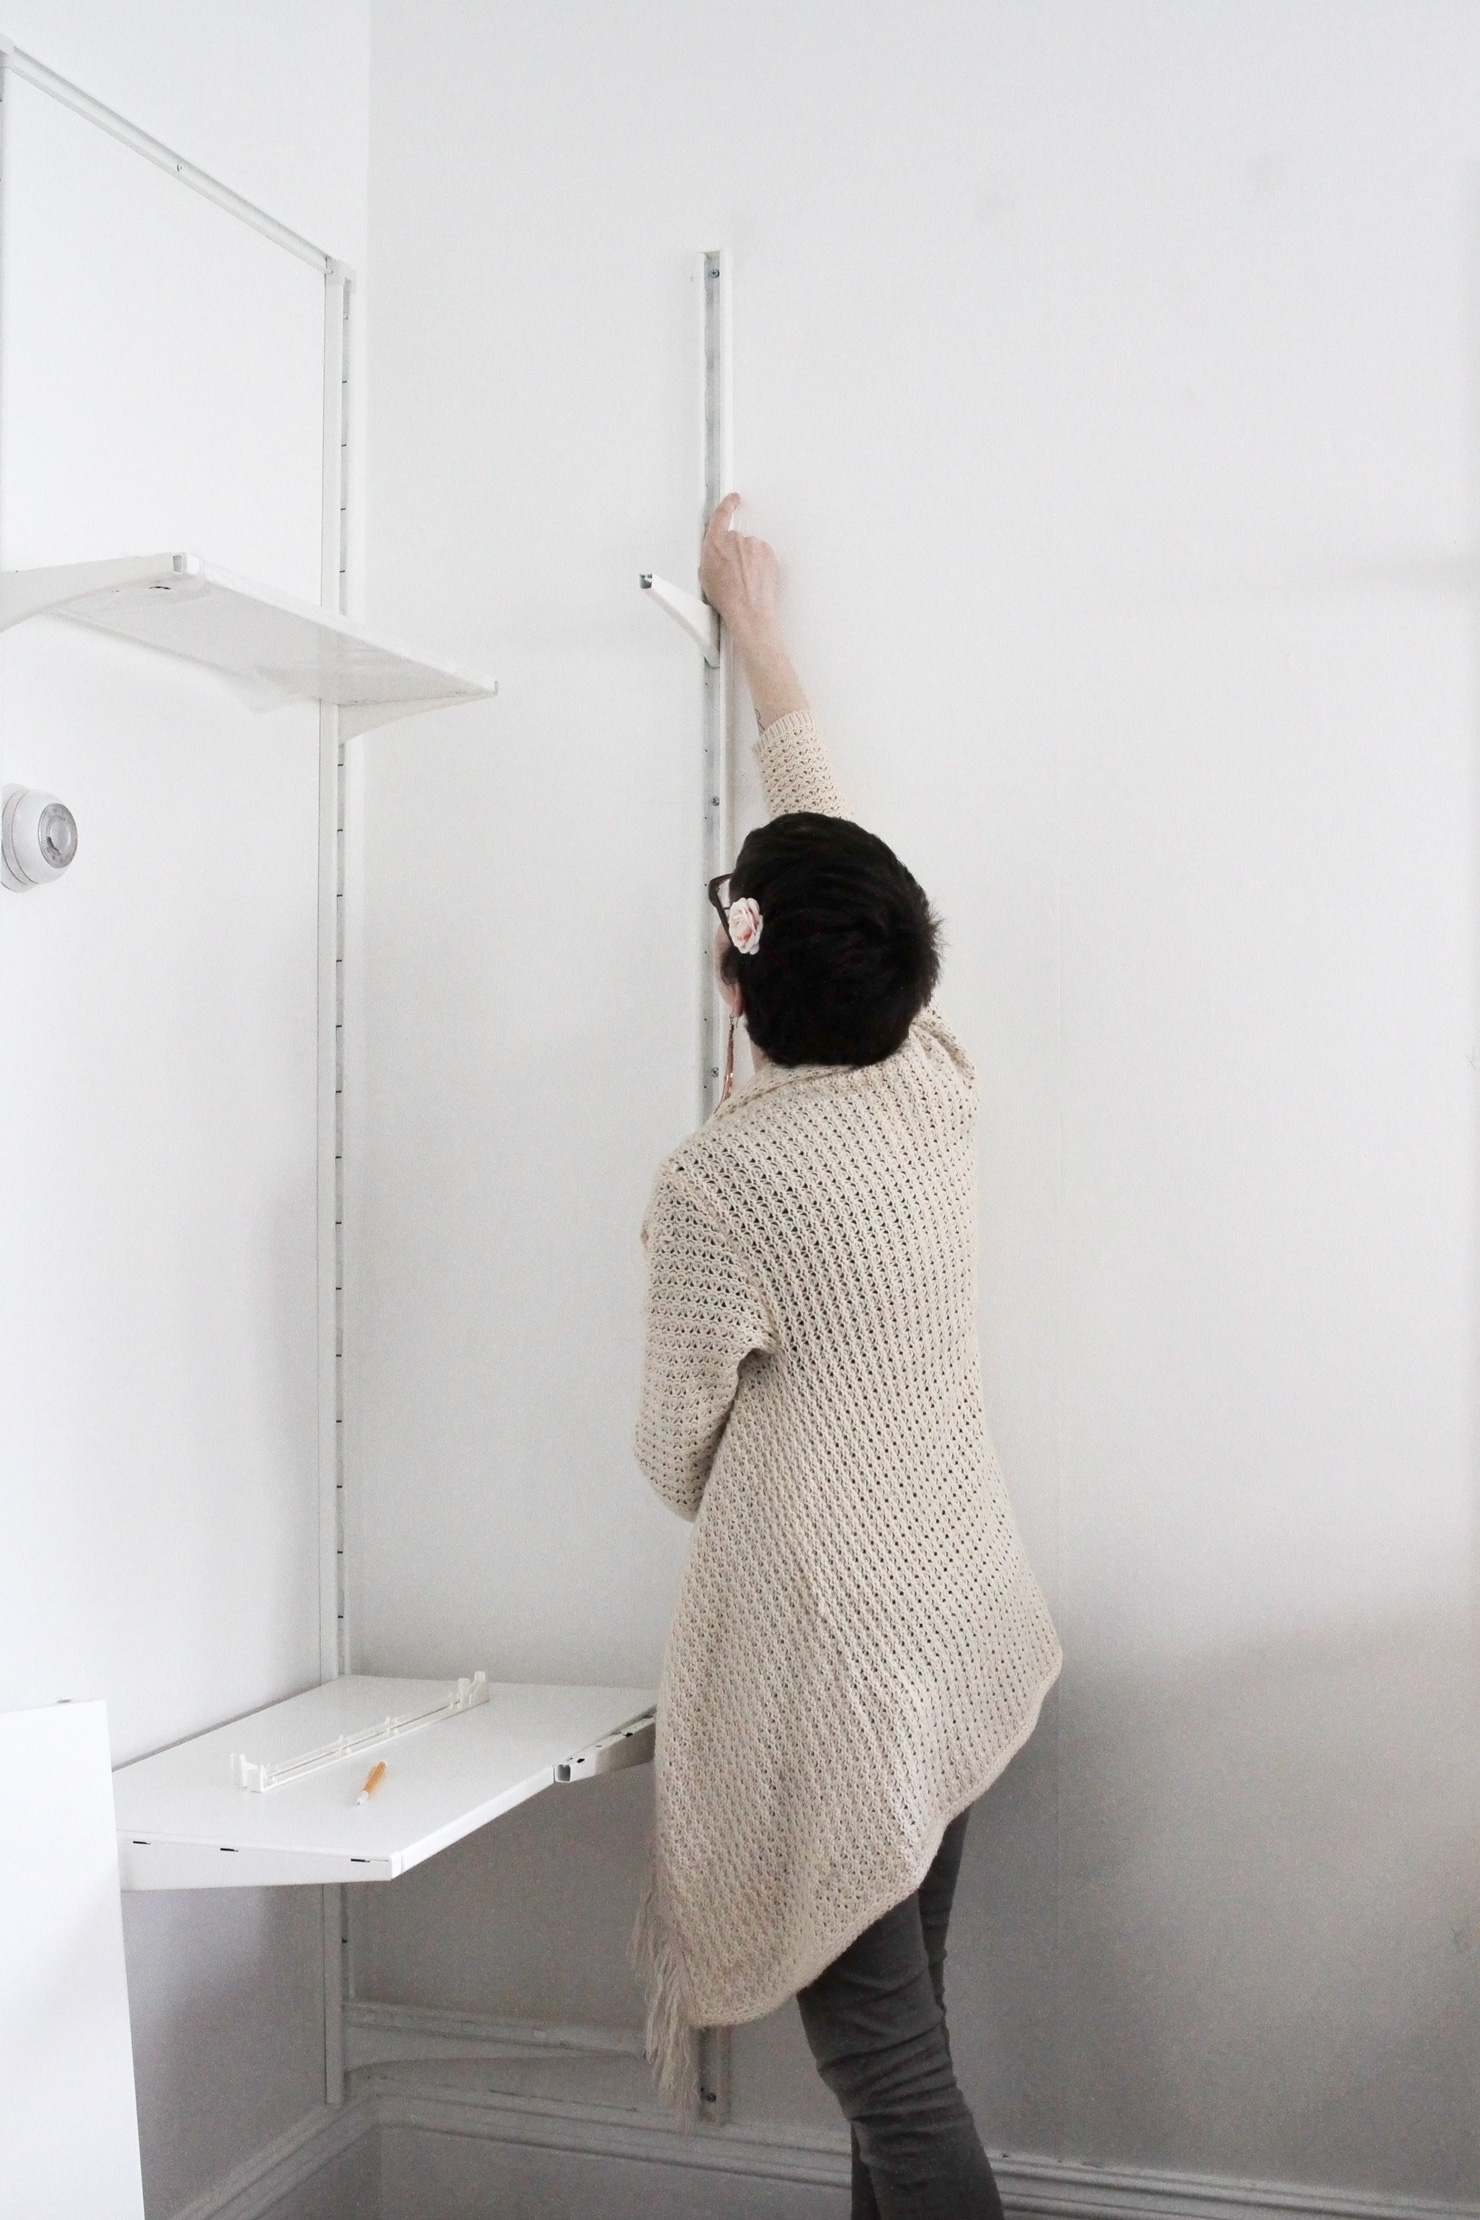
Check out the classic vintage grain on these photos! Yeah, I need a new camera. Early birthday gift, Alan?
step one: Hold the first wall upright in place on the wall where you want to install the shelves, and ask your helpful friend to mark all the holes with a pencil. In this case my helpful friend is imaginary because Alan doesn’t really like being in photos.
*Note: if you are installing your ALGOT shelves in a corner configuration like I did, hang the shelves for one of the walls completely before starting on the corner. This way you can line the brackets up as closely as possible to make a proper corner.
Ok, I probably could have managed a photo of drill holes.
step two: Drill your holes! Four of the holes should be large enough for the toggle bolts — the top and bottom holes, and two holes near the middle (this will be more than enough toggle bolts to hold the weight of the shelves). Don’t forget to drill a pilot hole with a regular drill bit first, then widen the holes with the spade bit. The other four holes can be made with a regular bit for the screws.
Yes, I know, the upright is already hanging behind me. Just pretend with me, ok?
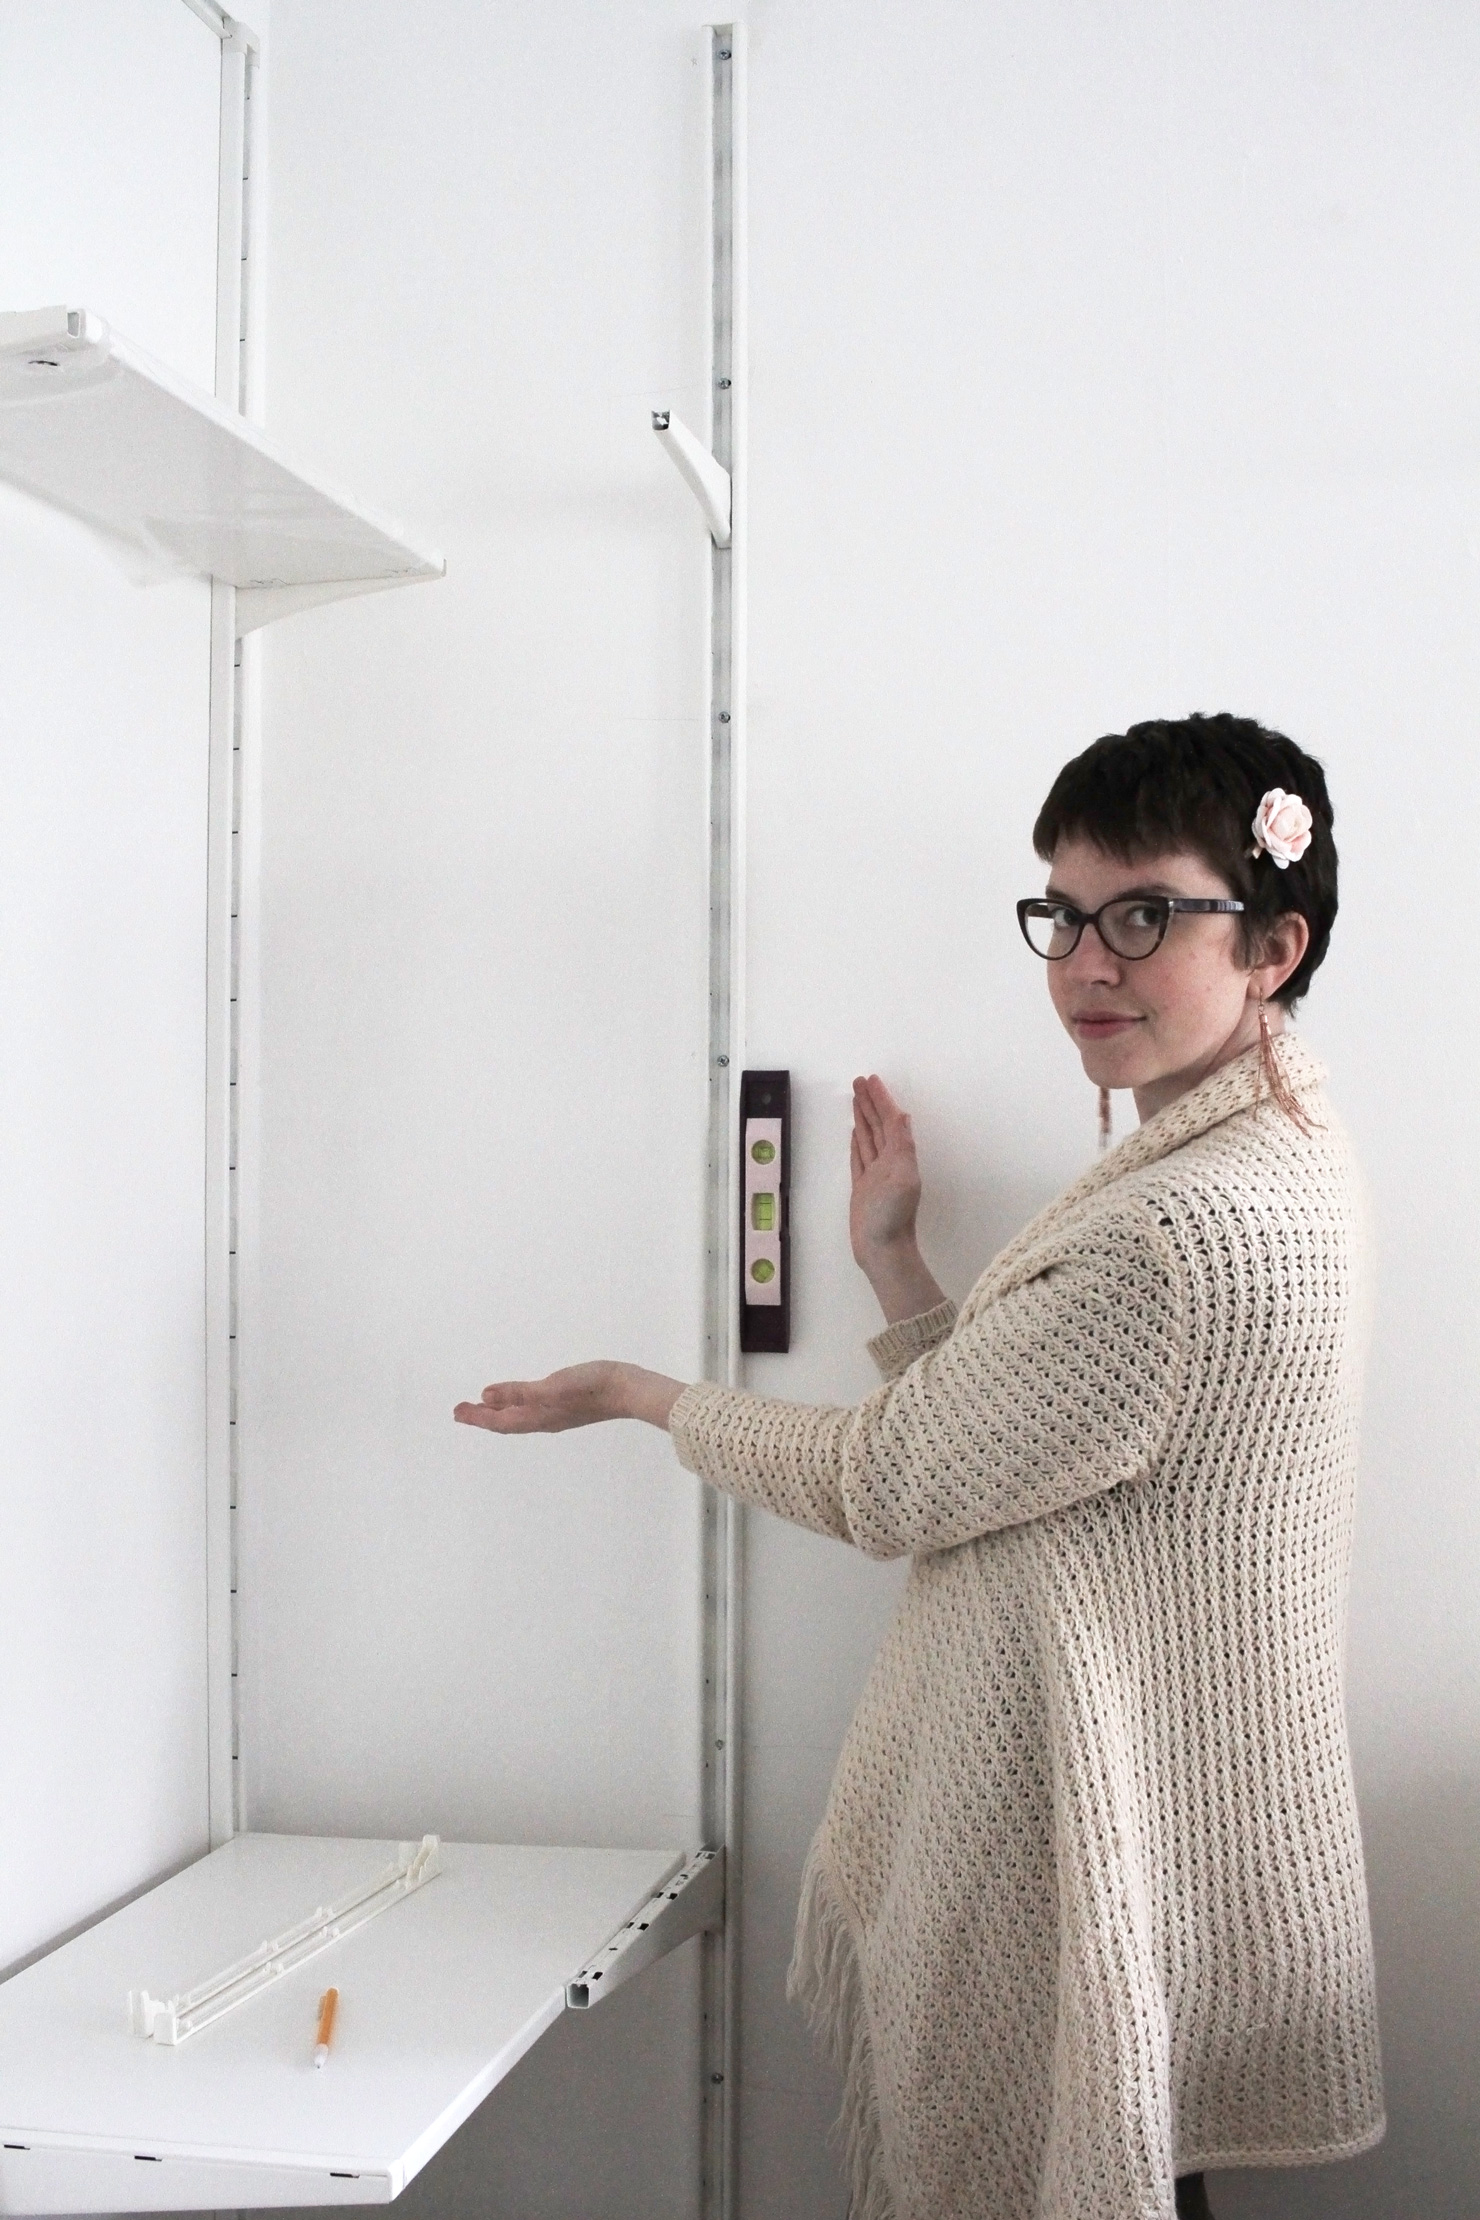
The next Vanna White? Er, no.
step three: Attach four toggle bolts to the wall upright. Then, insert the toggle bolts into the pre-drilled holes by closing the toggles and then pushing them through until they pop open inside the wall, just like in the piece of scrap wood above. It’s a little tricky to coordinate all four at once, so I found the easiest way was to do the top ones first, then the bottom ones.
***Don’t completely tighten the bolts at this point! Just tighten them enough that it will loosely hold the upright in place. Use your bubble level to make sure it’s straight before moving on to the next step. (Since the bolts are slightly loose, you can wiggle the upright around until it’s level).
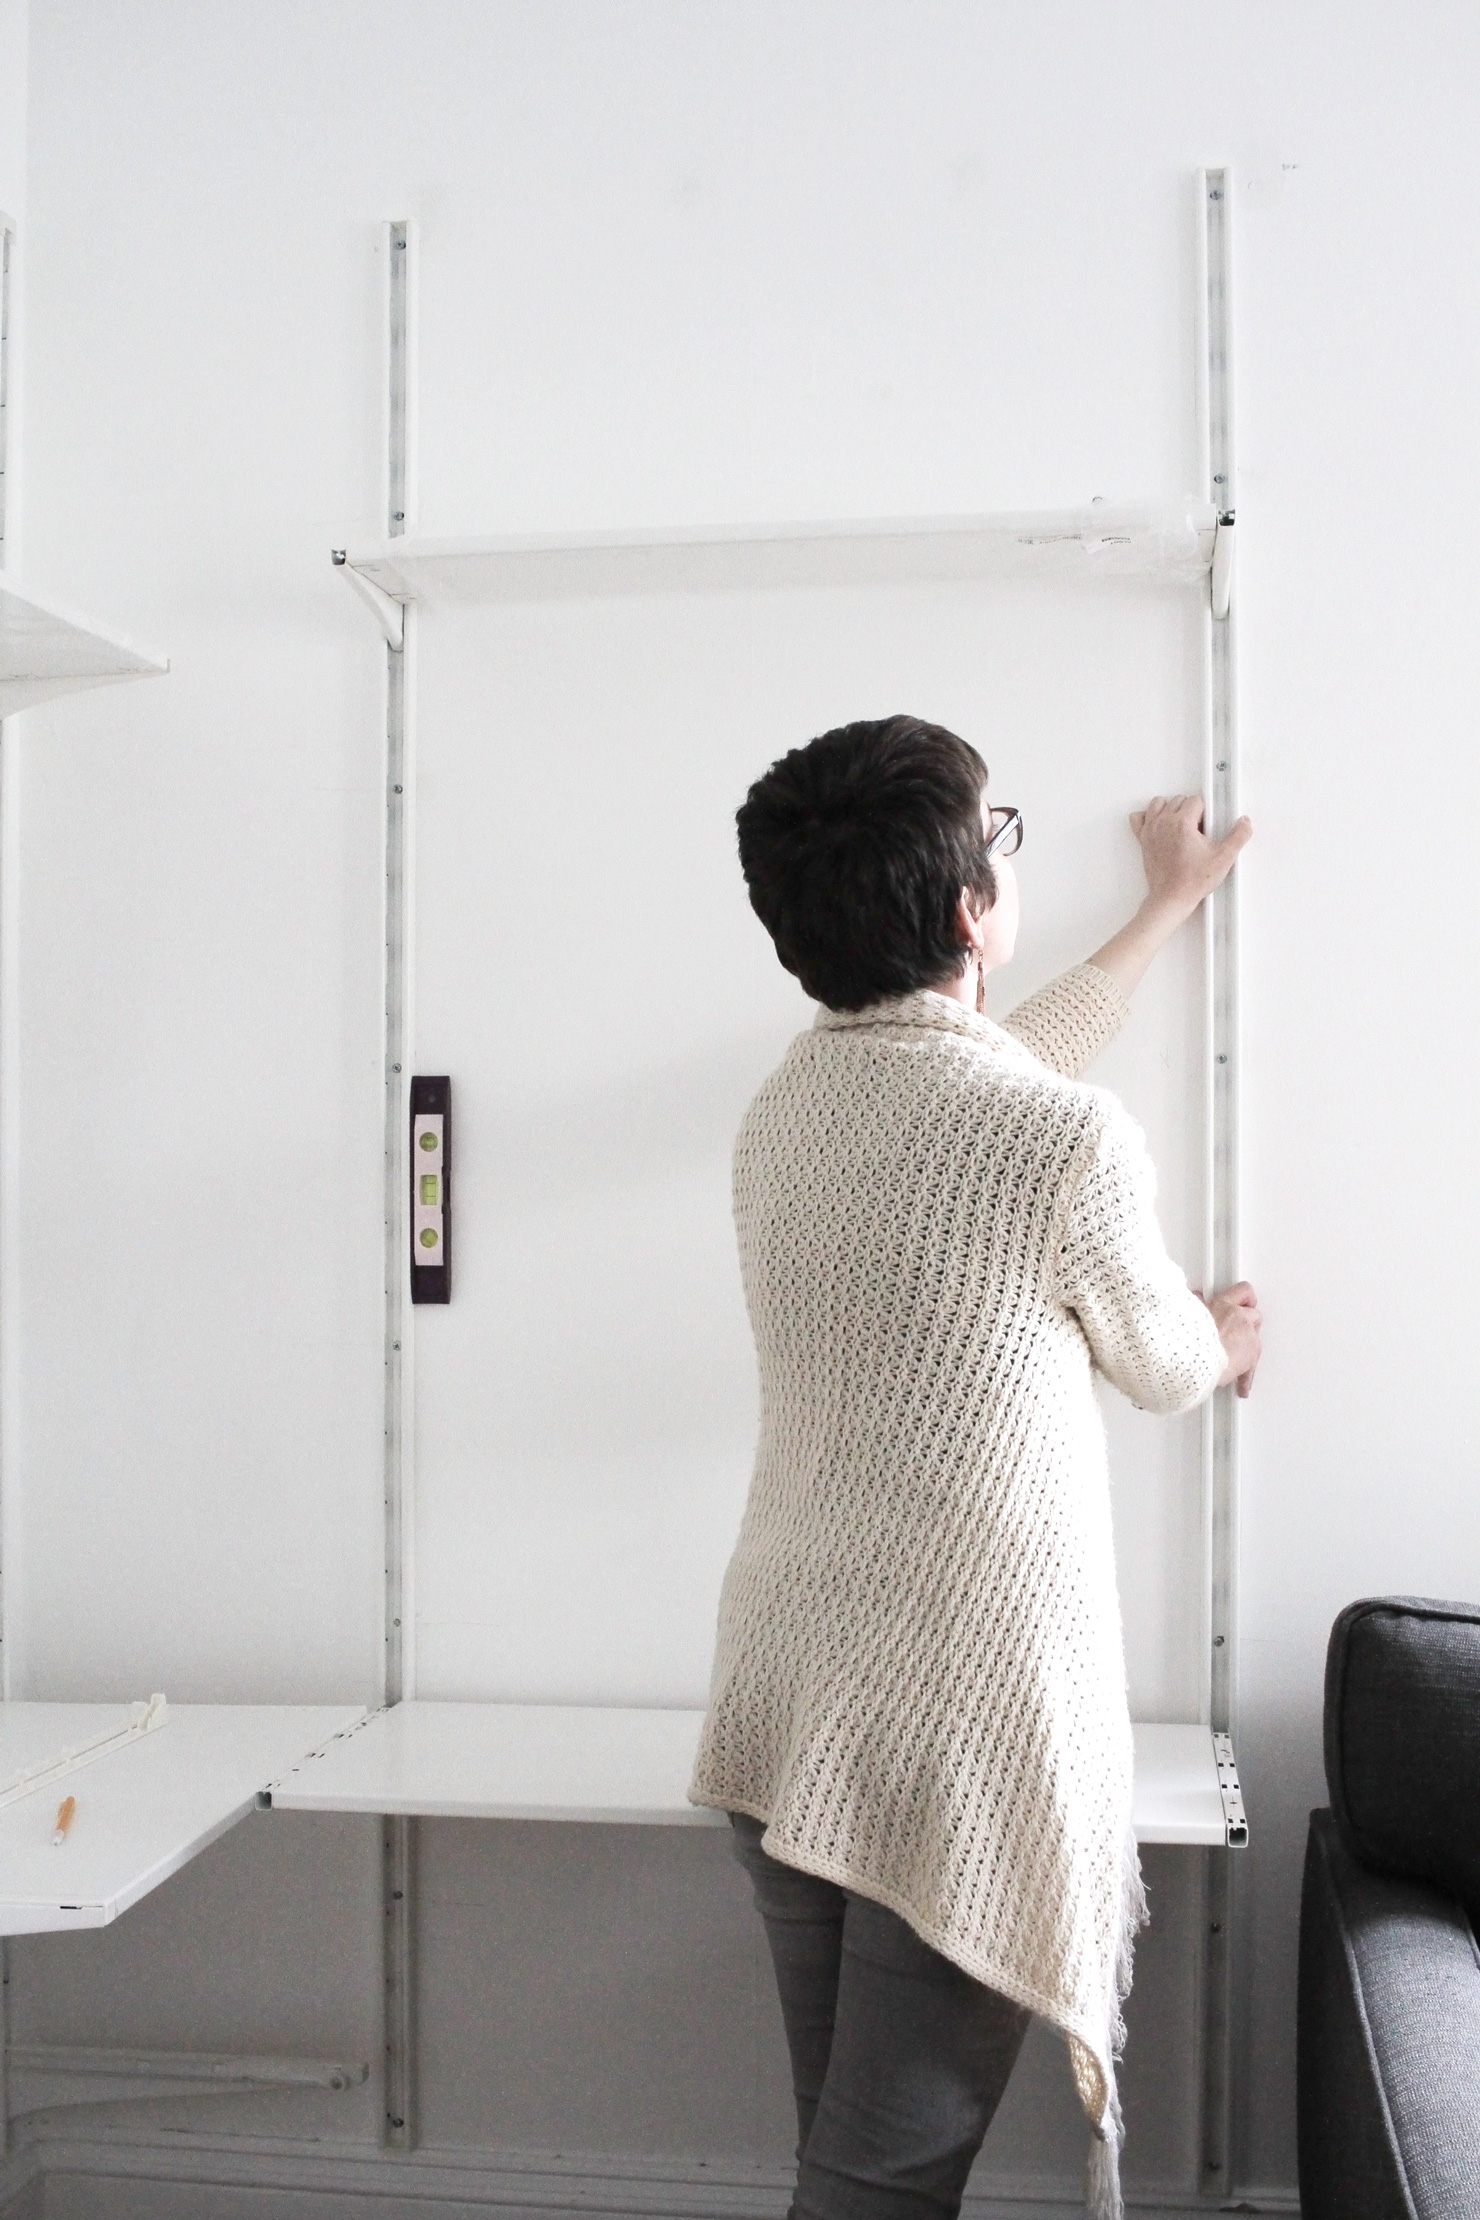
step four: Hold up the next upright and have your helper friend attach brackets and shelves towards the top and bottom — this makes it super easy to know exactly where that second upright should go. Check that everything is level and mark where to drill with your pencil.
Tip: Leave the plastic cover on the shelves while you’re installing them (just expose the bracket tabs on the ends). That way they won’t get scratched while you’re putting them up and down and finding just the right spot.
step five: Drill the next set of holes just like you did in step two.
step six: Attach the toggle bolts into the upright, pop them through the wall, and loosely tighten.
step seven: Triple-check that the uprights are level from top to bottom, and hang up those two shelves again so you can make sure they are level from left to right.
step eight: Finally (finally!) tighten the bolts all the way to secure the uprights to the wall. Drive in the regular screws in the remaining holes for extra security.
Now you are free to hang your ALGOT shelves and rearrange to your plaster-hating heart’s content!
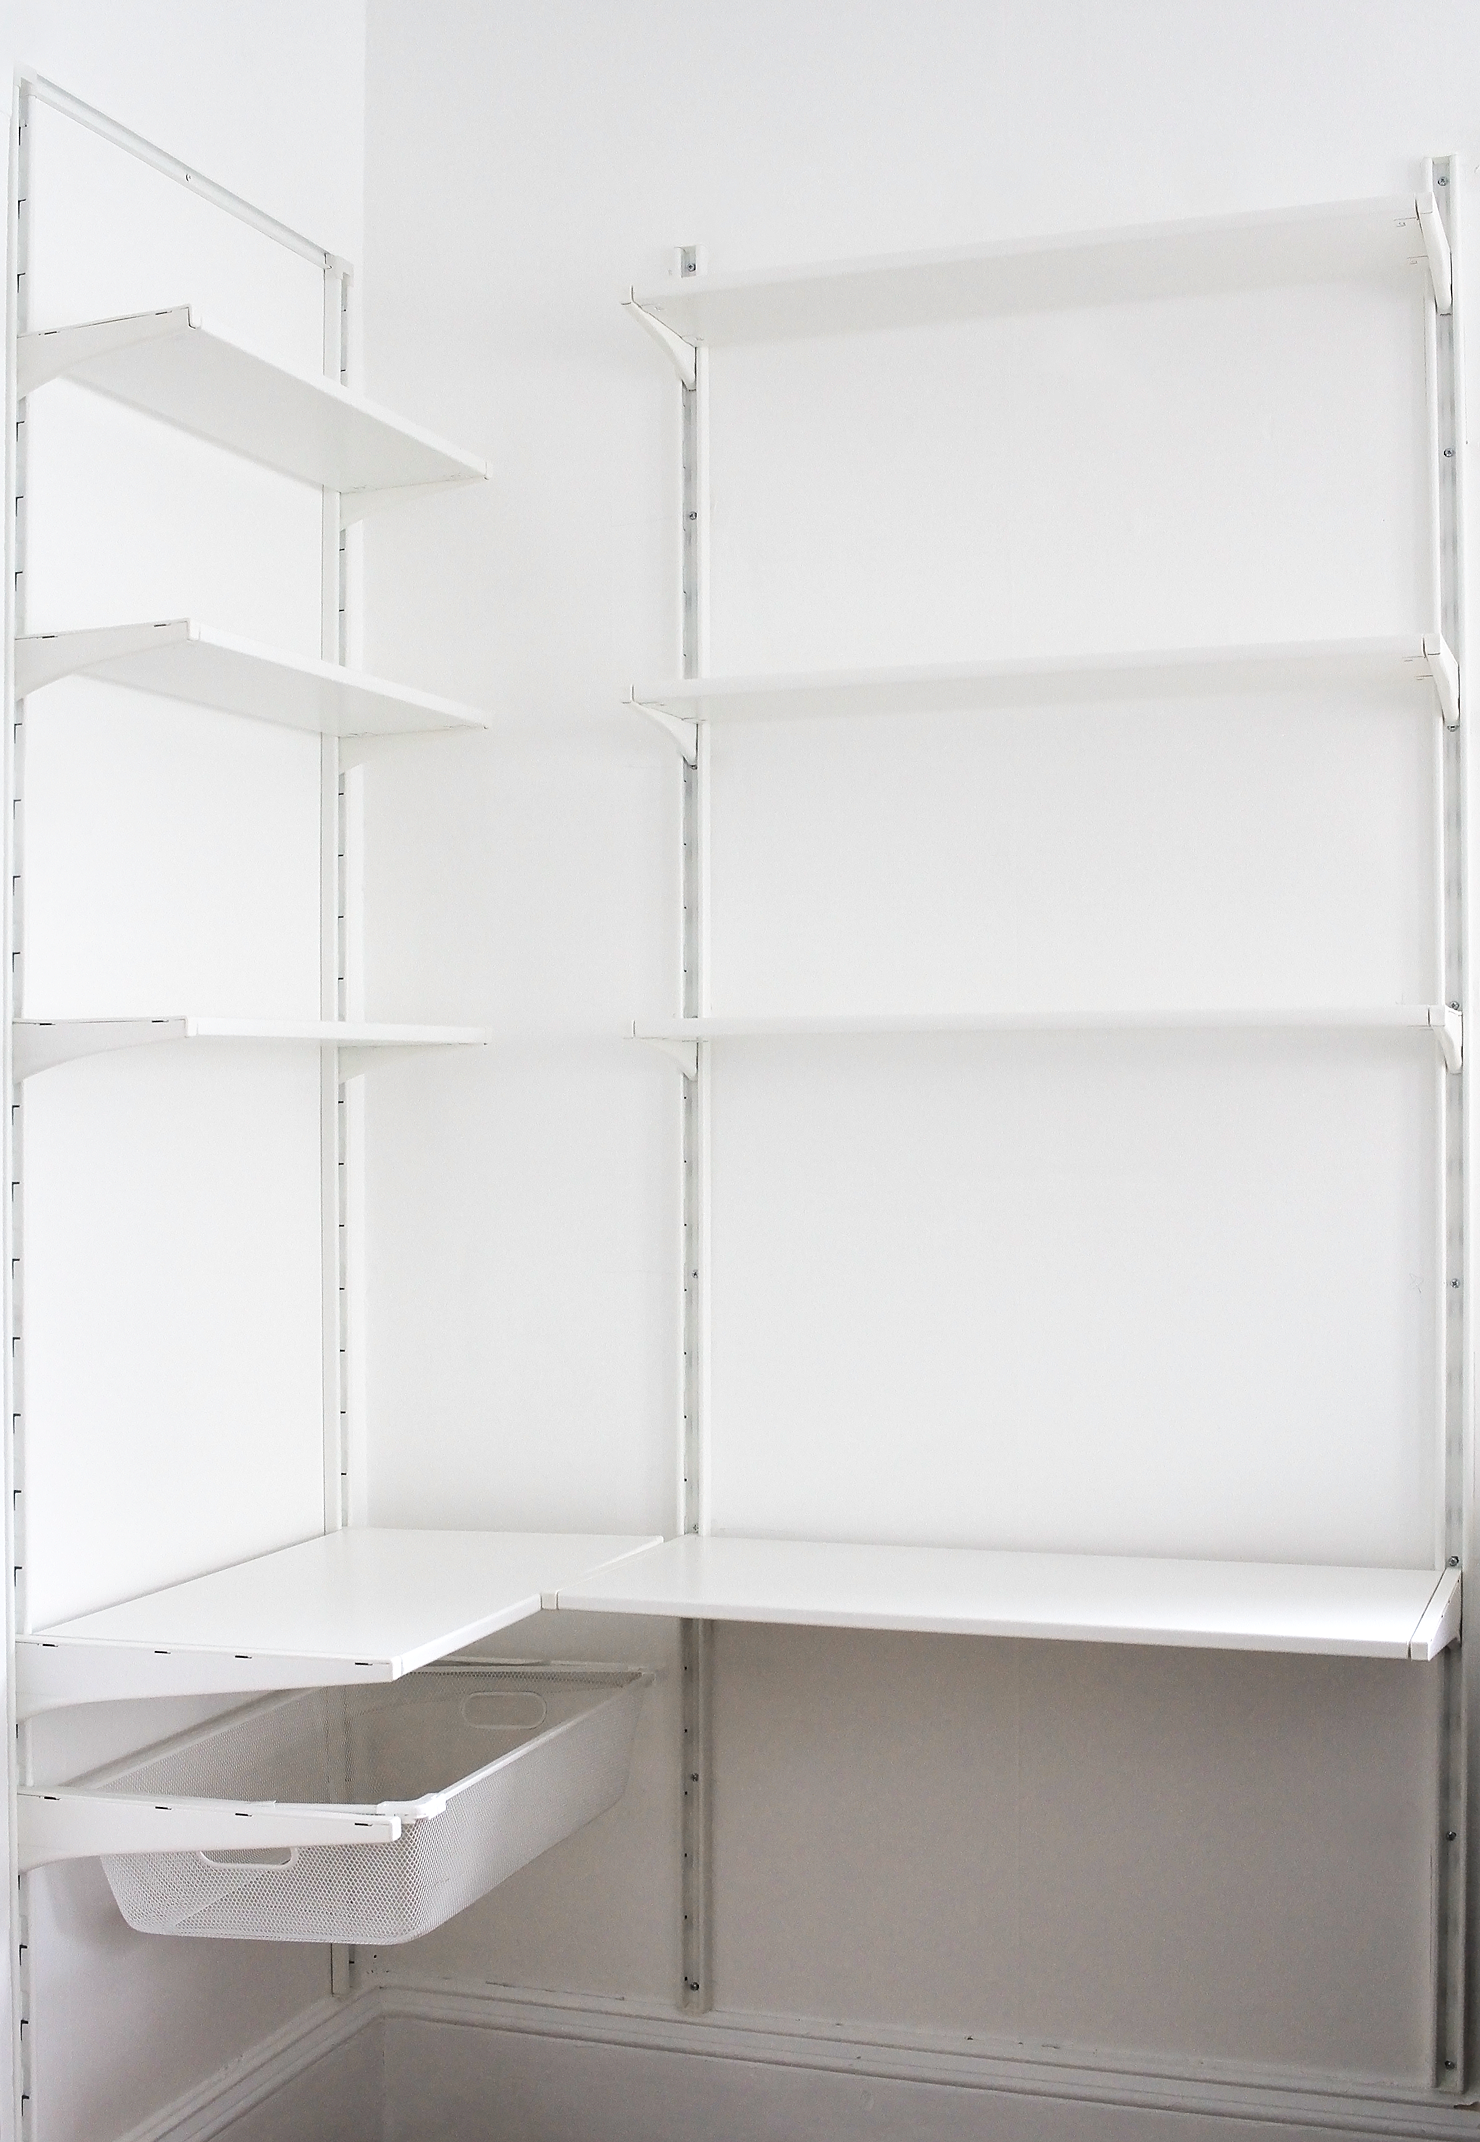
Be honest, was that as bad as you thought?
I can’t waaaaaiiiiiiit to show you the full reveal of the workspace next week! I’m so close to done that I’ve been salivating with anticipation. (TMI?)
I’d be happy to answer any questions you have about this tutorial! Hit me with your horsehair plaster woes!
Read the whole series:
Scandinavian workspace inspiration for renters
Scandinavian workspace makeover — Before
Scandinavian workspace makeover — The Reveal

This is brilliant. I am super impressed with your skills, our house is olllllld and we have plaster walls, too. Great tips.
Aww, thanks, Amy! Thank god for Google, right? Old houses are the best…as long as you know how to make do, lol!
I’m definitely going to be using these tips in our new house!!!
So excited for you about your new house! Thanks for visiting Shrimpy! <3
This is such great info! I live in an old flat in SF, so all of my walls are plaster! Thanks for the tips!
Thank you so much!! I bet there are gorgeous old flats out in SF. Shall we trade for a week? 😉
Great tips, I know where to come if I needed to install heavy shelves in the future!
Hope it helps, thanks for stopping by Marwa!!
Hello, Marlene,
I know this is one of your older posts, but I came across it while searching for ways to hang things onto old plaster walls. I have had mixed success so far. Now, I know that toggle bolts are the way to go. Thank you. James
I cannot thank you enough for sharing your tips!
I recently opened up a small boutique, and needed a combined office/inventory space in our old Massachusetts home! With horse hair plaster, it can feel freaking impossible to hang anything!
I’m going to give your method a try with the container store’s Elfa shelving! Thank you for giving me hope!! Hope you’re still enjoying your dream office.
Kiarra
Oh Kiarra, I feel your pain! These old houses sure do keep us on our toes. I hope that you have great success with your Elfa shelving. Thank you so much for leaving this comment, it’s lovely to hear from readers! 😀