THIS POST IS SPONSORED BY rubberstamps.com, BUT ALL IDEAS & OPINIONS ARE ENTIRELY MY OWN!
If you’ve ever wondered if there’s any such thing as too many cats…obviously you haven’t been around me very long. The answer, of course, is “no.”
At least, you can never have too many cat stamps.
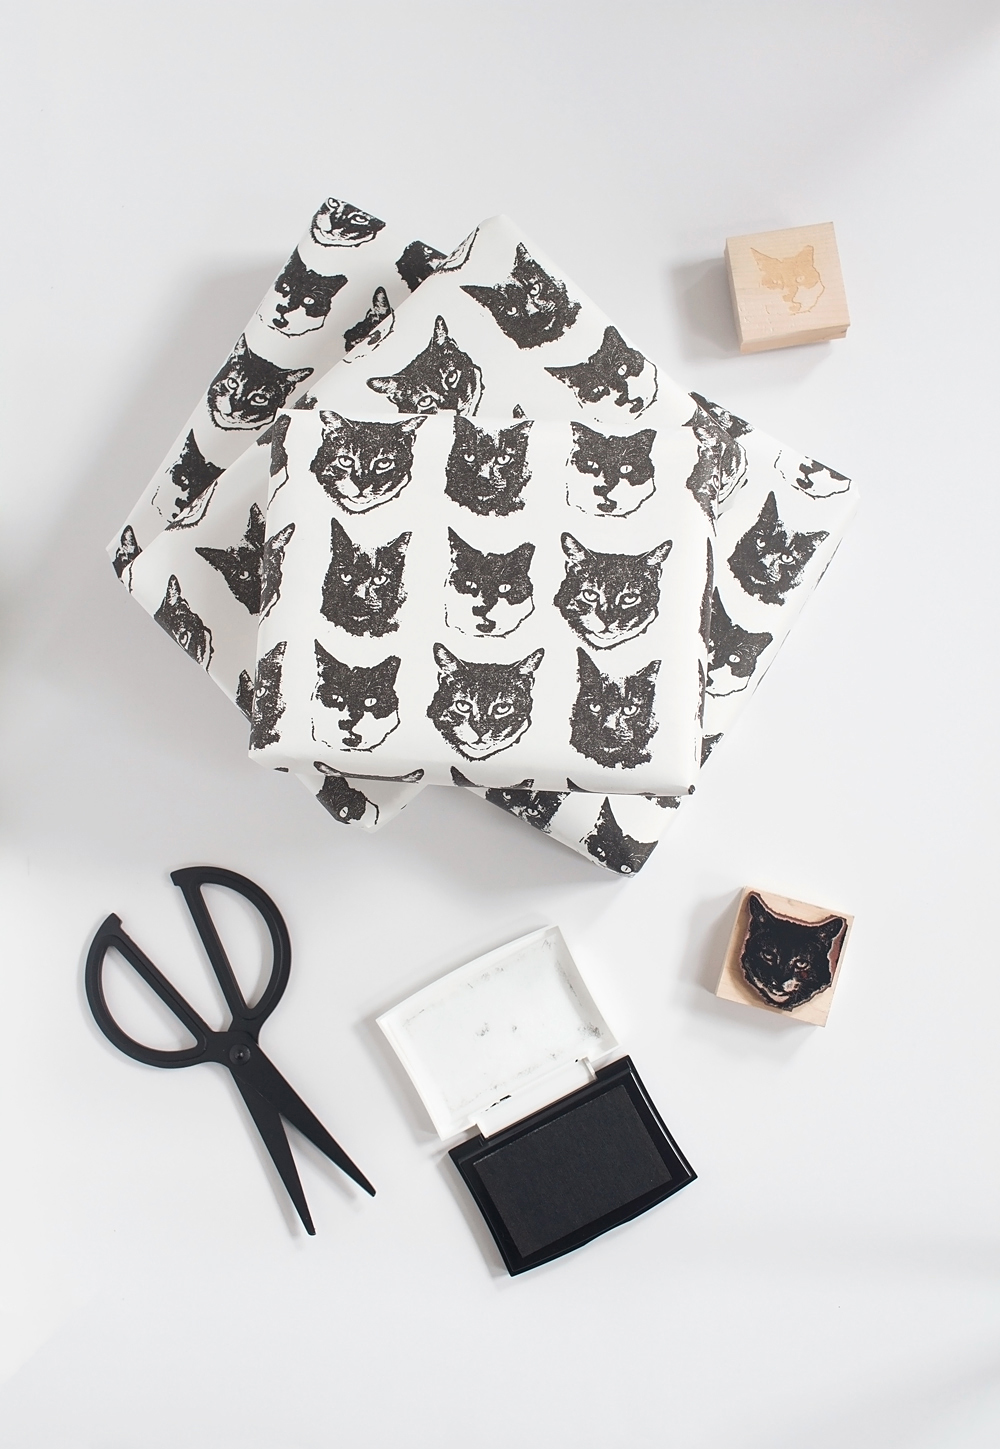
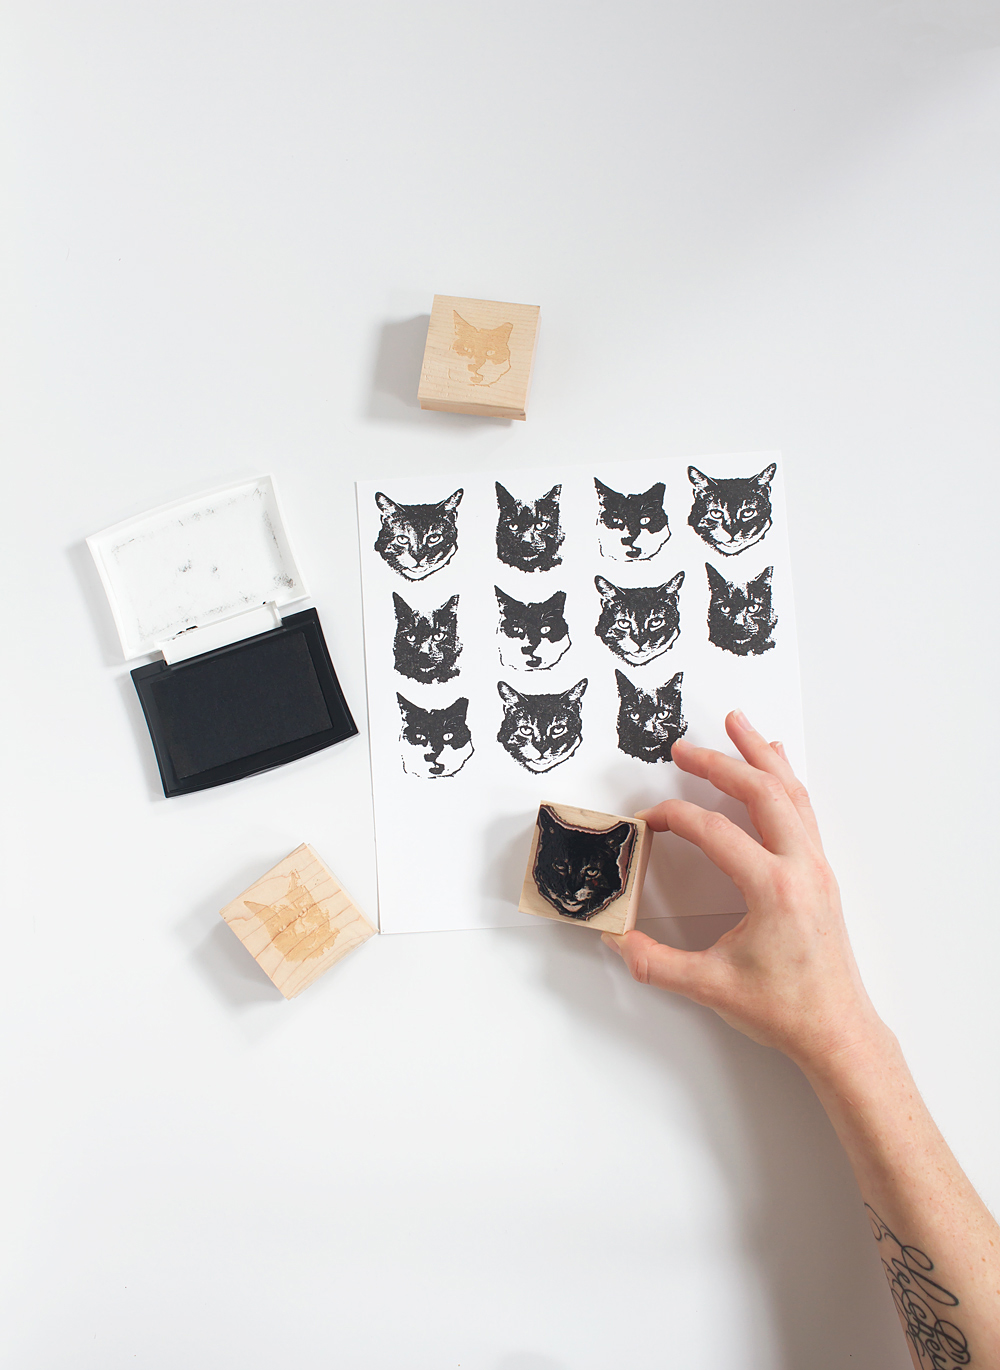
Yes, those are my actual cats, as actual stamps. Clearly my cat-craziness has reached maximum absurdity.
Blame it on the good people at RubberStamps.com. They specifically asked if I could come up with a cat-related DIY when they reached out to collaborate. So naturally, I just HAD to turn my cats’ faces into stamps. No choice in the matter, hands tied, #sorrynotsorry.
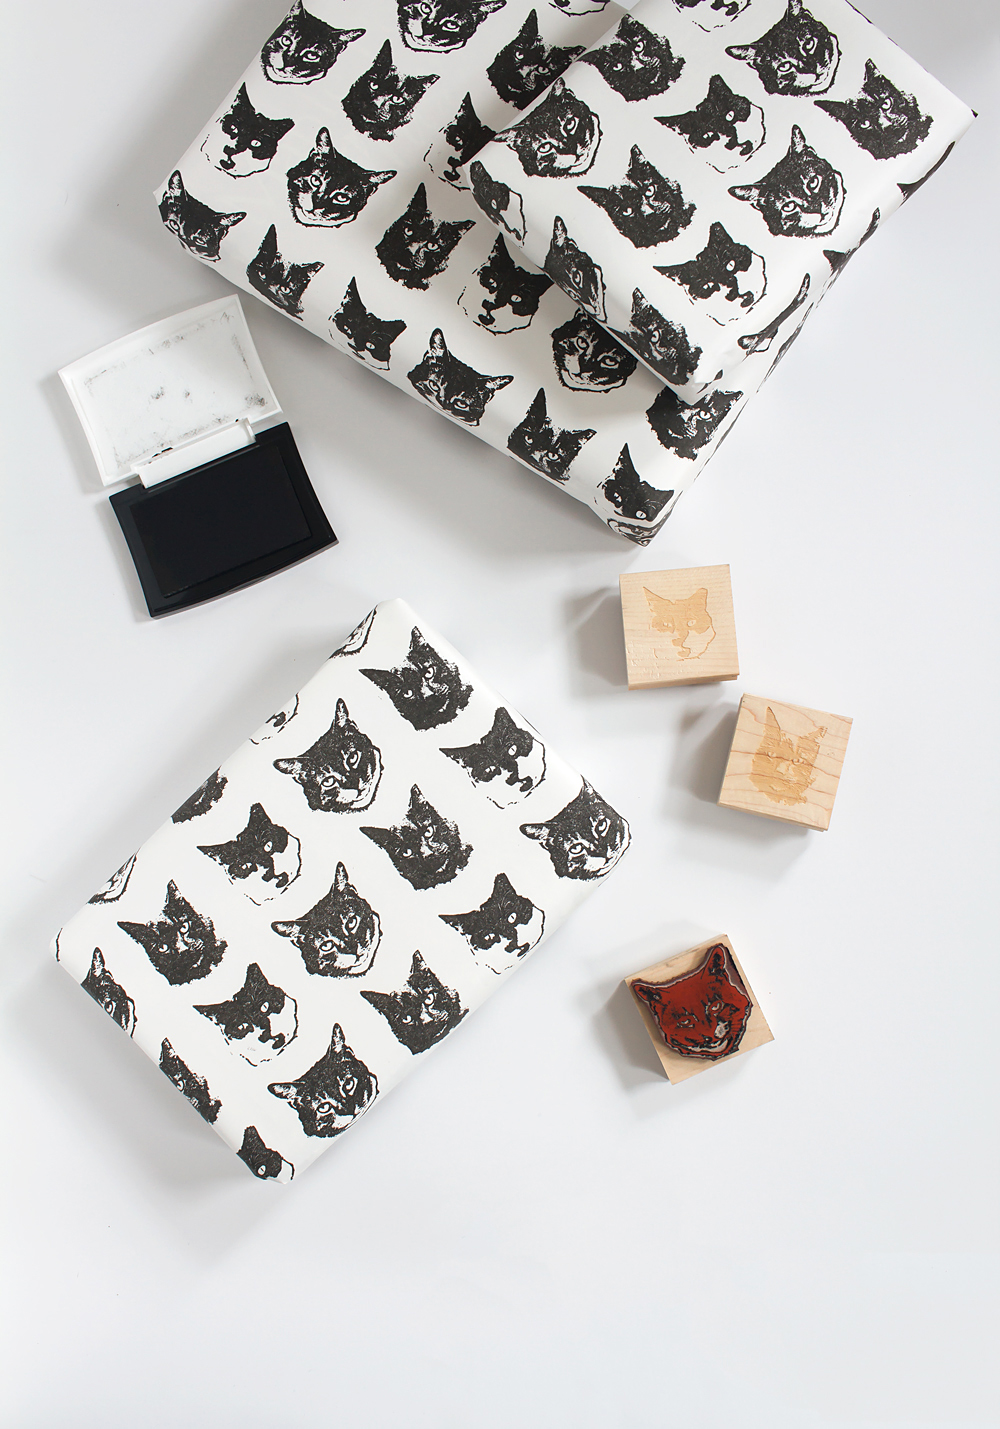
But this project isn’t really about my cat obsession, as blog-worthy as cat-stamped DIY wrapping paper is. Because I learned a very exciting thing through this partnership: you can turn any photo into a stamp.
You can make a stamp of your baby. Or your car. Or your grandma. Or your collection of vintage international food packaging (yes, I know someone with such a collection).
So whether you’ve always had a hankering to make a stamp out of your favorite picture, or are just now struck with a (totally understandable) desire to do so, I’m gonna walk you through how to turn a photo into a stamp with RubberStamps.com.
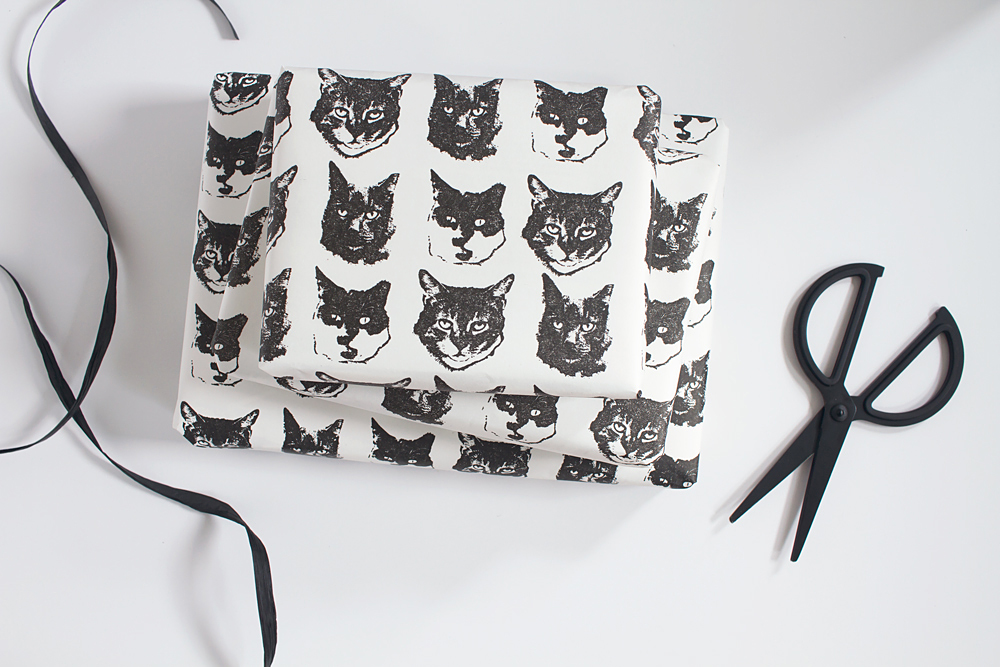
How to turn a Photo into a Stamp
Skill level: Oh-So-Easy
Time: 15-30ish minutes, depending on how fussy you are about tweaking the final image, and how long you get stuck trying it out on all your photos!
What you need:
+ any photo in jpg format
+ your preferred size custom stamp on Rubberstamps.com (I used the 2″x2″ L Square Engraved Stamp)
+ I surely hope this is obvious, but you do need a computer and internet access!
What you do:
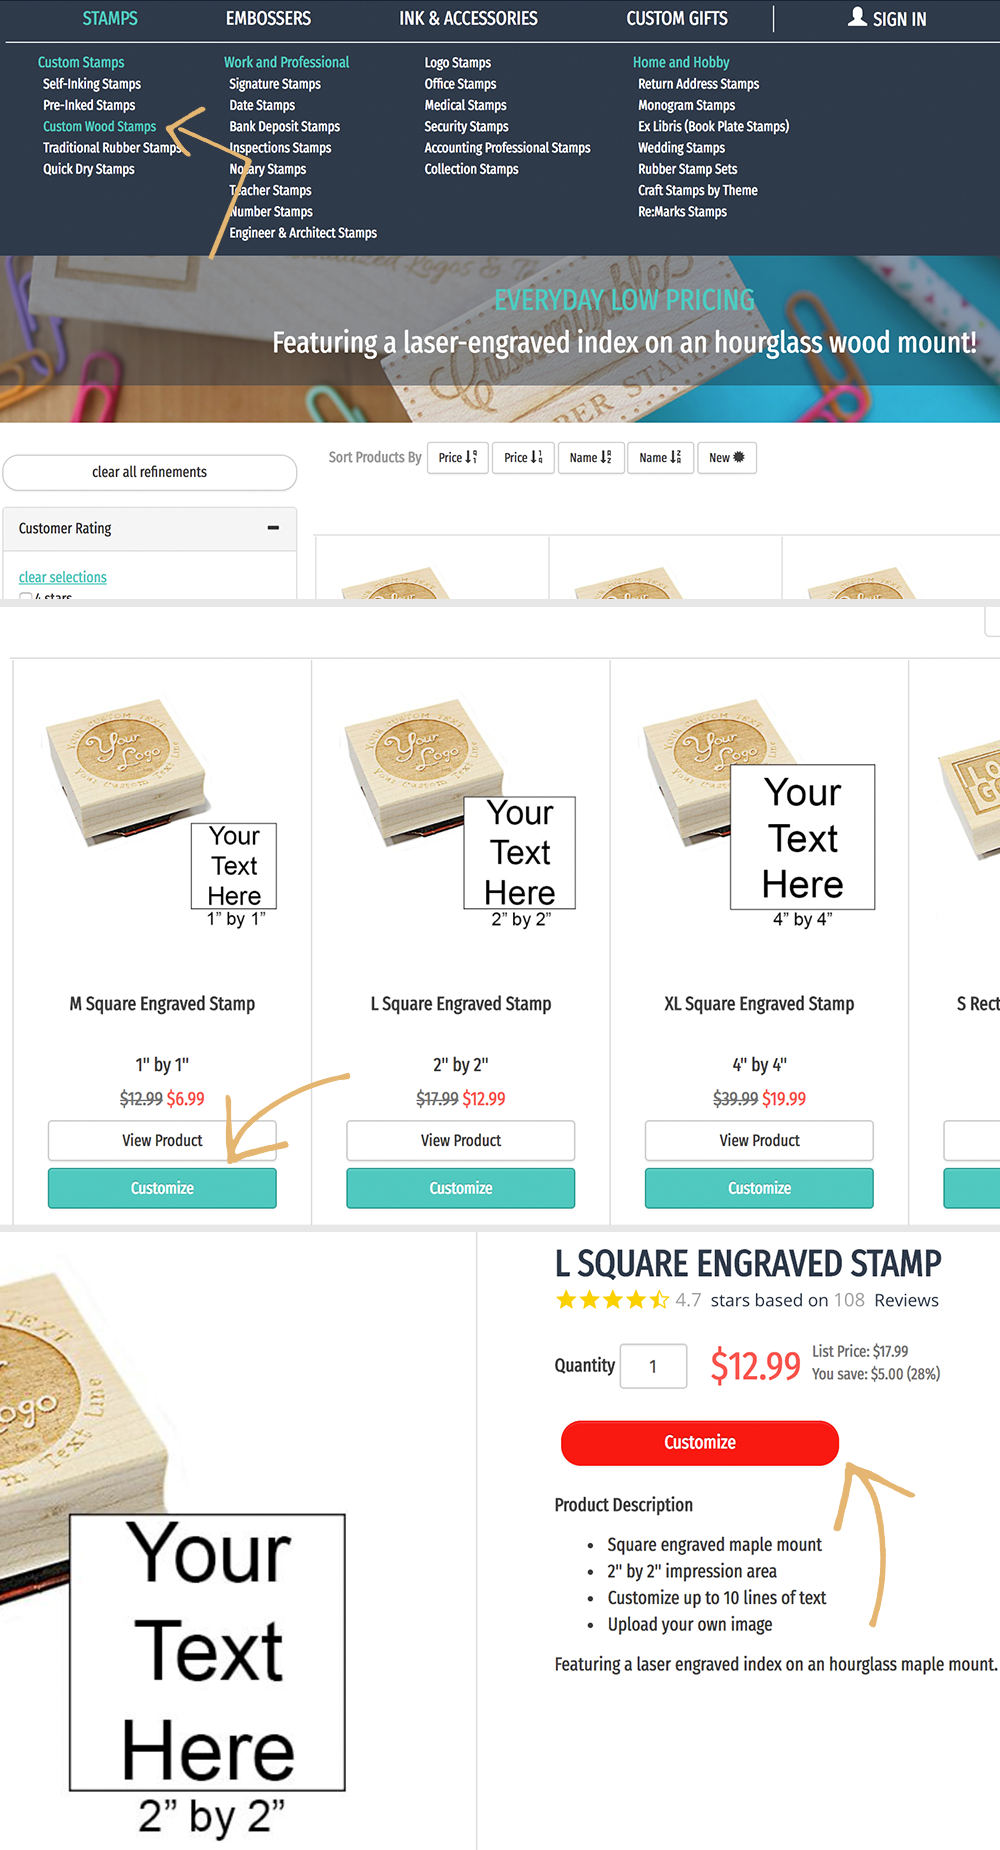
Step 1: Head over to RubberStamps.com and click on Stamps > Custom Stamps > Custom Wood Stamps. Choose the stamp size, then hit that big red “Customize” button.
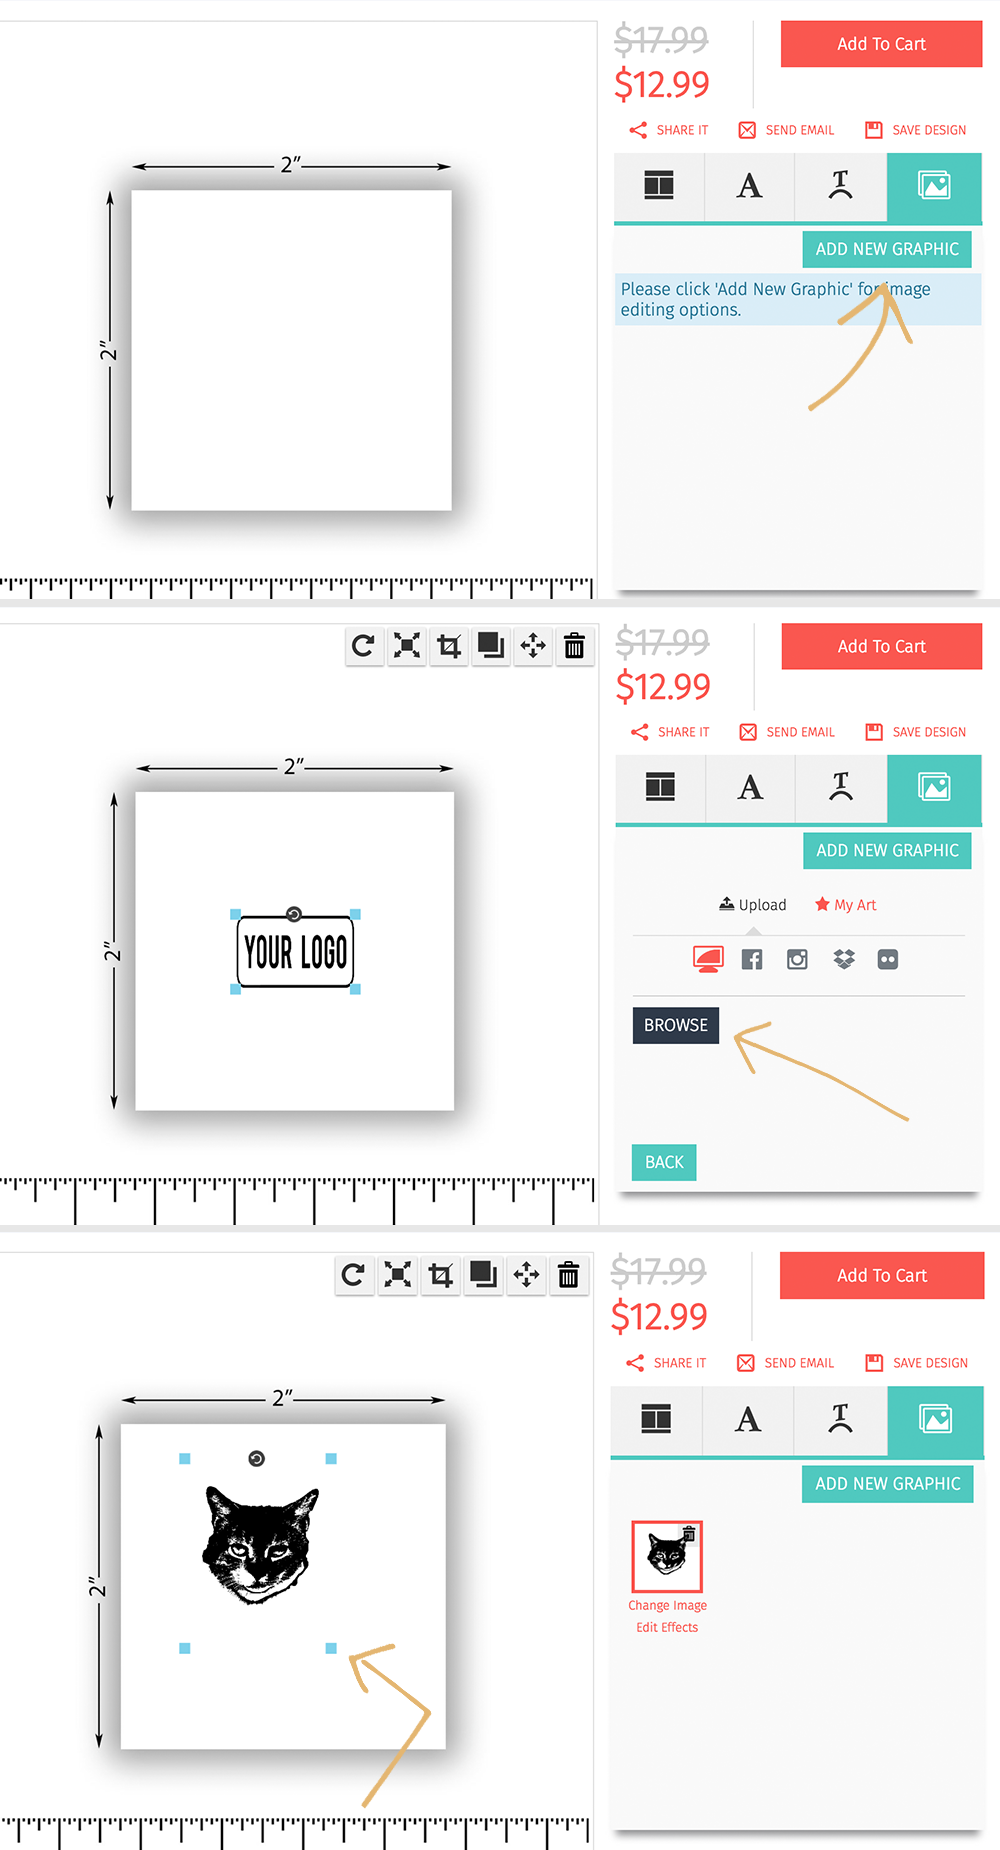
Step 2: Upload your jpg photo by selecting the image icon on the right, then Add New Graphic > Browse > Upload. Your photo will magically appear in black and white! You can use the blue squares to change the size, just click and drag the squares until the image is the size you want.
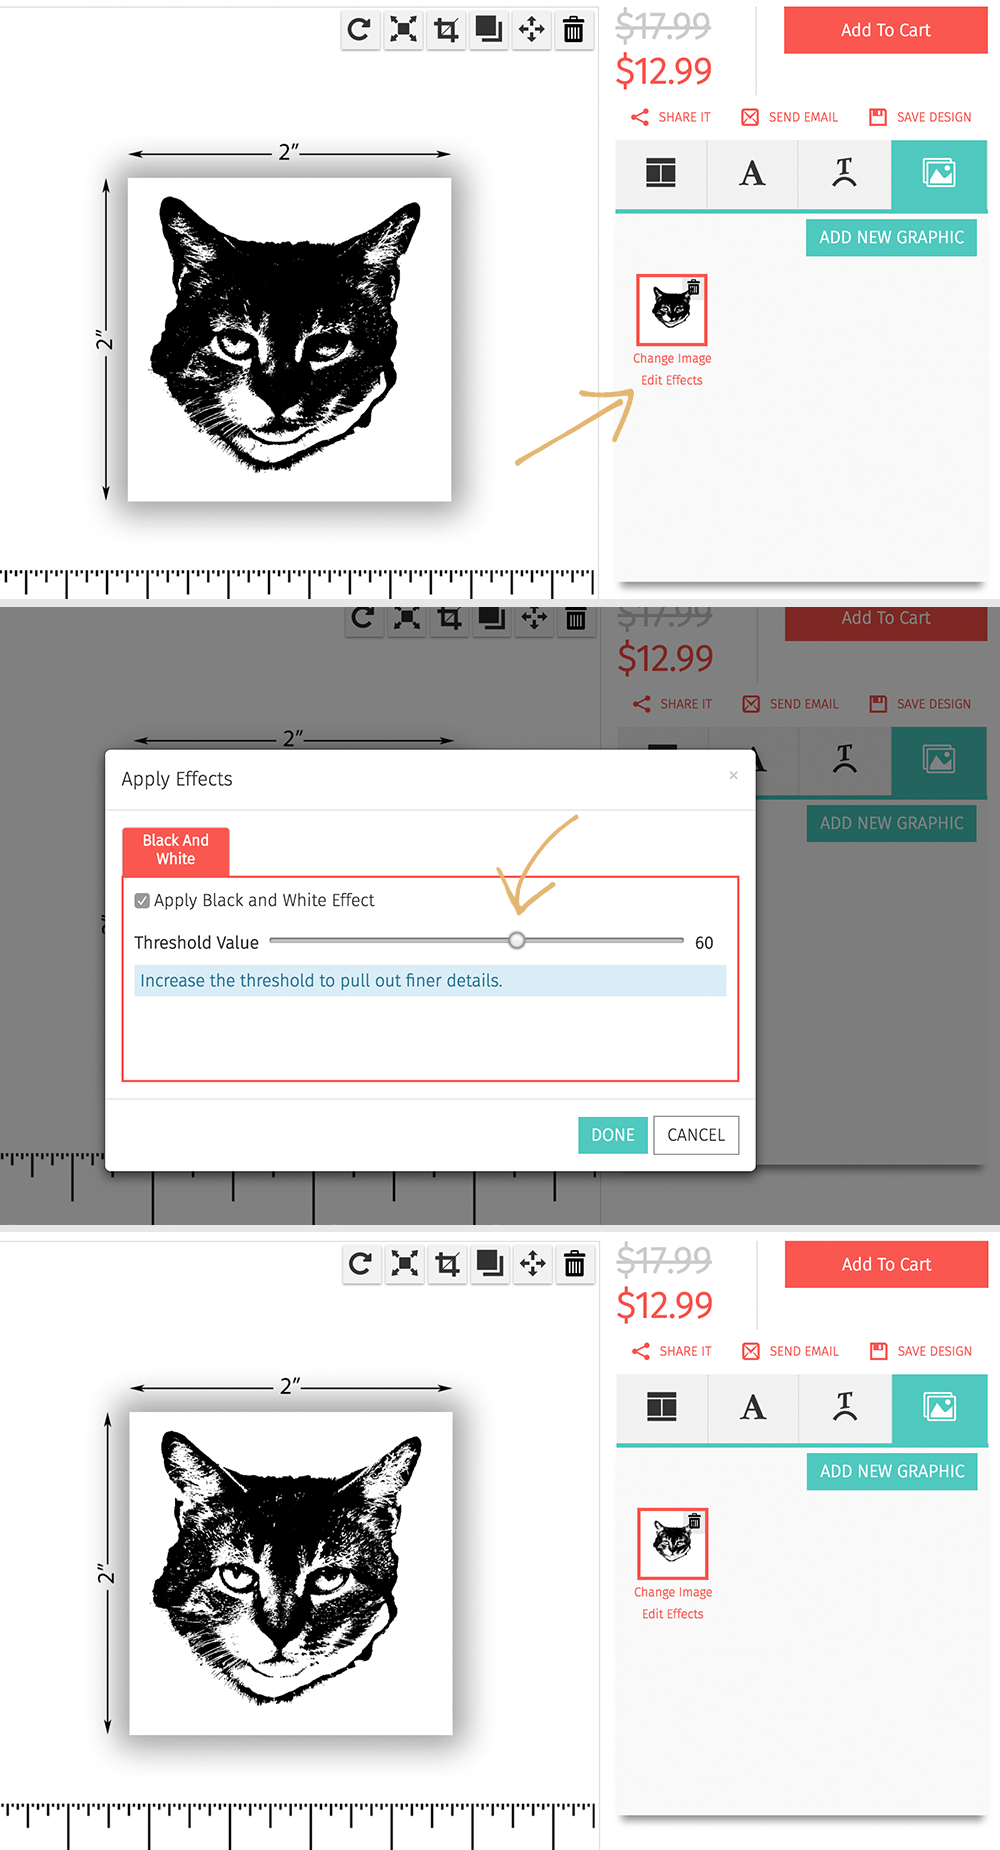
Step 3: Now it’s time to tweak your image. As you can see, the upload of Champ’s face was too dark at first. To fix it, just click on Edit Effects, and then move the “Threshold Value” slider up or down. A higher number makes the picture lighter, and a lower number makes it darker. There’s no way to preview while you’re in this tool, so you may just have to do it multiple times until the picture looks right.
And that’s it! You can add your stamp to your cart. The only thing that’s left is impatiently waiting for your fabulous custom stamp to arrive (but don’t worry, the turnaround time is fast, within a week for production and delivery!).
Confession: I did edit my kitty pictures in Photoshop to get the floating faces for the stamps. BUT, don’t worry, you don’t need to have a photo-editing program in order to make really awesome stamps.
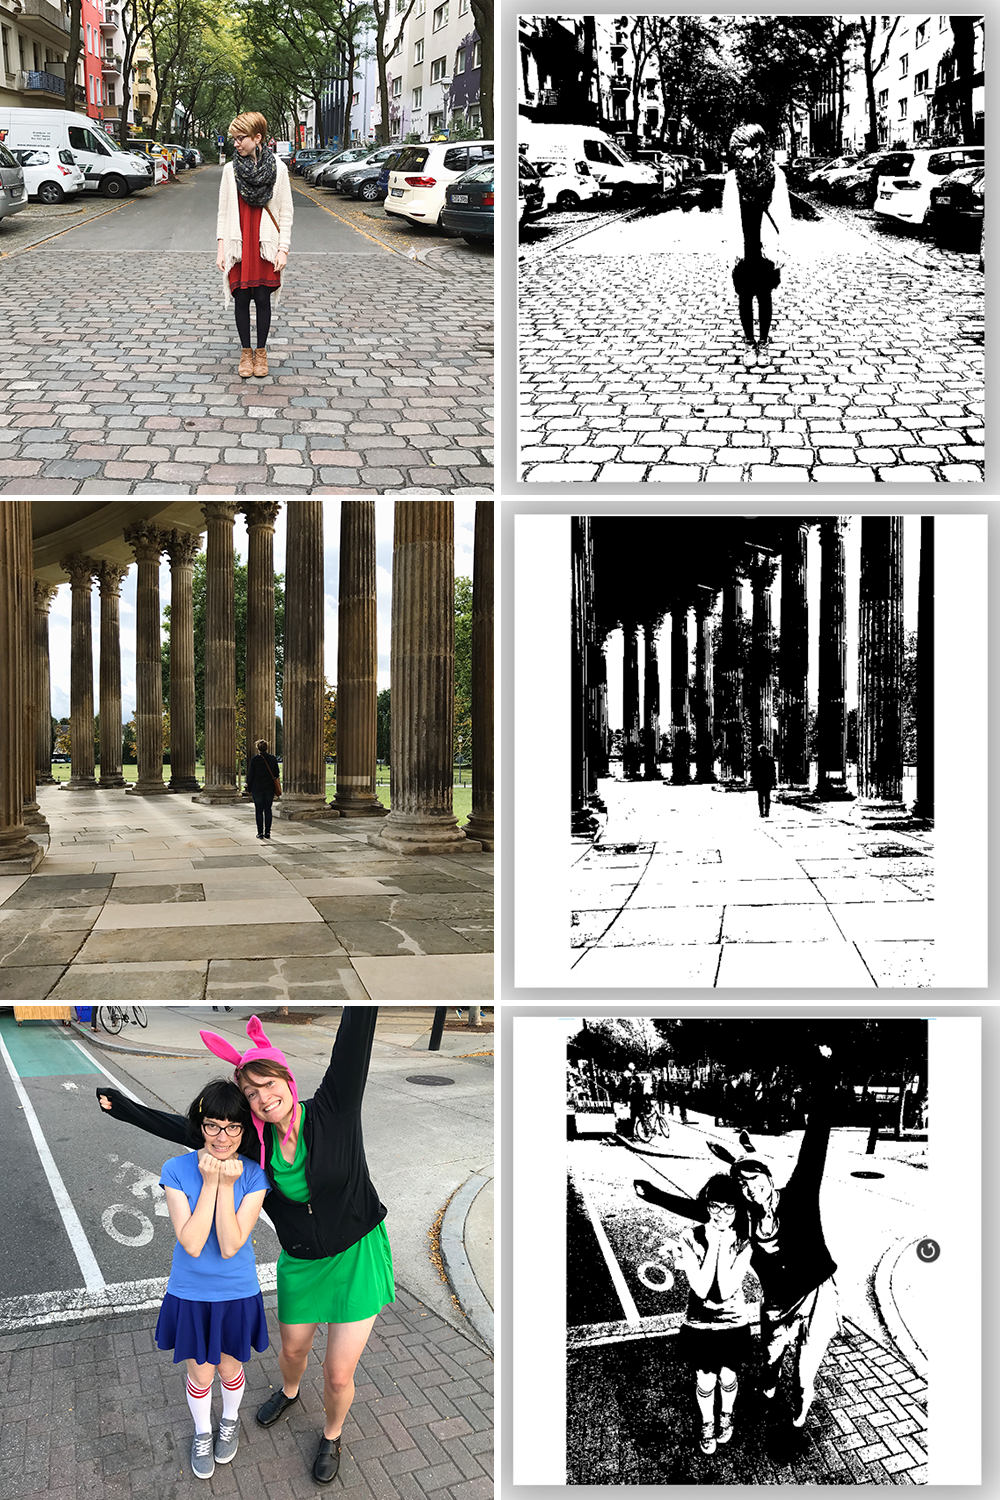
These three photos below had no editing whatsoever. And since the physical stamps I received looked exactly like the preview images, I know these would transfer to paper beautifully!
Now the question is: what photo will you be turning into a stamp so you can stamp ALLTHETHINGS??
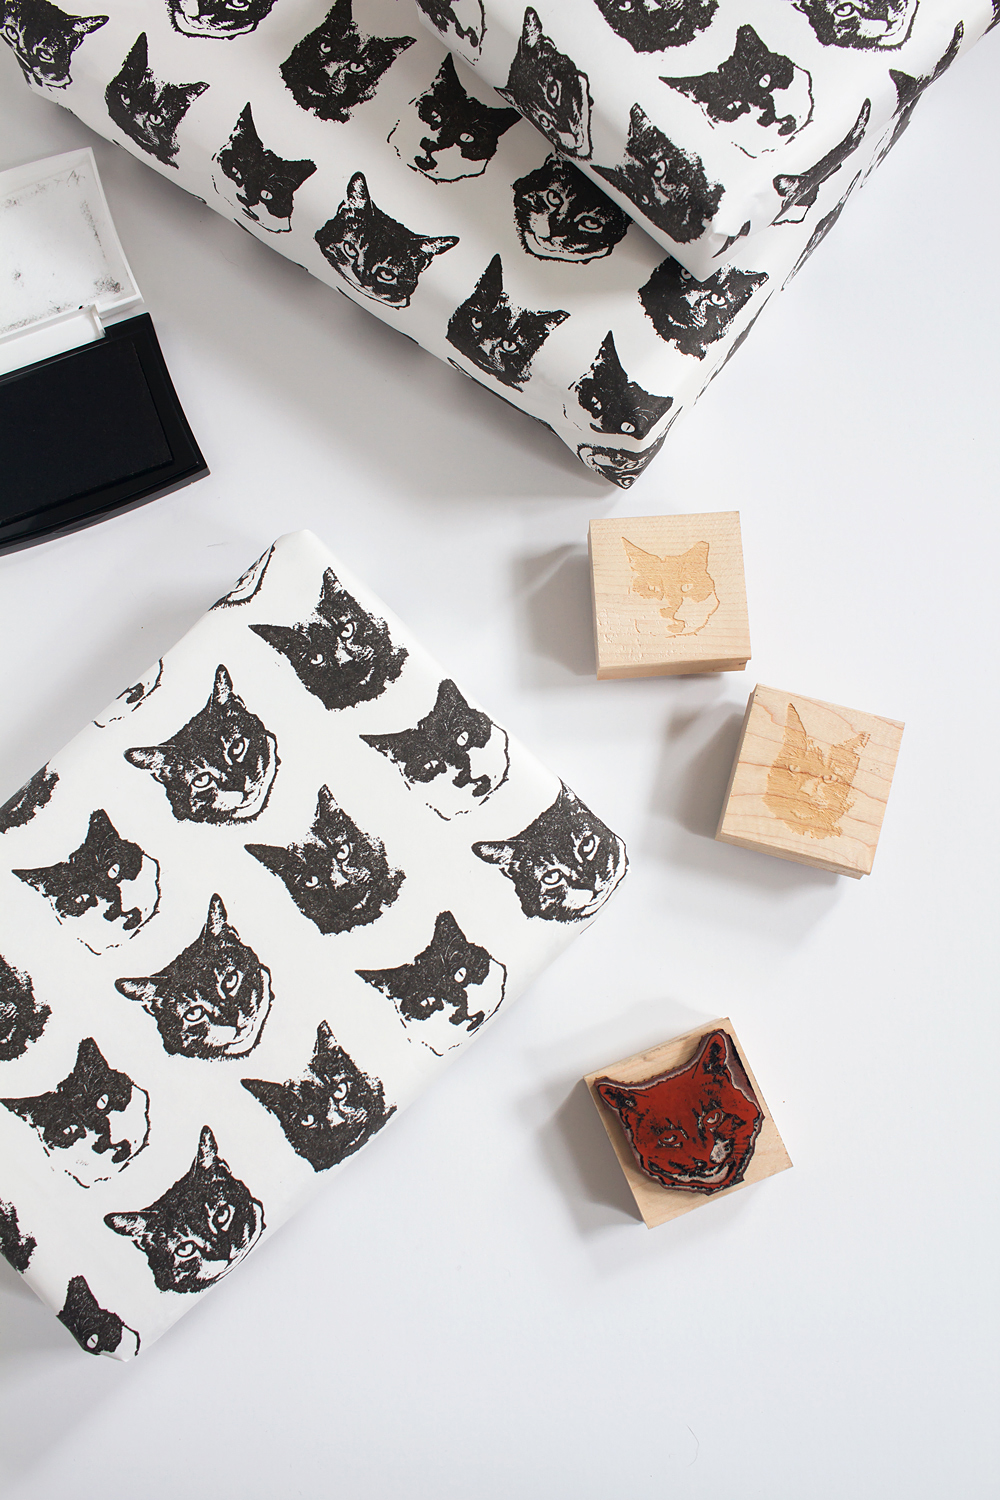
I think it will be difficult to outdo the cattiness of this project going forward, but I’m not one to back down from a challenge. 😉

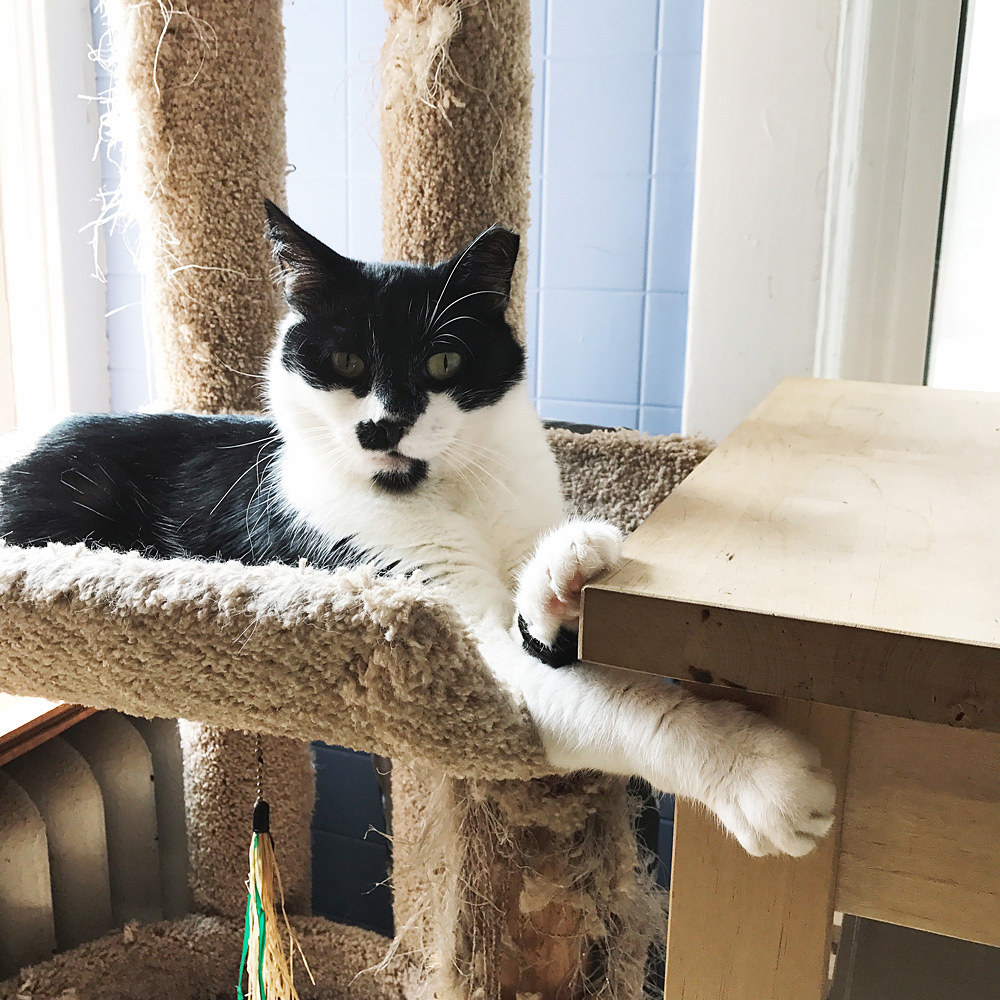
P.S. Longtime readers may notice there’s a new cat on that wrapping paper. Yup, we got a third kitty! Blog friends, meet our goofball Aemon, also known as Half-Stache. He purrs like a tractor without a muffler, has a tiny squeak of a meow in spite of his size, and likes to hold onto whatever he’s sitting near.

This is so cute and I didn’t realize you could turn any image into a stamp! FUN!
Isn’t that an amazing find?? So many possibilities!
you can’t actually diy this, but the stamp company can make one for you, so it is personalized.
Thanks so much for reading! xoxo
So cute, and so fun to use as wrapping paper!
I seriously want to stamp wrapping paper for every gift now!
How fun! Now I want to make all the stamps. Thanks for the inspiration!
Mission accomplished! 😀 Thanks for reading, Rachel! xoxo
You KNOW what his is right up my alley! I feel like you need to do it on fabric to add to your pillow collection.
OMG yesssssss, this would make an amazing pillow!
Seriously just the cutest. What a great gift idea too!
YES, a custom stamp would make a fantastic gift! Thank you so much for reading! xoxo
Cool post!!! I greet : )
Thank you, I’m so glad you liked it! 🙂
I LOVE THIS!!! Thank you for posting. I think this idea will make great personalized gifts for friends and family.
Thank you!! I LOVE custom stamps as a gift idea. Thanks for reading! xo
Your cats stamps are awesome! My daughter and I were stuck trying to figure out which one is the cutest 🙂 .. and now I need to get some! 🙂
Thank you!!
Haha, they compete heavily for the “cutest” title! Thanks so much for reading, I’m so glad you guys enjoyed the project! xo
love this idea! we had to carve our own stamps in college!
Oh that’s so cool! I would love to try my hand at carving my own. I’m terrible at drawing though which makes that difficult. 😉 Thank you for visiting!
Its a great gift and I just went on their website. Unfortunately I tried to follow your steps and Step 1 – just finding the menu didn’t work.
Hi Janice! If you go to the website again, the first item in the menu bar says “Stamps” — it’s right under the website logo, in the top left corner of your screen. I hope that helps! Let me know if you still have problems!