I’d like to get paid in craft supplies.
Well, and some money. But I spend most of that on craft supplies anyways so if we can just skip straight to the good stuff, that’d be great.
Believe it or not, I somehow survived the ’90s without sporting a homemade neon sweatshirt with ironed-on cartoon ghosts.
I know, it’s like I wasn’t a real crafter until now. I feel like I need to get some sort of initiation pin. Adding that to my project to-do list.
The point is, if this is your first iron-on transfer too, it’s stupidly easy. And actually kinda fun. And I now want to make iron-on everything.
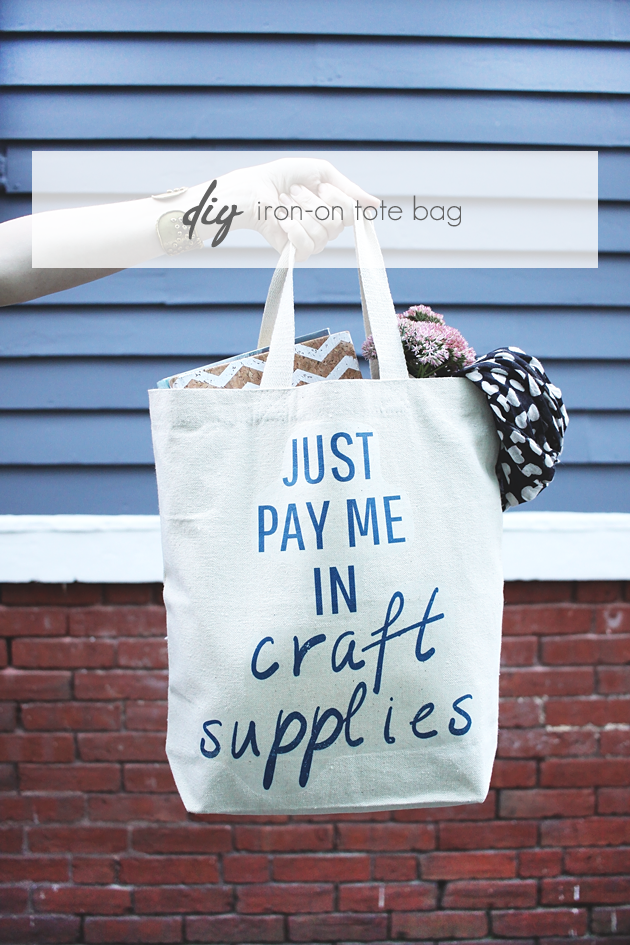
DIY Iron-on Tote with Printable
Skill level: Easy-peasy.
Time: 20-30 minutes.
What you need:
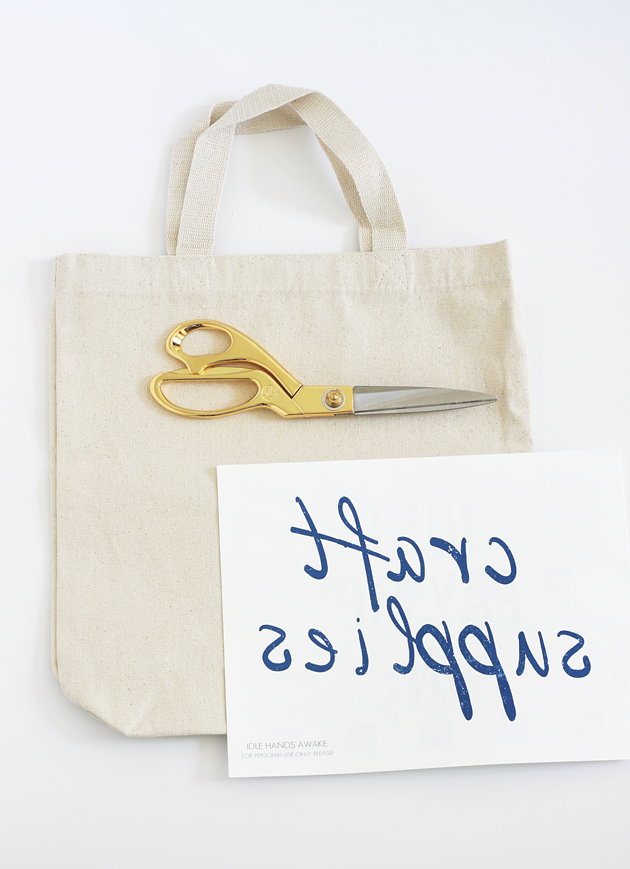
+ inkjet printer (here’s how to tell if yours is inkjet or laser)
+ Just Pay Me in Craft Supplies printable – download at the bottom of the post
+ iron and ironing board
+ scissors
+ optional: scrap fabric/old t-shirt to practice on. If this is your first iron-on transfer it’s not a bad idea to do a dry run!
*A note about totes: I ordered a heavy cotton canvas tote because I wanted it to be durable, but because the fabric had a thick textured weave it was tricky to get the iron-on to stick. Learn from my mistakes and order a tote with a flatter weave, like the one I linked to!
What you do:
Step One – Do a little prep work: Iron your tote so it’s nice and flat. Print and cut out the design on regular paper first so you can see where you want it to go. Also, read through all the instructions on your iron-on transfer paper!
Step Two – Go ahead and print the design onto the transfer paper (make sure to read in the instructions which is the printing side). Yes, the design needs to print backwards just like in the download. Cut the design out close around the text.
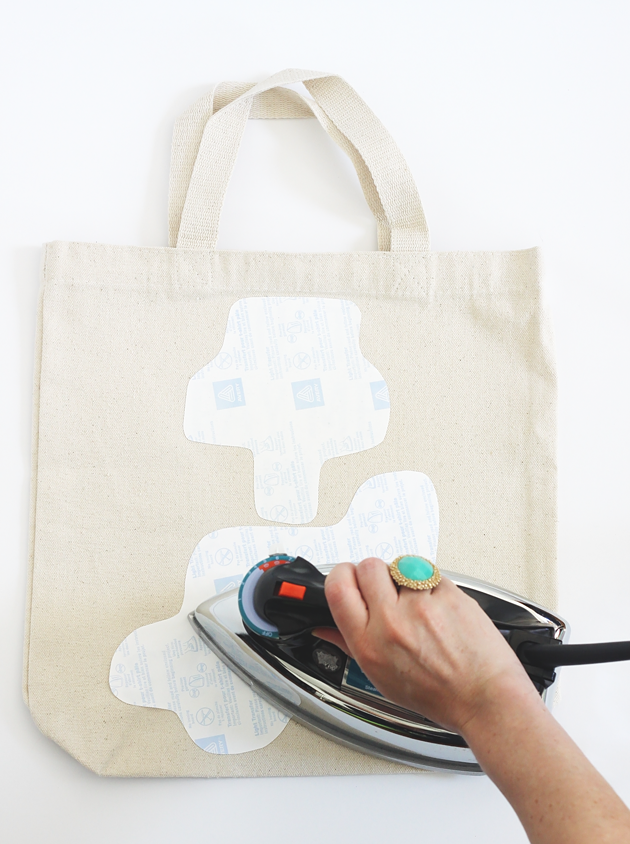
Step Three – Lay the design onto the tote so the printed side is facing down. Iron away! Be really sure to follow the instructions for your transfer paper—the version I linked to was very specific about how much heat, time, and pressure to use.
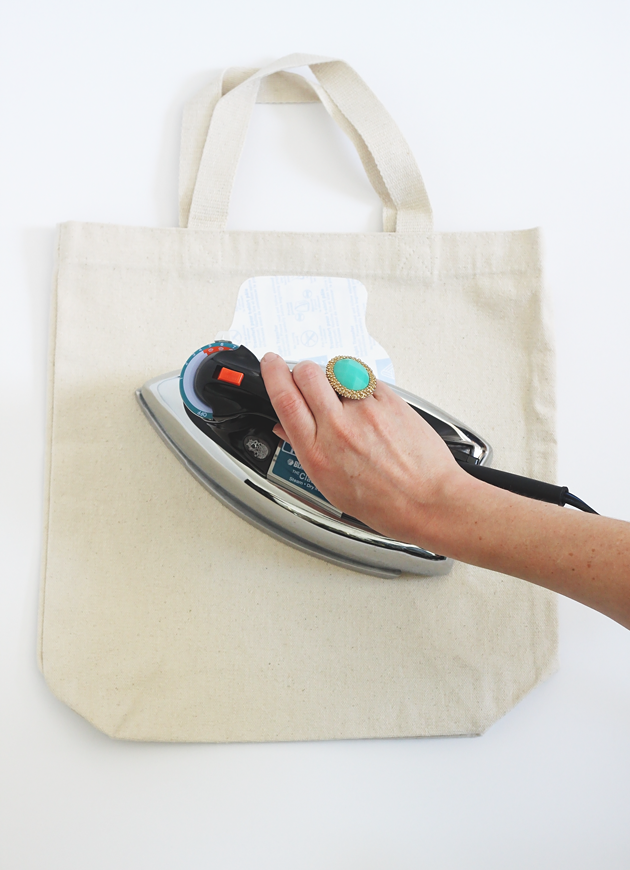
I found it helpful to do one block of text at a time so I could give each enough heat and pressure.
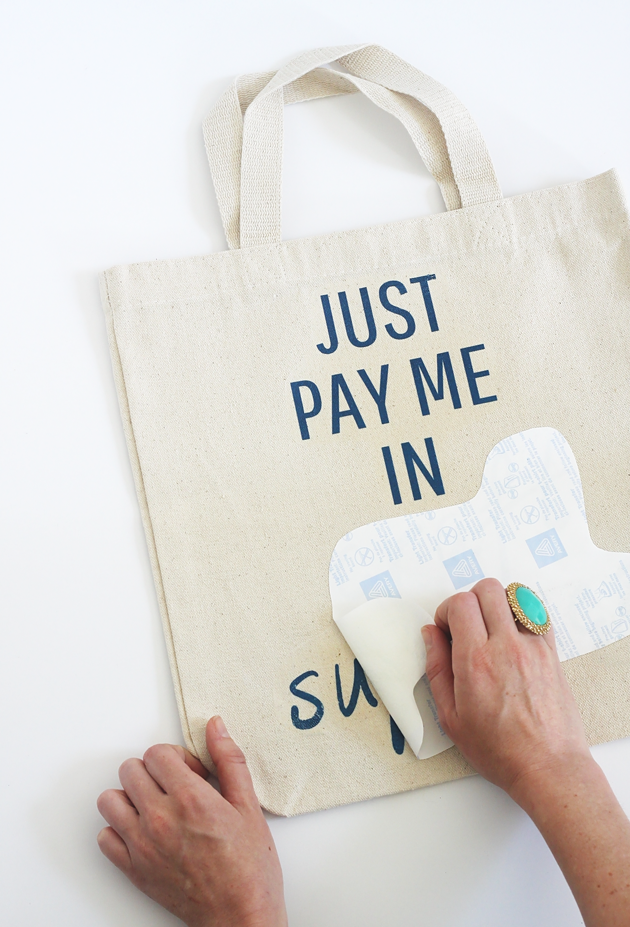
Step Four – Again following the transfer paper instructions because they’re all a little different (repeating for emphasis, sorry), slowly peel off the paper backing starting in one corner of the image.
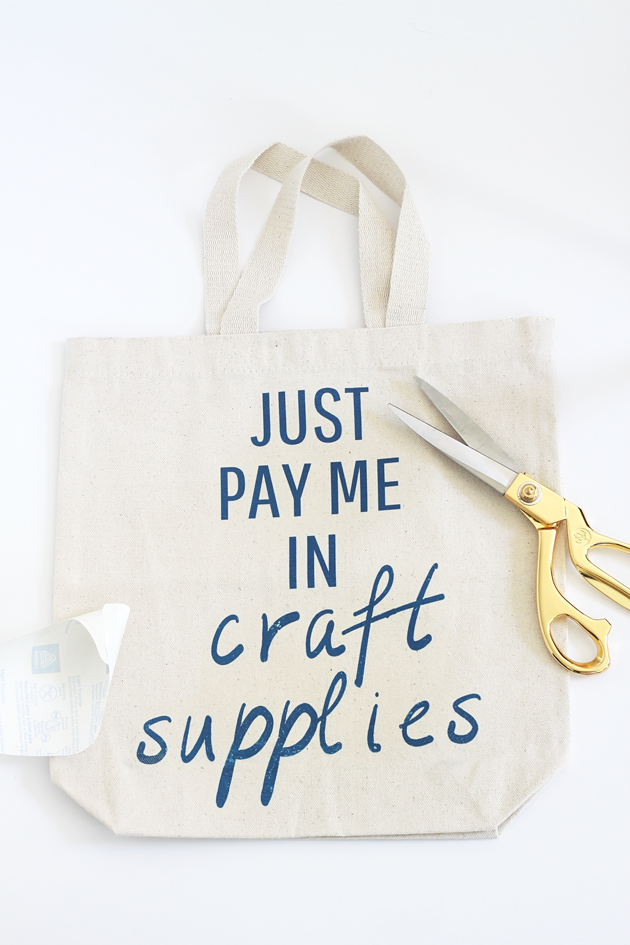
And you’re done!
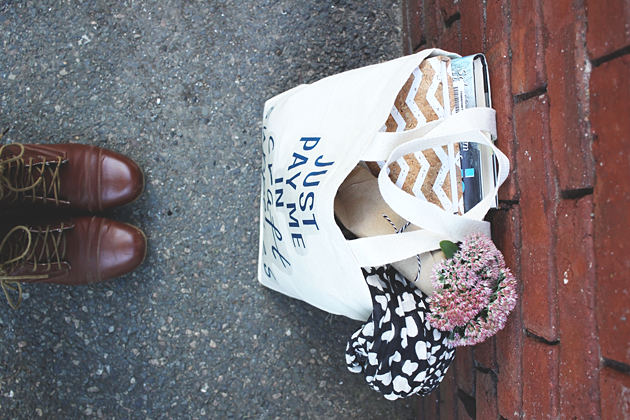
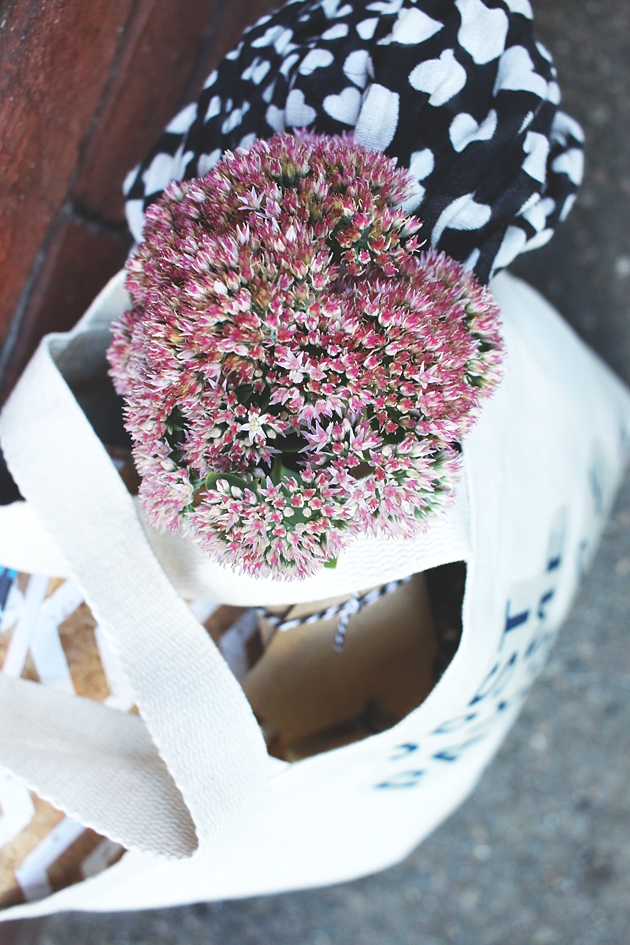
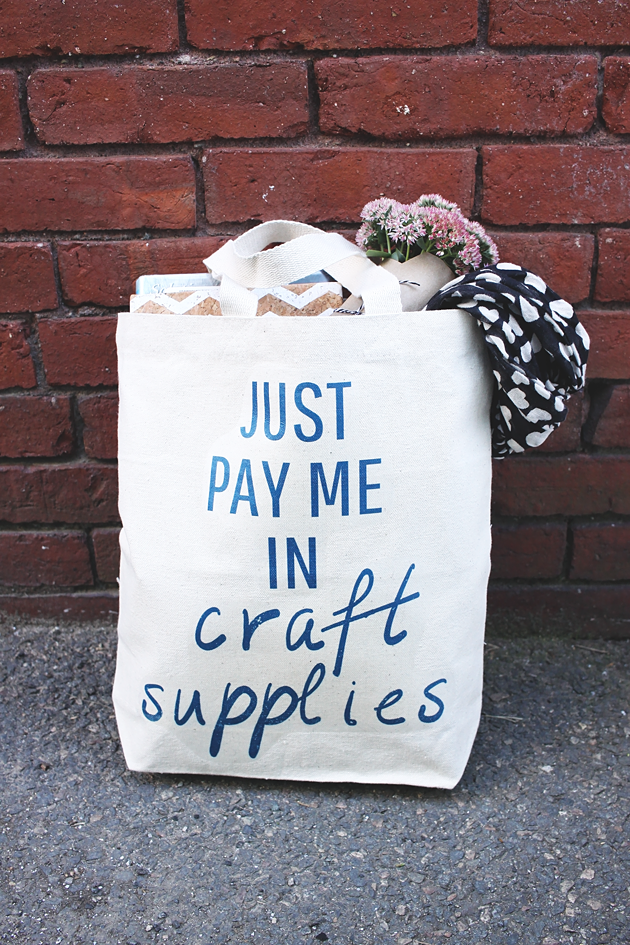
Fun fact: Grabbed the first book at hand to fill out the bag for the photos—it was a library copy of “Is Your Cat Crazy?” Because I’m crazy enough to try to understand cat behavior.
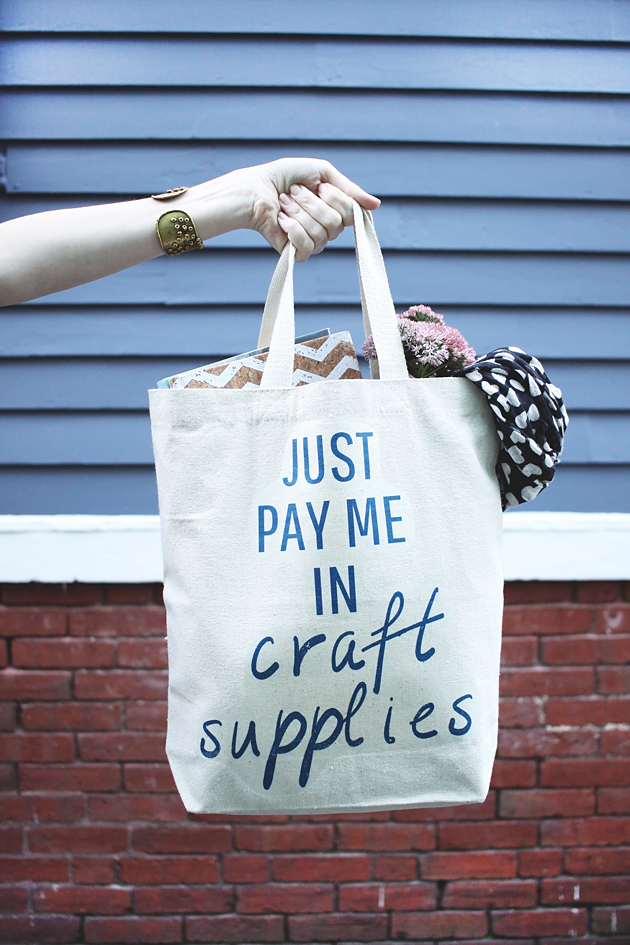
Remember when I said cropping is a blogger’s best friend? Here is yet more proof:
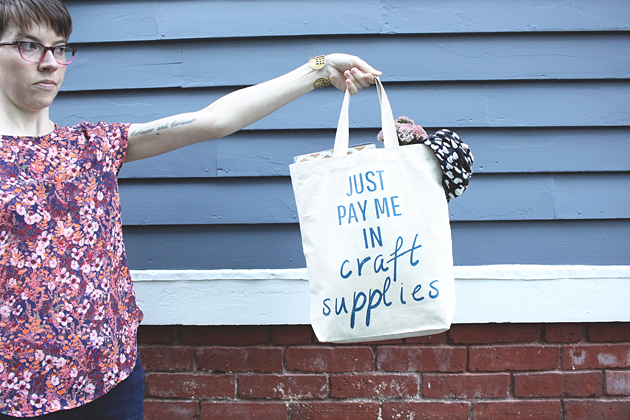
You’re welcome for that. Oh and how do you like my summer tan?
Now for the download! Enjoy!
+ + + Just Pay Me in Craft Supplies Iron-on PDF + + +
Ok, dish: what tacky iron-ons did you do as a child?
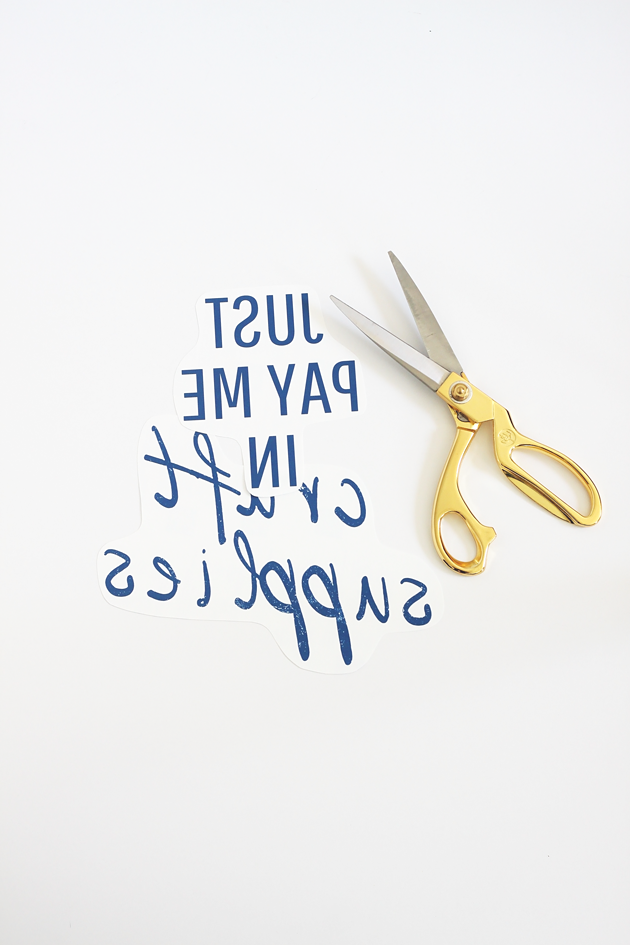


This is my life. Gimme ALL THE SUPPLIES! ;D
Love it, girl!!!
Yes, supplies forever! xoxo
This is the most perfect thing ever- Doing this asap! Thank you for this!!
Yay, I’m so glad! If you do please tag #idlehandscreate!
“cropping is a blogger’s best friend!” I’m gonna use that. I love a good tote – and this tote it GOOD!
That is a high compliment from such a talented maker! Thank you, friend! xoxo
I can relate to this saying so much!!
Thanks for sharing your tips will pin this for future use:)
Seriously, I should get this tattooed to my face! lol. Thanks so much! xoxo
I’ve got a tote coming up next week… just something so wonderful about iron on projects!!
If only I had known sooner!! 🙂 xoxo
This is so adorable!! I want one but I’m not very crafty… (or very good with an iron hehe).
Please say you sell these!?
Thank you thank you! I don’t…yet! Maybe if I get enough requests? 🙂 But I should tell you…if you can drag an object across a table and apply some pressure to it…you can iron!!
Haha!! Thank you for that. What I mean to say is: I think I have only successfully ironed something without burning myself only twice… so I bought a steamer. I don’t seem to burn myself on it quite as often. #ClearlyUnco
Bahaha! Sorry, don’t mean to laugh at your misfortune, I just really really empathize with being “unco”…that is me all over.
I need this tote! I would totally be happy getting paid in craft supplies. I have never done an iron on transfer but you make it look easy. Congrats on your first post back!
Thank you, Haeley, it’s so good to be back! 😀
Thank you so much for this post! I’m fixing to make pajamas for Christmas that have our last name on them with EST. dates (for the in-laws, etc) and was debating how to get it done. I will be using what I learned here!
That sounds like such a cute idea! If you make them would you tag #idlehandscreate? I’d love to share! Thank you for visiting! xoxo
Haha! So funny about the cropping. That’s so cute and awesome that you’re providing the printable! Love this!
I can tell you know what I’m talking about with the cropping! 😉 Thanks for stopping by!
So cute and so true! You do not want to know how many different pairs of scissors I own! And I love the fonts you used.
I NEED MORE SCISSORS. And craft supplies in general. Thank you, Rachel! xoxo