Guys. I’ve got a completely new, never-before-seen, 100% original project idea today.
Just kidding, it’s a terrarium. There are like a million of those.
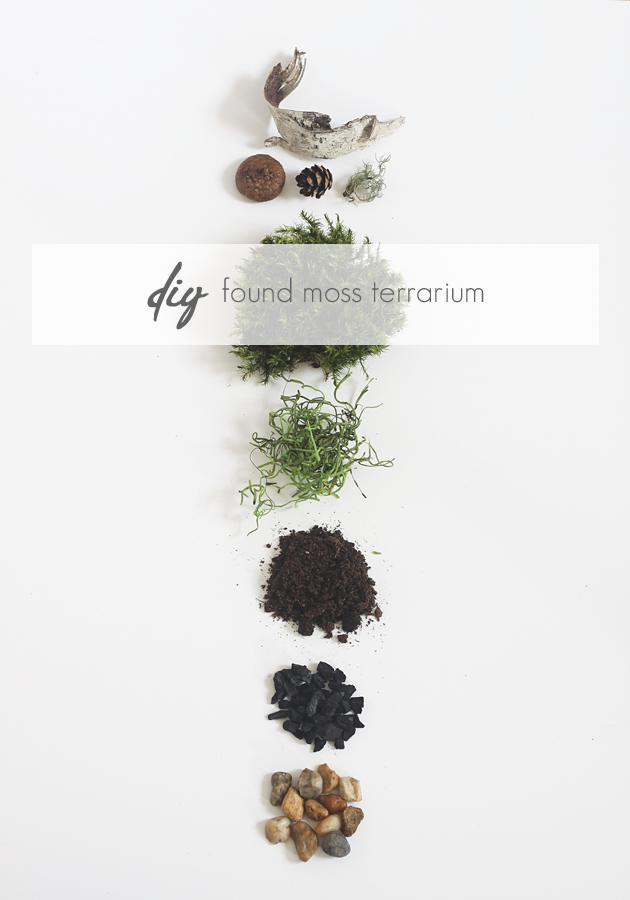
But that doesn’t mean the internet can’t handle just one more. And since it’s fall and we are all doing fall things like nature walks and nesting and pumpkin everything, I thought I’d show you how to make a super easy, almost free, DIY Found Moss Terrarium.
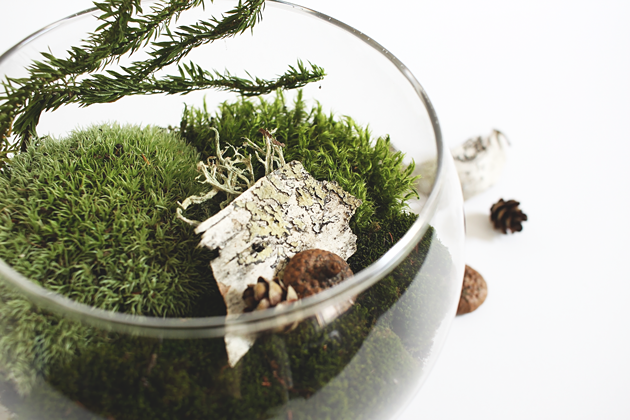
You know when decor gurus tell you to “bring the outdoors in?”
This is what they mean. Because, when you water the moss…it smells like the forest. And it is total heaven.
So, grab a plastic bag, head outside, and bring a little bit of the outdoors in.
Sorry, sometimes I can’t keep my inner cheeseball contained.
DIY Found Moss Terrarium
Skill level: The Easiest. For complete newbies.
Time: 20 minutes to assemble.
What You Need:
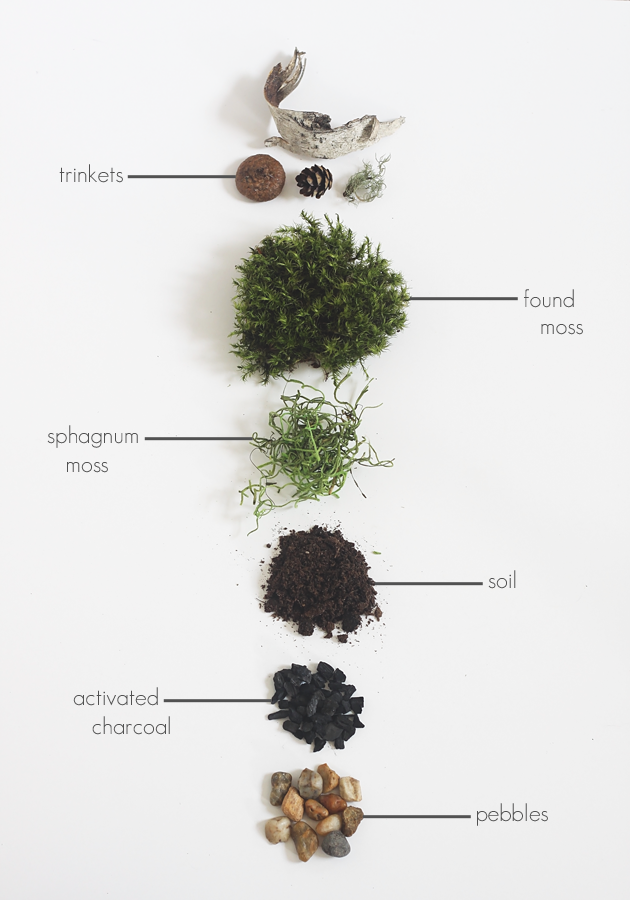
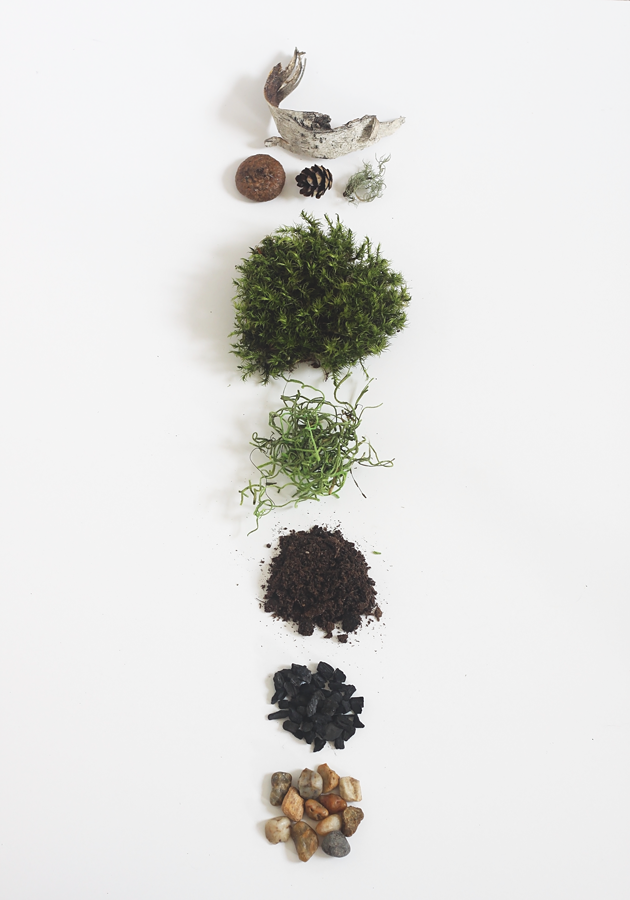
Because moss literally can grow on brick walls, you don’t need all of the ingredients I’m listing. This is like the fancy version of a moss terrarium. I’ll just show you what I used and you can add or subtract as you please.
- Pebbles. Any kind will do. If you are a city dweller, grab some gravel from an empty lot, just give it a good rinse.
- Activated charcoal* (optional, helps keep things smelling fresh).
- Soil (optional; moss can grow without it. If I were doing it again I think I would leave the soil out for a less messy look).
- Sphagnum moss* (optional, helps retain moisture and looks pretty).
- Moss. Find it in the city, find it in the forest. Look for different varieties to add visual interest to your terrarium. (I just gagged a little saying something so decorator-ey). Tip: Bring a small spatula with you when collecting your moss to help you scrape it off of its native habitat in one piece.
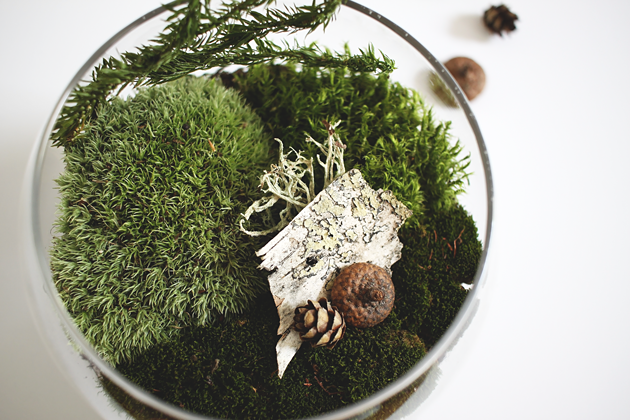
- Trinkets. Acorn caps, birch bark, pinecones, plastic animals, whatever you want!
- Glass bowl,* jar, or other clear container.
- Spray bottle,* for misting.
What You Do:
Where are the process photos? There are no process photos. Just grab your container and start layering.
Step One – Put a 1″ layer of pebbles in the bottom of the bowl.
Step Two – Add a thin layer of activated charcoal. Wash your hands after handling, this stuff will stain.
Step Three – Add about 1″ of soil. Or don’t, the moss will be fine either way.
Step Four – Flatten a chunk of sphagnum moss into a little pancake and add it on top of the charcoal or soil.
Step Five – Add moss! You can cut it down to the right size or shape with scissors. It is really that easy.
Step Six – Top with trinkets.
And that’s it!
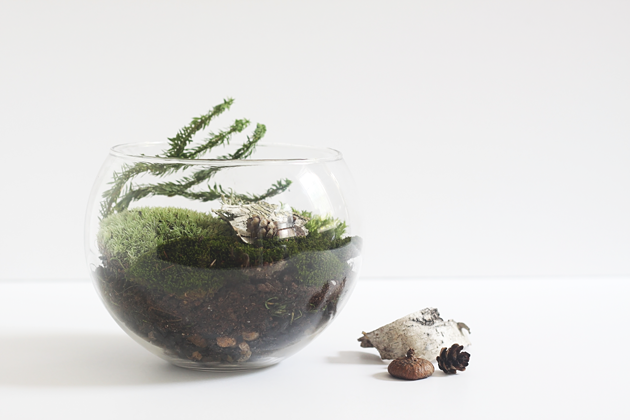
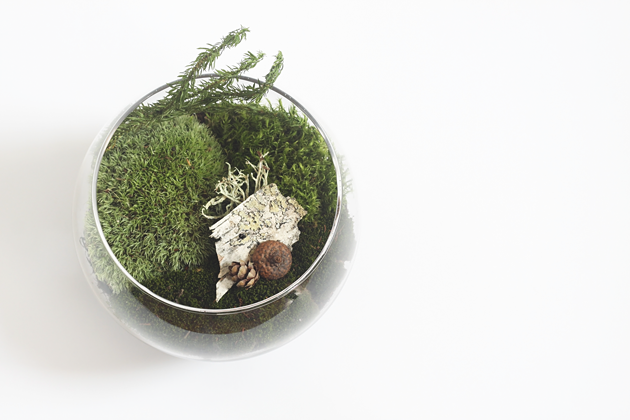
The best part about this terrarium (other than the beautiful hike I took with husband this summer to collect all my elements) is how ridiculously easy it is to keep moss alive.
All you have to do is mist it with a spray bottle of water every few days—twice a week should do it—and leave it out of direct sunlight so it doesn’t fry. Mine has been going strong since July! That’s gotta be some kind of a plant survival record in my house.
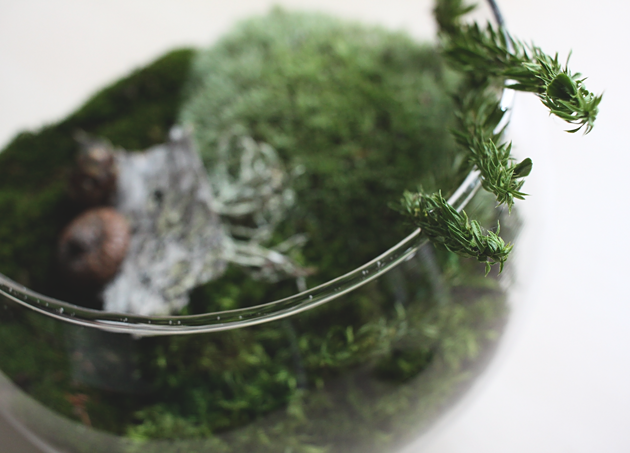
Except for those little pine fronds, they didn’t make it. Which didn’t surprise me because they were growing in a pretty swampy part of the forest. But still, the moss is alive!
What’s your favorite fall activity? Any nature walkers out there?
P.S. I’m still figuring out a posting schedule for the new bloggy. For now, the best way to keep up is to subscribe to email updates via the sidebar (you’ll only get an email when there’s a new post), or follow me on a reader like Bloglovin’!
*Affiliate links. This means if you purchase after clicking the link, I get a small commission at no extra charge to you. Which is how I pay my blogging bills. Thanks for being awesome and supporting the brands that fund Idle Hands Awake!

