DIY

DIY Pineapple Ring Dish

07.08.14

I originally wrote a super clever (well, to me) intro to this post. But it was all about the 4th of July, and obviously I didn’t end up getting this published in time.

So let’s skip the intro, ok? We’re all just in it for the projects anyways.
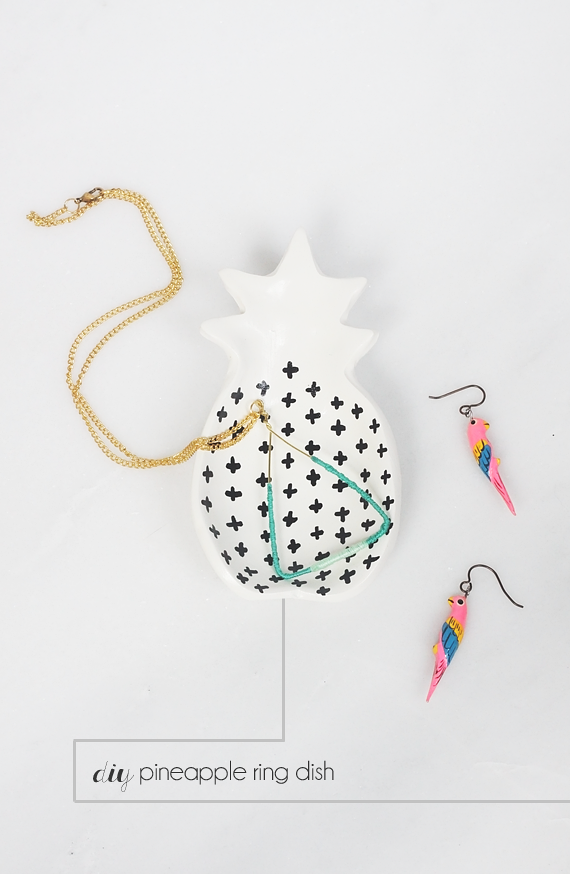
DIY Pineapple Ring Dish || Idle Hands Awake

This ring dish is so so easy to make—you don’t have to sculpt or anything, all you need is a jumbo cookie cutter and polymer clay!
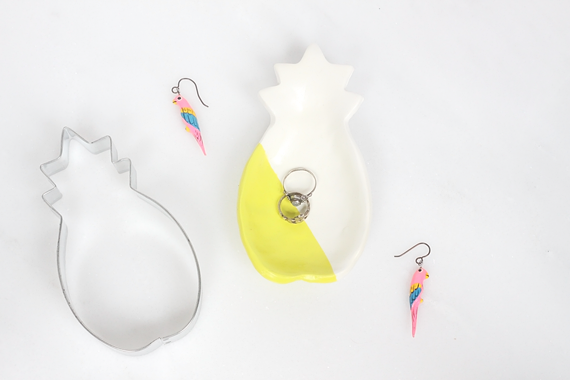
DIY Pineapple Ring Dish || Idle Hands Awake

DIY Pineapple Ring Dish

Skill Level: Easy Peasy

Time: 1 hour-ish, plus drying time if you use paint

What You Need:

Note: I used a big 1lb block of polymer clay since I knew I would be making multiple ring dishes, but if you want to make just one or two, 2 of those standard 3 oz. packs will be enough.

*Affiliate links. This means if you purchase, I will earn a small commission at no extra charge to you, which is pretty sweet because it helps me pay blogging bills, so thank you! I will only link to products I have used or would use myself, pinky promise!

What You Do:
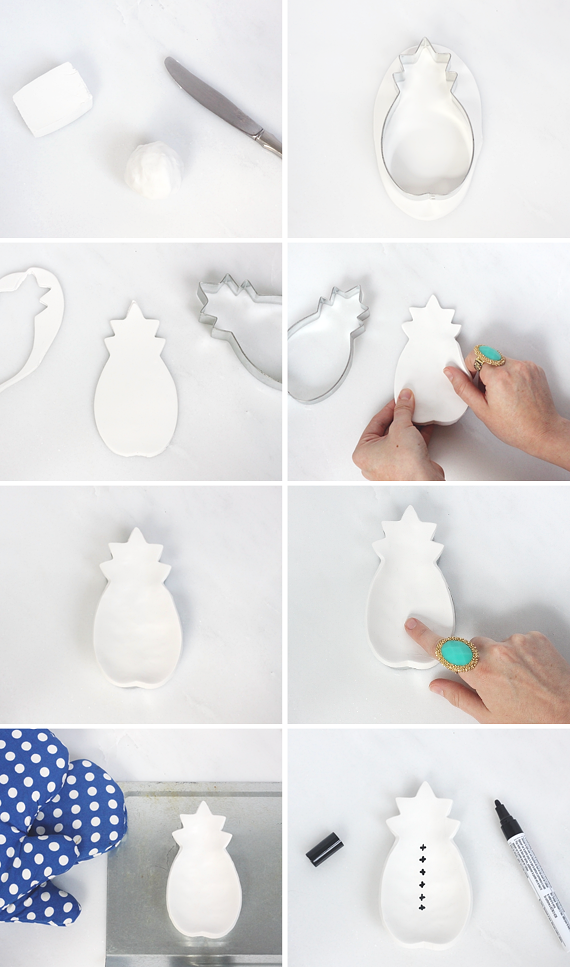
DIY Pineapple Ring Dish || Idle Hands Awake

Step One – Cut off a chunk of clay and make a ball somewhere between the size of a plum and a tennis ball. Warm the clay in your hands and roll it around so it becomes easier to work with.

Step Two – Flatten the ball of clay into a pancake, then roll it out until it’s roughly 1/4″ thick and a little bigger than the cookie cutter. You can be all fancy with a crafting rolling pin if you want, but an empty beer bottle works just as well.

Step Three – Cut out the pineapple shape with the cookie cutter.  Keep the clay scraps and any leftover clay sealed in a baggie to stay useable for up to a year. Go ahead and preheat your oven to the temperature on the clay package.

Step Four – Gently use your fingers to widen the clay pineapple enough so it will sit on top of the cookie cutter (the cookie cutter will be the “mold” for the bowl). The best way to do this is to start in the middle and pull the clay out towards the sides, being careful not to let it get too thin.

Step Five – Place the clay pineapple on top of the cookie cutter. Form a bowl or dish shape by pushing the middle down and molding the edges over the sides of the cookie cutter, so that the clay kind of hangs there and stays in place. You can make the bowl as deep or as shallow as you want. I didn’t photograph this step in a very illustrative way, so hopefully this description makes sense!

Step Six – Dip your finger in the cup of water and gently smooth out any bumps and fingerprints. Take your time with this step, as it’s much harder to remove them after the clay has been baked. But don’t go crazy either, perfection is overrated.

Step Seven – Bake the whole thing, cookie cutter and all, according to package directions (usually 15 minutes for every 1/4″ of thickness). If you have a toaster oven, this is the perfect time to use it! Once baked, remove from the oven and allow to cool. It will still feel a little soft when it’s warm, but will harden during cooling.

**Note: After being baked and cooled, the polymer clay will still be a wee bit flexible. Not enough that you could reshape it without breaking it, but just don’t be alarmed if it feels a little “bendy,” it’s supposed to be that way!

Step Eight – (optional, not pictured because clay dust and cameras don’t mix) Lightly sand the dish with fine grit sandpaper to smooth it out. You can skip this step if you want, I just had to make mine extra fancy-looking for the photos, ’cause I’m totally profesh.

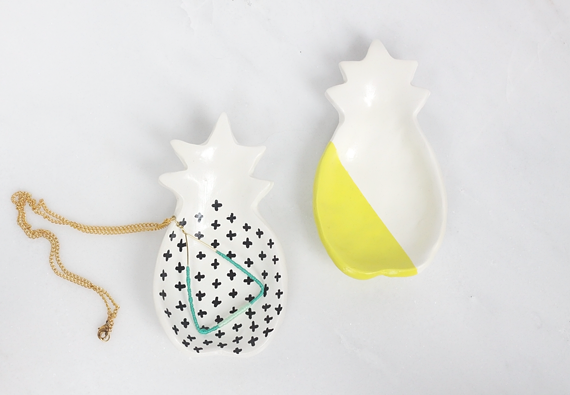
Step Nine – Decorate! I used spray paint and a paint pen to embellish my pineapples, then finished with a clear satin spray to give them a nice sheen. Clearly I adored Hello Lidy’s Swiss Cross Pineapple so much that I had to make my own! And how could I resist another chance to color-block something?
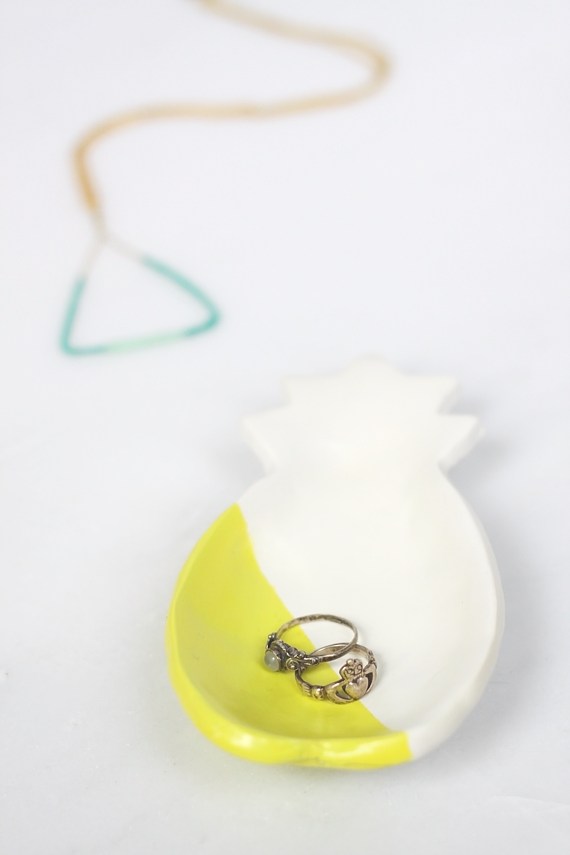
DIY Pineapple Ring Dish || Idle Hands Awake

And that’s it! Toss some jewelry in there and display. It would also make a perfect coin/key catchall for your boyfriend to dump all his stuff in when he walks in the door (no more excuses, A.).
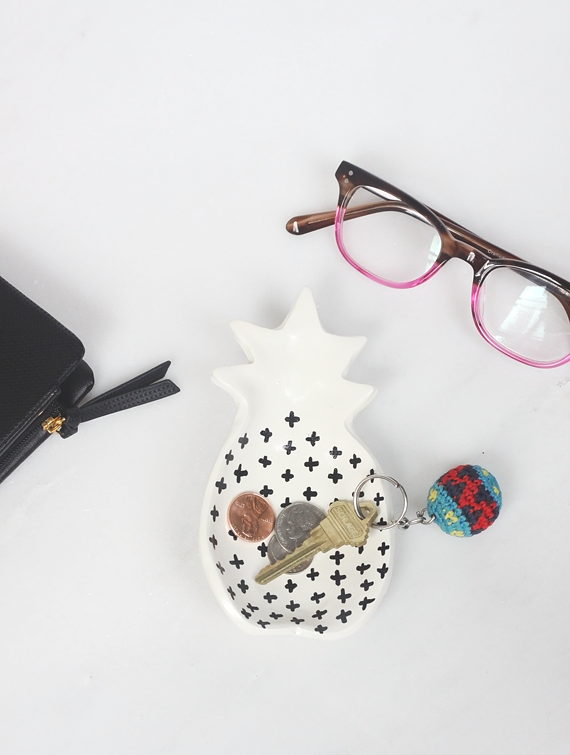
DIY Pineapple Ring Dish || Idle Hands Awake

DIY Pineapple Ring Dish || Idle Hands Awake

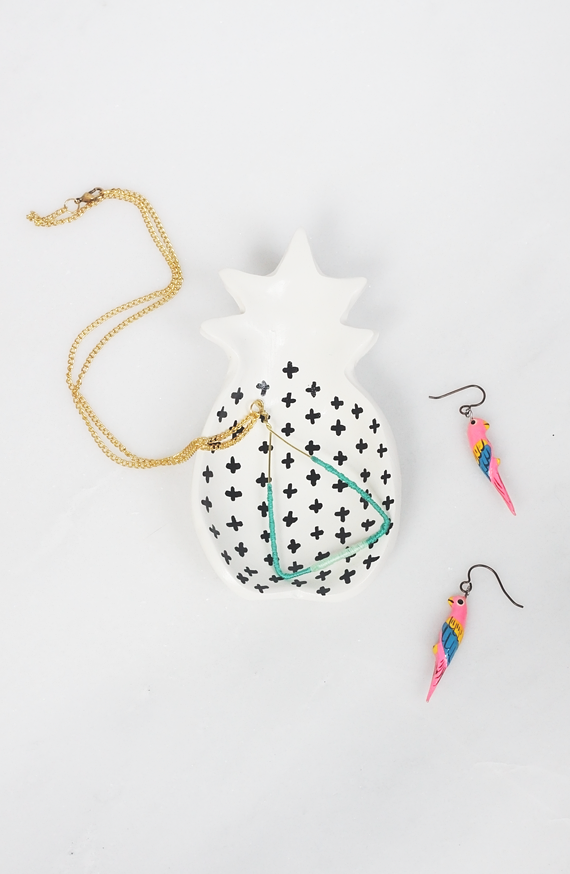
This pendant is a project too! DIY Color-Blocked Triangle Earrings
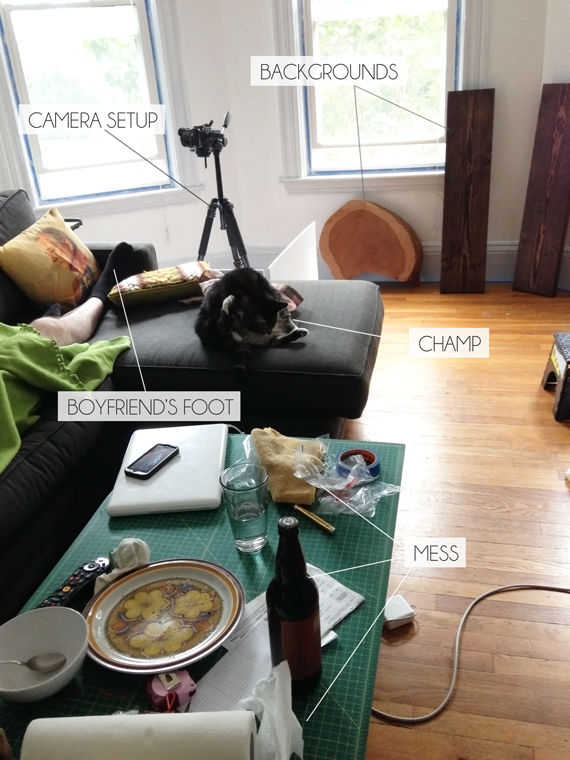
DIY Pineapple Ring Dish || Idle Hands Awake And now for something a little different—my neighbor was curious the other day how I had space to make everything look so nice in my final project photos, so I thought it’d be fun to give you guys a peek behind the scenes. This is the chaos I bring into our home whenever I’m working on a project:

Behind the Scenes || Idle Hands Awake

Behind the Scenes || Idle Hands Awake

Cropping is a blogger’s best friend.

Lately

Happy 4th

07.03.14

 Jade and Fern

The first real heat wave has struck Boston (hence the radio silence—my brain stops functioning above 82º). Kill me now. My plans for this week are to eat all the vegan ice cream until it’s tolerable out again.

Have a happy 4th of July, all you USA readers! See you next week!

xoxo

Giveaways

It’s Giveaway Day! Win Two Bags from Simple Peace

06.28.14

***This giveaway has closed!***

Win Two Bags by Simple Peace via Jade and Fern || #14daysoflove

Giveaway day is here! Cue the balloon drop!

#14daysoflove is all about saying THANK YOU to our awesome readers! You guys inspire me everyday and have grown Jade and Fern from a 2-reader blog to a 2,000-reader blog in just a year. I appreciate every comment, like, pin, and view that comes through, and am SO excited to be able to give something back!

I am so pleased to offer this giveaway thanks to my sponsor, Simple Peace, who has generously donated two stunning bags valued at $120. The lucky winner will receive an organic hemp and cotton Farmer’s Market Bag—made in the U.S.A.—and a handwoven palm leaf Beach Carryall with leather handles, crafted by a fair-trade artisans co-op in Morocco.

You know you need some stylish bags to tote around your craft supplies/tools/yarn/insert-hobby-of-choice-here this summer, so enter below!

a Rafflecopter giveaway

The giveaway will be open until midnight on Monday, June 30th. Winner will be chosen randomly using Rafflecopter and notified by email. If the winner does not respond within 48 hours, another winner will be chosen. Open to U.S. residents only—sorry, international folks, I’ll get you next time!

Thank you thank you for reading Jade and Fern and just generally being awesome!

Don’t forget about all the other giveaways—there are still six whole days of fabulous prizes! You can view the complete list of participants here, and follow our Facebook page for updates!

P.S. I PROMISE the next post will have less exclamation points. Most likely.

**Update: Thank you so much to everyone for entering the giveaway, supporting Jade and Fern, and the whole #14daysoflove team! Keep checking our Facebook page for more great prizes through July 4th!

Giveaways

14 Days of SUMMER Love Giveaway!

06.21.14

Good news for people who like free things: the 14 Days of Love Giveaway is BACK!

14 Days of Summer Love - Celebrate Summer with 14 Awesome Prizes!

Me and 13 other bloggers are saying YOU ARE AWESOME to our readers with 14 days of fabulous prizes to kick off the official start of summer, right up through the 4th of July! Because nothing can improve upon summer quite as much as free goodies. (That and maybe a Caribbean vacation, but that’s asking a little much I think).

Look at all this amazing stuff you could win!

Each giveaway is open for 3 days, but that can go really fast so don’t miss it!

If you’re like me and have a terrible memory and are thinking, “This is great, Marlene, but how on earth am I supposed to remember to check each of these blogs for the next 2 weeks,” never fear! We have a Facebook page that you can follow so you can be reminded of each giveaway.

And I’m so happy to introduce my very first real sponsor, Simple Peace. Owned by DeAnna Reposa, Simple Peace creates beautiful carryall bags in a variety of styles to help you reduce your impact on the environment. The canvas bags are made of organic hemp and cotton in the U.S.A., and the straw bags are handmade by a cooperative of artisans in Morocco—both are crafted with Fair Trade practices. 

Be sure to enter Jade and Fern’s giveaway on June 28th!

And don’t forget to check our our fearless leader Jeran’s giveaway today on Oleander and Palm!

Have I used enough exclamation points in this post? I don’t know!

Happy weekend, everyone, and happy summer!

Lately

Hello From Paintpocalypse 2014

06.18.14

Paintpocalypse 2014, Or Why I'm Never Painting a Room Again || Jade and Fern

I know, I know, you are just dying to hear all about the neverending painting saga and see loads of crappy iphone progress shots. You are in luck, my friend, because that is about all my paint fume-riddled brain can handle today, or possibly even this week.

Hold onto your butts:

Paintpocalypse 2014, Or Why I'm Never Painting a Room Again || Jade and Fern

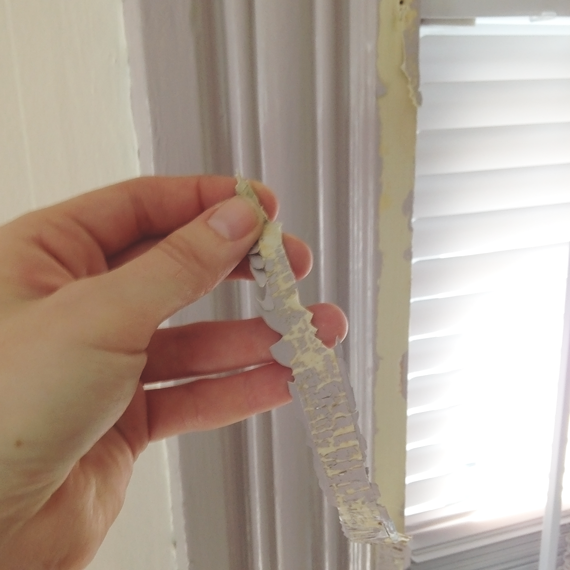
Whoever painted the living room trim lavender did so right over numerous strips of regular clear tape. There have been a lot of dubious decisions in this apartment’s history.

At some point during hours of spackling, sanding, and taping two weeks ago, I had the insane moronic GENIUS idea that it would make sense to paint the bedroom at the same time as the living room. The thought process took about two seconds and went something like this:

GENIUS IDEA BRAIN: You know what would be really great? Painting the bedroom at the same time as the living room!

ME: Yes! Two rooms in one go! We’ll get it done in a weekend!

GENIUS IDEA BRAIN: I’m so smart!

A. should have tranquilized me and hidden the paint rollers when I told him. Because there’s something you may not know about me: I have never painted a room before. 

Paintpocalypse 2014, Or Why I'm Never Painting a Room Again || Jade and Fern

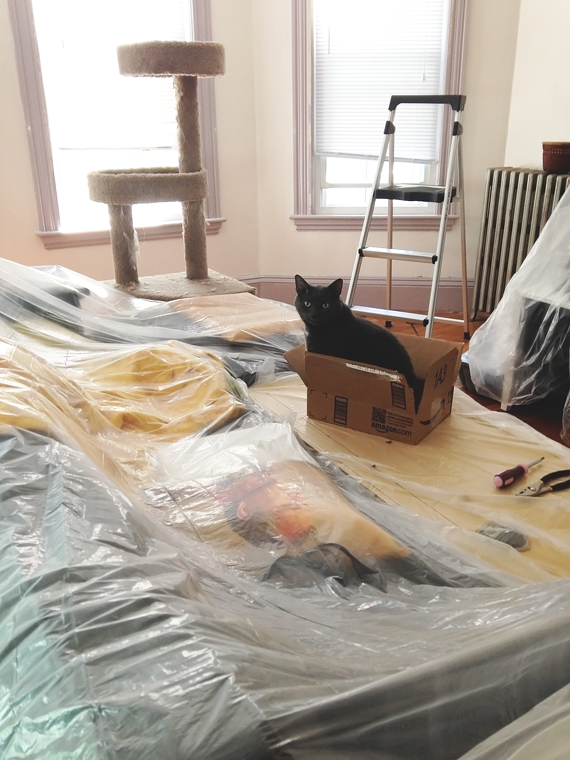
Wally inspects his relocated box.

But as a cocky DIYer who has tackled all sorts of projects big and small I was totally like, “Psshht, I got this.” I had NO. FRIGGIN. CLUE. how labor intensive painting a room is.

For any other painting virgins out there, don’t be fooled by the “easy painting tips and tricks” posts plastered all over Pinterest. It is labor intensive and time consuming and just damned hard.

There is paint everywhere. In my cuticles. On my razor after shaving my legs this morning. On Jax’s whiskers.

Paintpocalypse 2014, Or Why I'm Never Painting a Room Again || Jade and Fern

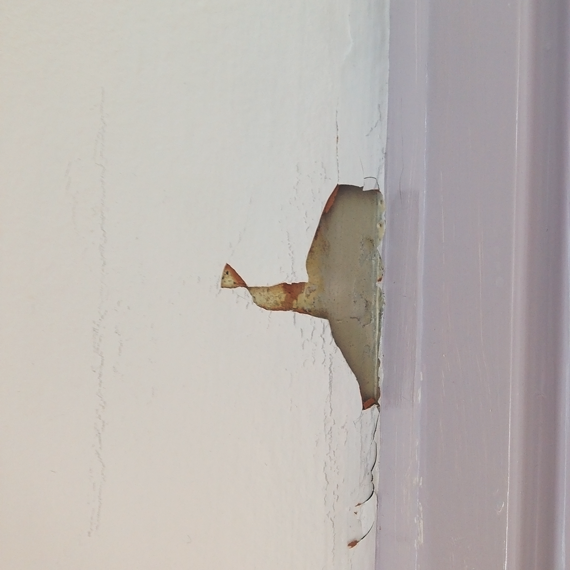
Just one of the many holes in the plaster.

My right hand is now permanently fused to the grip of my 2.5″ angled sash brush. My left hand tried really hard to remember its ambidextrous beginnings and pick up some of the slack, but failed dramatically and just ended up swollen from muscle strain. My feet hurt from standing all day, my knees are bruised from kneeling.

And the hilarity is, we’re only just done priming.

Paintpocalypse 2014, Or Why I'm Never Painting a Room Again || Jade and Fern

See that blob of salmon pink? That used the be the wall color in the bedroom.

Paintpocalypse 2014, Or Why I'm Never Painting a Room Again || Jade and Fern

And the trim used to be bubblegum pink. Painting trim anything other than white should be a crime.

Why is it taking sooooo long? Well, we’re painting two rooms ceiling to baseboard. There’s miles of trim and it’s horridly pitted and bumpy from years of terrible paint jobs. The plaster is crumbled in spots and requires a delicate (read: ineffective) touch. We’re going over grey and lavender, which both need extra coats of primer.

And apparently, I suck at painting rooms.

After this mess is done, I’m sticking to furniture and crafts and yummy treats and never painting a room again.

It’ll be worth it though, right?

RIGHT?

I’m signing off now, I literally need to go ice my achey hands.

I’d love to hear your stories of painting encouragement or fellow commiseration! Who here has painted a room before, and how did it go?