Ugh, December is beating me to a pulp! I have so many fabulous posts planned for you, but my silly migraineous brain vetoed my ambition and set me back a bit. Isn’t it amazing how our bodies remind us to slow down? I am really looking forward to the post-holiday-madness January calm.
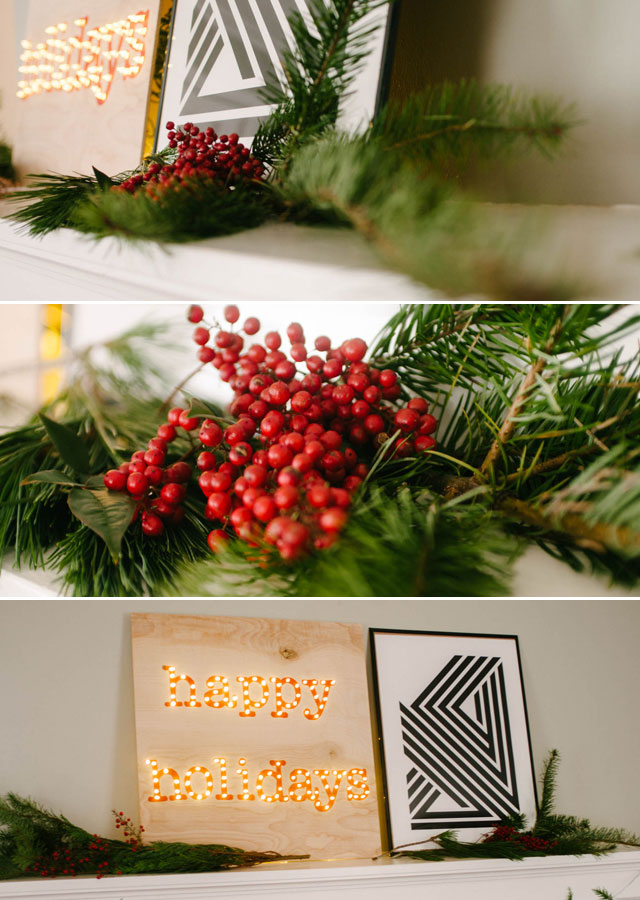
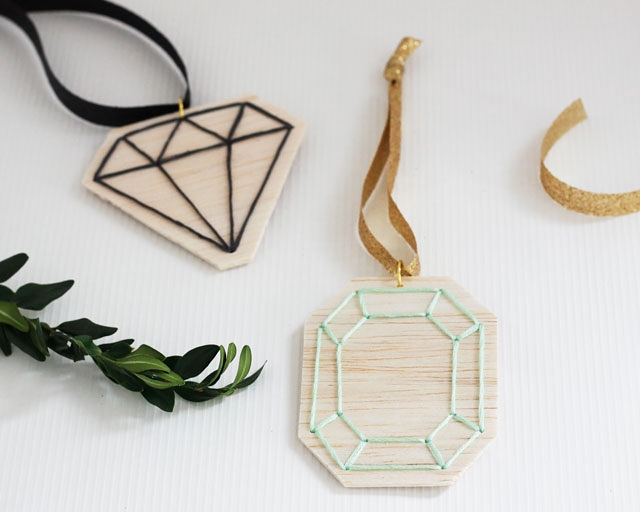
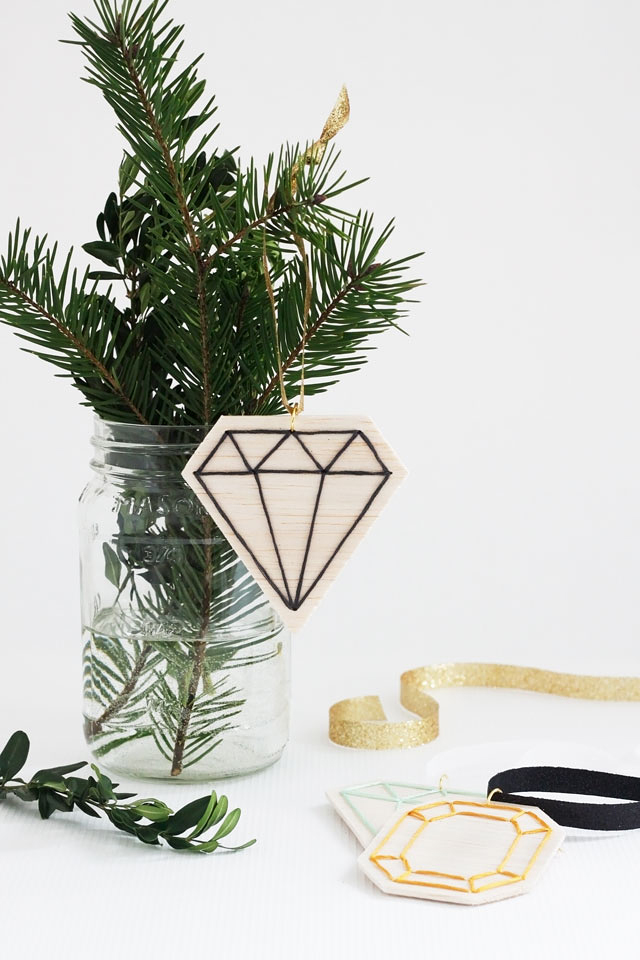
ANYHOW—remember the gemstone ornaments I made a few weeks ago? I promised you that there was a second version coming up—and here it is! Presenting the DIY Faceted Gemstone Ornaments, v. 2:
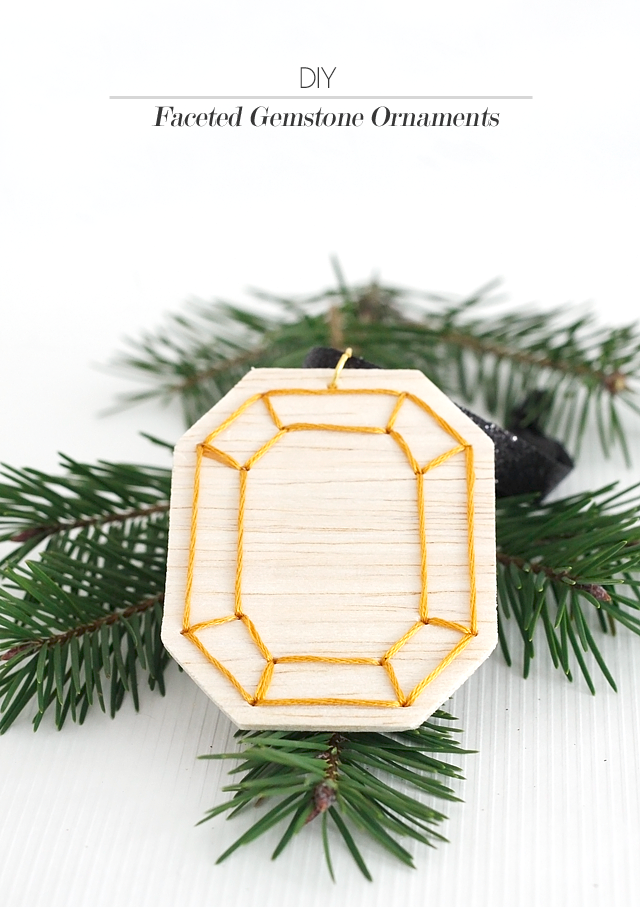
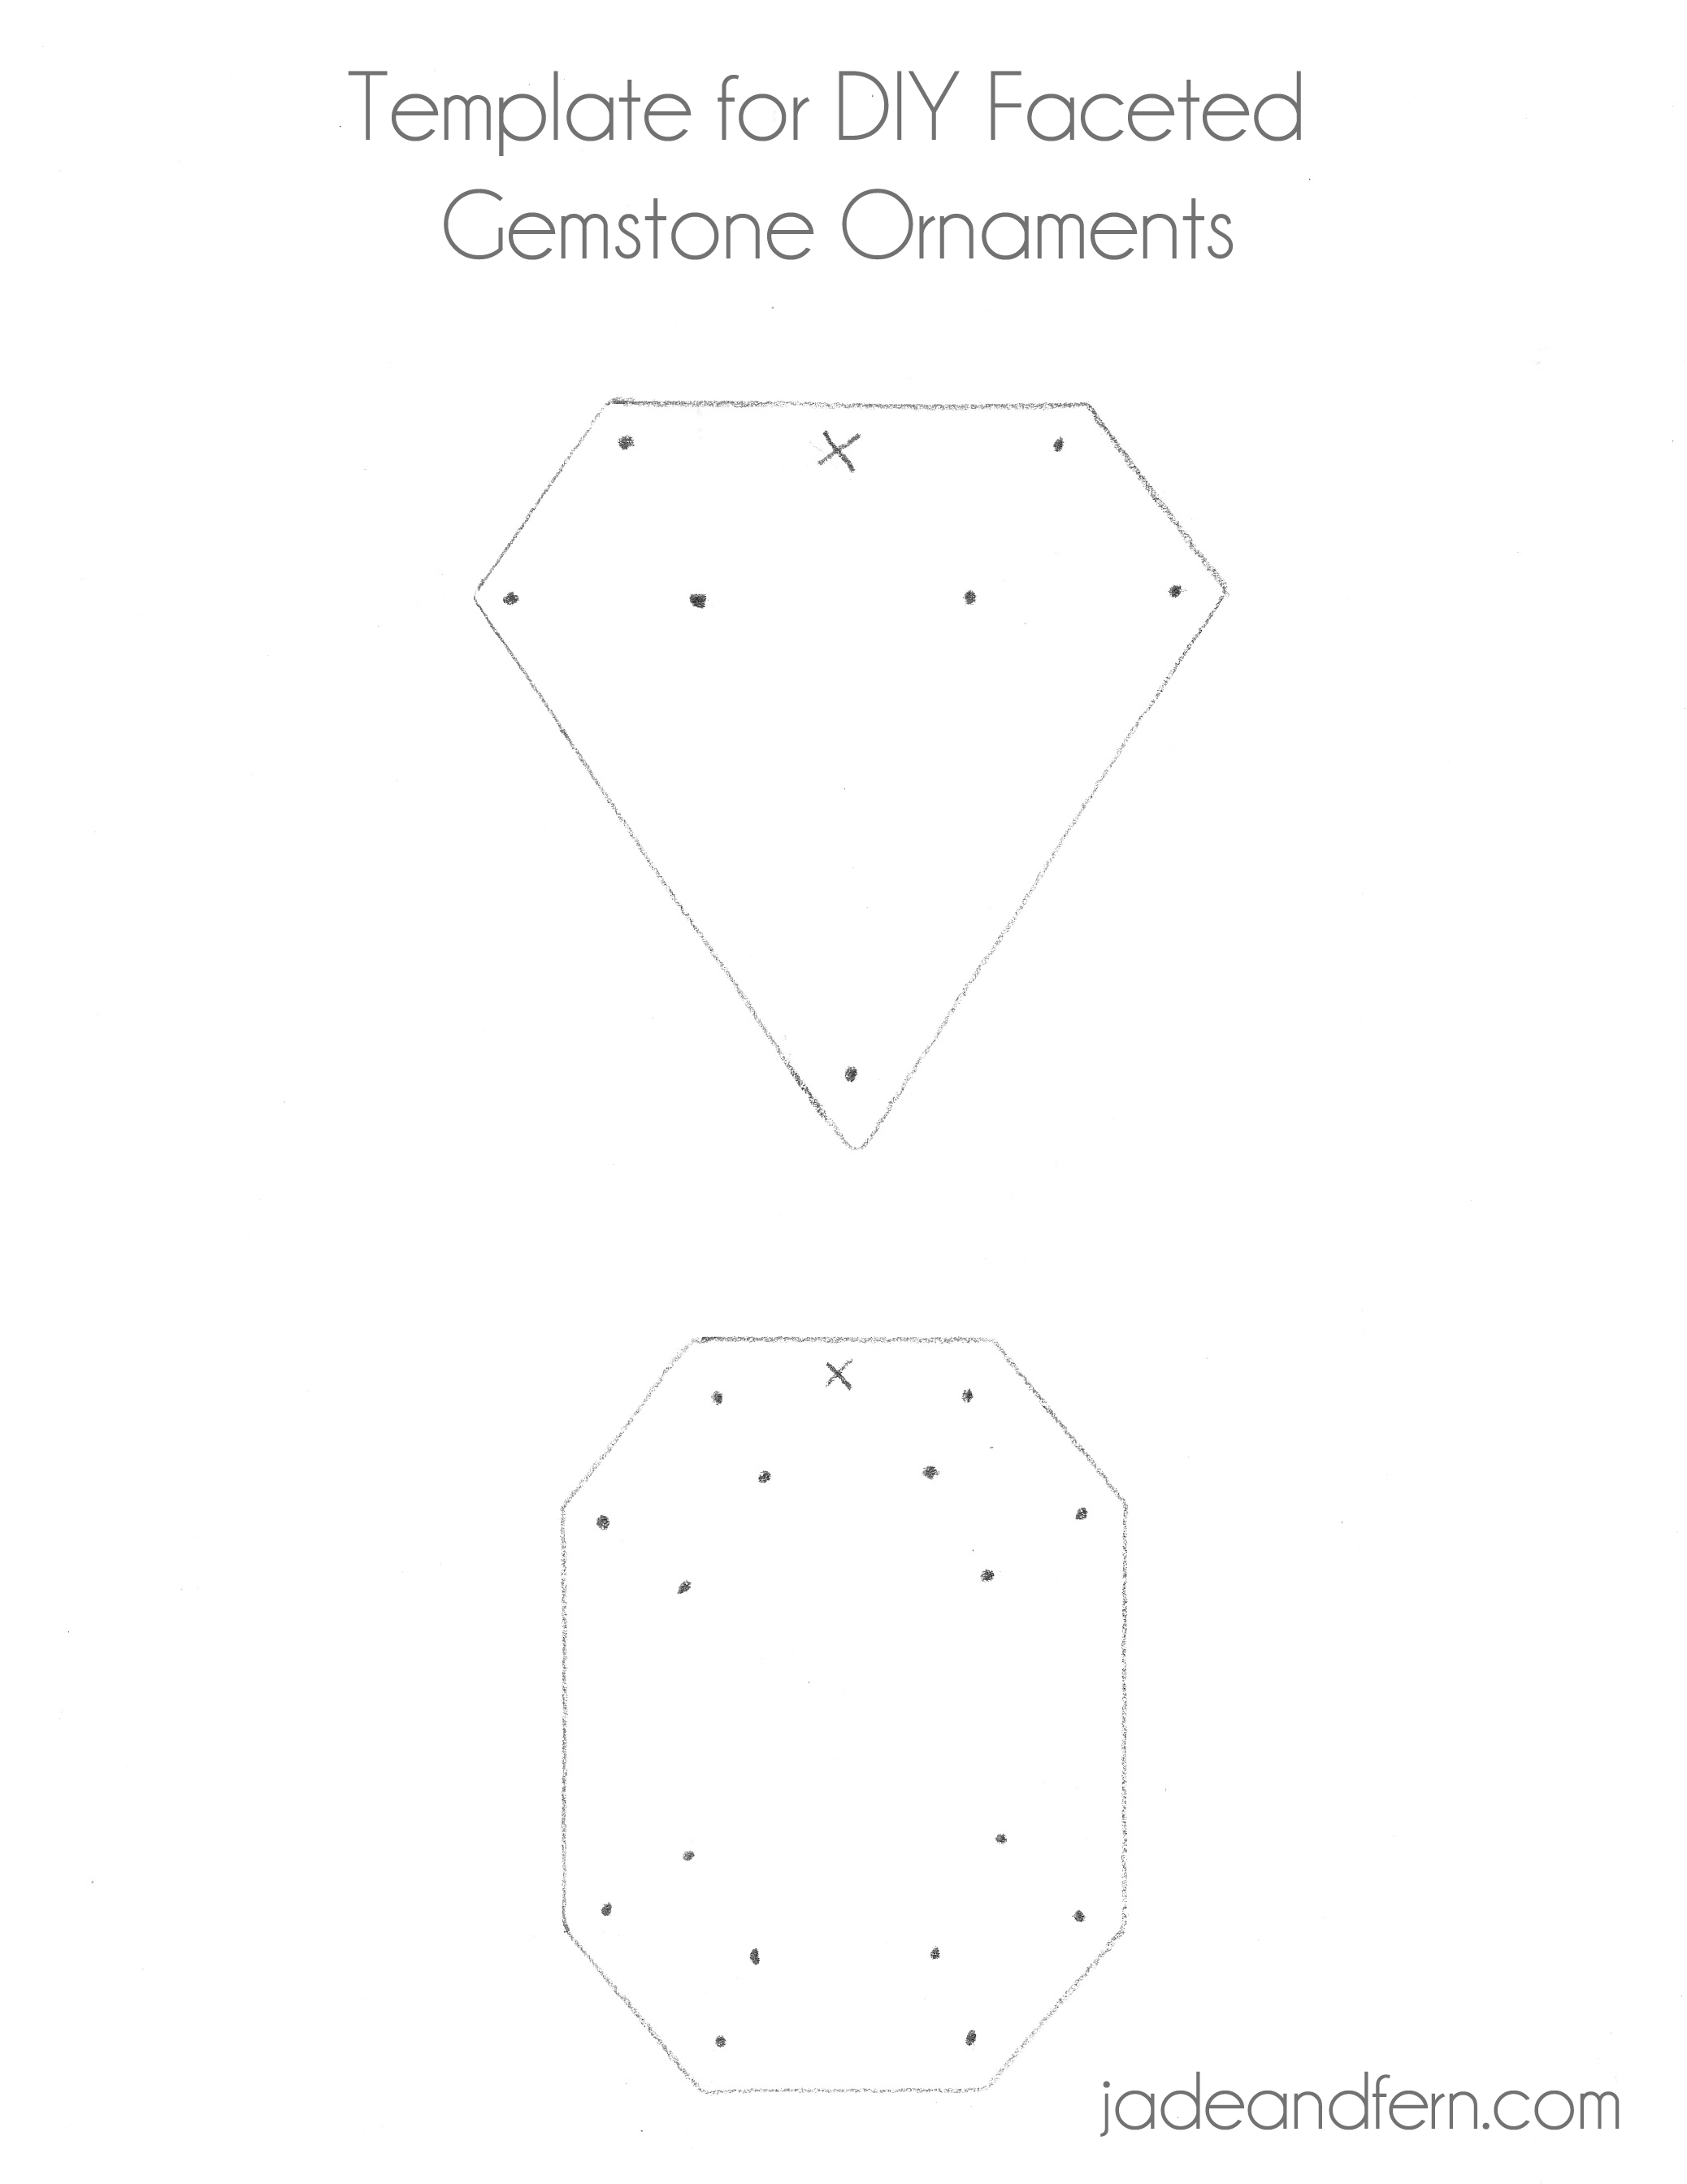
I know, I know, you are totally alarmed at the idea of having to draw this shape. Calm your crafting fears—I did the dirty work for you and made a downloadable template. Which means if you can trace and thread a needle, you can make these ornaments in time for the big festivities next week.
What You Need:
- 3/32″ thick balsa wood (mine came in a very long, narrow strip, so I cut it into more manageable sizes)
- medium-grit sandpaper
- embroidery floss (see note)
- a medium-thick needle with a flat eye, such as a tapestry needle
- jump rings
- ribbon
- scissors
- pencil
- ruler
- template (download below)
*Note: do not be tempted by metallic embroidery floss! It looks so pretty in the store but when you start working with it all the threads separate and get knotted and break your balsa ornaments and you have to race to the craft store in the middle of your photoshoot to exchange it and then you get back and it’s dark already and you’re screwed. (These are the kinds of crises I have as a DIY blogger. Embroidery Floss Emergencies). Trust me, stick with regular embroidery floss.
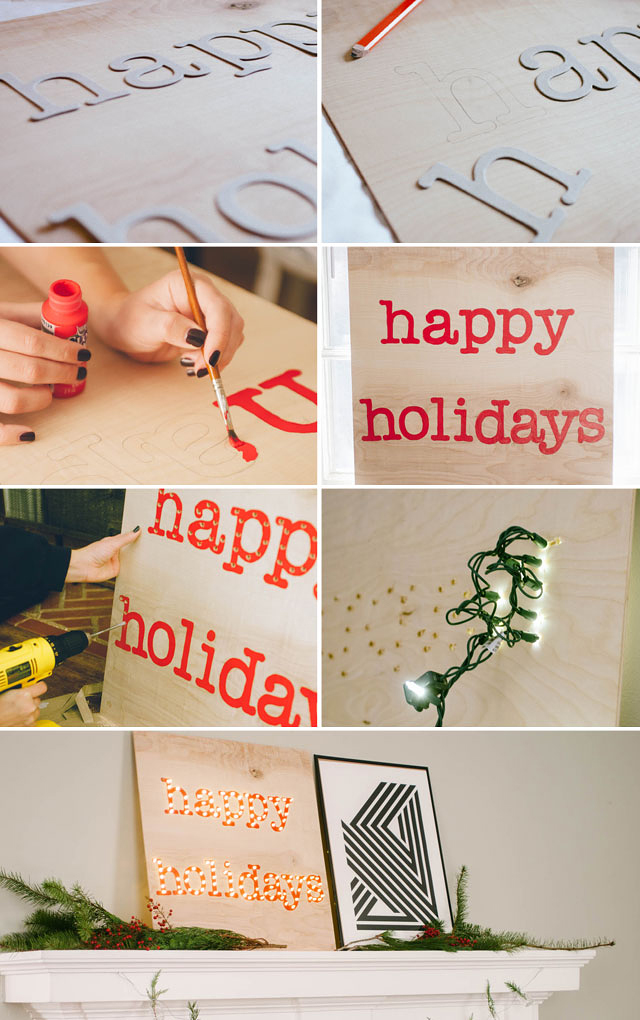
What You Do:

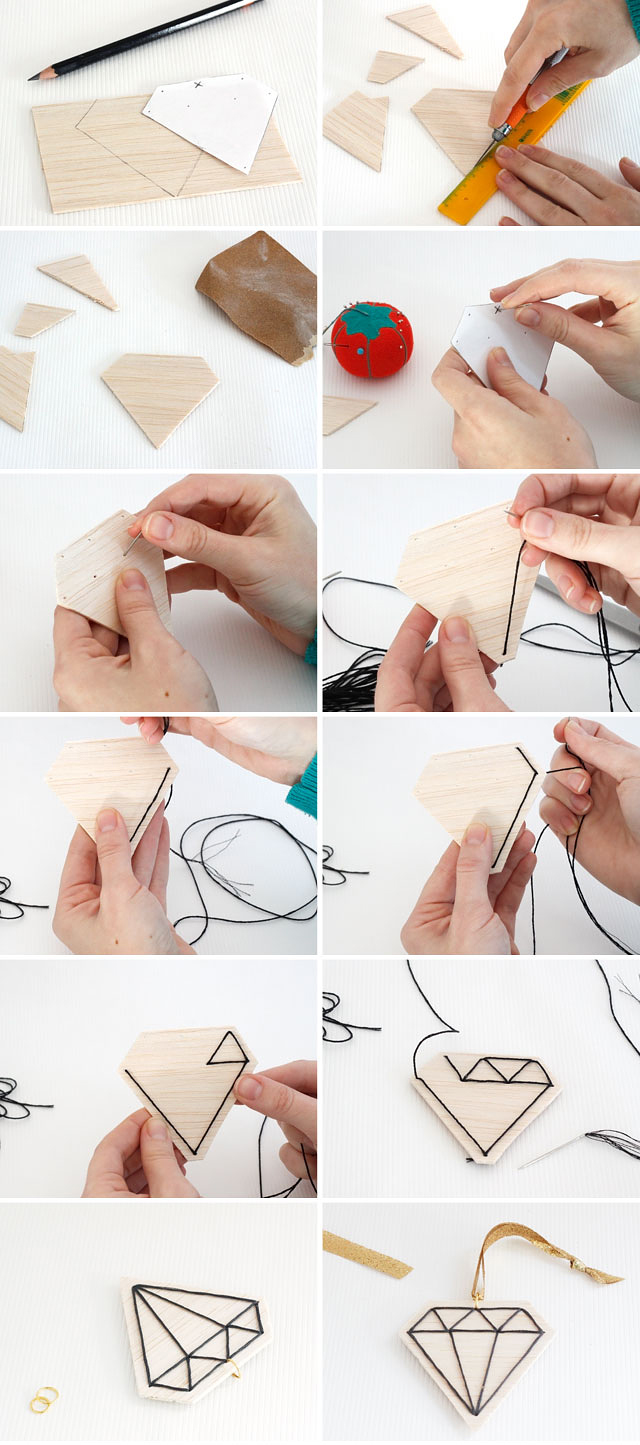
Click and zoom to enlarge. Please don’t judge my cuticles.
Trace one of the templates onto a piece of balsa wood.
Cut out the gem shape, drawing the craft knife blade along a ruler to help you keep the cuts straight.
Gently—gently—sand the cut edges of the wood. Go slowly; balsa is very soft.
Hold the template up to the prepared shape, and push the needle through each dot marked on the template. The “x” marks where the jump ring will be attached.
Widen each hole in the balsa by carefully wiggling the needle around a bit.
Thread your needle, knot the other end of the thread, and begin to stitch the shape of the gemstone. Don’t worry about how the back looks—it’s the back! If any hole is too narrow for the eye of the needle, simply widen it further by wiggling the needle again.
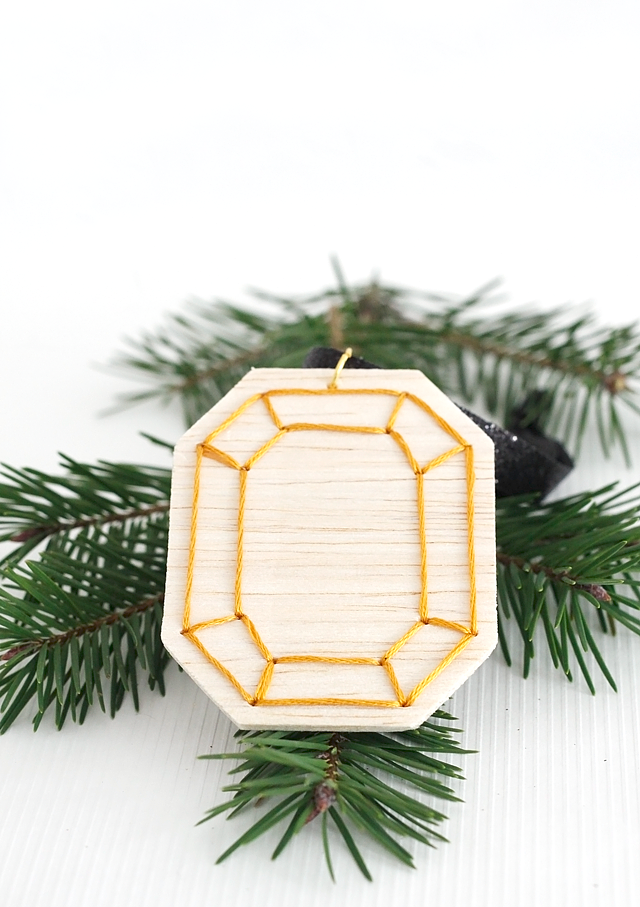
Continue to stitch through each hole until you have outlined the whole shape. Were I more mathematically minded, I could have created some pattern for you to follow. But I’m not. Hopefully the pictures explain.
When you have finished stitching the gemstone, cut the thread and knot it at the back to secure. Attach a jump ring through the top hole, tie on a ribbon, and you’re done!
What do you think? I am finally finished decorating with this project—although, there’s just one more coming tomorrow!

Now for the template:

Yes, it’s hand-drawn. My Photoshop skills only go so far.
How are your holiday plans shaping up? Anyone else ready to escape to a secluded cabin in the mountains until it’s all over?