Lately

Blarghety Blog and Woodworking Weekend

10.02.13

Guys. I need to get more organized. Plan ahead. Have some posts at the ready to be published in times of emergency. So that when I have to go to the ER in the middle of the night, I can just hit “publish” later in the day and not be MIA for so long. (Don’t worry, I’m ok, just an allergic reaction. Everything’s fine now).

What I’m saying is, I was thinking about you, readers. While hooked up to an IV and shivering in a cold patient room at 4 in the morning, I was thinking about you. Be flattered.

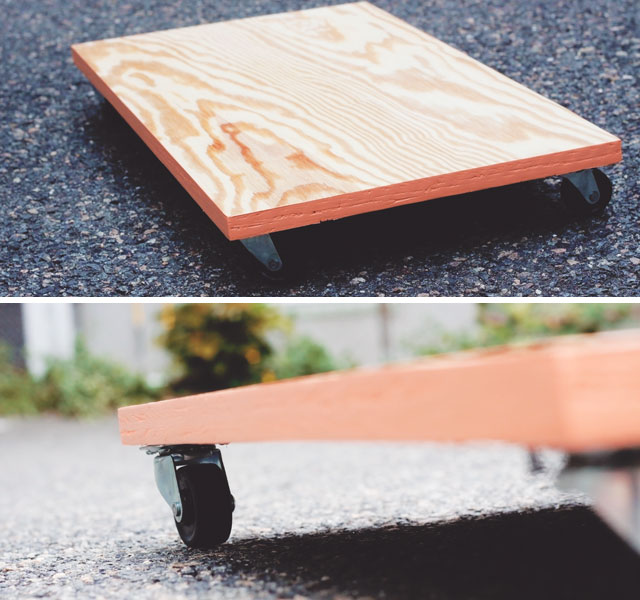
Back to blog stuff. Things have been a bit manic around here. Since I have no insulated indoor space to work on fumey projects, I’ve been scrambling to finish my bigger pieces before the cold weather sets in. Paint and polycrylic don’t cooperate in a freezing basement.

Which means, this past weekend was woodworking weekend! Woot!

DIY Tree Slice Table || Jade and Fern

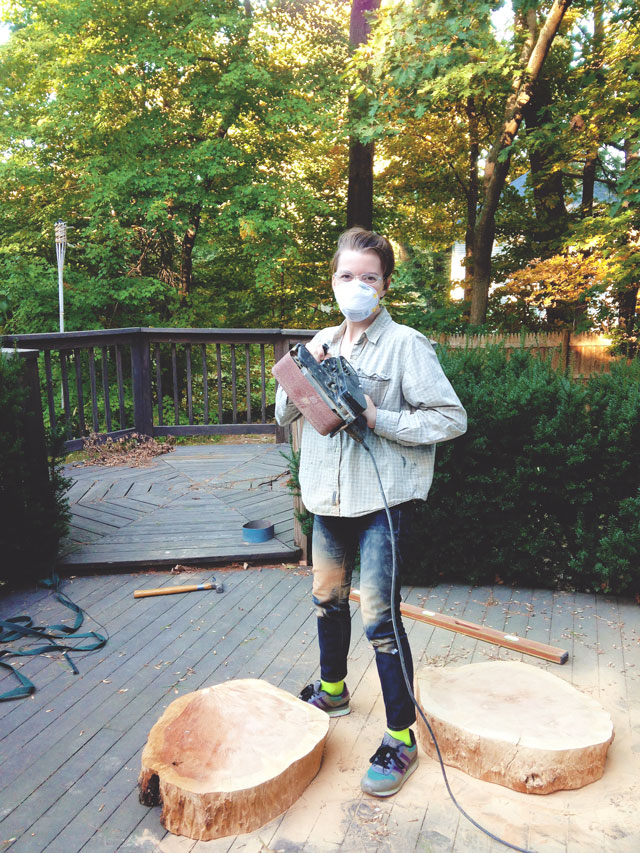
Don’t I look classy in my work clothes and neon socks?

Two of my friends just bought a fantastic house in MA and invited me to come use their tools for these tree slice tables I’ve been working on. I may have invited myself, the details are a little hazy. Thank you, lovelies, for letting me invade your home!

Yes, these are the same tree slices I got all the way back in April. It took ALL. SUMMER. for them to dry. It was hair-pullingly slow. But they’re finally ready and now I’m prepping them to be table-ified.

DIY Tree Slice Table || Jade and Fern

DIY Tree Slice Table || Jade and Fern

DIY Tree Slice Table || Jade and Fern

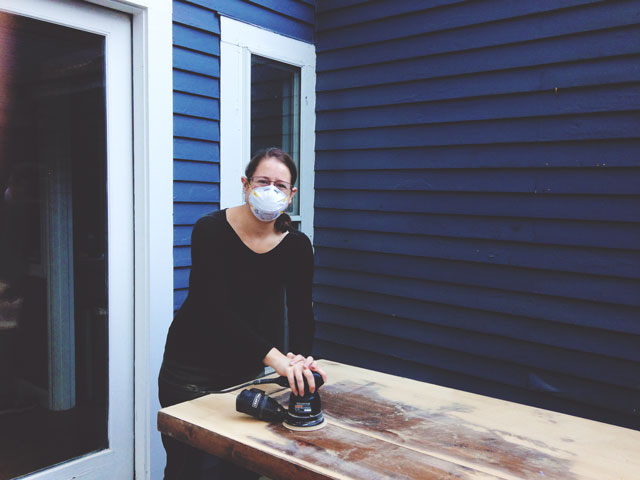
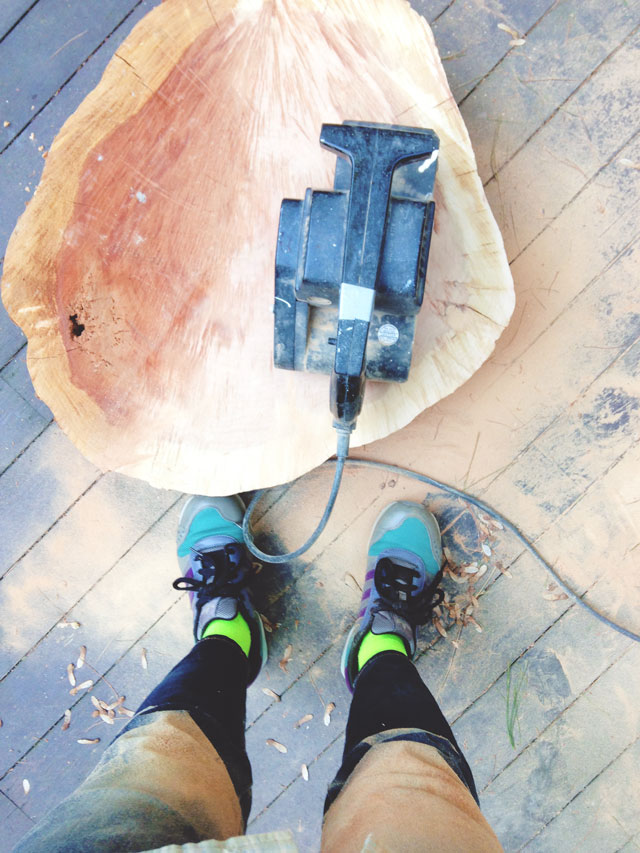
I wanted to take more pictures, but the sawdust was seriously intense. No phone/camera needs to be subjected to that mess.

What did you all do this past weekend? I know, it’s already Wednesday, but I would feel quite rude not asking.

This week will be a little scant post-wise, but I’ll be back with more good stuff next week!

**Update!

You know when you have a really big ambitious project that’s taking a really long time and all this other stuff gets in the way and eventually a whole year has passed and you’ve just lost the thrill of working on it? Yeah, that happened. Turns out the much-awaited (by me) Tree Slice Tables just aren’t going to work in our home. By which I mean, I’m too lazy to keep planing and planing and planing to try to get my slices level. Time to admit defeat and move on!

My Home

The Bathroom

09.26.13

Cookie Monster Blue. Three words that should never come up when discussing interior design. And yet, there it is:

Cookie Monster Blue Bathroom || Jade and Fern

Oh my word, I can’t believe I’m sharing this. I am a DIY-blog masochist.

The BLUE. The glossy, gloopy, splattered-on COOKIE MONSTER BLUE. Gag me.

We have lived in our apartment for 4 years now. It’s SO. EMBARRASSING. that the bathroom still looks like this. I couldn’t even take a decent picture because the light is crappy and I hate the colors and I just want to pretend this room doesn’t exist. But I want to be a truthful blogger, so, there you go. My neighbor dubbed it right: this is the Cookie Monster Bathroom.

One picture is enough though. Let’s move on to some pretty photos of how I WANT the bathroom to look.

White and bright and planty. Aaahhh. So serene. So not channeling Sesame Street.

Plant-filled Bathroom, via The Brick House

Photo via The Brick House

Or, perhaps, something with a bit more color? Alan would totally dig the pink shower curtain and swan wallpaper, right?

Bathroom Design by Natalie Clayman

Photo by Natalie Clayman

And there’s always the dramatic black and white option, which I am craving more and more these days:

Bathroom by Manhattan Nest

Photo by Manhattan Nest

Bathroom by Manhattan Nest

Photo by Manhattan Nest

How stunning is that light fixture? Also, horse prints. Also, I love you Daniel Kanter. Will you be my blog husband?

Someday—SOMEDAY—we will get down and dirty with the bathroom and paint it and accessorize it. We have no plans to move anytime soon, so we really need to make this space our own. Ok, let’s be honest—I really need to make this space MY own. Alan appreciates a good room design when it’s finished, but doesn’t mind the apartment the way it is, with all its hideous color vomit.

Painting the whole apartment just feels so daunting at this point. We should have done it before we moved in, or in the first week of living here. Now we have so much stuff and dust bunnies and we’re stuck in our ways or something. Let this be a cautionary tale, dear readers. Don’t wait 4 years to paint your home.

But I promise, there will be “afters” for you to look at. Eventually.

Do you have any advice on how to paint when you’re already living in a place? Which of my 3 dream bathrooms do you prefer? Any funky bathroom decor stories out there?

………………………………………………………………………………………….

Here’s a re-cap of all the sad apartment “befores”:

The Lavender Living Room

The Ok Bedroom

The Not-So-Dreamy Kitchen


30 Minutes or Less / DIY

DIY Painted Chopsticks

09.24.13

Chopsticks make food more special. That is my professional foodie opinion.

DIY painted chopsticks increase food specialness by 136%. I’m just shooting out nonsense exaggerations, but still. Paint + chopsticks = super special.

DIY Painted Chopsticks || Jade and Fern

Also, DIY + easy = yay! Basically what I’m saying is, this project is a recipe for awesome.

DIY Painted Chopsticks

Skill Level: so so Easy

Time: 1 active, 2-3 hours total for drying time

What You Need:

What You Do:

This couldn’t be easier. Lightly sand the area of the chopsticks that you plan to paint and wipe away the dust. Tape off the chopsticks and paint. You’ll most likely need several coats. When completely dry, seal with clear spray paint or brush-on acrylic, your choice.

DIY Painted Chopsticks || Jade and Fern

Tip: stick your chopsticks into a thick piece of styrofoam—that way you can paint all the sides at once.

That’s it! Just remember to hand-wash these babies and be gentle with the painted part.

I didn’t photograph the whole process because I am a lazy-ass blogger because it’s so easy y’all don’t need step-by-step pictures. But if you have any questions, ask away.

DIY Painted Chopsticks || Jade and Fern

Look how freakin’ delicious that inari looks with polka-dot chopsticks! I am using them for every meal from now on, guys.

DIY Painted Chopsticks || Jade and Fern

DIY Painted Chopsticks || Jade and Fern

What do you think of my first attempt at painting utensils? Do you like eating with chopsticks? Or do you have any wooden utensils you want to paint?

DIY

DIY Painted-Edge Printer Tray

09.17.13

You know those kids who were always excited to go back to school?

I was one of those. I couldn’t WAIT for summer to be over and classes to start up again. In fact, I still want classes to start up again.

Here’s the truly embarrassing part: it was because of the organization. It was the promise of all those shiny new school supplies. Notebooks waiting to be written in. Worksheets to be hole-punched and filed chronologically in tabbed binders. Color-coded notes carefully recorded. Pencil cases.

I was an organizational junkie.

Sadly, it didn’t last. Today my desk looks like this:

DIY Painted Edge Printer Tray || Jade and Fern

Clearly my organizational drive has severely suffered from being out of school. But I have at least one easy fix—getting that printer out of the way so I have more room to work and can attempt organization.

Which finally brings me to the point of this post—my DIY Painted-Edge Printer Tray. Ain’t it a beauty?

DIY Painted Edge Printer Tray || Jade and Fern

Now I can roll that printer under the desk when not in use and have way more space, making it easier to keep my desk pristine:

DIY Painted Edge Printer Tray || Jade and Fern

If you think I just moved all the crap onto my bed to take this photo…you are totally right. Whatever, it’s still printer-free.

A rolling tray is just the thing for bulky items that don’t get used a lot.

What you need:

DIY Painted Edge Printer Tray || Jade and Fern

  • 3/4″ plywood, cut to be a little larger than the printer
  • sandpaper or power sander (not pictured)
  • painter’s tape
  • foam brush
  • paint
  • 4 swivel casters and corresponding screws
  • power drill

What you do:

Sand your plywood until it is completely smooth on the top and the sides. You should be able to run your hands along it and not feel any splinters. Start with a coarse sandpaper and end with a finer one for the smoothest finish. I foolishly didn’t take pictures of the sanding and don’t even have an excuse. You’ll just have to envision it.

DIY Painted Edge Printer Tray || Jade and Fern

Tape off the wood, keeping the edge exposed. Press down firmly along the tape so it creates a good seal.

DIY Painted Edge Printer Tray || Jade and Fern

Paint that edge. You’ll probably need more than one coat, especially if you use craft paint like I did. This is Martha Stewart Multi-Surface in Wild Salmon, by the way. It’s a great shade of coral, which is a nicer word than salmon. It’s my new favorite color.

DIY Painted Edge Printer Tray || Jade and Fern

After you’re done painting, flip that baby over, mark where the holes for the casters should go, drill pilot holes, and secure the casters with screws. It’s helpful to mark your drill bit with tape, as in the 2nd image, so you don’t drill too deep.

And you’re done! Put your printer on it and go organize something else. Or, you know, do whatever.

DIY Painted Edge Printer Tray || Jade and Fern

The printer tray has made a huge difference to my desk cleanliness. Yes, I still have some work to do to become the organizational junkie of my younger days, but it’s a baby step. A pretty, coral-edged baby step.

DIY Painted Edge Printer Tray || Jade and Fern DIY Painted Edge Printer Tray || Jade and Fern

What do you think, DIYers? What kind of printer-storage solutions have you implemented in your workspaces? Would you use a rolling tray for this purpose? Doesn’t coral look awesome with plywood grain?


Inspiration

Make It Friday: Triangles and Ampersands

09.13.13

Make It Friday || DIY Roundup via Jade and Fern

Happy Friday the 13th, peeps!

Looking for something to keep your hands busy this weekend? Check out these fab DIY projects from around the web:

» You’ve probably seen this amazing ampersand made of fresh flowers by papernstitch, but it’s so gorgeous it’s worth another feature.

» Spruce up your walls with an easy contact paper triangle pattern by Oleander and Palm. We’re plant name buddies!

» It’s not too late to go on a late summer / early fall picnic! Make it extra special with this DIY polka-dot picnic blanket by Inspired to Share.

» Fancy up your next celebration with a negative print garland over at A Subtle Revelry.

» Speaking of fancy, how cool are these gold-edge business cards by Sarah Hearts?

» When planning a DIY project, don’t forget about your pet supplies. Replace that drab mass-produced feeding station with this awesome one from Yellow Brick Home.

What are you making this weekend?