This post is sponsored by IKEA Stoughton, but all words/ideas/opinions are entirely my own.
You know you might be a little too into IKEA when your DIY project leads you to punch yourself in the face, and your first thought is “still worth it.”
My simple makeover rapidly turned from an easy paint-and-furniture refresh to a partial gut entryway renovation. The sequence goes something like this:
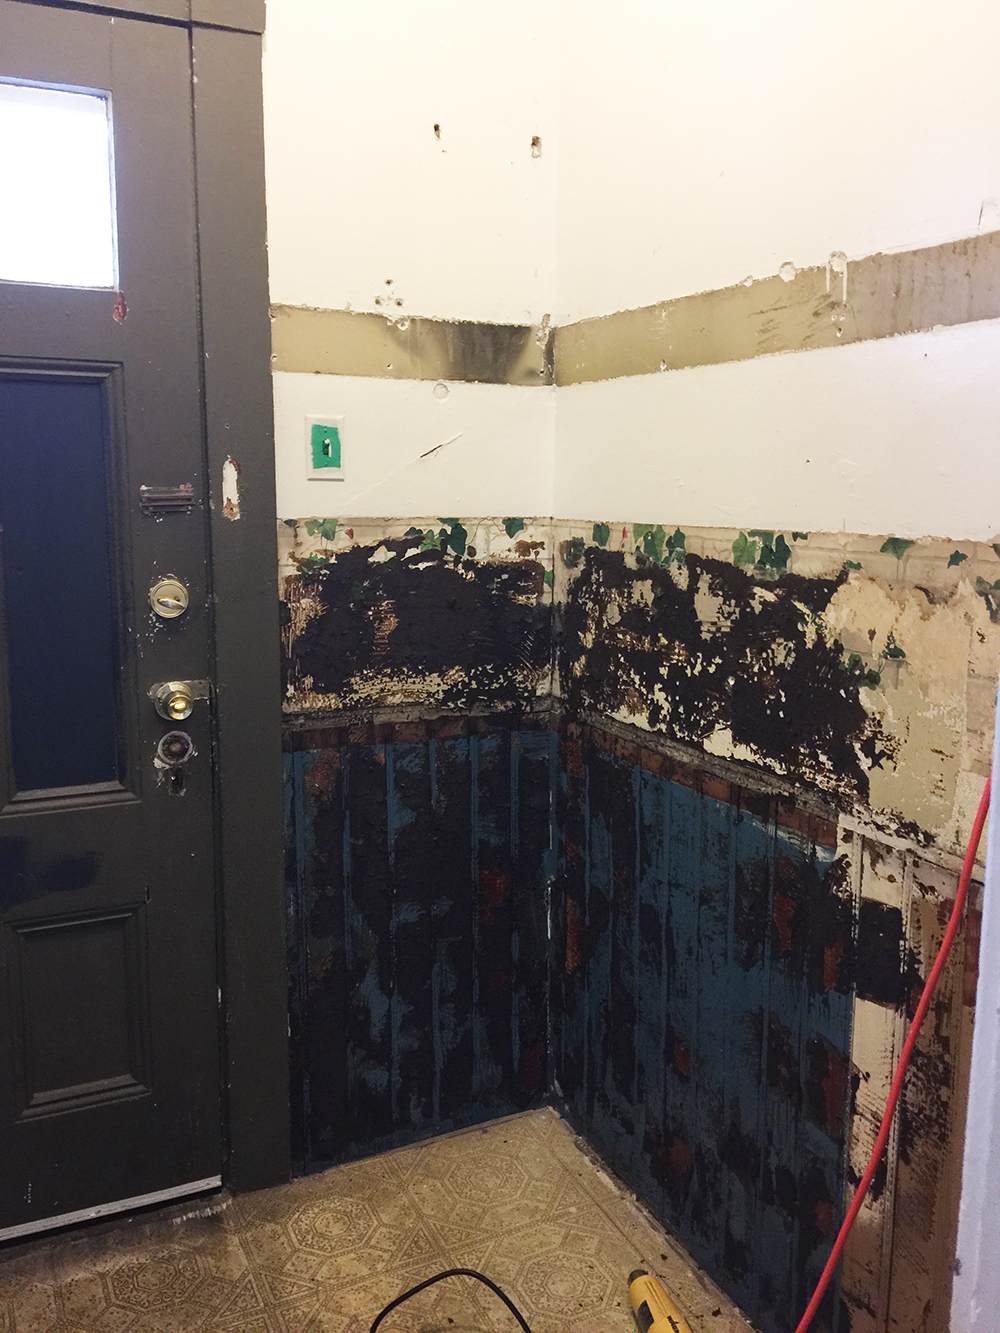
+++ Remove the (poorly) built-in shelves and cabinets. The wall behind the cabinet reveals that there is original wood beadboard behind the army green mdf faux-tile panels.
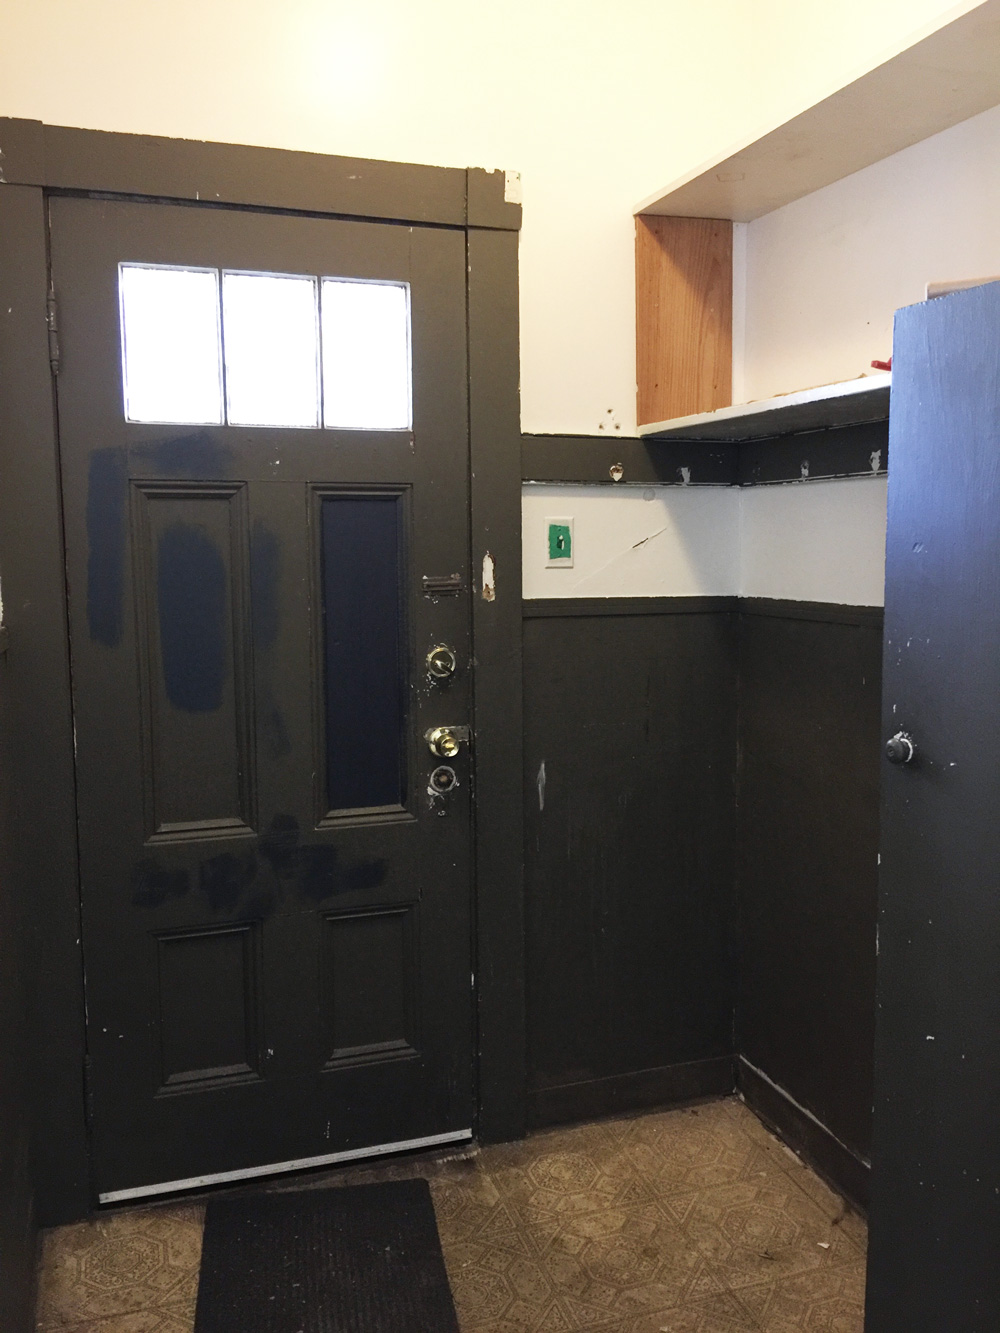
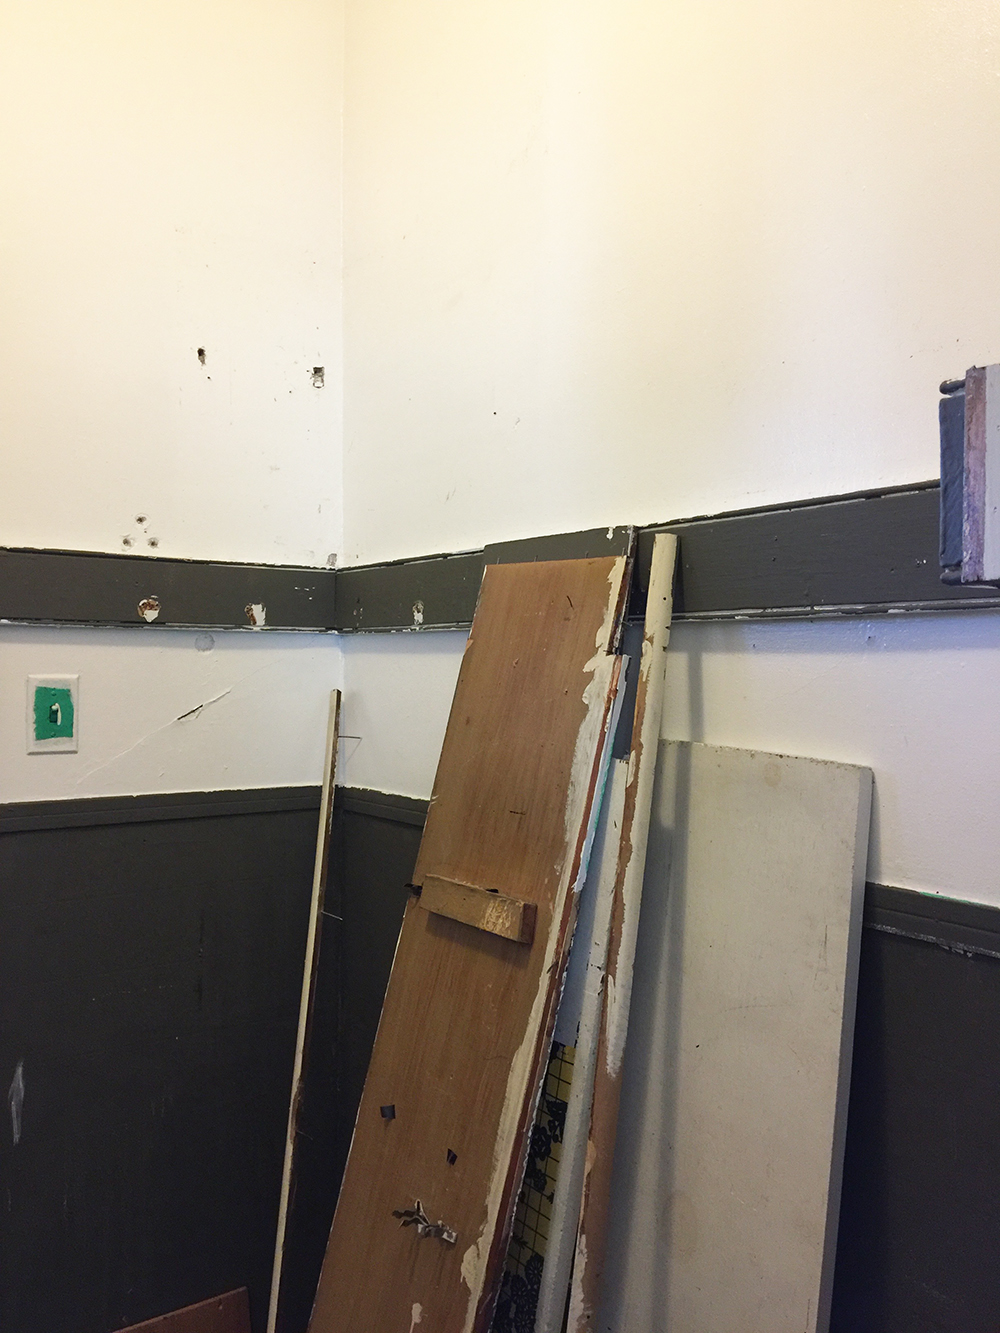
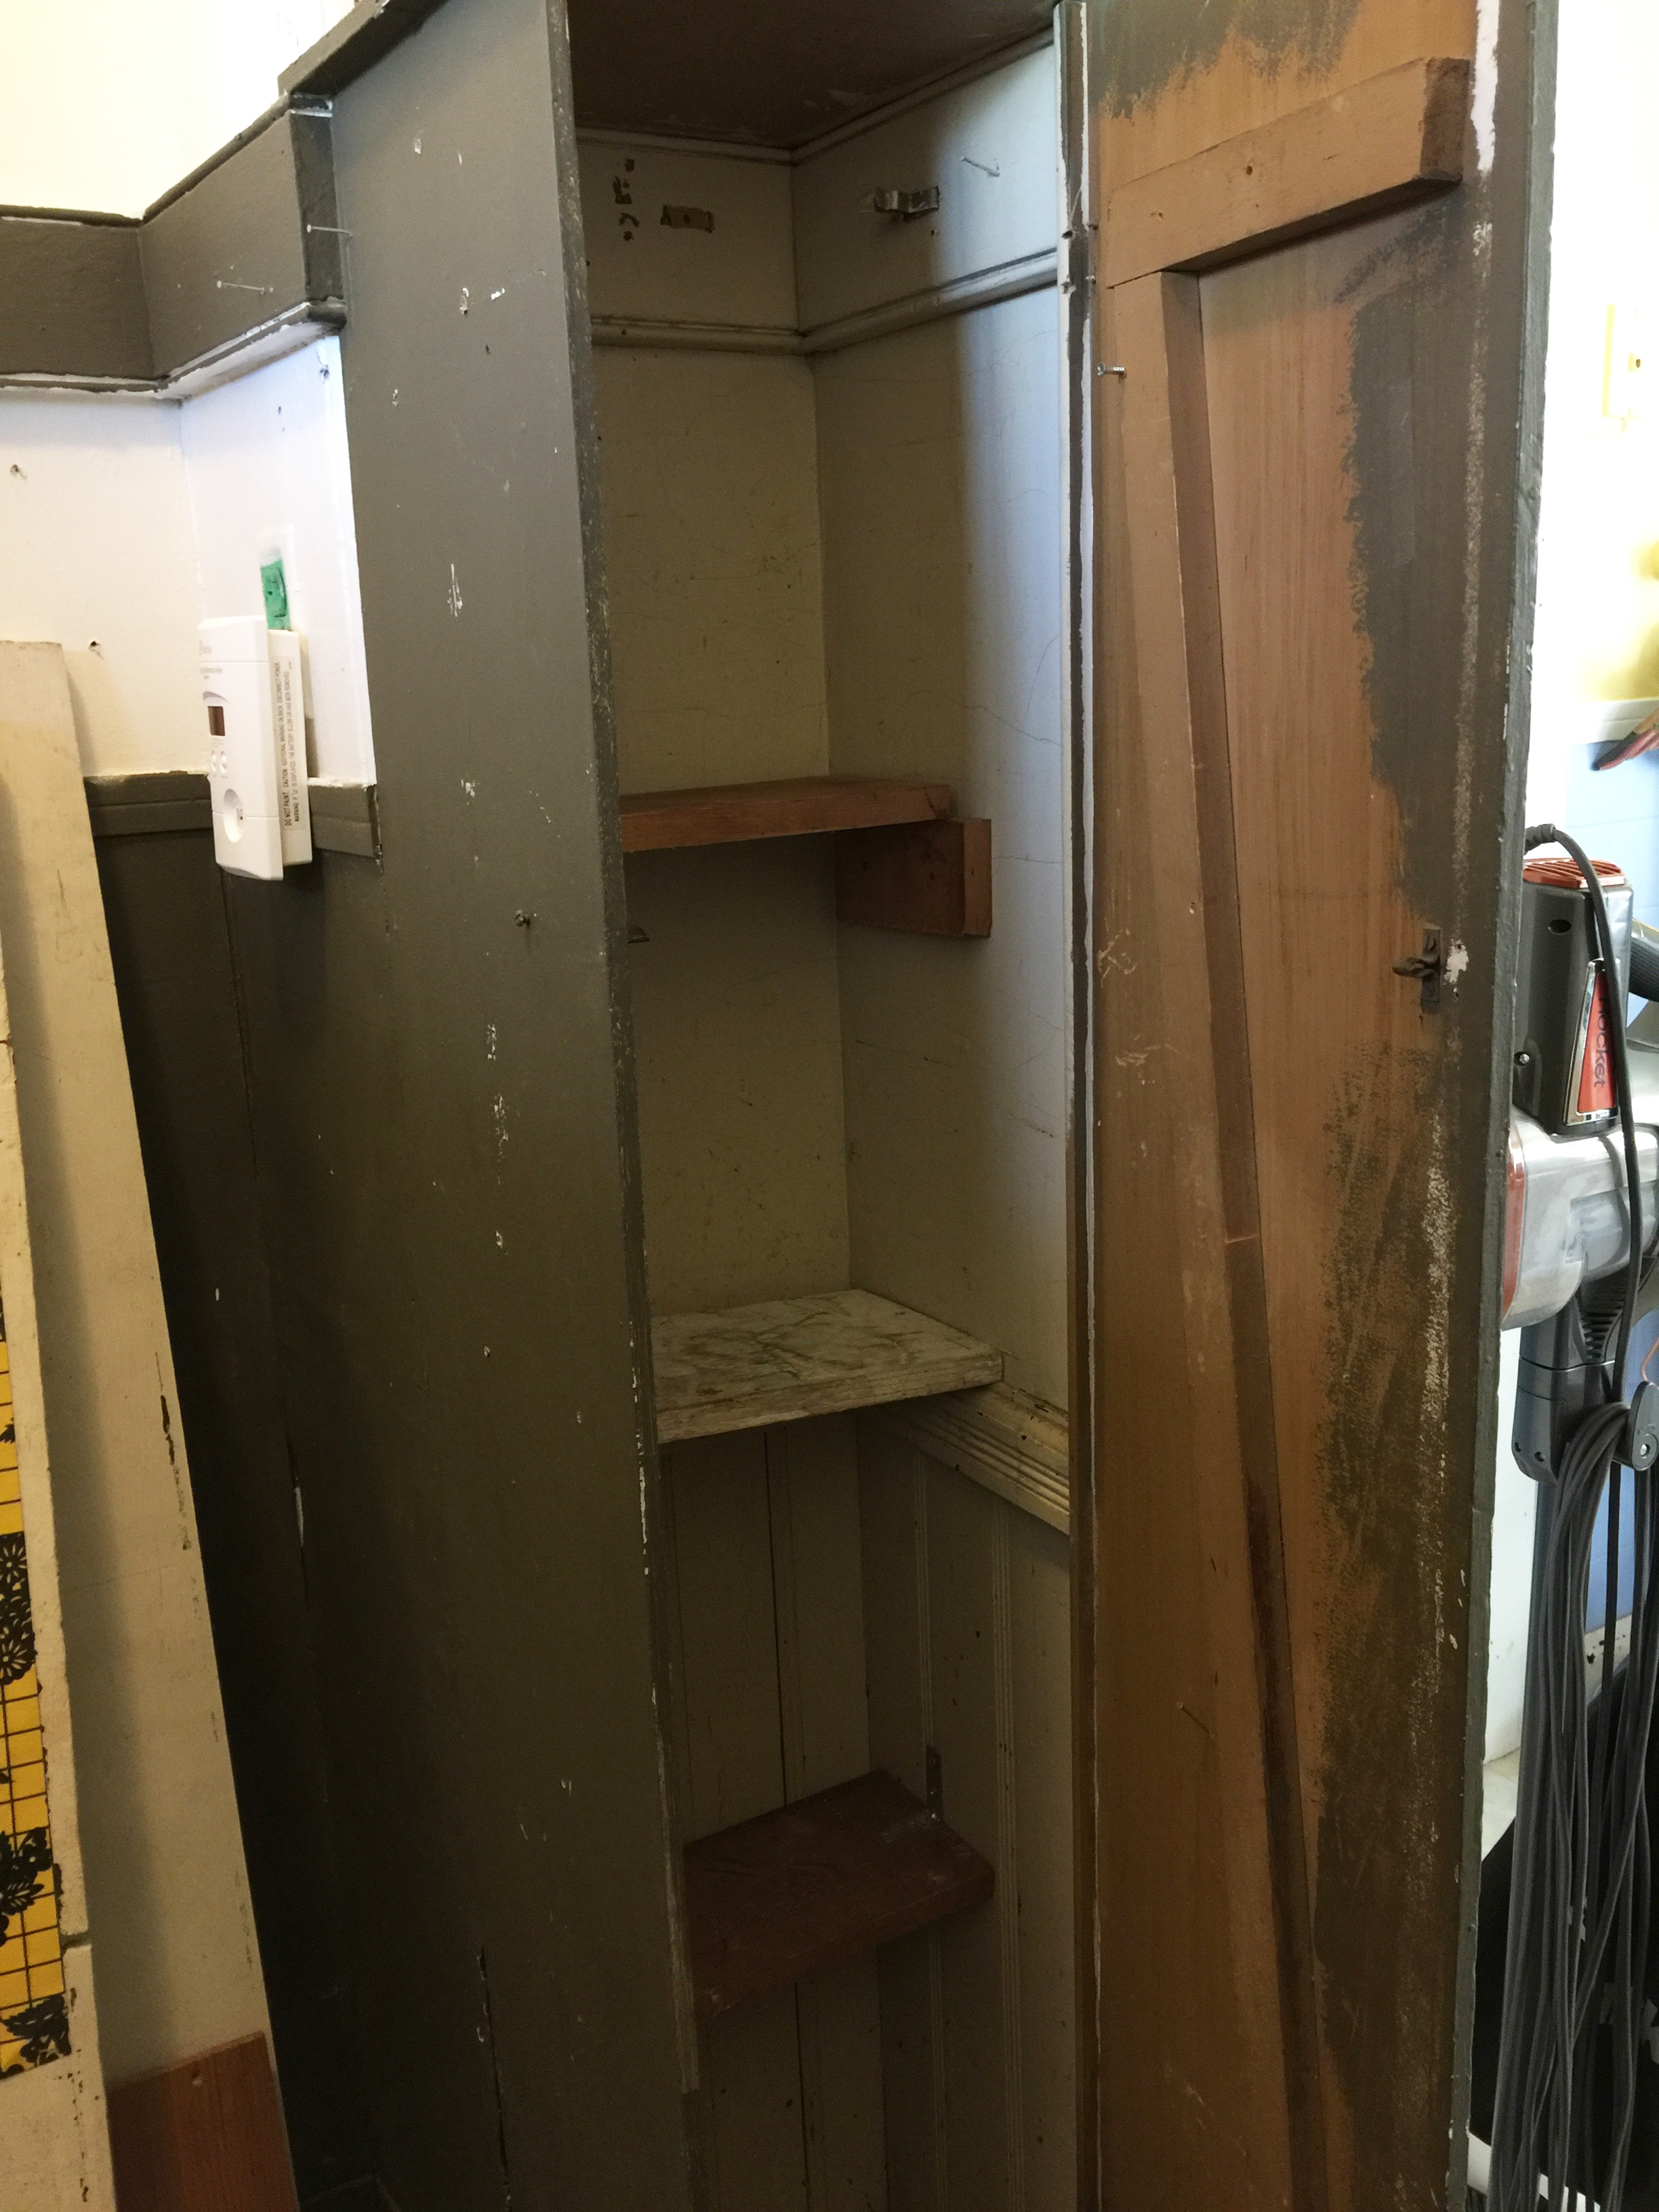
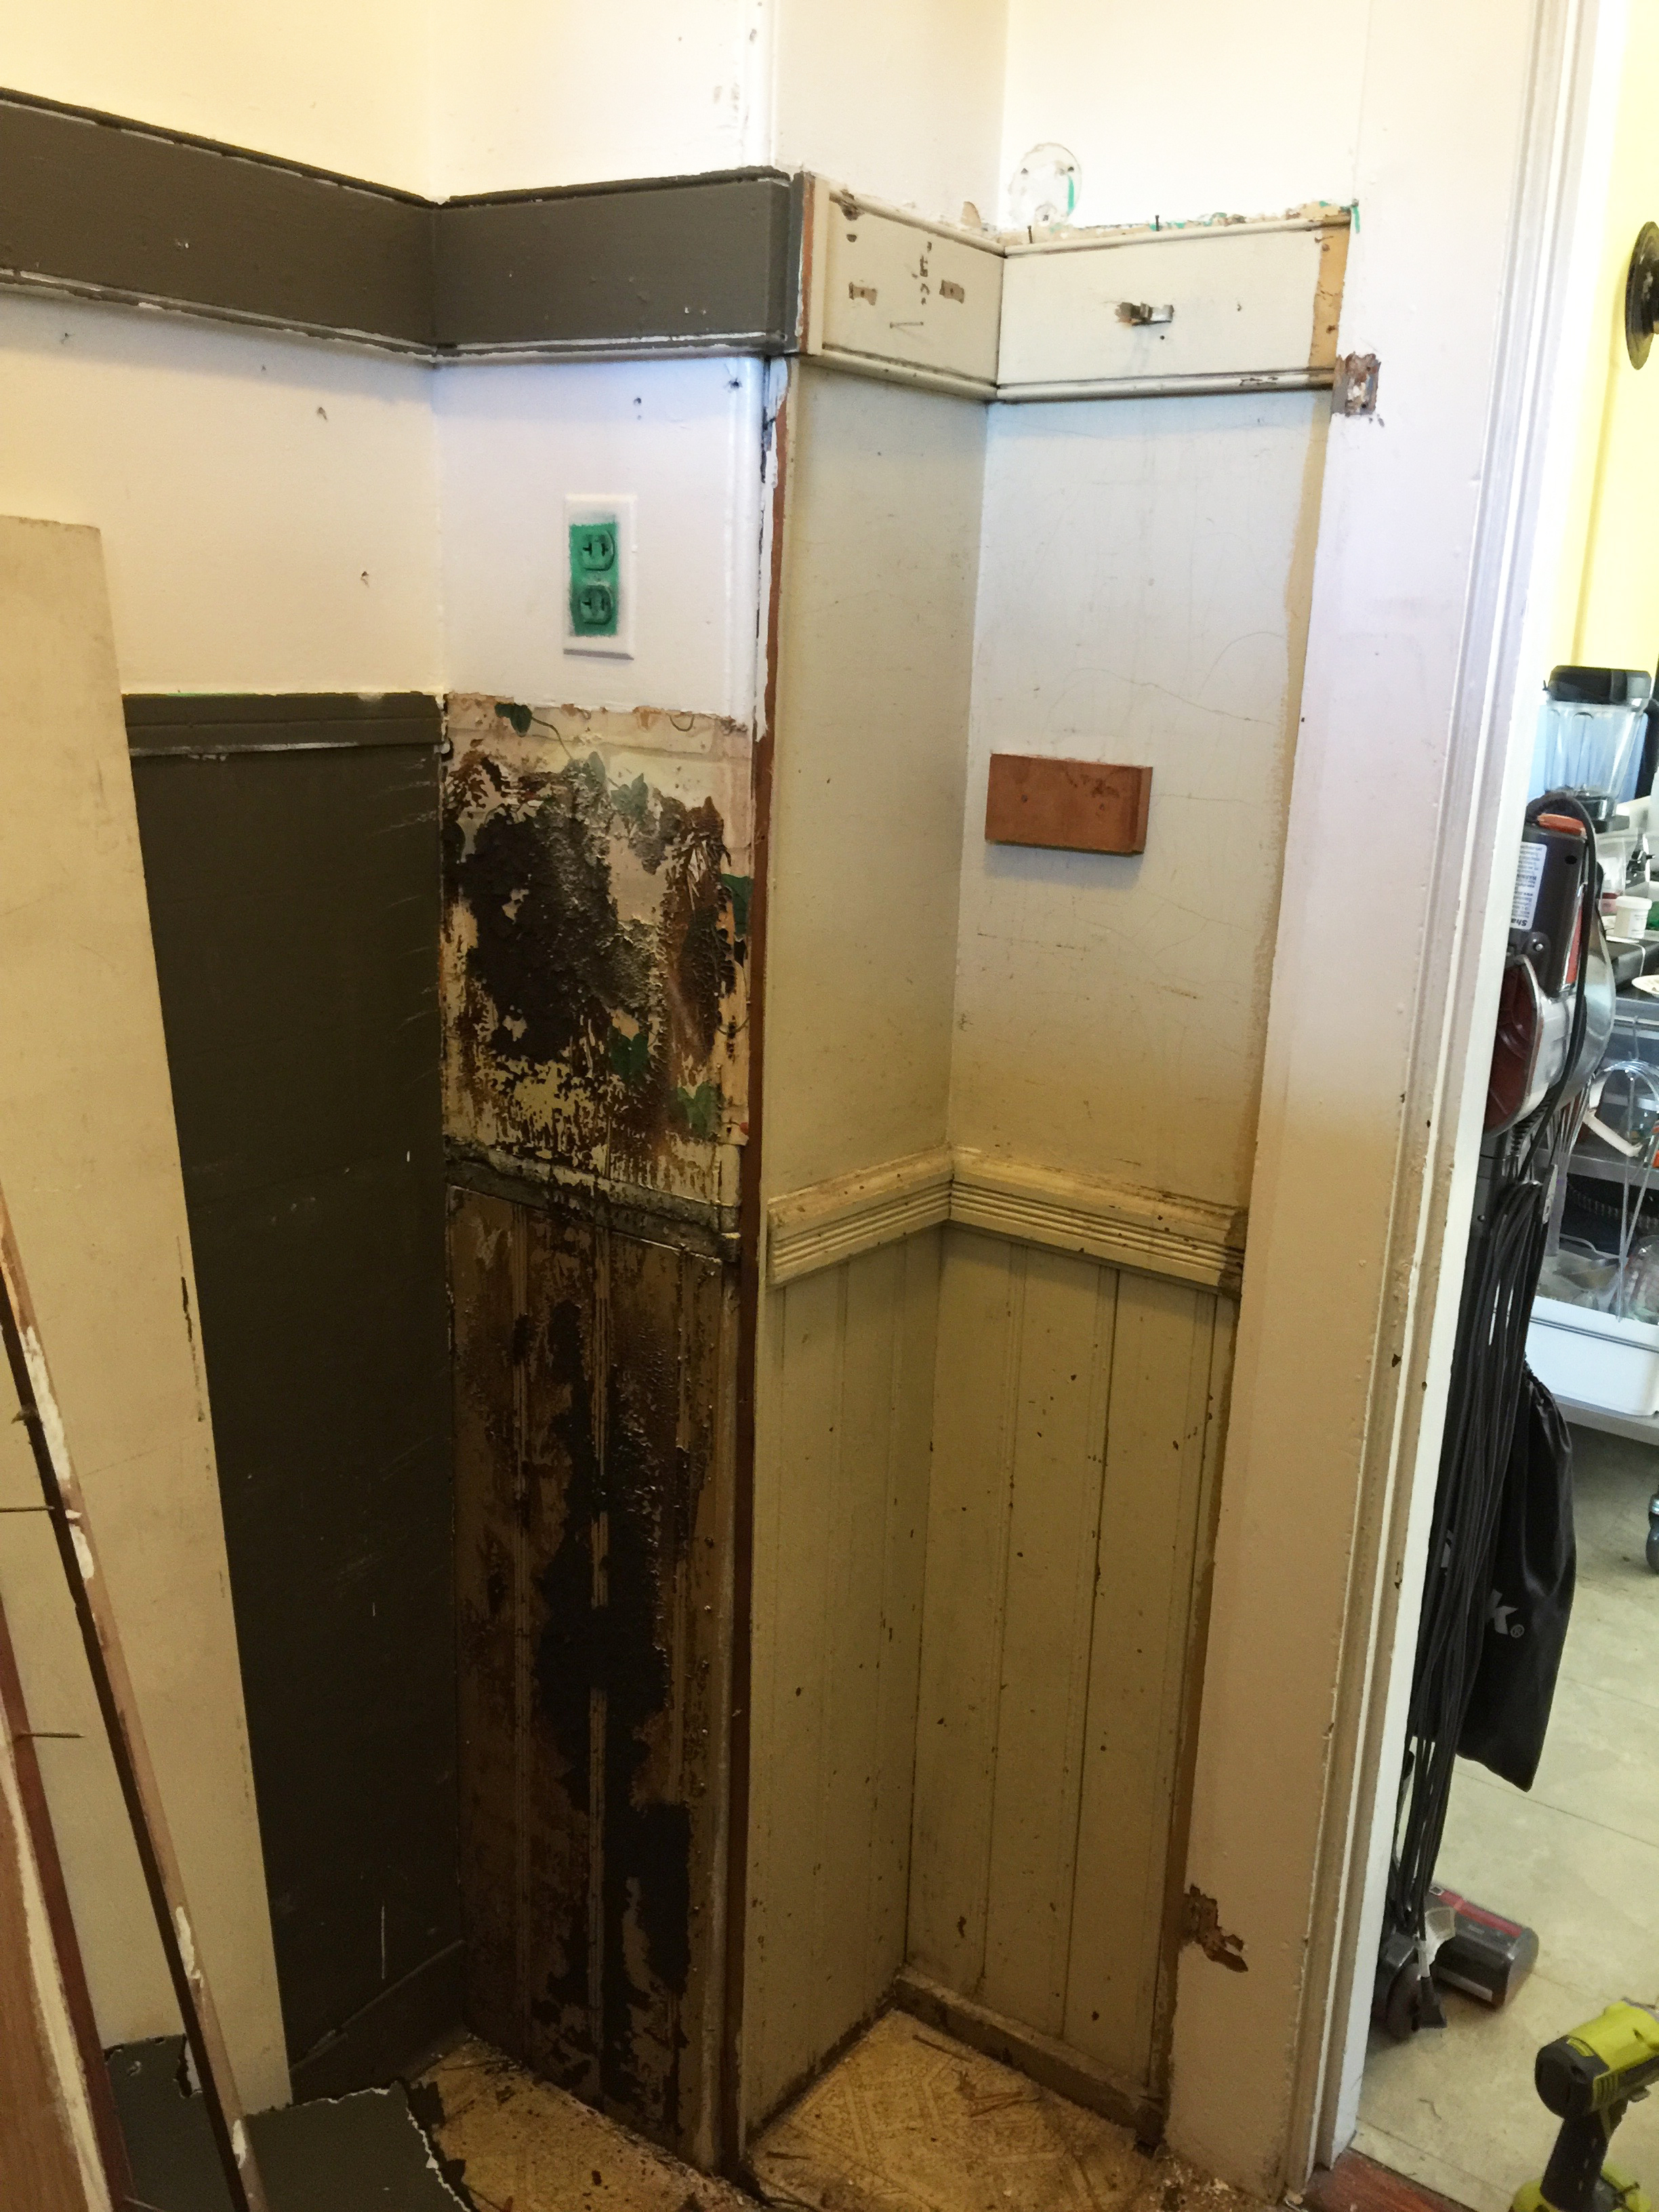
+++ Take all of two seconds to read up on installing new trim and baseboard and decide I could totally do that too and that I should rip away the faux-tile. Landlords ok it because they are awesome and have faith in me for some reason.
+++ Rip all the faux tile off. Do not see until too late that there is horrible adhesive left on the wood beadboard, which I must now scrape off by hand over the course of 6 days. I find bits of plaster and chipped paint INSIDE my socks and bra at night.
 +++ Realize there will now be a gap between the new baseboard and the linoleum floor. Discuss ripping up the floors with landlords. I SERIOUSLY ENTERTAIN THE IDEA OF RIPPING UP FLOORS FOR SEVERAL DAYS. Because I am a crazy person. Landlords are more level-headed (thank the gods) and we agree that painting the existing floor would be more reasonable.
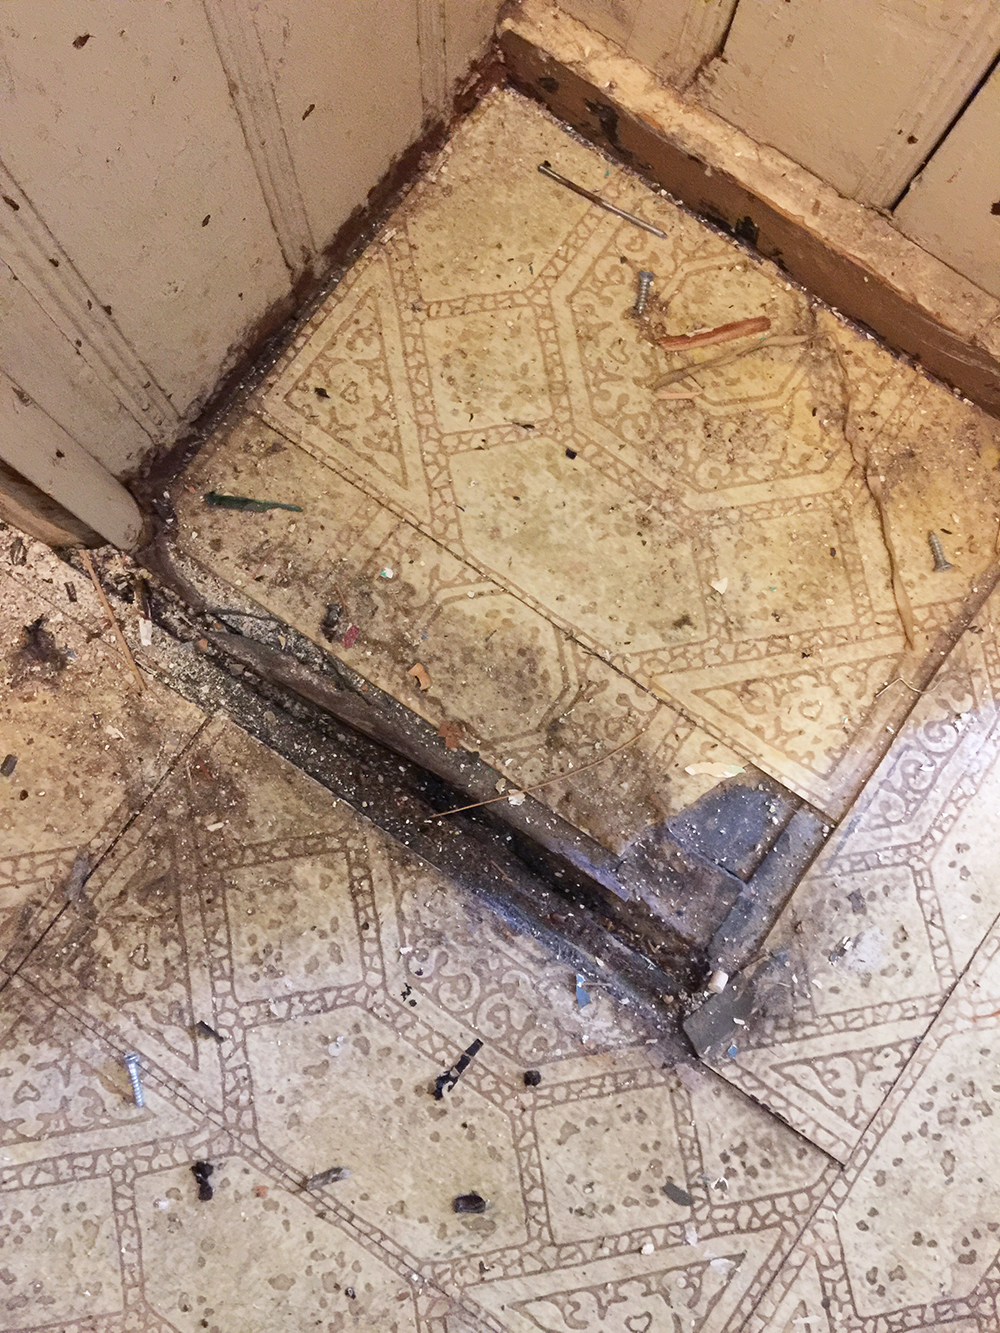 +++ Spend the next two days ogling stenciled floors on Pinterest instead of working on the beadboard. Ask landlords about it but don’t wait to hear their reply before I special-order a fancy stencil. Landlords say yes, stencil has a purpose, phew!
+++ Purchase 16 feet of baseboard and trim, and a mitre box with backsaw. Get home and realize the baseboard is too wide for the mitre box. The next larger mitre box costs $150 on Amazon.
+++ Call 7 different tool rental stores — no one has a mitre saw to rent. End up purchasing one. You know, for all the future baseboard cutting I will be doing. ???
+++ Mitre saw’s laser is defective, because obviously I need more hiccups at this stage. I am forced to eyeball all the measurements and have to cut each piece of trim twice or more.
+++ Start hammering the trim to the wall. Trim keeps breaking. I keep cutting new pieces. Repeat ad infinitum.
+++ Inevitably I have to redo a few pieces of trim because this crap takes practice. As I brace against the wall with my full bodyweight to pull a nail out of the beadboard, the hammer gets caught and my fist flies up into my jaw. I PUNCH MYSELF IN THE FACE FOR IKEA FURNITURE.
+++ Trim and baseboard are installed! We can finally paint. No wait, I still have to spackle, sand, caulk, spackle more, and wash the walls about ten times until decades of grime is removed.
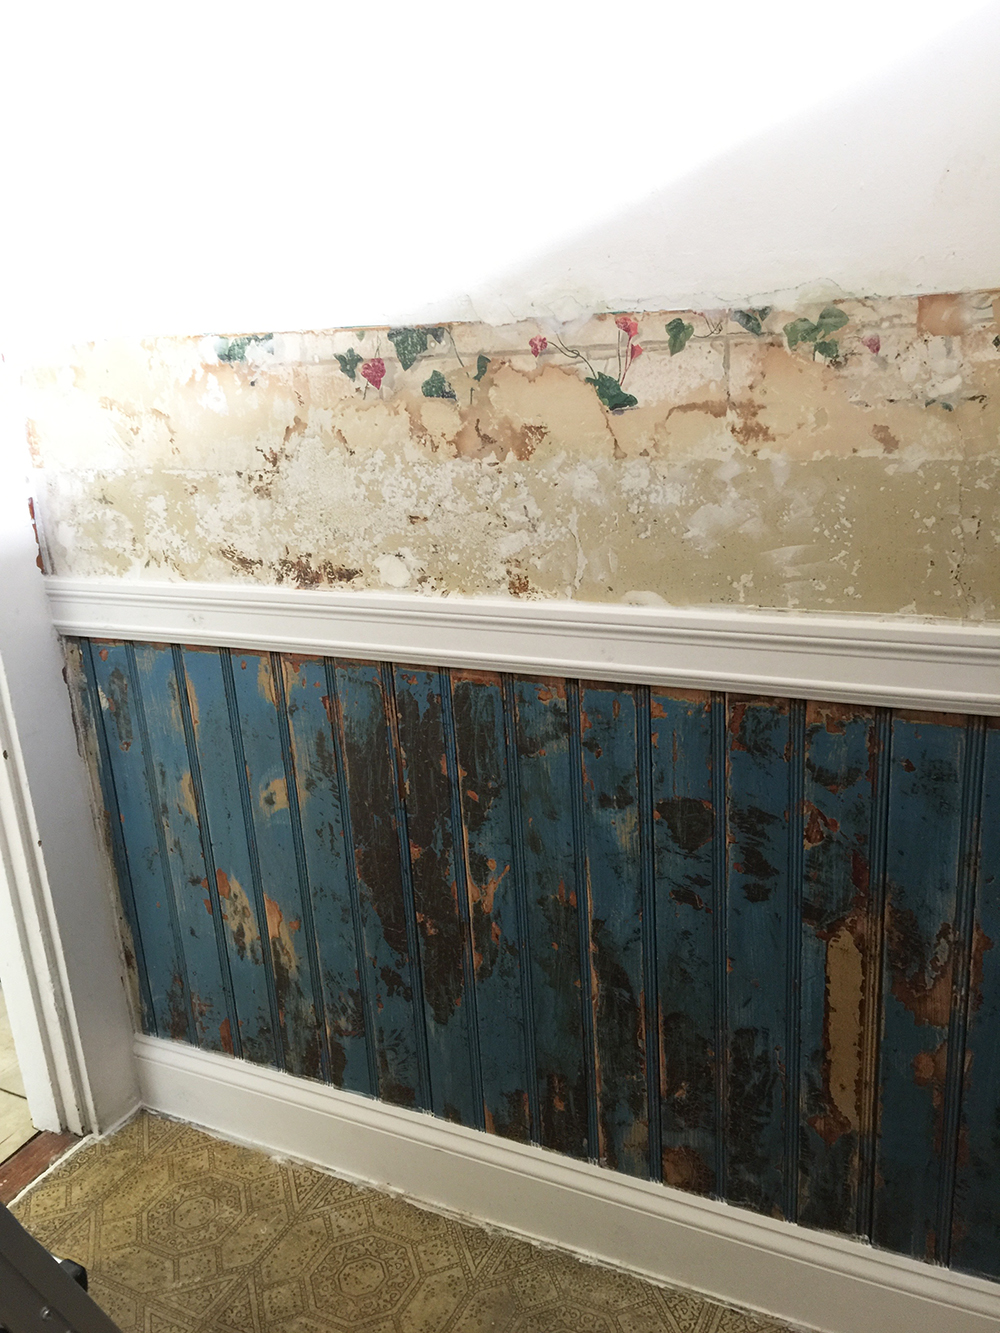
+++ Painting commences. I lose track of how many coats of primer it takes to cover the army green and bits of remaining wallpaper, but it’s at least four. My dreams begin to feature house painting and I have vivid fantasies of winning the lottery and being able to pay someone to paint for me.
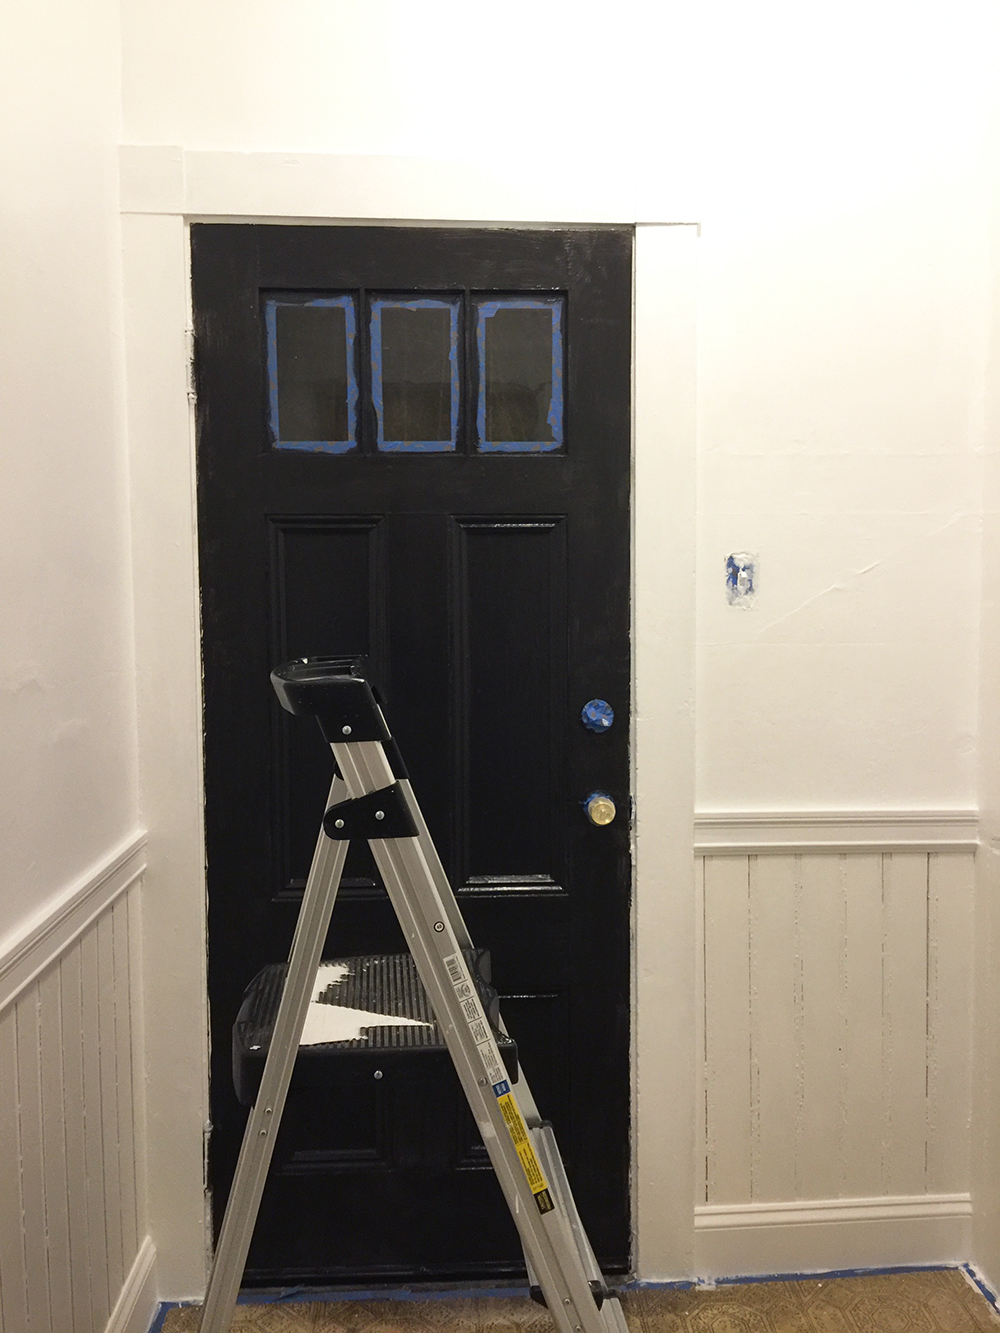 +++ I’m addicted to making things more complicated for myself, so I decide not only to stencil the floor, but to first paint it to look like concrete and then stencil over that. The song “You do it to yourself, you do, and that’s what really hurts,” keeps playing in my head, but I don’t let that stop me.
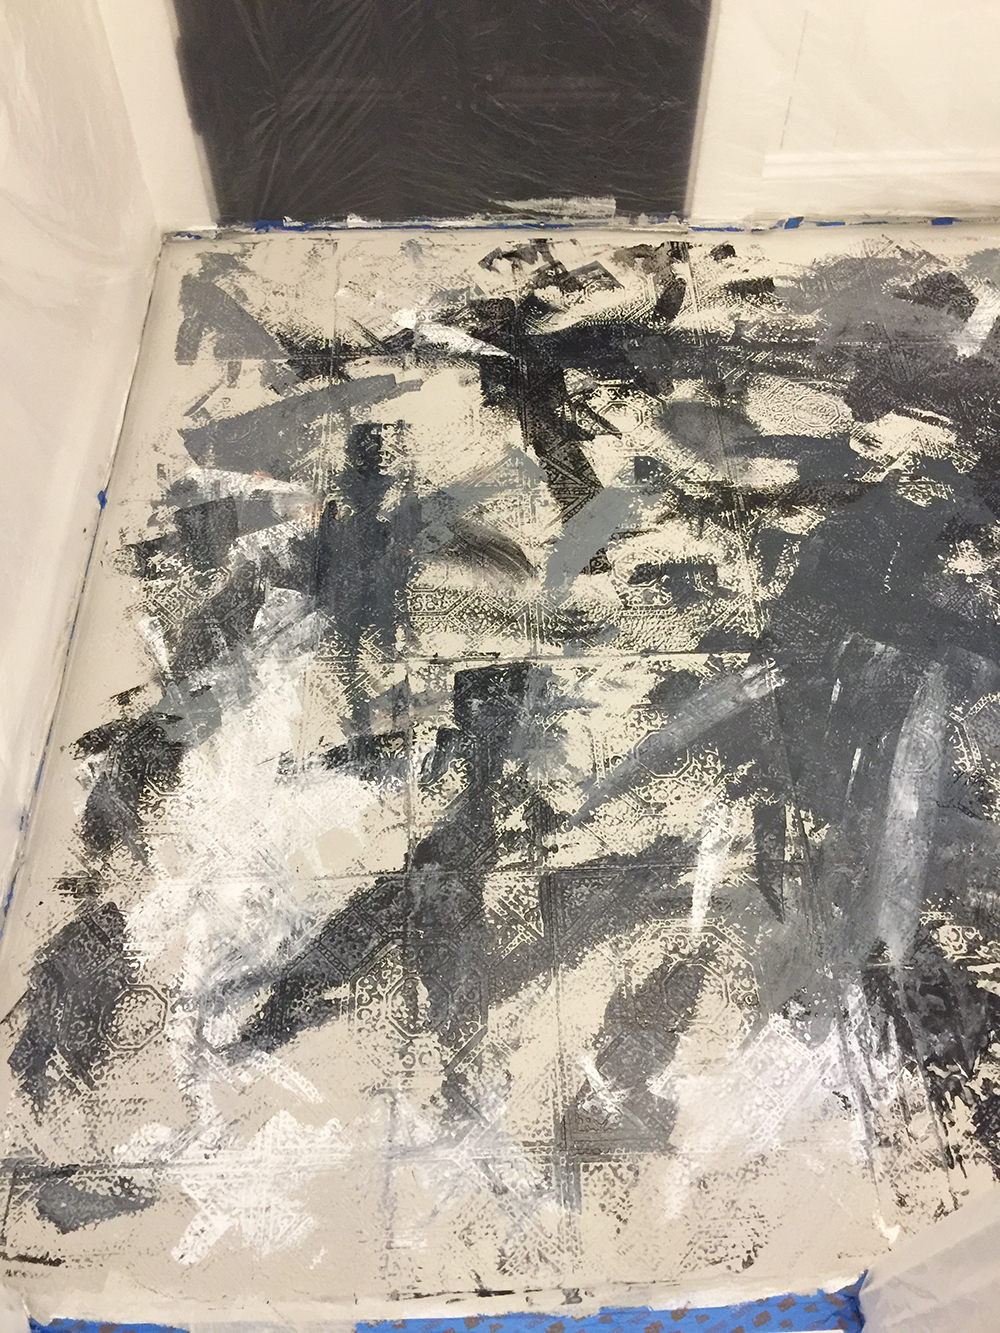 +++ Eight or nine layers of primer and paint later, the floor looks like concrete. Success!
 +++ I discover that stenciling is hard. Well, it’s easy but very detailed. No, it’s just hard. I can no longer straighten my back properly from spending hours hunched over the floor.
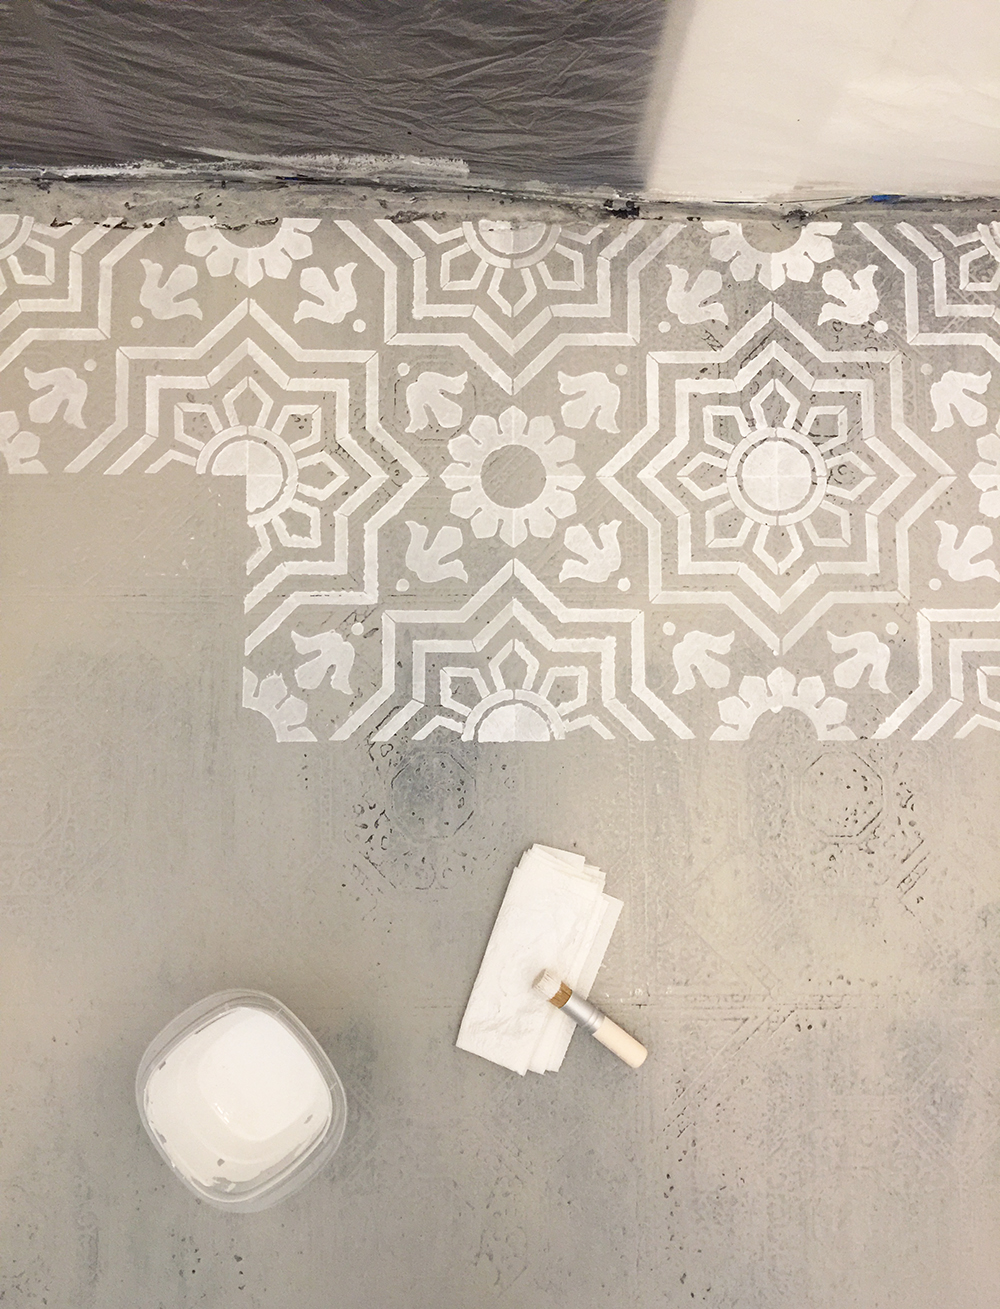 +++ Stenciling is finished but the perfectionist in me is not. I spend a further 5 hours touching up stencil imperfections by hand.
+++ Stenciling is truly finished! Now I just have to put two coats of sealer on it, let it cure 72 hours before walking on it, build a shelf, assemble and install the IKEA furniture, paint a painting, touch up the hinges on the door, attach the new switch plates, sew my curtain, faux-age the doorknob…
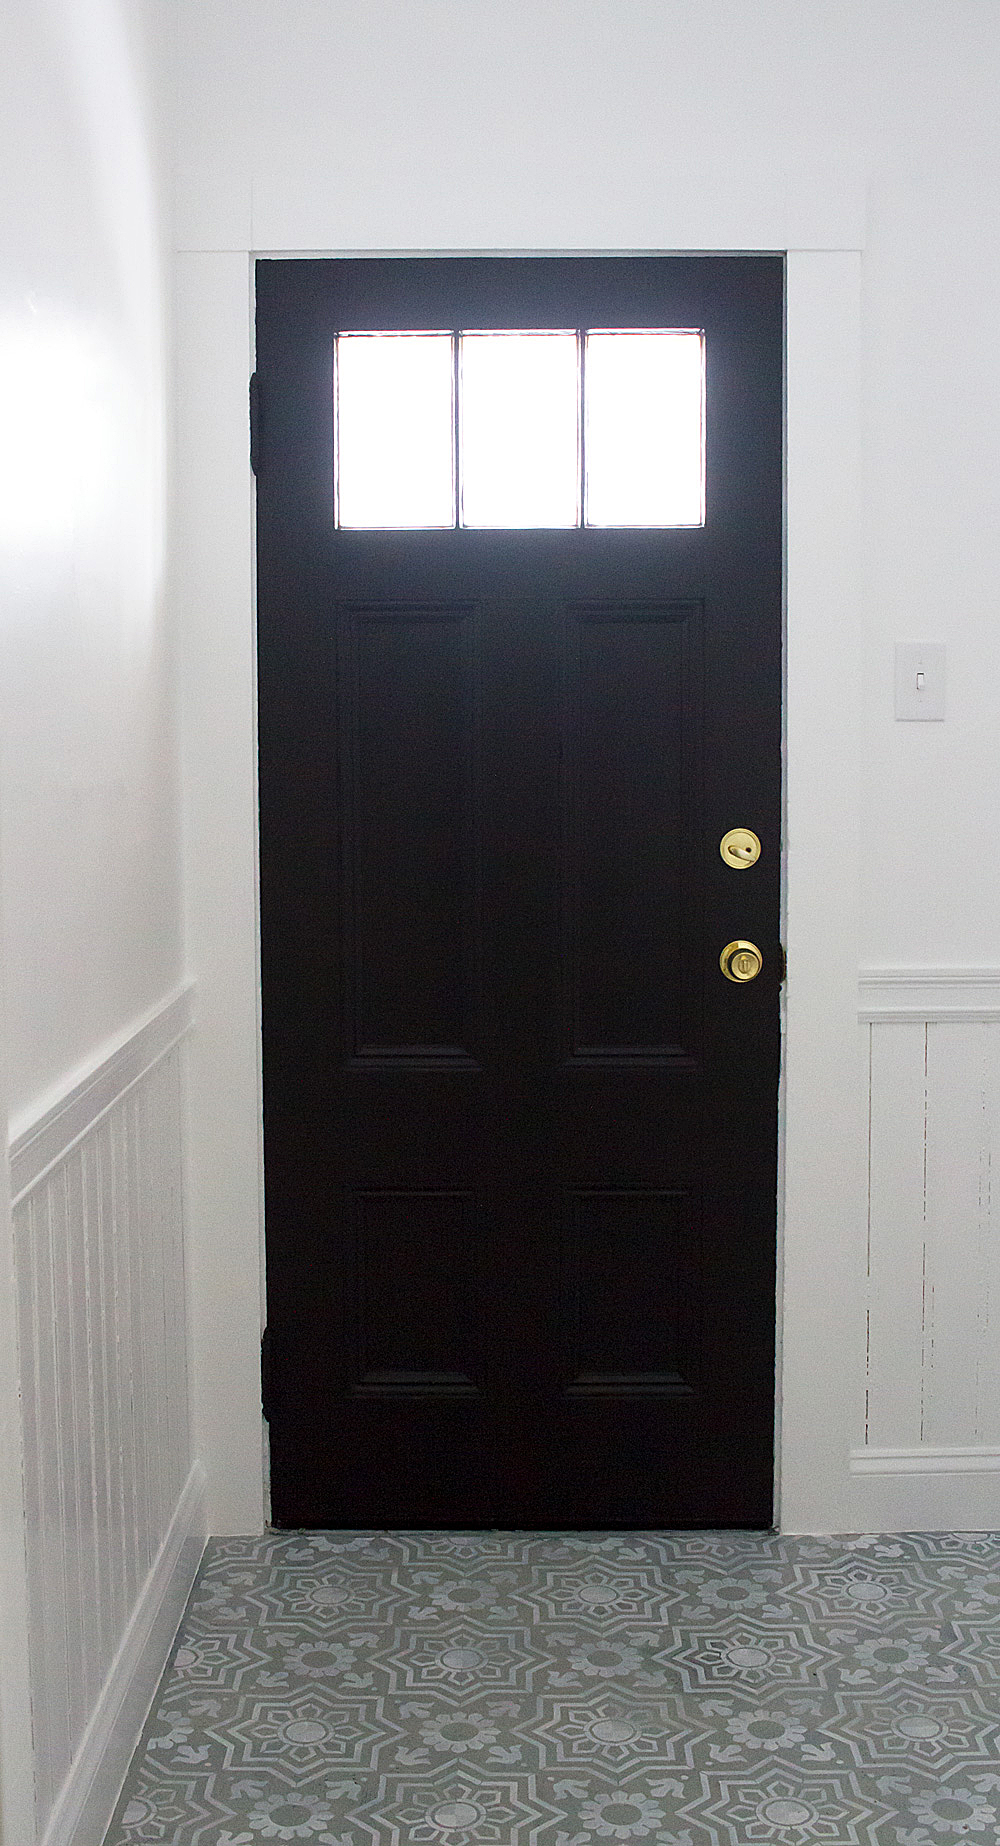 ***Update: I just punched myself AGAIN. What the bleep.
I cannot WAIT to show you how the room came out with everything assembled and installed. Tomorrow!




This was most likely the funniest post I have read about home renovation! The floor looks amazing by the way; worth it!
Ha! I’m glad I could entertain someone. 🙂 Thank you for reading! xoxo
Wow, what a transformation! Great job!
Thank you so much!! We’re going to have people over soon so you can see it in person. 🙂
Ha. This made me laugh. In a sad, but funny way. Good thing it turned out so rockstar!
Hahaha, now that it’s over I can laugh too! 😉
This was the most entertaining and enjoyable way to read a reno story XD
Hahaha, thank you! I’m glad my frustration at least made for an amusing story. 😛 xoxo
Incredible transformation. You have awesome landlords 🙂
We really, REALLY do! We are so lucky with our landlords, they rock. Thank you, Brittany! 😀