No, this is not an exaggeration. These really are the easiest DIY jar labels in the history of jar labeling.
Because it’s not so much a “DIY,” or even a “label.”
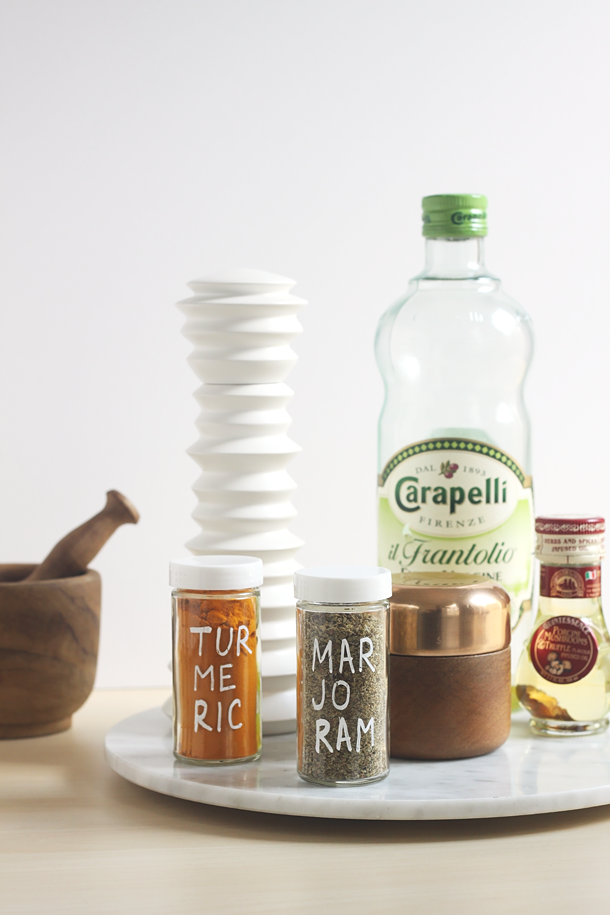
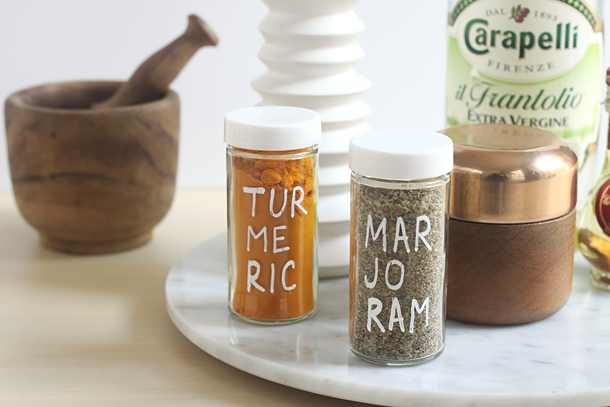
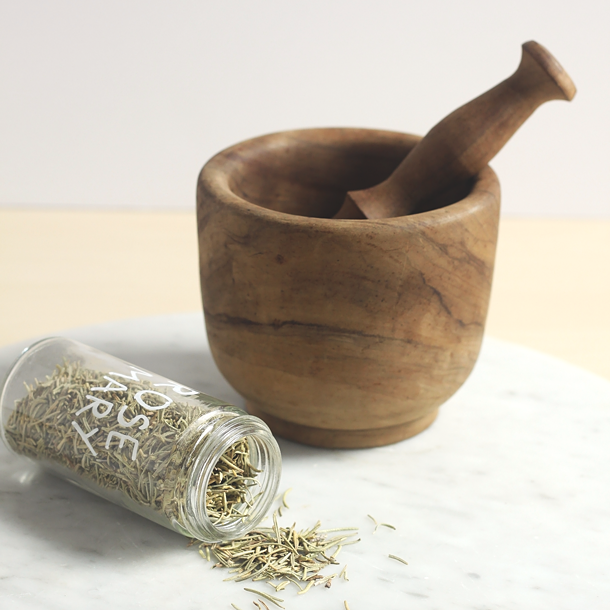
It’s writing on glass with a chalk paint pen.
Ta-da!
Ok, I admit to being a tiny bit ashamed at posting something so utterly simplistic and hardly original.
But only a tiny bit, because it’s spring and I want to organize ALL THE THINGS.
Starting with my spice jars, which hitherto have been a cluttered dysfunctional mess:
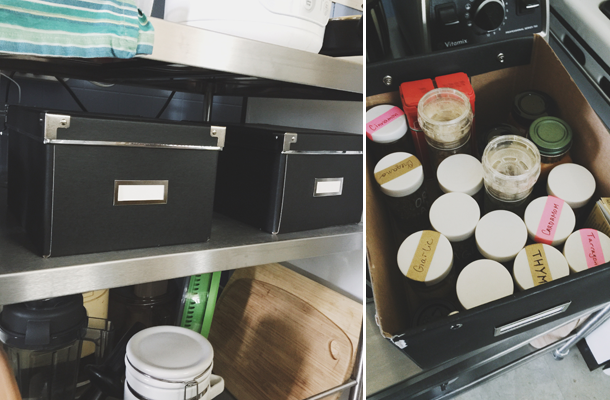 The reality of a kitchen with no cabinets: keeping jars of spices in CD boxes. Not ok. Please don’t judge me, it was the best system I could come up with at the time.
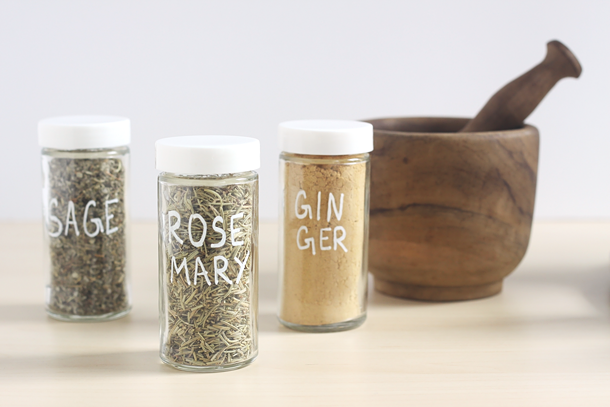 Ah, so much better! And legible! And easy to maintain! No fussing with stickers or printers or tape. The chalk paint wipes right off with a damp rag, so it’s a cinch to re-label jars as their contents change, but your fingers won’t smudge the writing when you grab them.
Plus, you can doodle them up and make your “labels” as fancy as you want. As you can see I opted for the 4th-grade boy handwriting chic and minimalistic look.
Are you ready for the DIY photos and steps? Here we go:
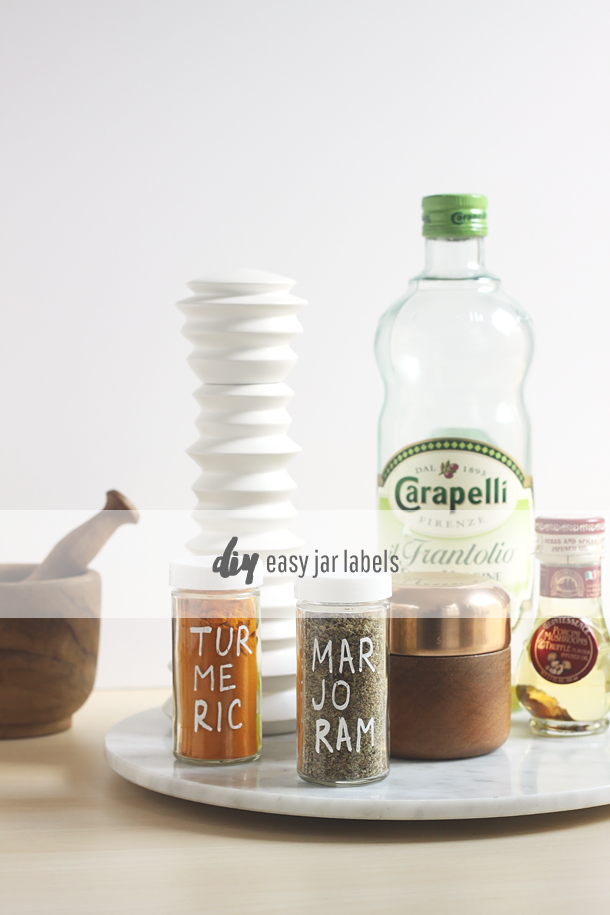
DIY Easy Jar Labels
Step One – Grab a chalk paint pen and write on your jar.
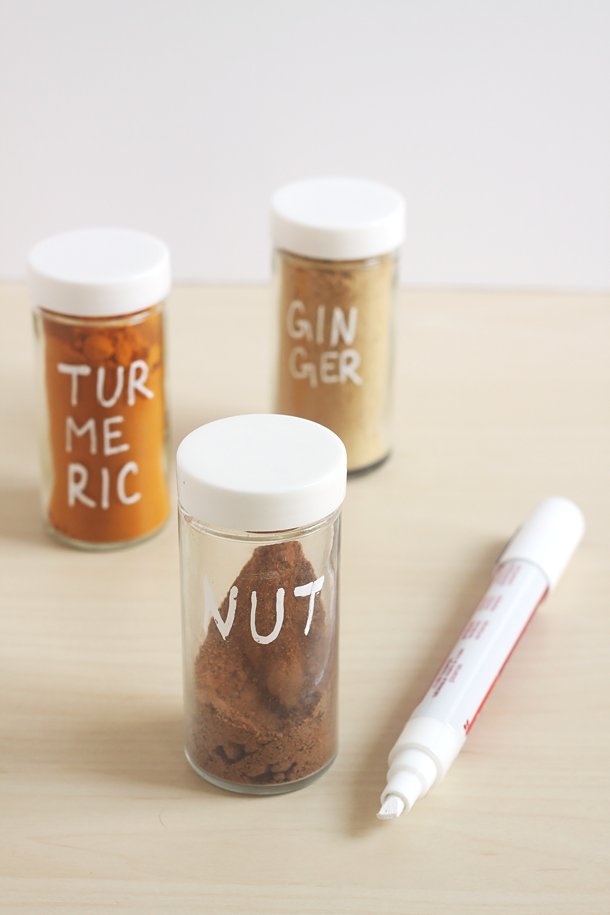 That’s it.
You’re done.
More time to go organize other things.
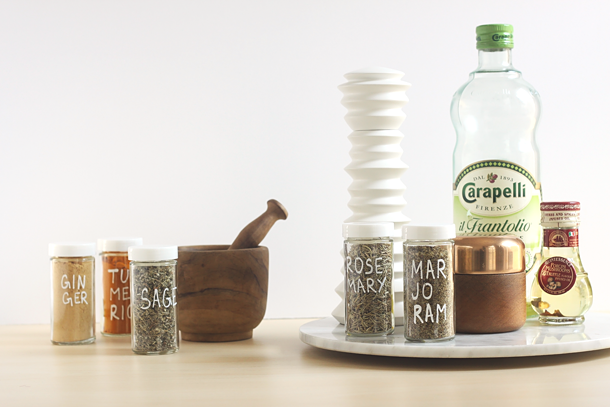
 Who else has the spring cleaning/organizing fevers?
Oh, and no, sorry, you do not get to see my newly labeled jars “in action” in their equally new hanging Ikea spice rack. There’s only so many shots of my outrageously blue and yellow kitchen I can share before I hide under the covers in shame.
On an unrelated note, anybody up for helping me paint?
Don’t feel silly about posting this! It’s actually a really cute idea and it is very simple but I hadn’t thought of it so thanks 🙂
Aww, thank you so much! That really means a lot! xoxo
I love how simple this idea is. One of those ‘why didn’t I think of this?’ moments!
Thank you, Fran! Simple is always best! xoxo