I wanted to accompany this bookmark project with a witty anecdote. You know, something like how I’ve started using a Kindle because trying to read a 1,000 page hardcover fantasy novel while squeezed amongst commuters on the subway is laughably unrealistic, but e-readers are soulless and I miss using bookmarks. Something like that.
But I got so distracted playing with Photoshop actions for these pictures that my witticism completely abandoned me. Assuming I ever had any to begin with. Apparently my brain can’t handle creative writing and photo editing at the same time.
So, without any witty ado, I present: DIY Color-Block Bookmarks!
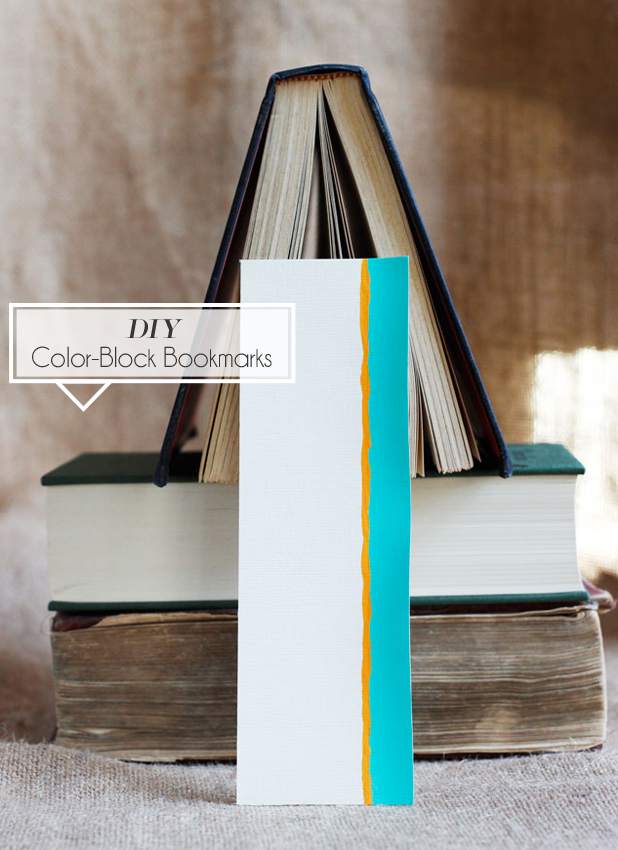
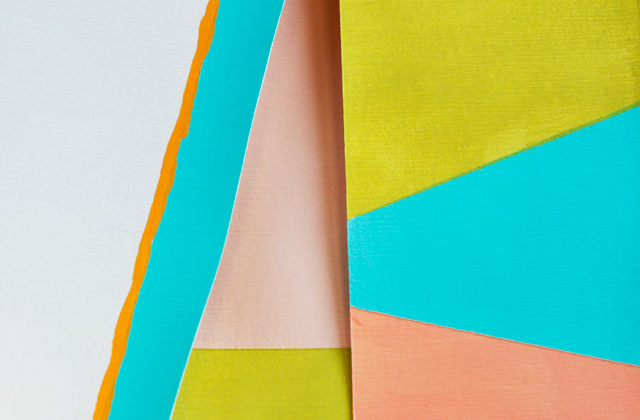
Feel free to bask in the glory of these little lovelies. Easy to make and lovely to behold, these colorful bookmarks will make your Kindle jealous while spiffing up those cheap paperbacks.
Before this turns into some sort of bookmark infomercial, let me dive into the project deets.
DIY Color-Block Bookmarks
What You Need:
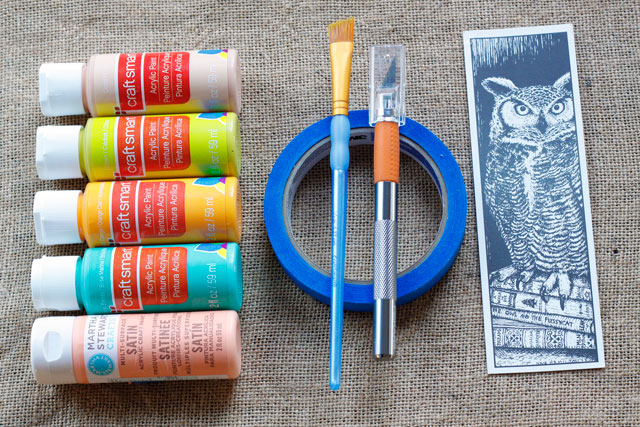
- acrylic paints of your choice (used here: Craft Smart Acrylic Paint in Ocean Breeze, Light Orange, Coral, and Citron, and Martha Stewart Multi-Surface Satin in Wild Salmon)
- cream or white cardstock
- painter’s tape
- brushes
- craft knife or scissors
- pencil
- existing bookmark to use as a template
What You Do:
Trace a bookmark you already have onto the back of the cardstock and carefully cut it out. I say “carefully” because I don’t own a papercutter and have a heck of a time cutting straight lines without one. If you’re in the same boat, try pressing a ruler firmly against the line you’re cutting, and draw a craft knife blade against the edge of the ruler to keep the cut straight.
Then apply painter’s tape in whatever pattern you choose and start painting! Be sure to press down on the edge of the tape firmly so you get clean lines.
This is my first pass, after one THIN coat of paint. I recommend no more than two coats, as the cardstock seemed to get a little “overloaded” with more than that. Don’t forget to allow each coat to dry before starting on the next!
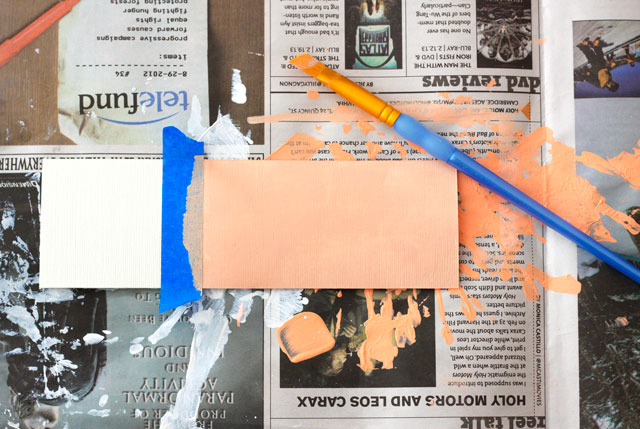
I used paints that I already had on hand, but if you’re going shopping for this project, go for the Martha Stewart Multi-Surface Satin paint. It was a lot thicker, but had a much smoother coverage.
After your second coat of paint has dried for a few minutes, gently peel off the tape. You want to peel it off at a right angle by pulling the tape down towards you, like so:
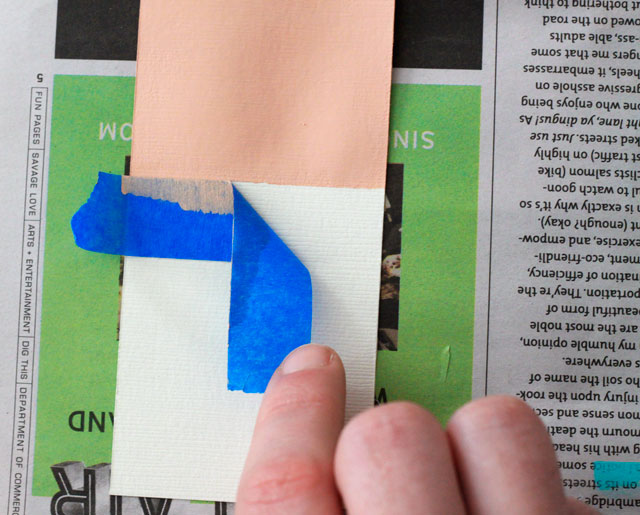
I’m no line-painting expert, but from what I’ve seen on Pinterest, it’s all about the right-angle peel. Thank you, Alan, for lending me your fingers for this shot.
Allow the first color to dry COMPLETELY, then you can tape up your lines for your next color. Here you can see I’ve painted one coat of the second color:
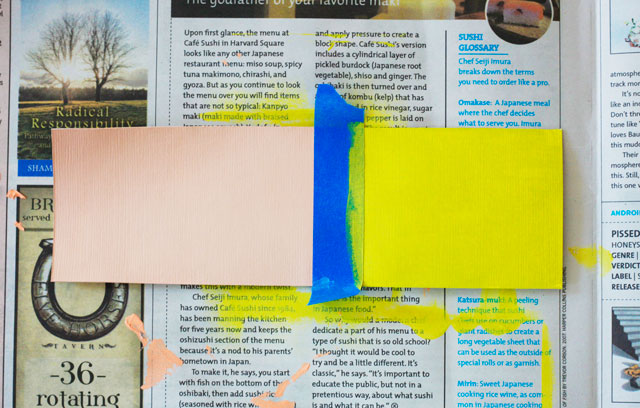
Once the second coat of paint is on, peel off the tape as before, and you’re done!
Have fun experimenting with the different shapes you can make to achieve a color-block look. On the third one I even free-handed the thin orange stripe (a surprising move for a perfectionist like me).
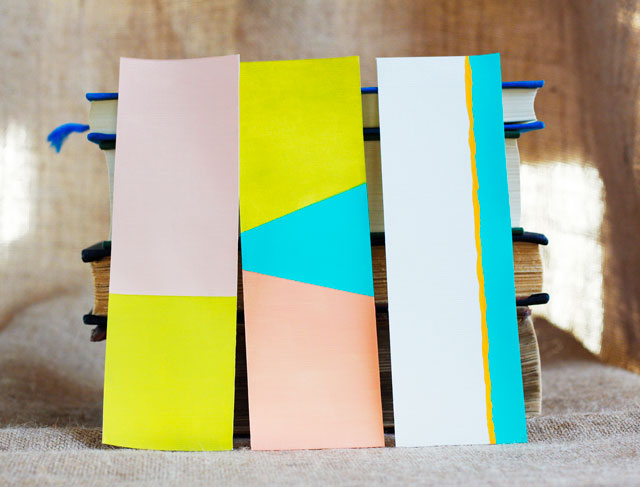
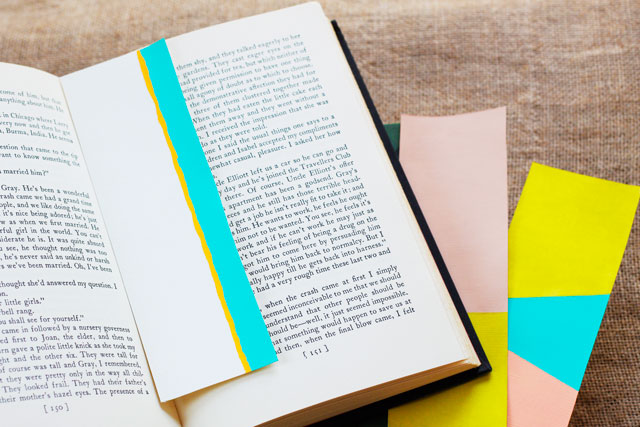
What do you think of my pretty if not-so-witty project?
Please let me know if any of you plan to make your own bookmarks, I would love to see them!
____________________________________________________________
This project was included in:
These are so great! I think these would be great party favors too! Thanks for linking up with us on The Merrythought.
Oh thank you, I’m so glad you like them! I adore the projects you’ve blogged on the Merrythought, glad you’re having a linky party!
These look very high fashion, yet you’ve broken the steps down and they look very easy to make. These would be wonderful gifts for anyone in a book club or enjoys reading.
Thanks for sharing!
Marie
Substance of Living
Thank you, Marie! 🙂
They are simple to create and wonderful to give as keepsakes or thank you returns…. Thanks for the wonderful idea……