
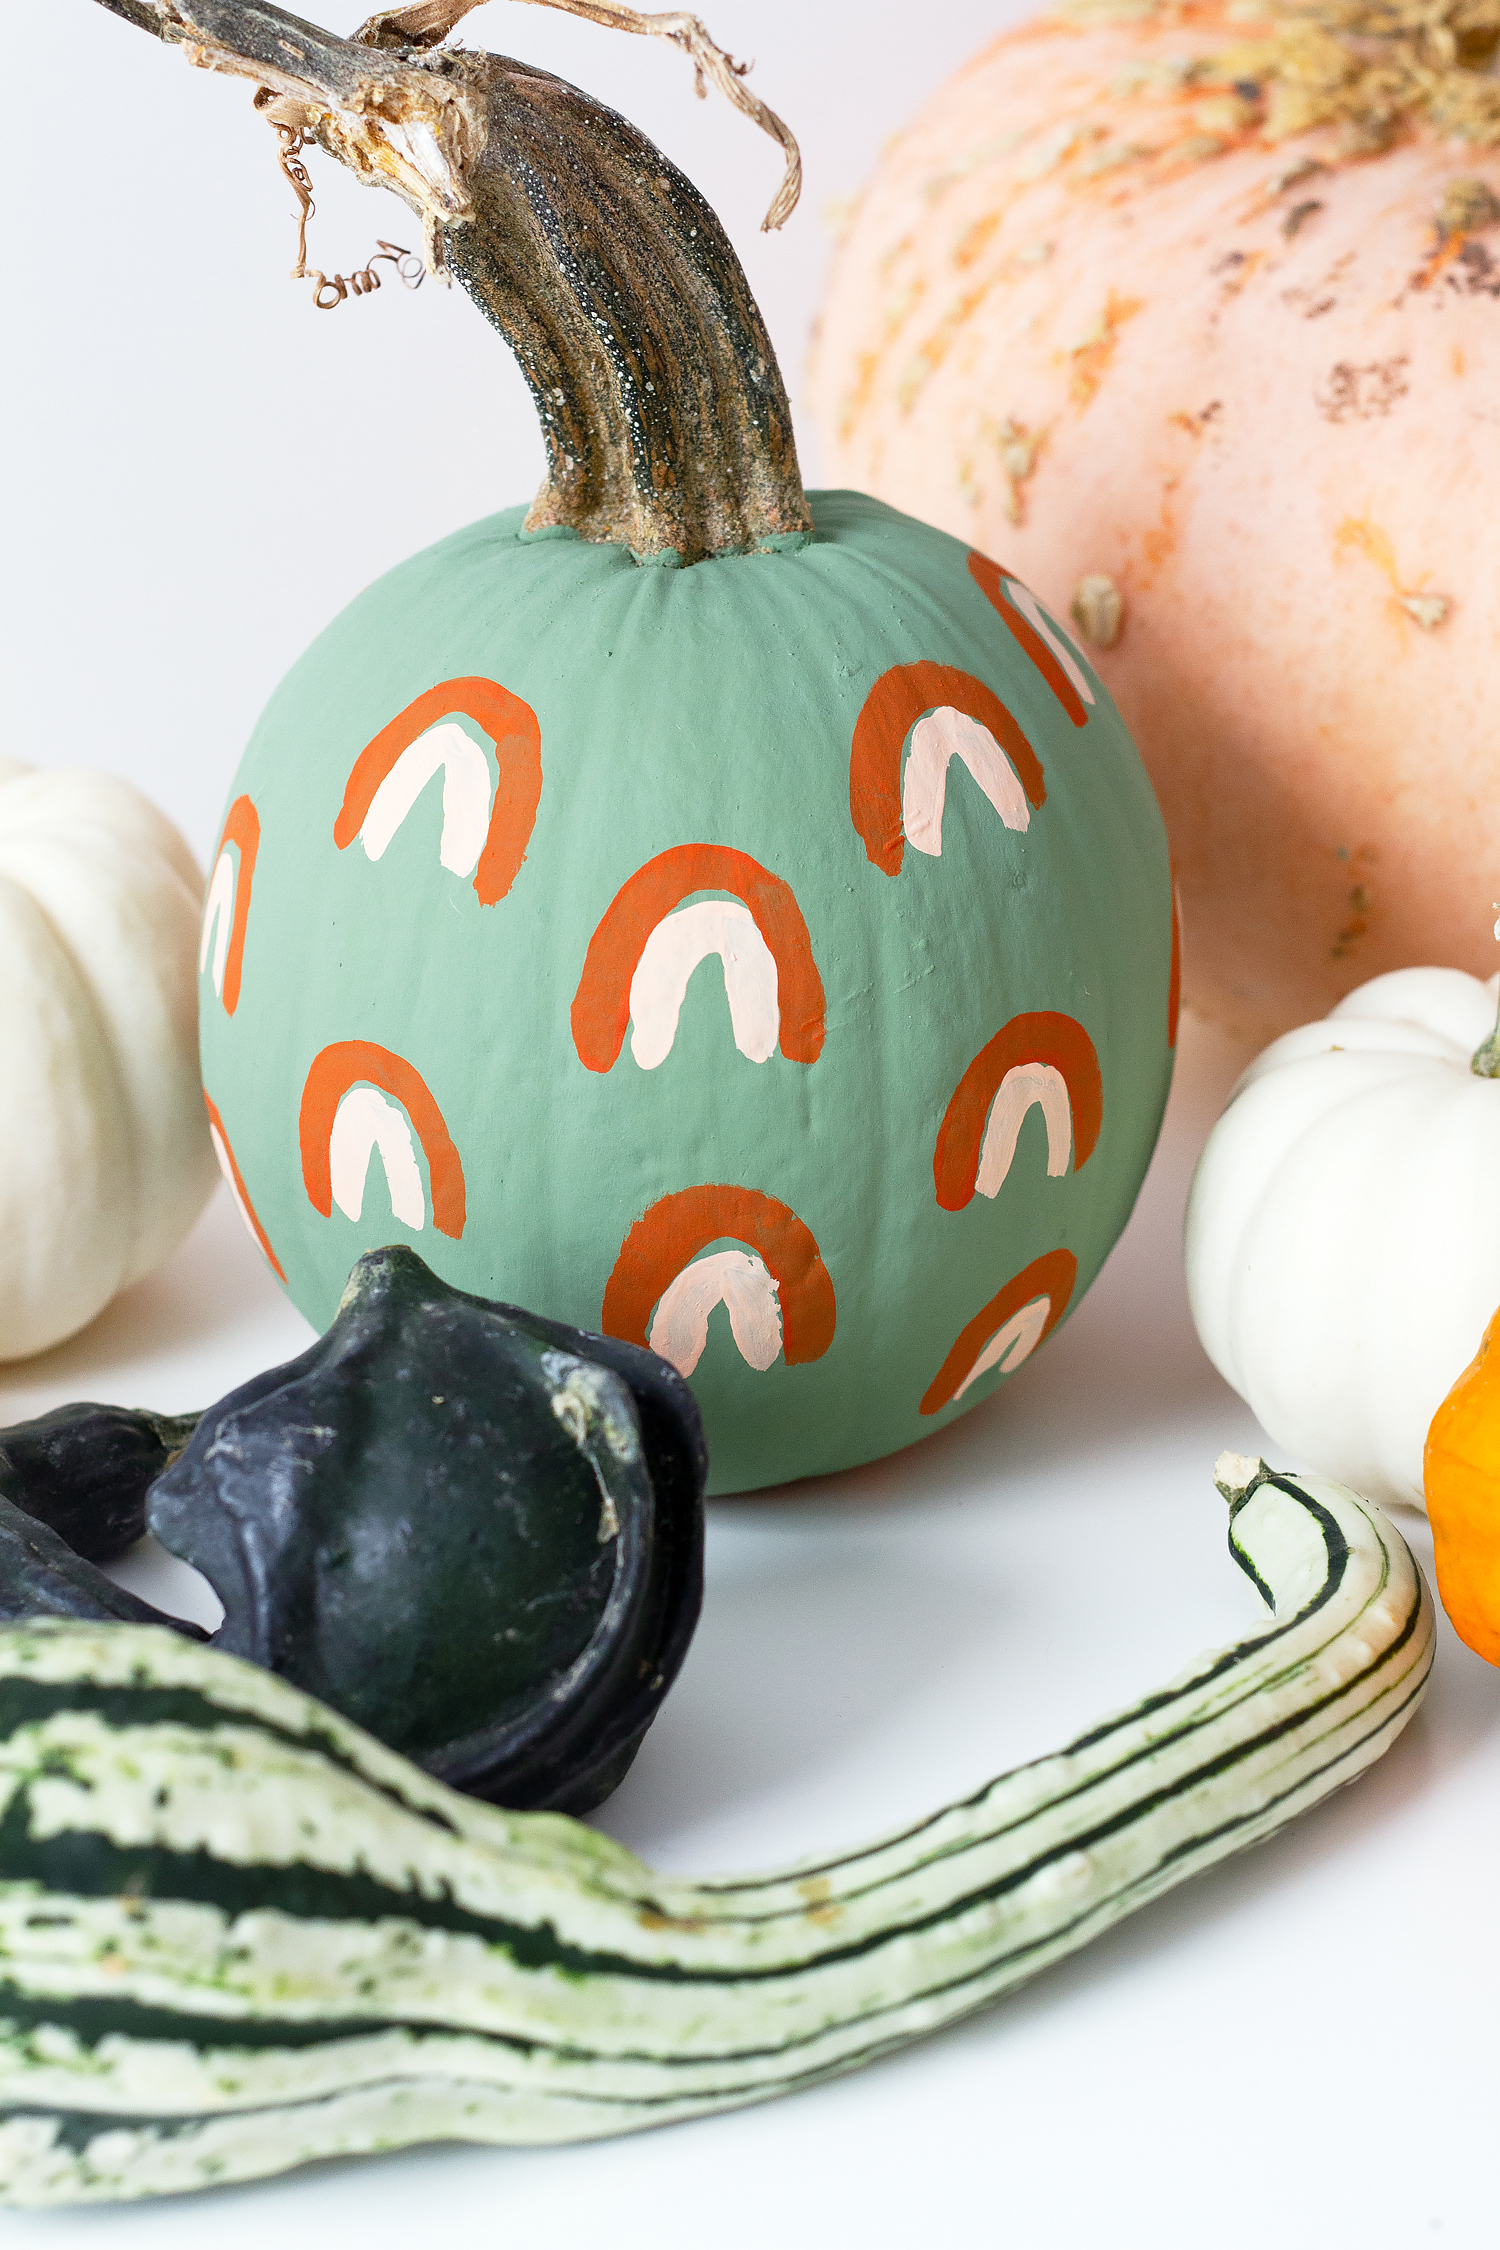
These DIY painted arch pumpkins are as cute as they are easy to make!
Have you ever given up on something you loved, for no reason whatsoever? Maybe time got away from you for a few weeks or months, and life continued to get in the way, and before you know it, ages have past since you last took part in that activity?
That’s what happened to me these past (gulp) 2+ years. I loved and still love blogging, but somehow it’s never been able to keep a place near the top of my priorities. Which makes it hard to be consistent, and caused me to drop off for a while altogether.
I don’t want to say “I’M BACK!” in all caps, because I don’t know how often I’ll be popping back on. But for now, for today, it’s a soft “I’m back, hello.”
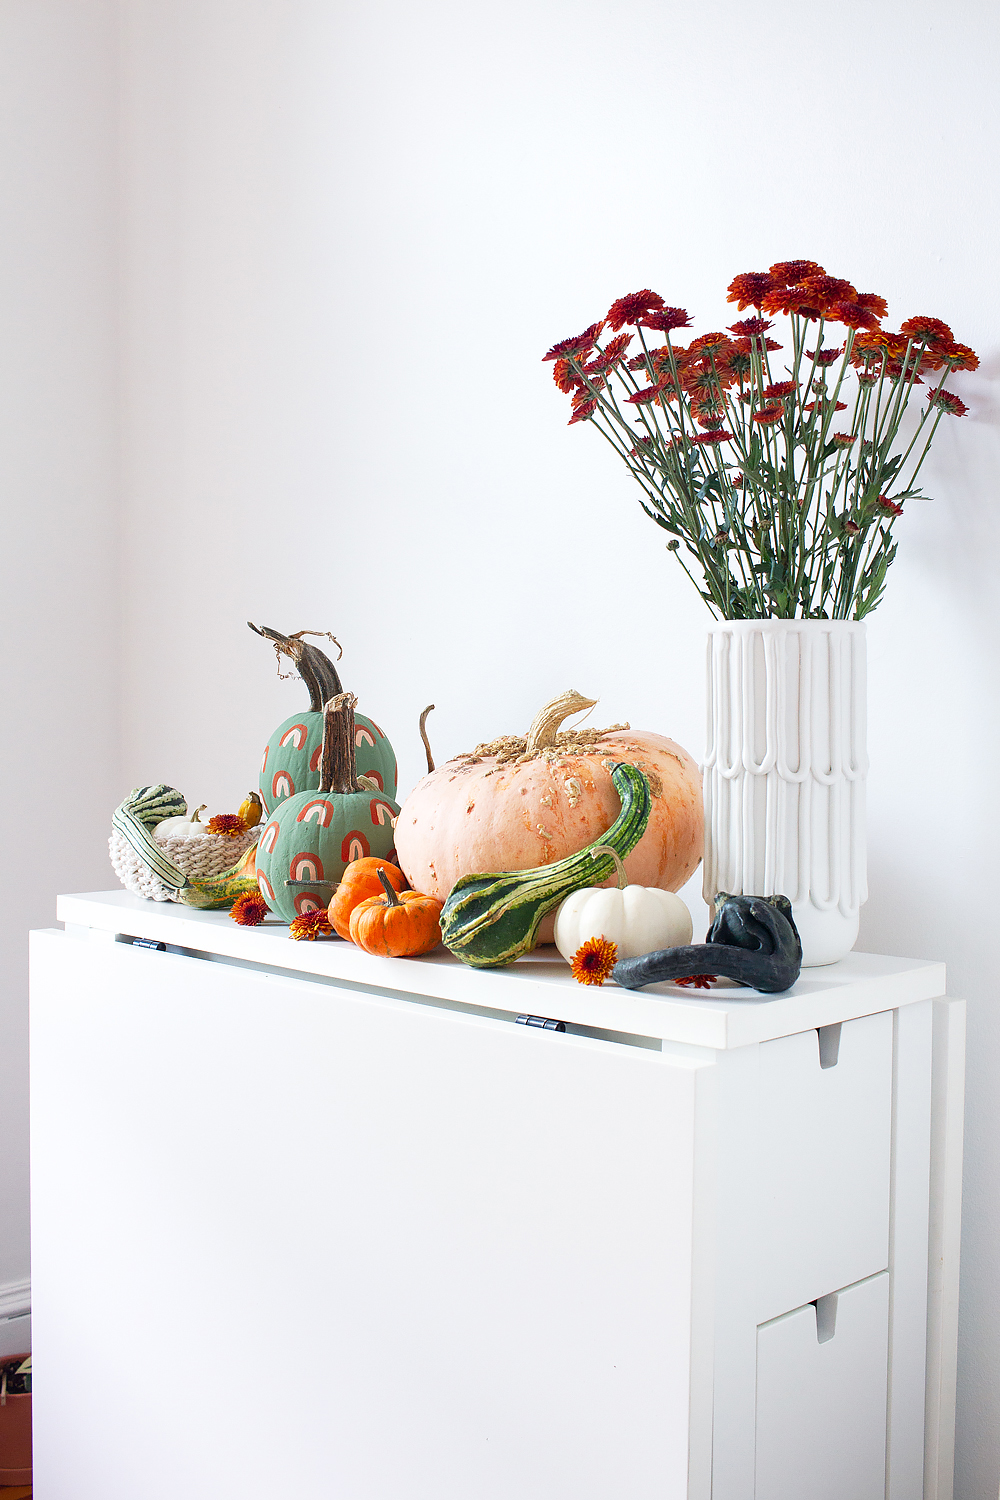
So, hi! It’s so good to see you virtually after all this time! Wow is the world a different place today. Thankfully we still have crafting to keep us sane in these crazy times. I’ve got a fun fall project idea today, that’s a cinch to make and will look so cute on your autumnal porches or tables or just scattered around your homes. It’s decorative gourd season after all, let’s celebrate by painting some pumpkins!
DIY Painted Arch Pumpkins
Skill level: The easiest.
Time: An hour or so due to drying time.
WHAT YOU NEED:
+ pumpkins
+ craft paint in 3 colors (try sage green, terra cotta, and blush)
+ larger and smaller paintbrushes
+ newsprint or paper bags to protect your work area
+ optional but recommended: Chai tea for those good fall vibes
WHAT YOU DO:
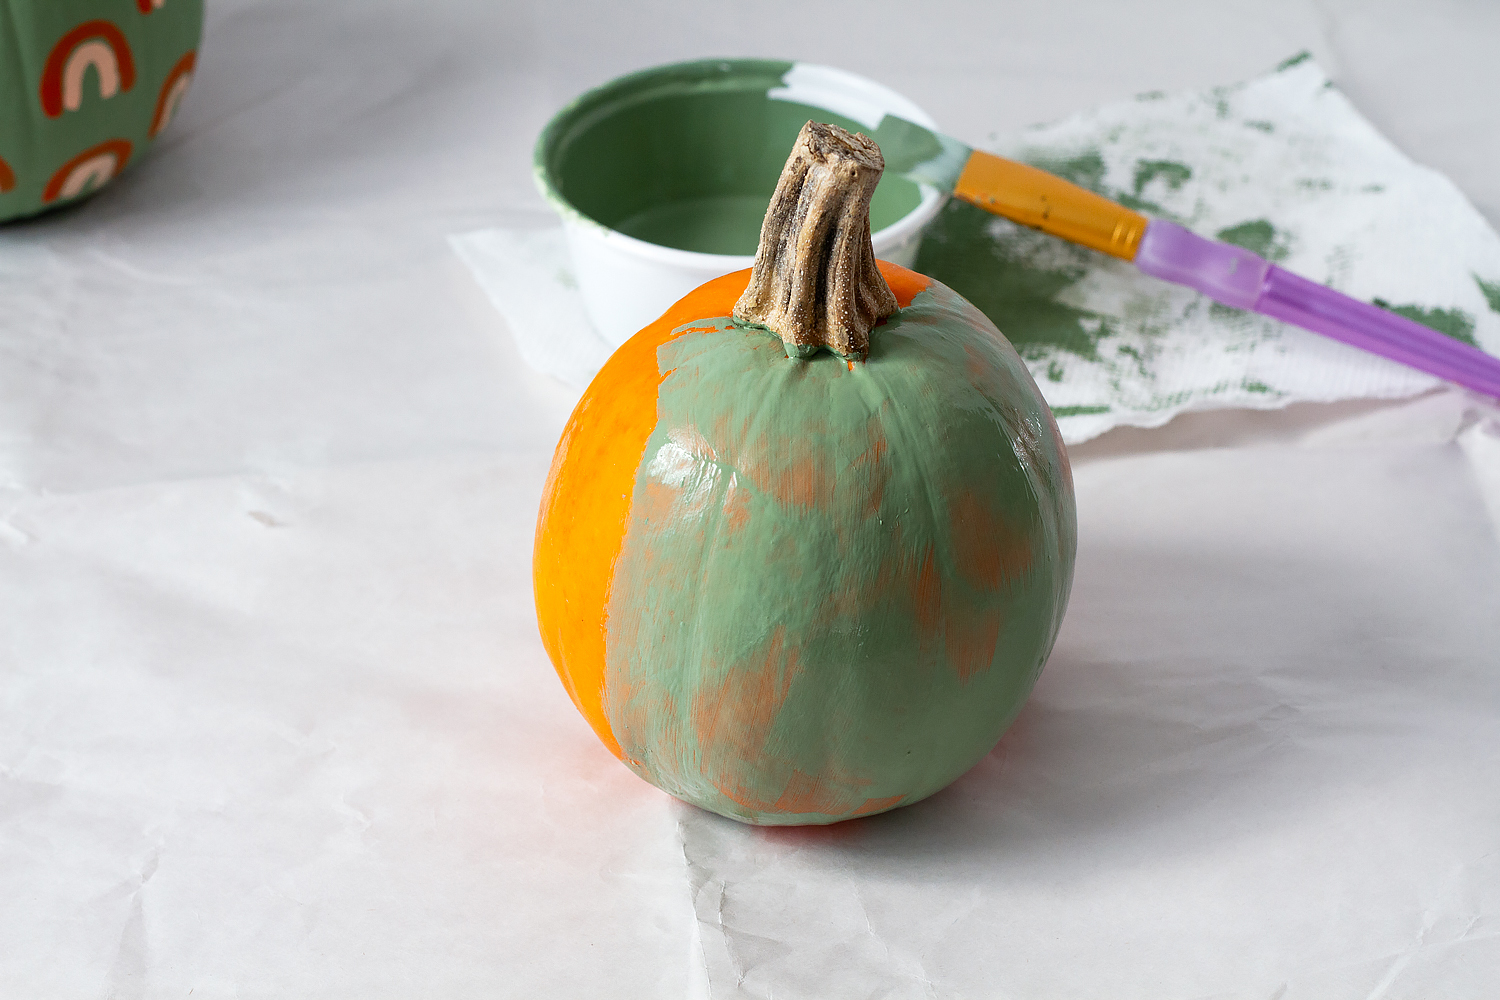
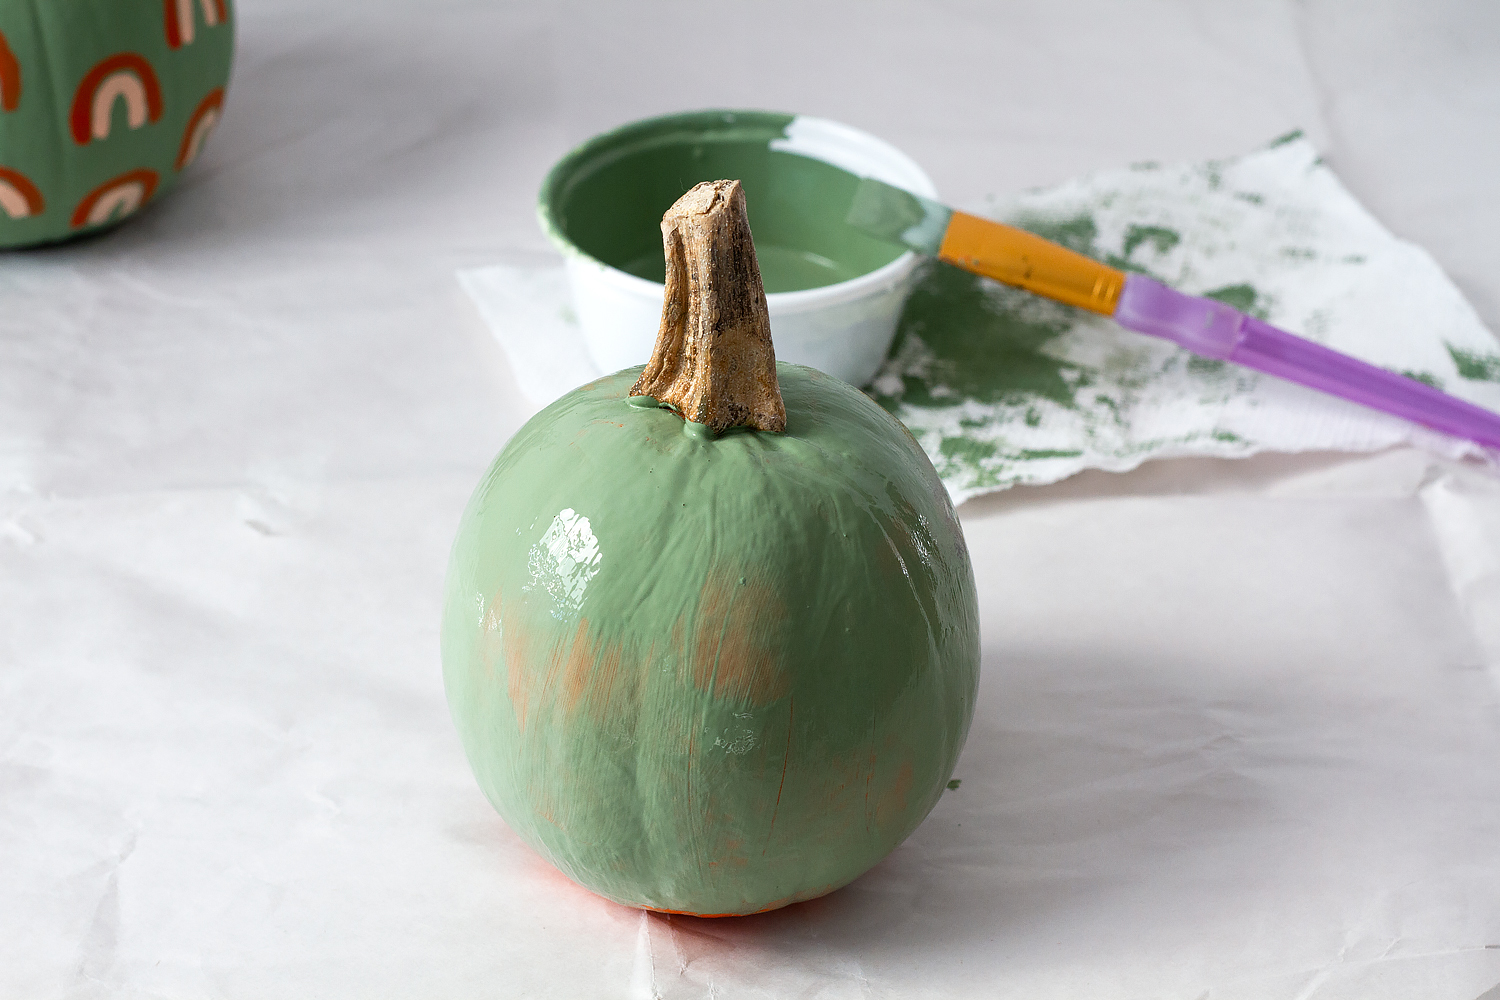
Step One: Using your base color, paint 2-3 coats on each pumpkin. Make sure you let the paint dry completely between each coat, paint gets funky if you try to skip drying.
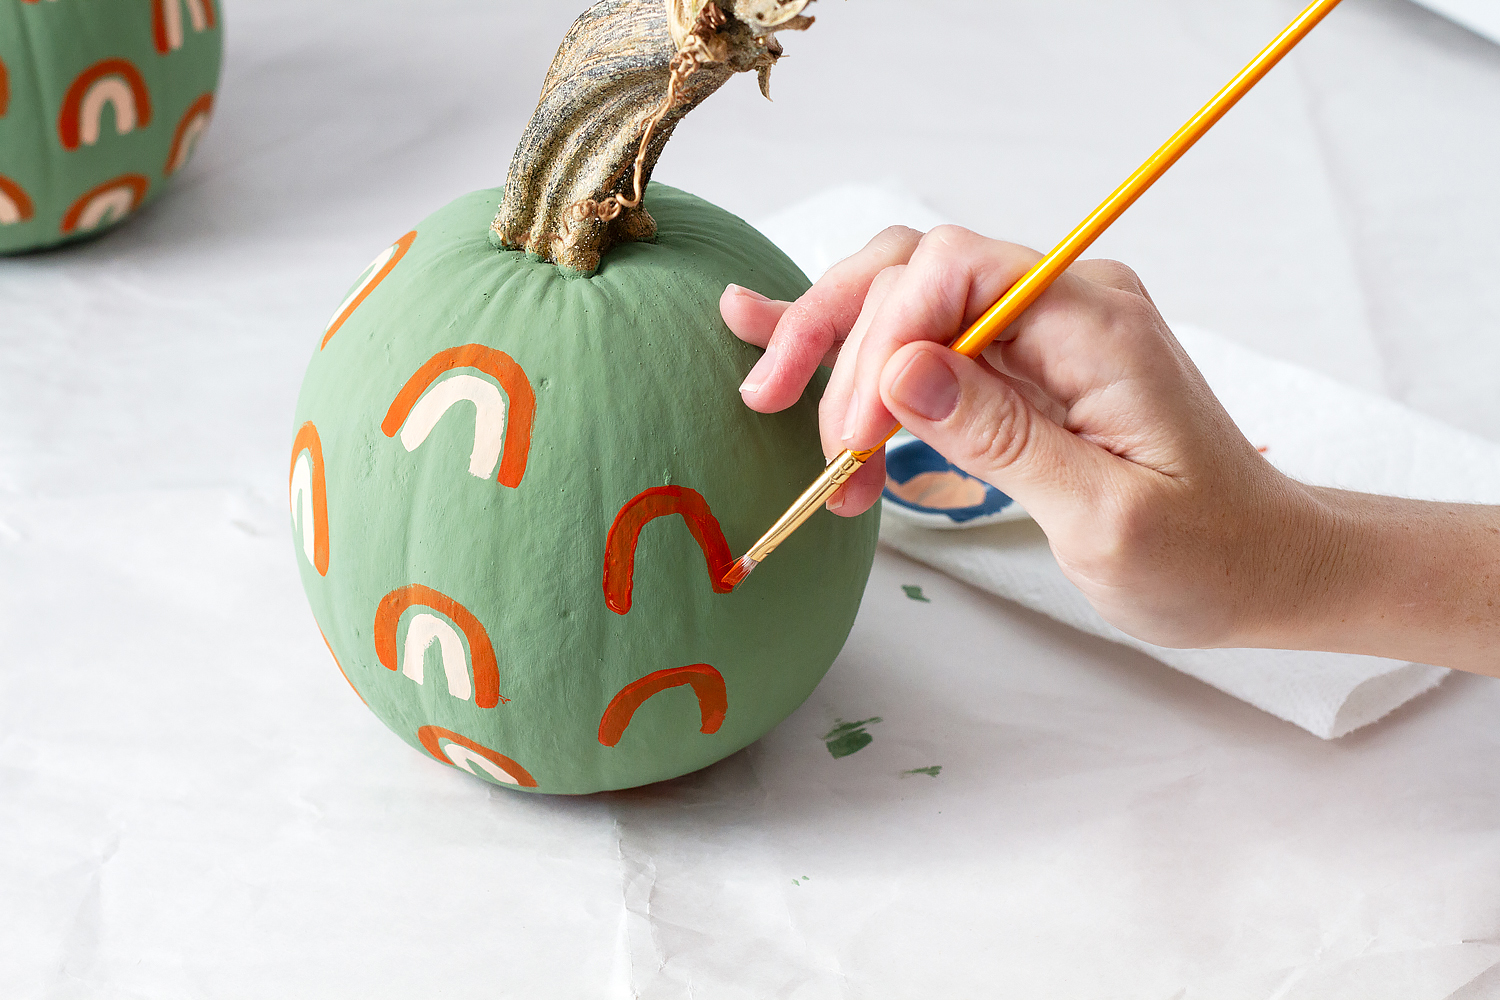
Step Two: Once the base coat has dried, use the small paintbrush and your first accent color to paint arches in an alternating pattern. If you feel like you can’t paint an arch, don’t worry, it’s just an upside-down “u”!
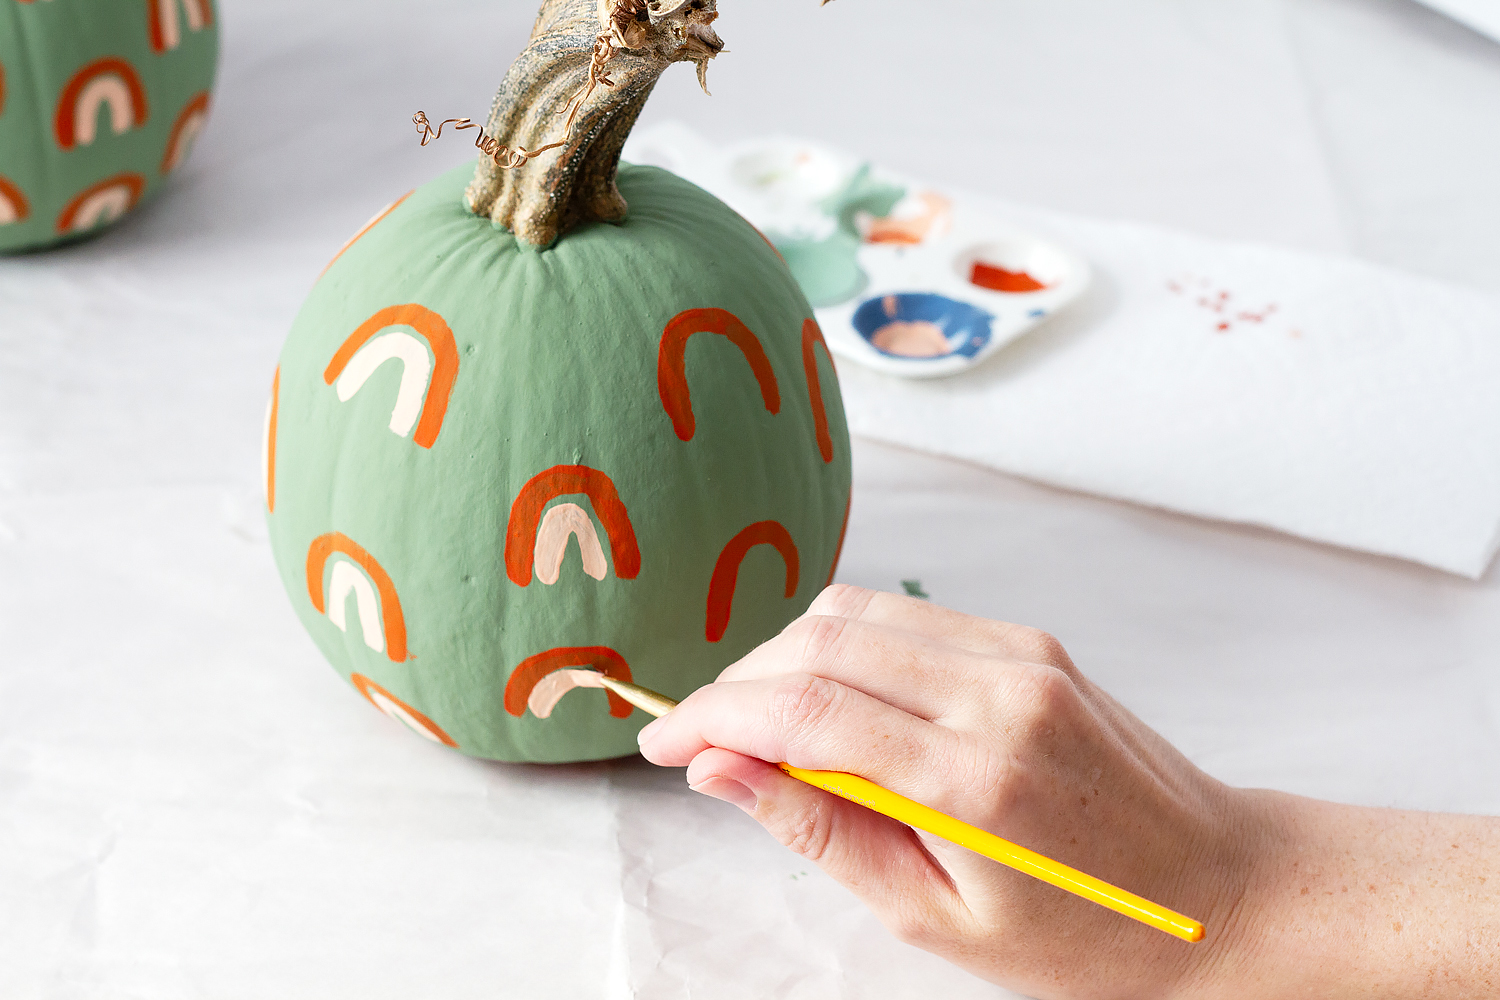
Step Three: After the first arches have dried, use the second accent color to paint a smaller arch inside the larger ones.
And that’s it!
One thing I love about this type of project is that imperfection is part of the beauty. These don’t need to be factory-printed arches, it’s the hand-painted variance that makes the pumpkins special.
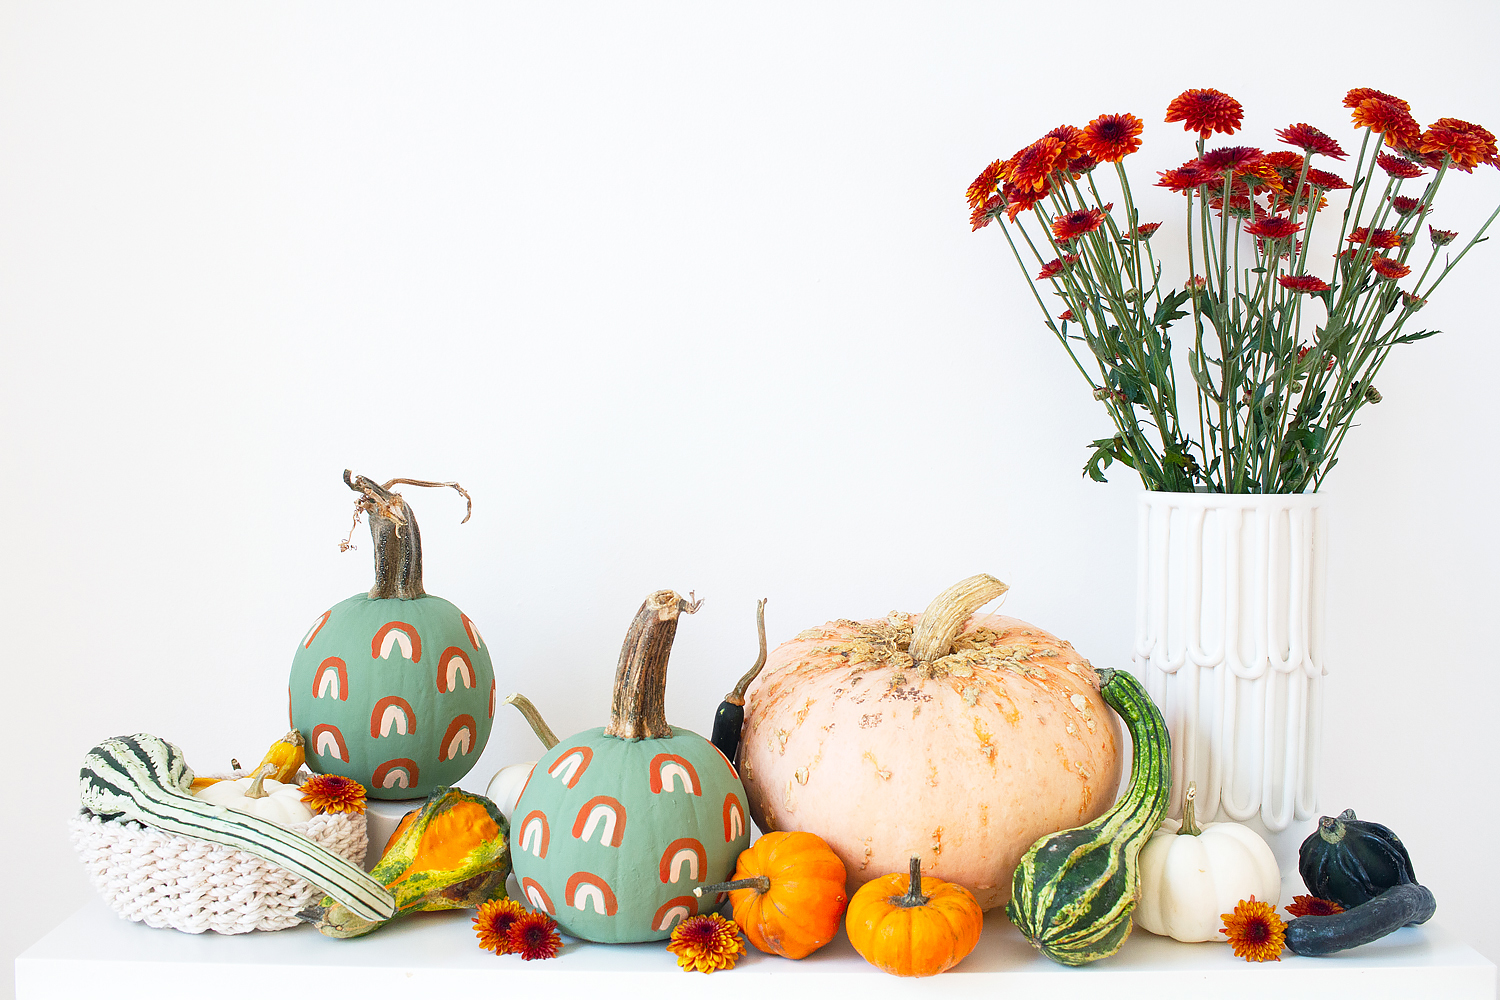
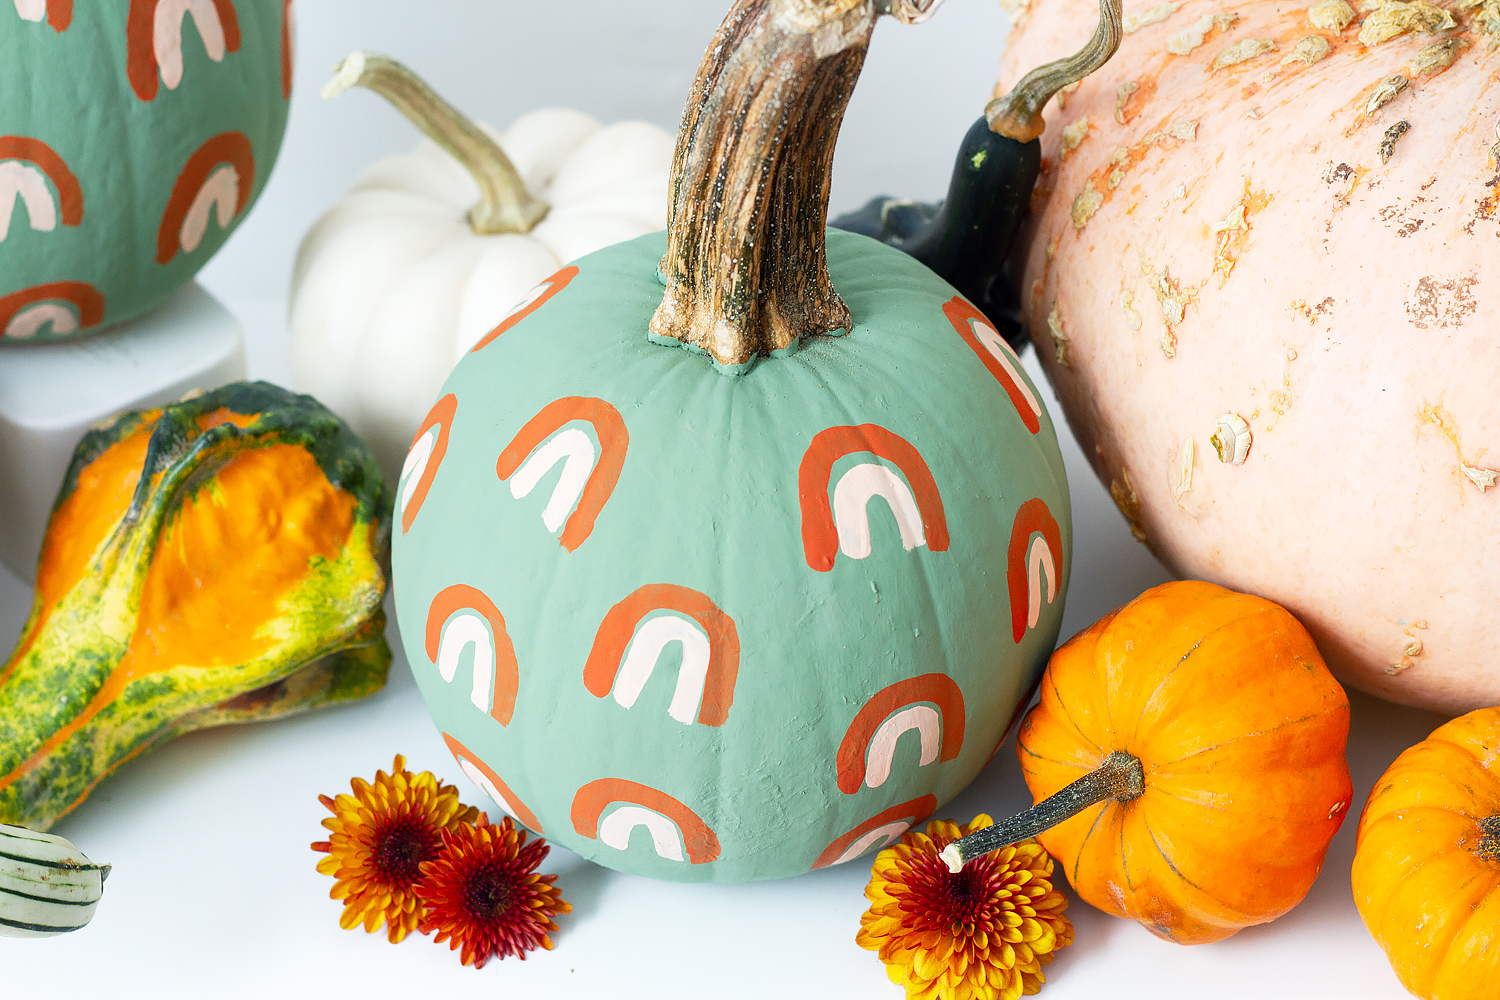
Wouldn’t these guys be sweet on a fall table, or even in mini form as place settings?
Will you be carving or painting pumpkins for Halloween this year? What colors would you choose for your own version of an arch pumpkin?
More pumpkin decorating ideas:
Winking eye pumpkin with printable template
So cute! And love the color scheme 😍
Thank you! I can’t get enough of these colors.