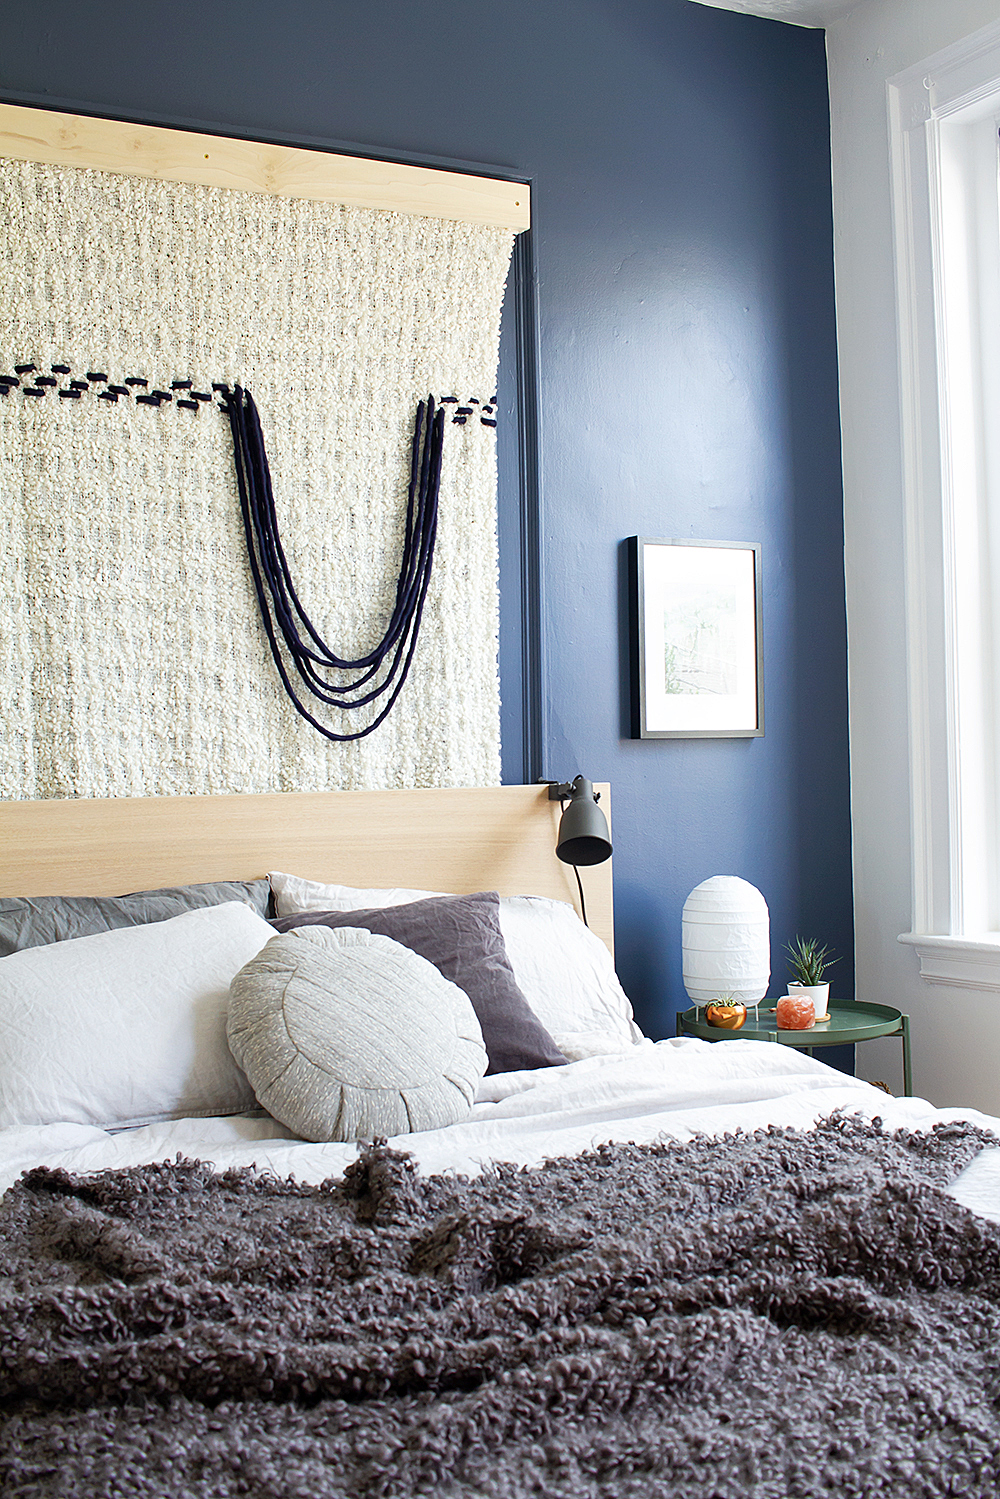
 THIS POST IS SPONSORED BY IKEA STOUGHTON, BUT ALL IDEAS & OPINIONS ARE ENTIRELY MY OWN.
It’s another IKEA hack today — did you think I had forgotten to share how I made the wall hanging in my One Room Challenge bedroom makeover?
Ok, it’s been a few weeks so you probably did, but you know me and the deadlines. However, good things are worth waiting for, and although I may be a teensy bit biased, I’m so thrilled with how this faux weaving DIY turned out.
It is so, SO easy to recreate this DIY wall weaving hack. I know I toss the word “easy” around a lot on here, because I want ALL OF YOU to know that you can make gorgeous, creative things without a lot of skills or experience. But really. THIS IS AN EASY PROJECT. Basically if you can lace up a sneaker, you can make this wall hanging.
The big mind-blowing secret behind this project? Use a woven blanket as the “canvas.” Then it’s just a matter of “weaving” onto the blanket with extra chunky yarn. I’m telling you, it’s magic.
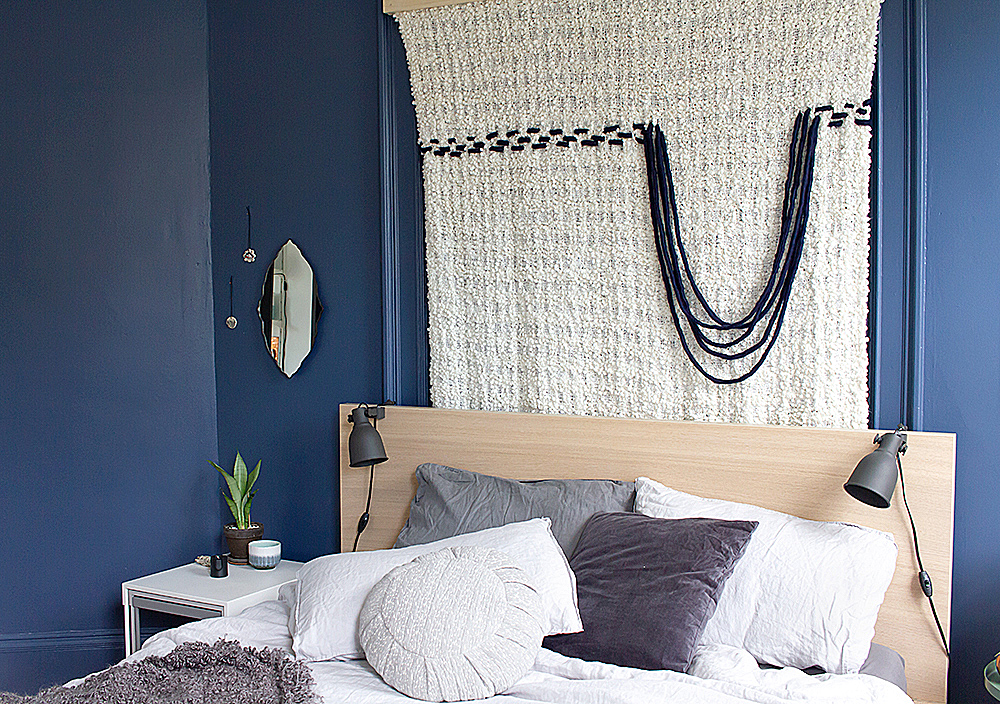
Of course, as always, IKEA has the perfect item to use for this DIY: the OFELIA throw blanket. It has a very loose, open structure, making it a great base to weave on. Keep reading to see how to make your own!
*THIS POST CONTAINS AFFILIATE LINKS. THIS MEANS IF YOU PURCHASE, I WILL EARN A SMALL COMMISSION AT NO EXTRA CHARGE TO YOU, WHICH IS PRETTY SWEET BECAUSE IT HELPS ME PAY BLOGGING BILLS, SO THANK YOU! I WILL ONLY LINK TO PRODUCTS I HAVE USED OR WOULD USE MYSELF, PINKY PROMISE.
DIY WALL WEAVING HACK
Skill Level: As easy as tying your shoes
Time: About an hour
WHAT YOU NEED:
+ IKEA OFELIA blanket (or any blanket that has a loose weave, loose enough that you can gently widen the spaces between the threads)
+ extra chunky jumbo yarn — check out this gorgeous acrylic roving on Etsy
+ scissors
+ a way to hang your blanket, such as wooden quilt hangers*
WHAT YOU DO:
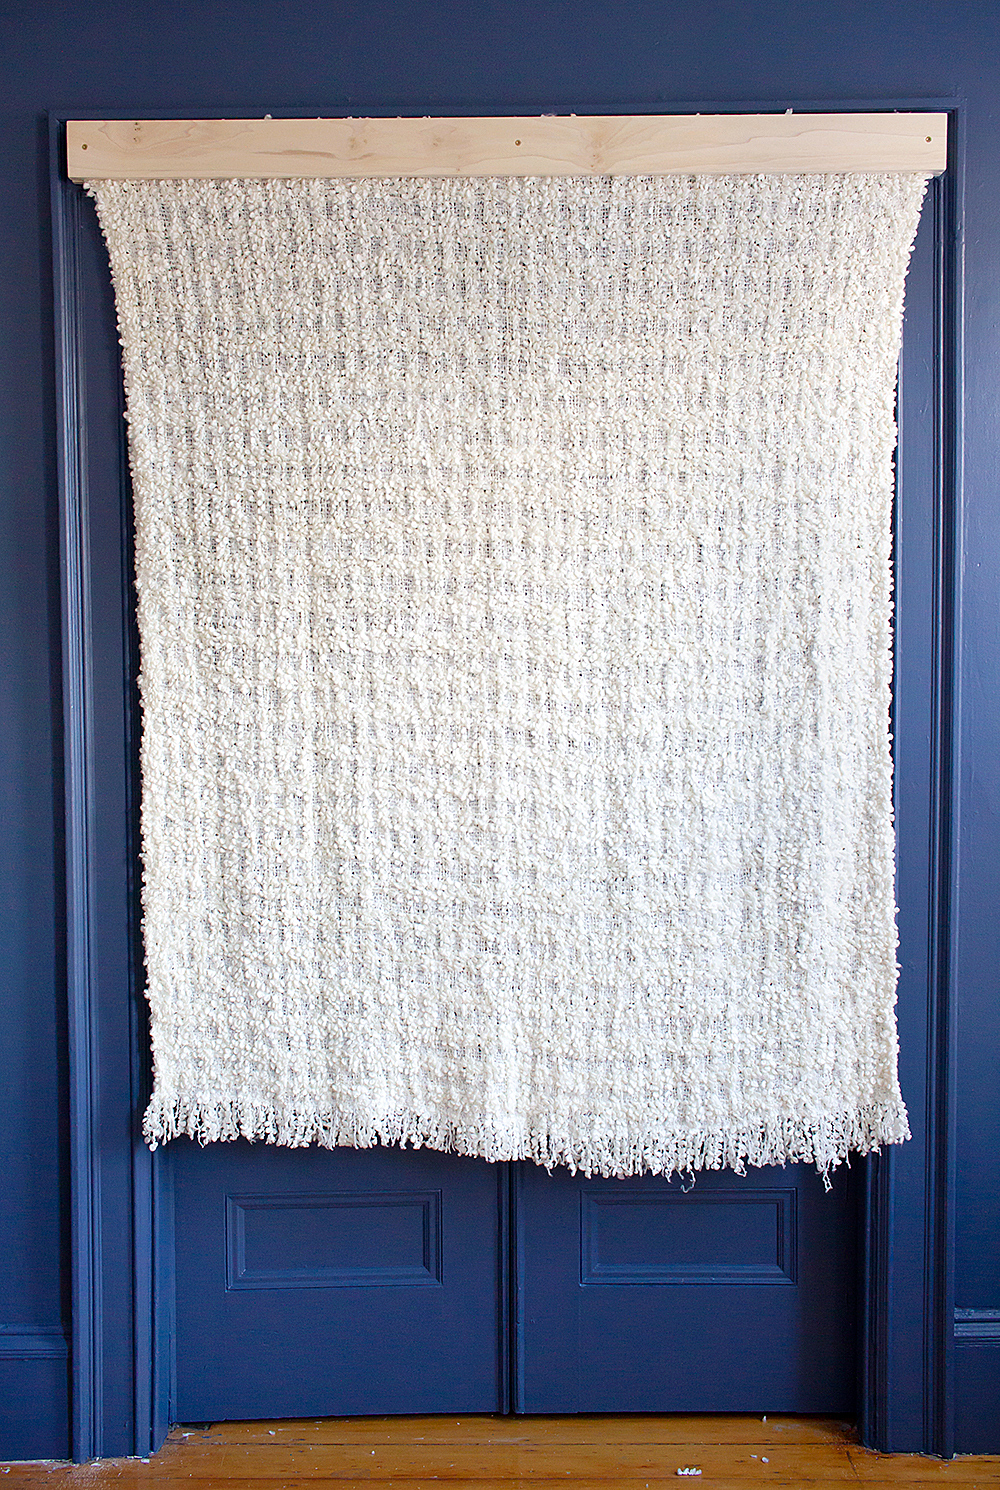
Step 1: Hang your blanket. I know, I know, I’m glossing over a big step here! I photographed the process for sandwiching my blanket between two pieces of wood, but it ultimately was too much to include in the same post. You can find the instructions for how to hang a blanket on a wall here, OR go an easier route and use quilt hangers (affiliate link) to hang the blanket. Any questions, let me know in the comments!
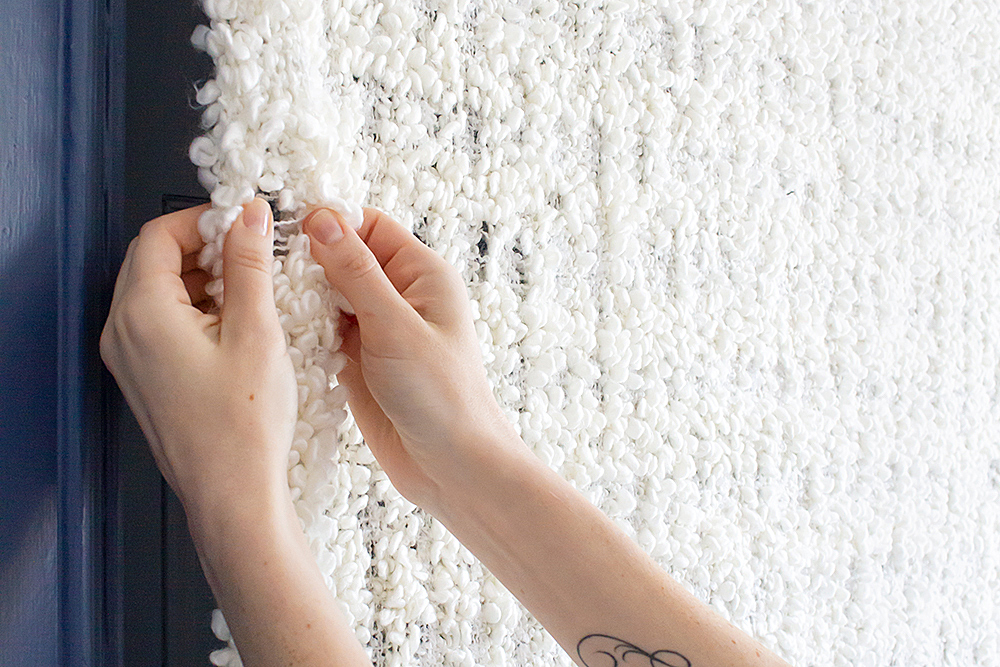
Step 2: Using your fingers, gently make a hole near the edge of the blanket where you want to start weaving. Do this by pulling the vertical strands of the blanket from left to right, so that you are widening the existing gap enough to fit the jumbo yarn. Make a few more holes in the same row, about 1.5 inches apart.
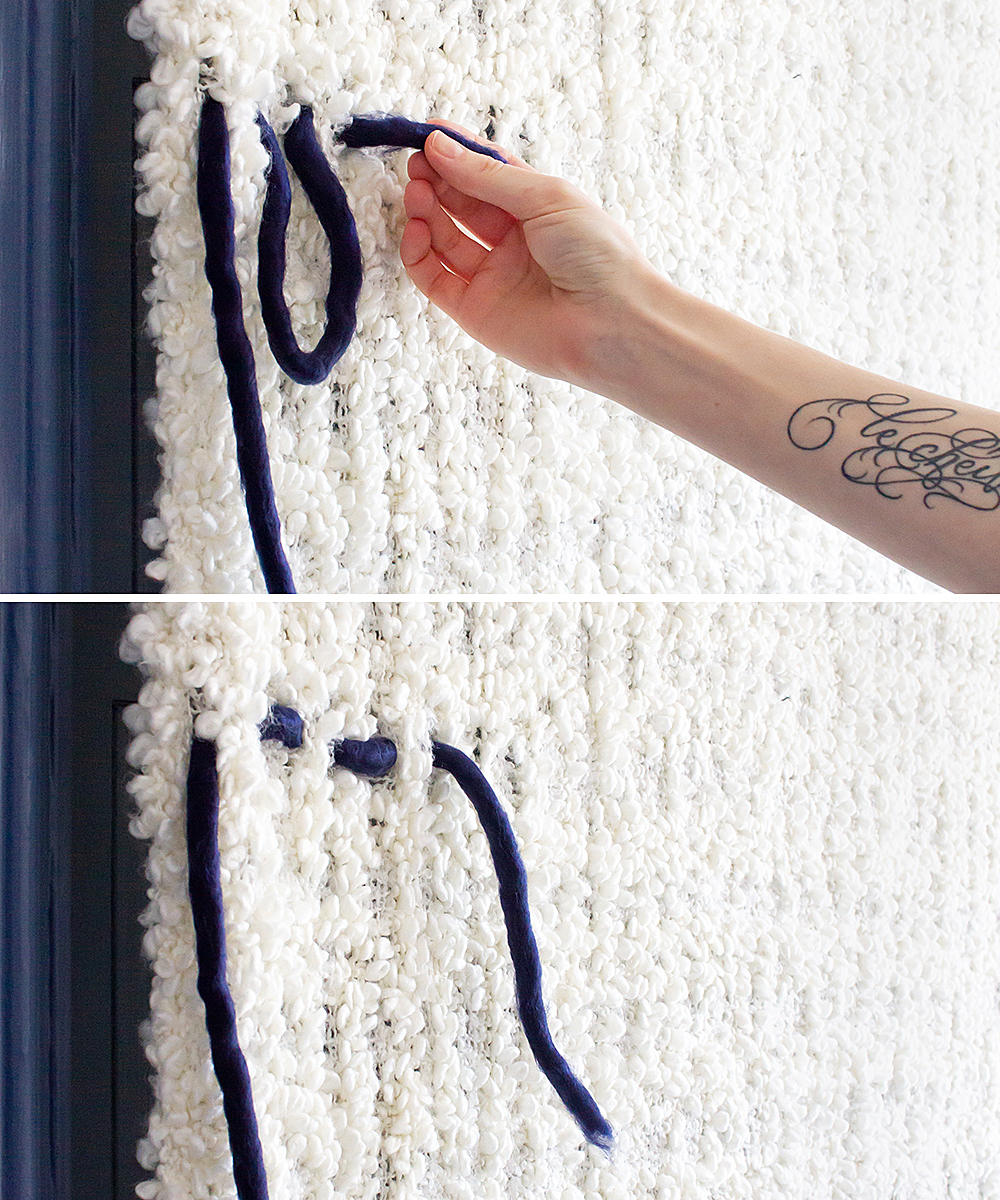
Step 3: Cut a length of yarn that’s about 3 feet longer than the width of the OFELIA blanket. Now, thread the end of the yarn into the first hole you made, from front to back. Pull the yarn through the next hole, from back to front. Then thread it into the next hole, front to back. Look at that, you’re weaving kinda sorta!
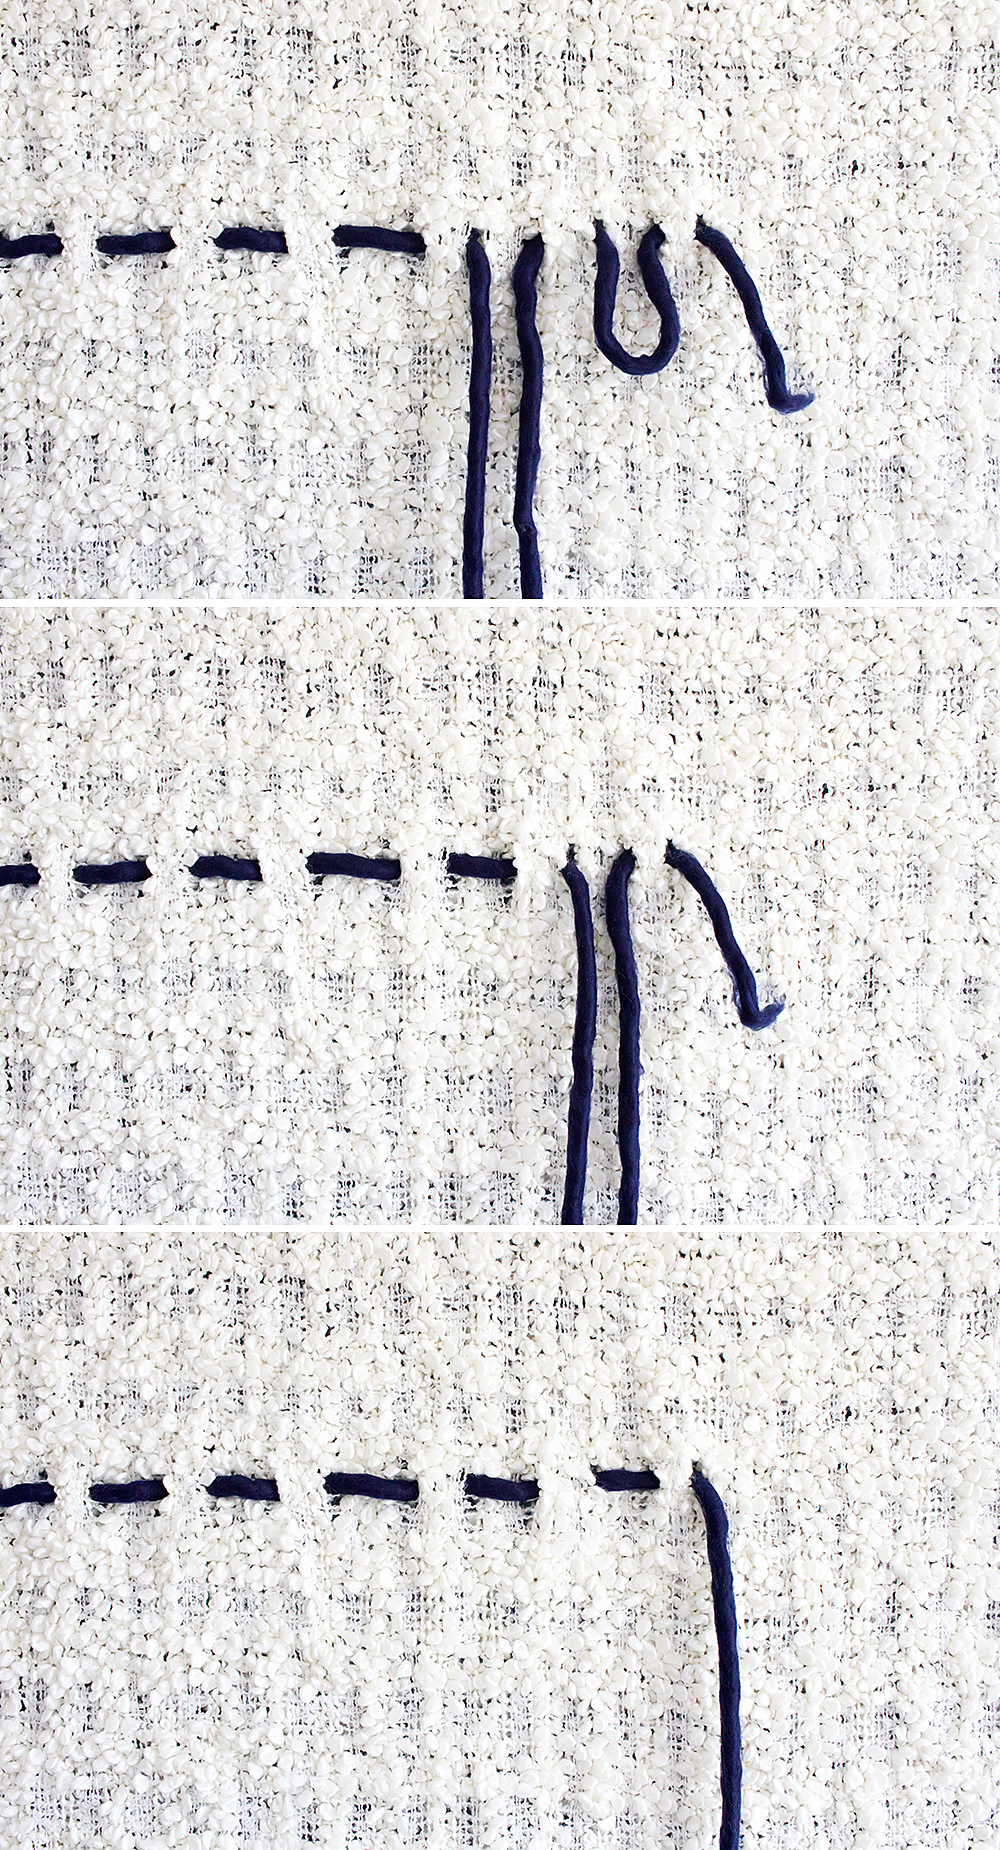
Step 4: And you’re off! Keep making holes in the same row and weaving through them.
You have to be gentle with this type of roving or jumbo yarn so it doesn’t pull apart, so I found it helpful to guide the yarn along through the holes bit by bit — kind of like an inchworm.
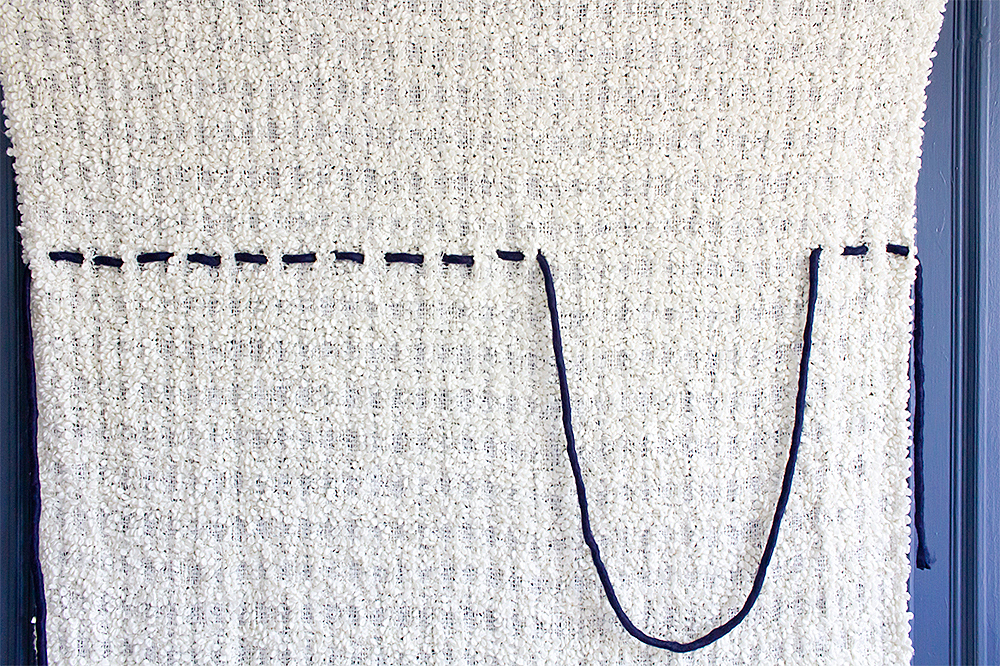
Step 5: To create the big hanging loop, simply skip a large space, then weave the end of the yarn through all the way to the edge of the blanket.
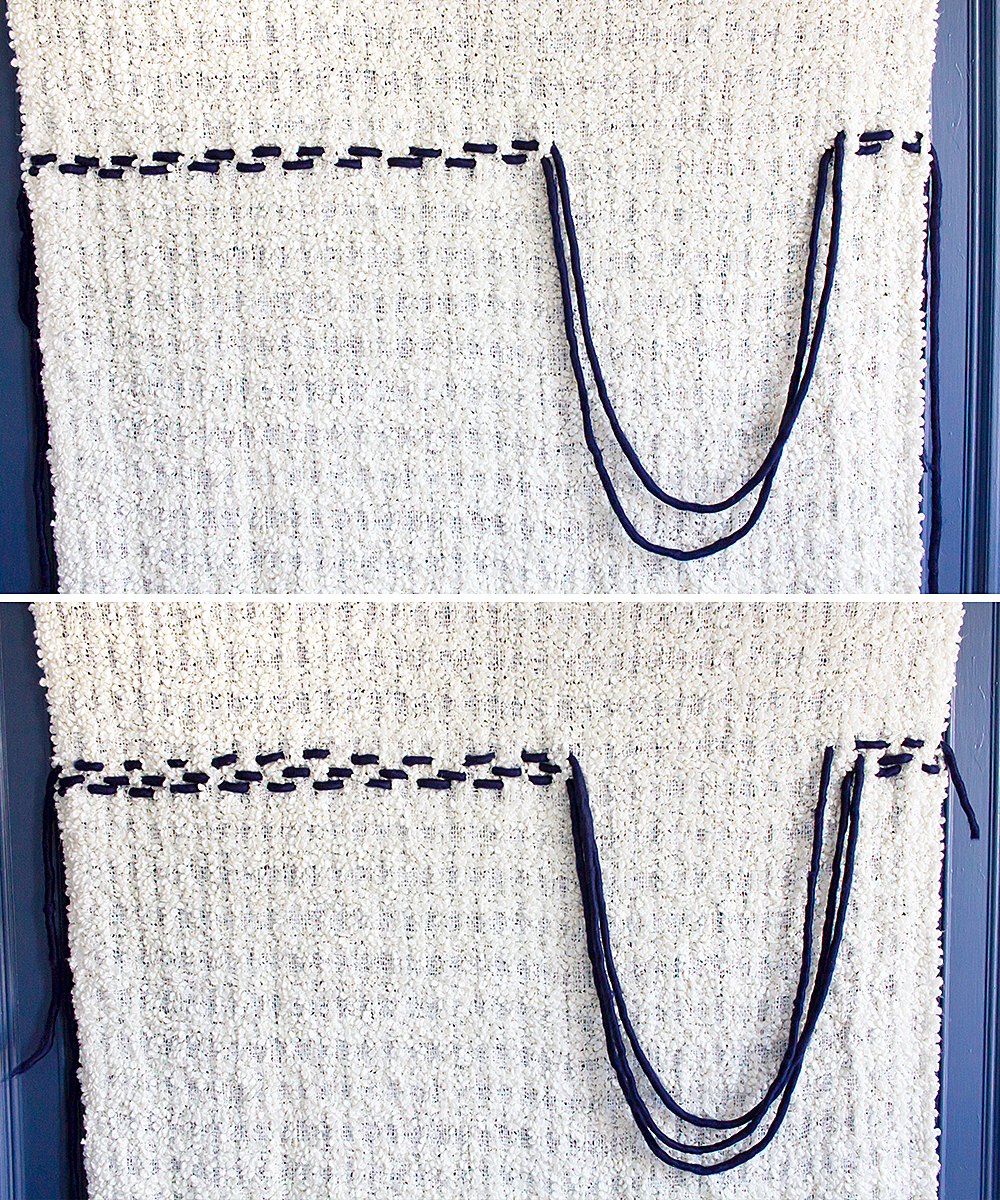
Now you’re going to repeat Steps 2 – 5 with two additional lengths of yarn.
As you can see I staggered the second and third rows a little. To do this, I simply started on a different side of the blanket. The first row I wove front to back; second row, back to front; third row, front to back again.
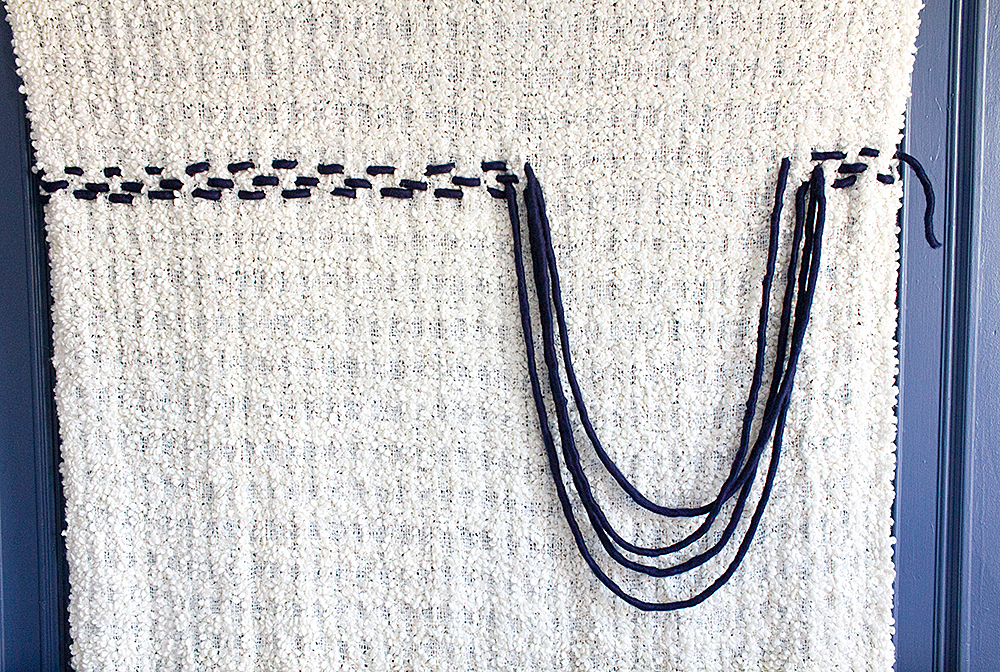
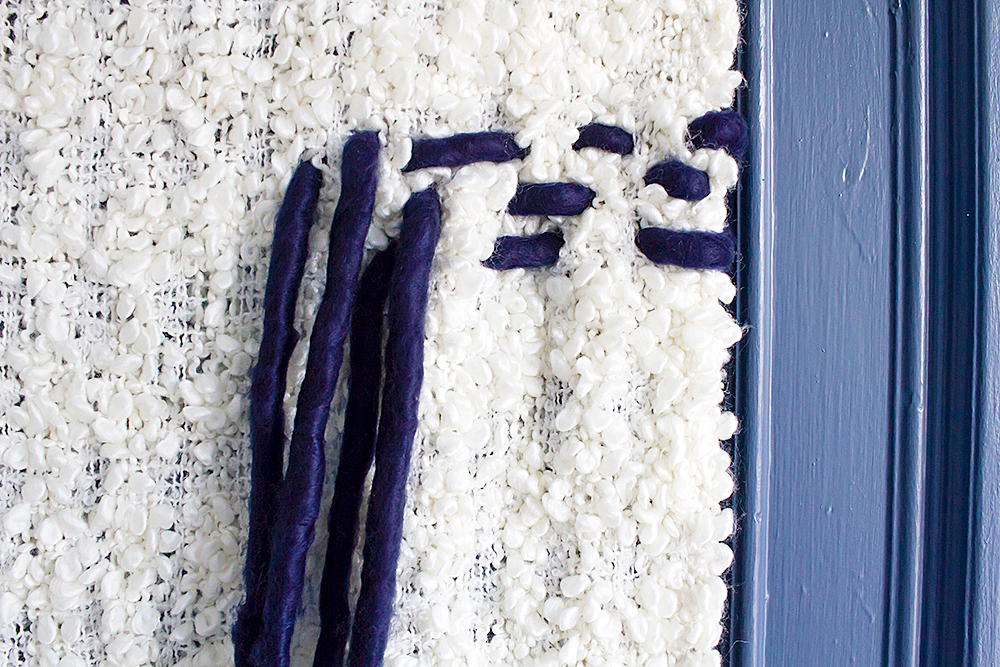
Step 6: If you want to, you can fill out the loops by adding more yarn. I liked having three woven rows, but I wanted more loops. Attach the extra loops by threading the yarn from front to back of the blanket, and weaving the ends through the back of the blanket so they stay put.
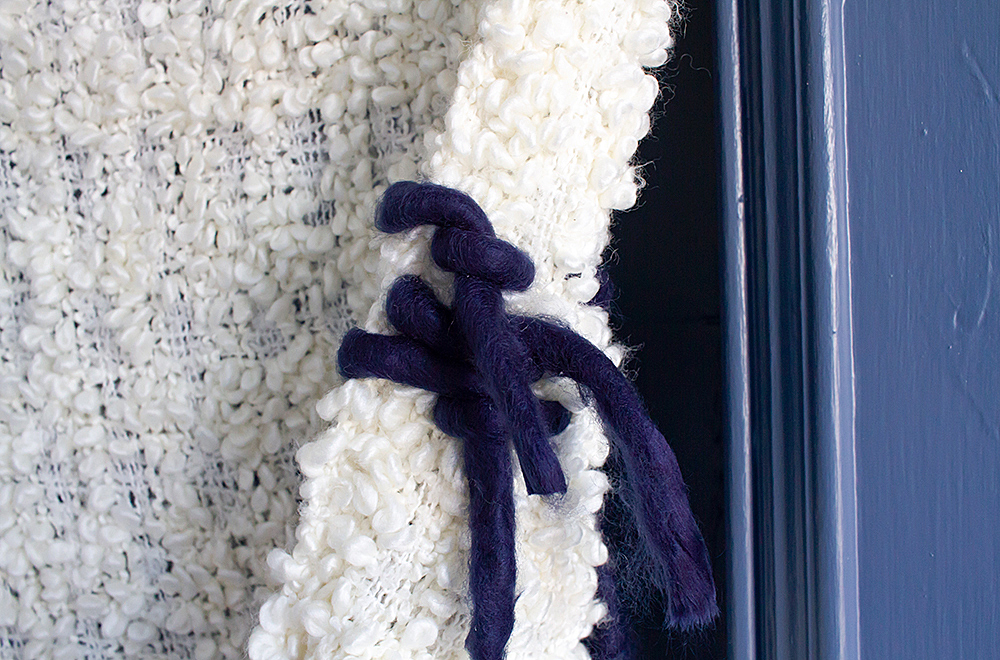
Step 7: When you are happy with the front of the weaving, trim all the yarn ends and tuck them into the loops on the back of the blanket.
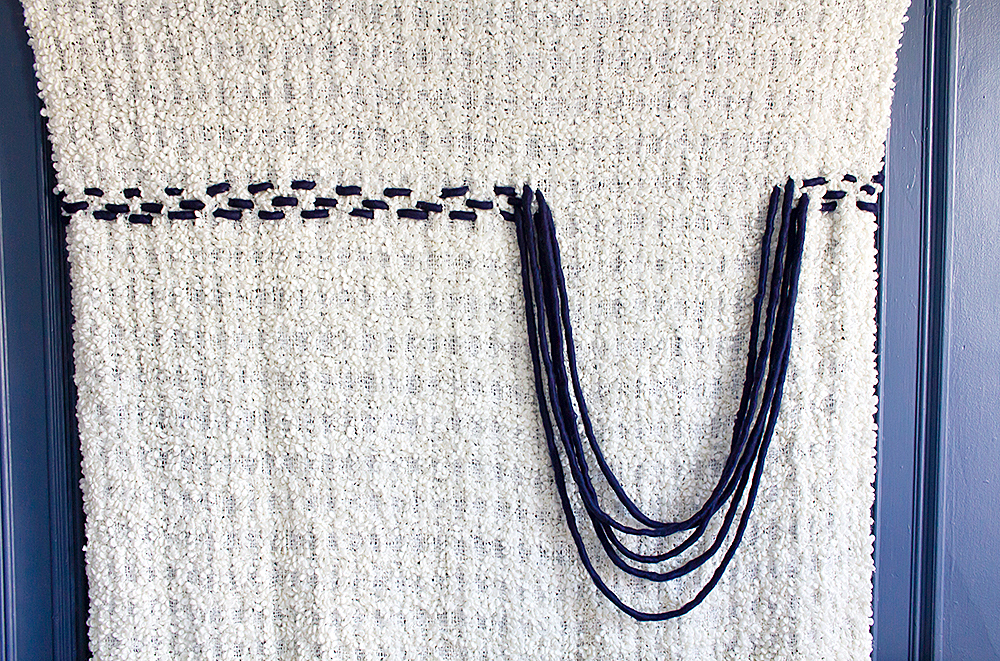
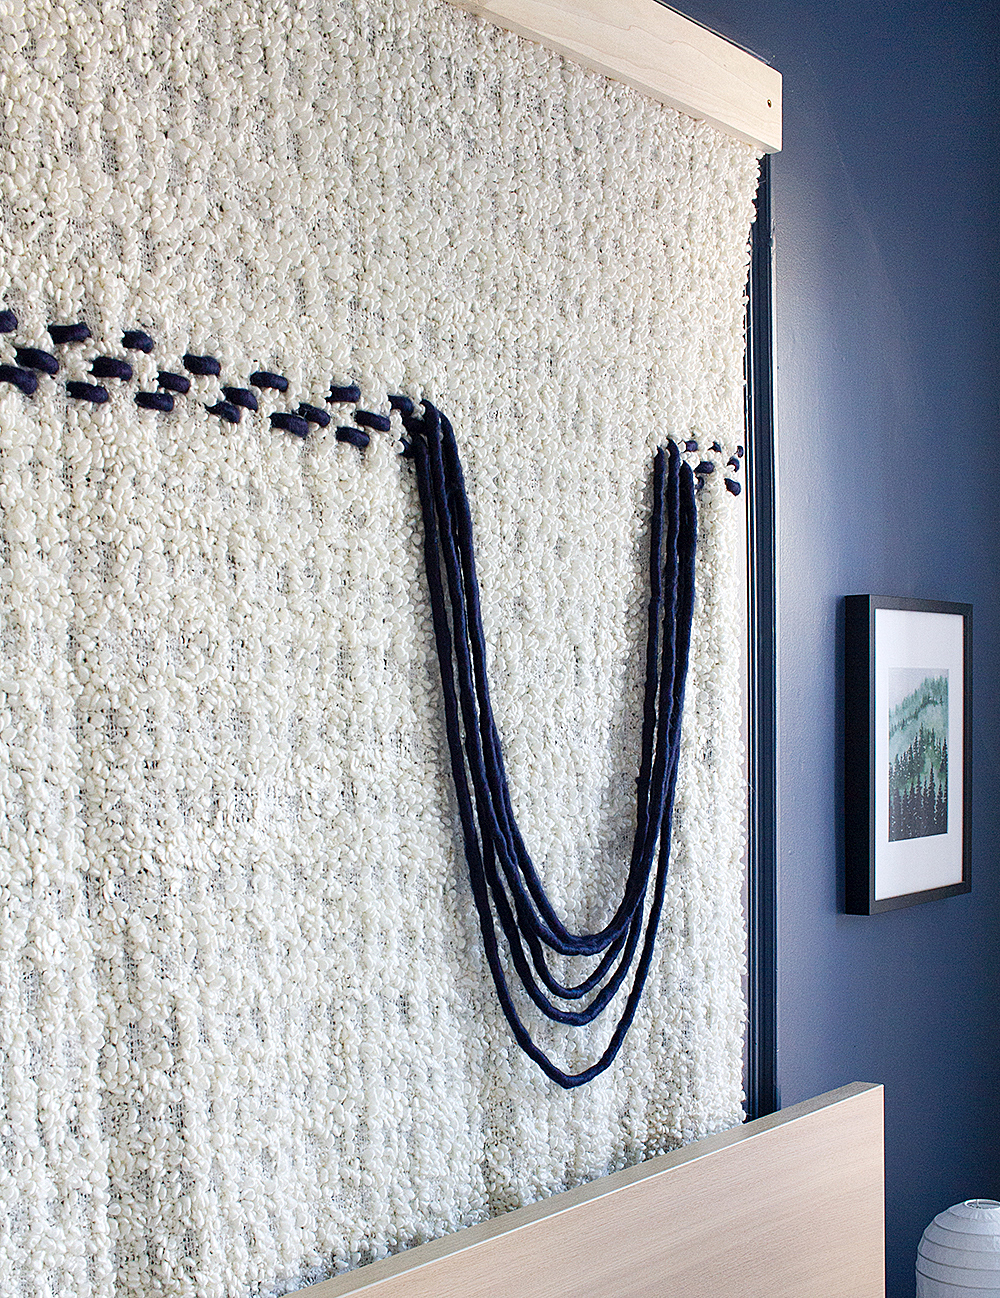
And that’s it! Just like that, you’ve learned how to make your own wall weaving without having to invest in a loom.
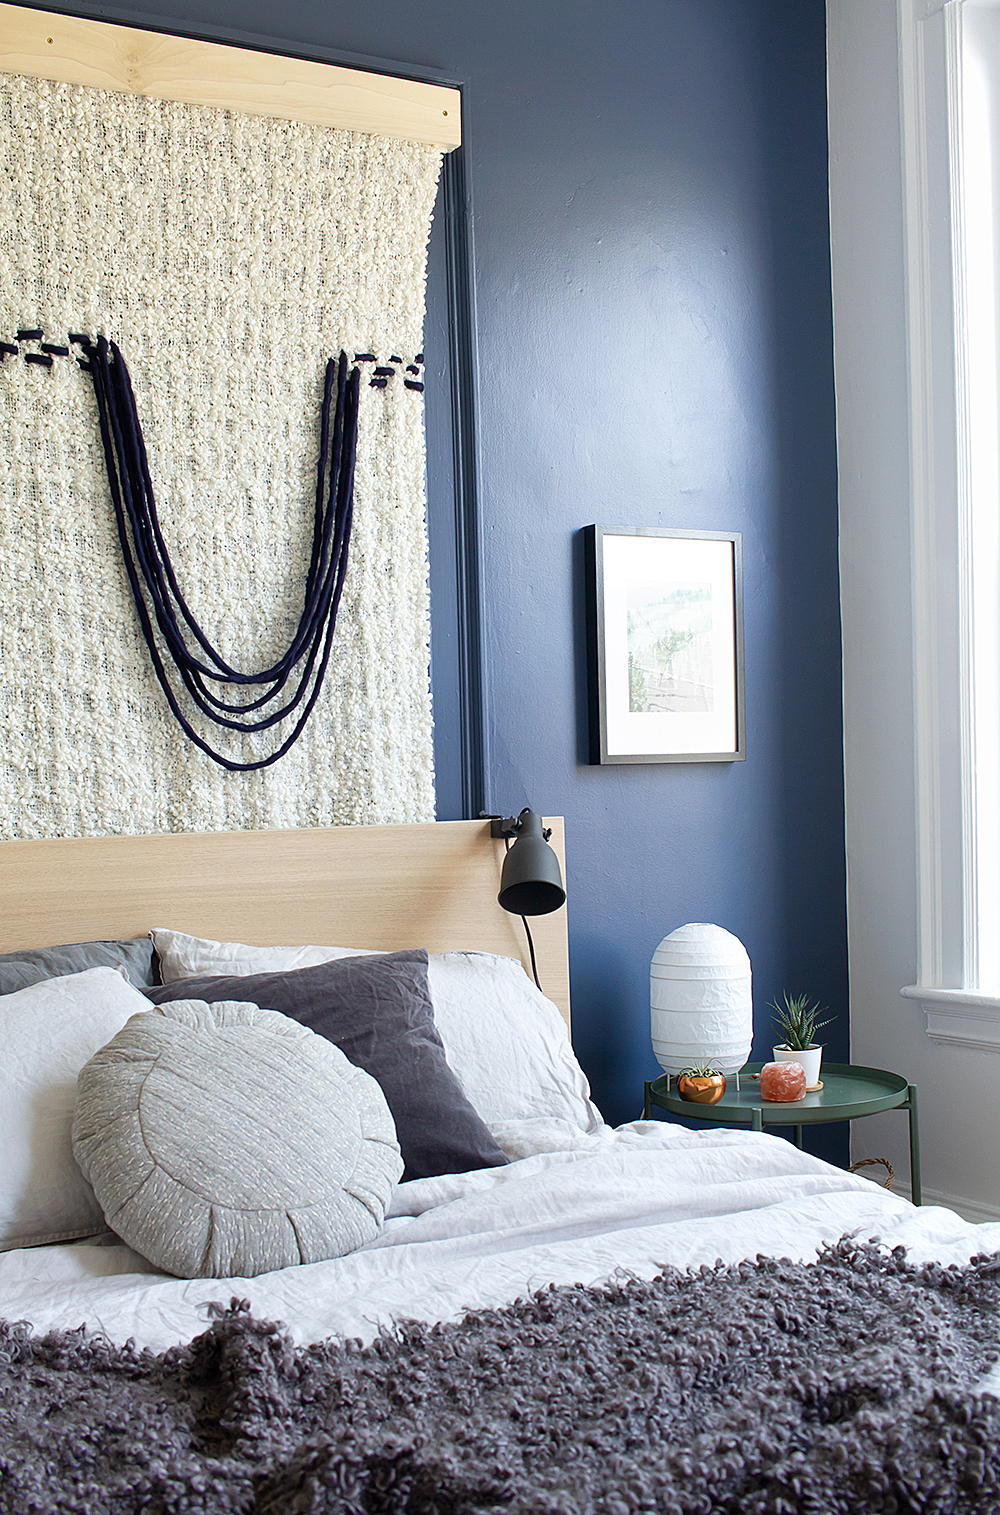
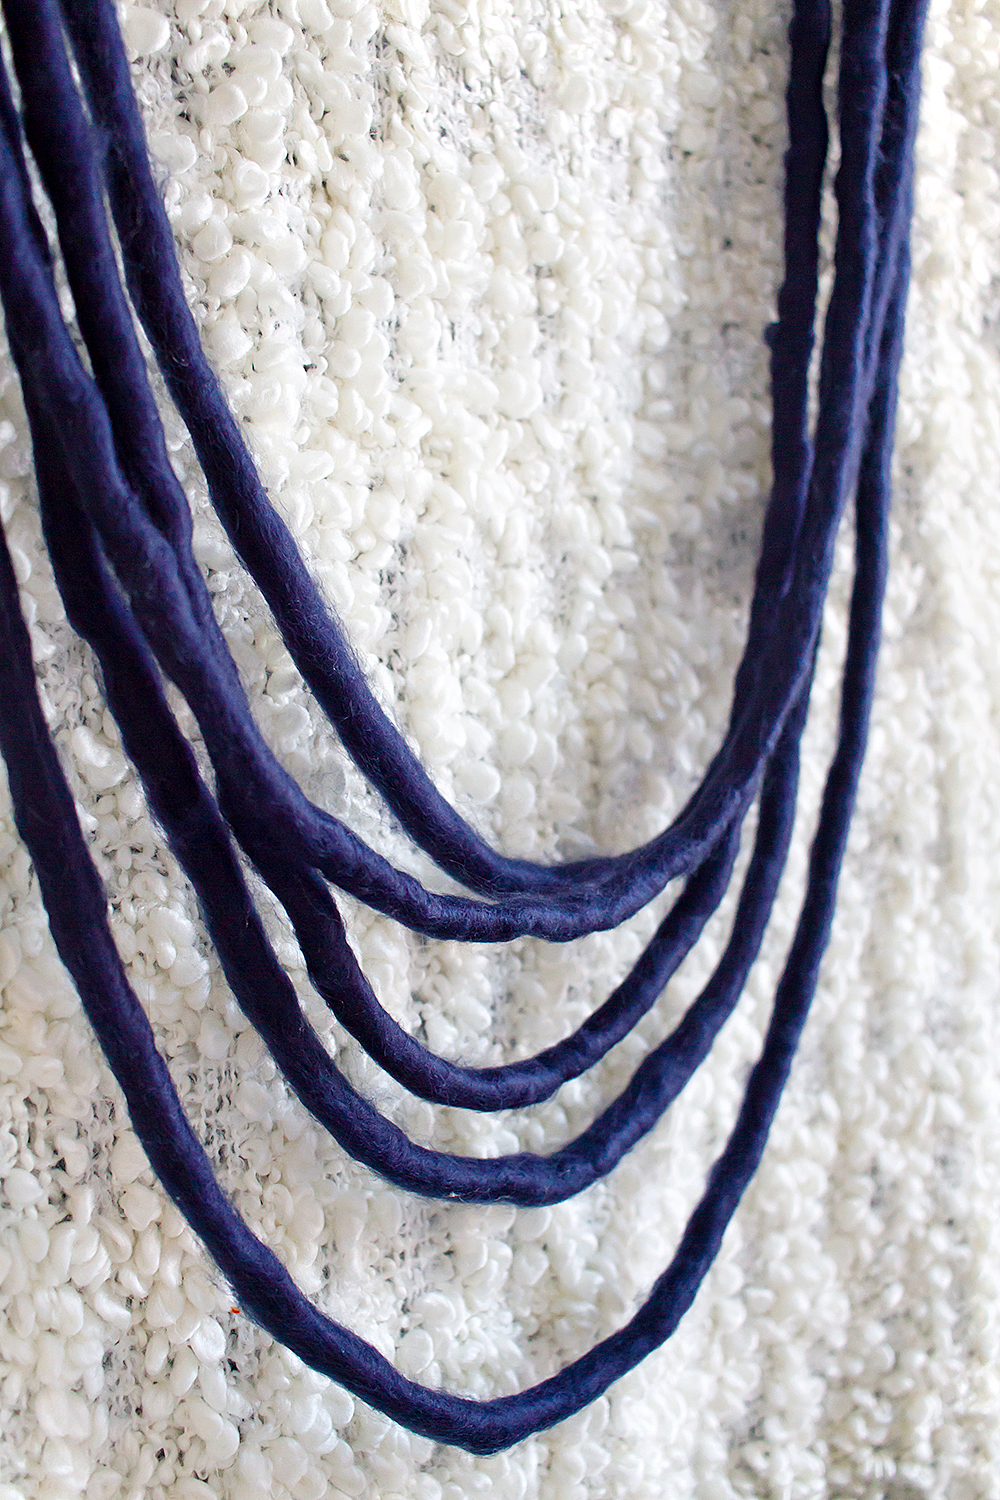
I think this is my second favorite IKEA hack to date (the first was and always will be my copper mirror DIY, because, for course, copper).
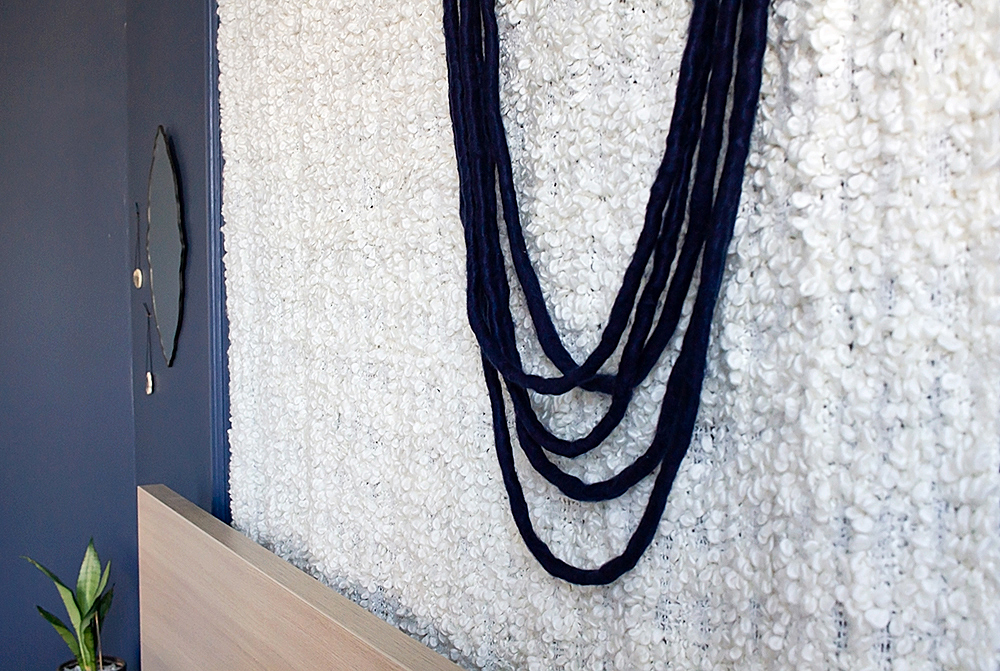

Have you ever made any IKEA hacks, either that you found on Pinterest or created yourself? I’d love to hear about your adventures in making IKEA goodies your own, let me know in the comments below!
THIS POST WAS GENEROUSLY SPONSORED BY IKEA STOUGHTON, BUT ALL OPINIONS ARE REALLY, TRULY MY OWN! THANK YOU FOR SUPPORTING THE BRANDS THAT ALLOW ME TO KEEP CREATING FRESH AND FREE CONTENT FOR YOU!





What a huge visual impact at an approachable skill level — this is seriously so modern and beautiful!!!
Thank you so much, Lindsay! It really is so easy to do! xx
Charmingly modern! I wanna give it a go. Thank you so much for sharing stuff like this.