THIS POST WAS MADE IN COLLABORATION WITH JOANN, BUT ALL IDEAS & OPINIONS ARE ENTIRELY MY OWN!
You know those days when it’s too hot to craft but you have to keep crafting because you have a deadline and you end up dripping sweat all over your project and have to start over?
Yeah, being a DIY blogger is weird. And also, crafting in 98 degree weather without AC is a terrible idea.
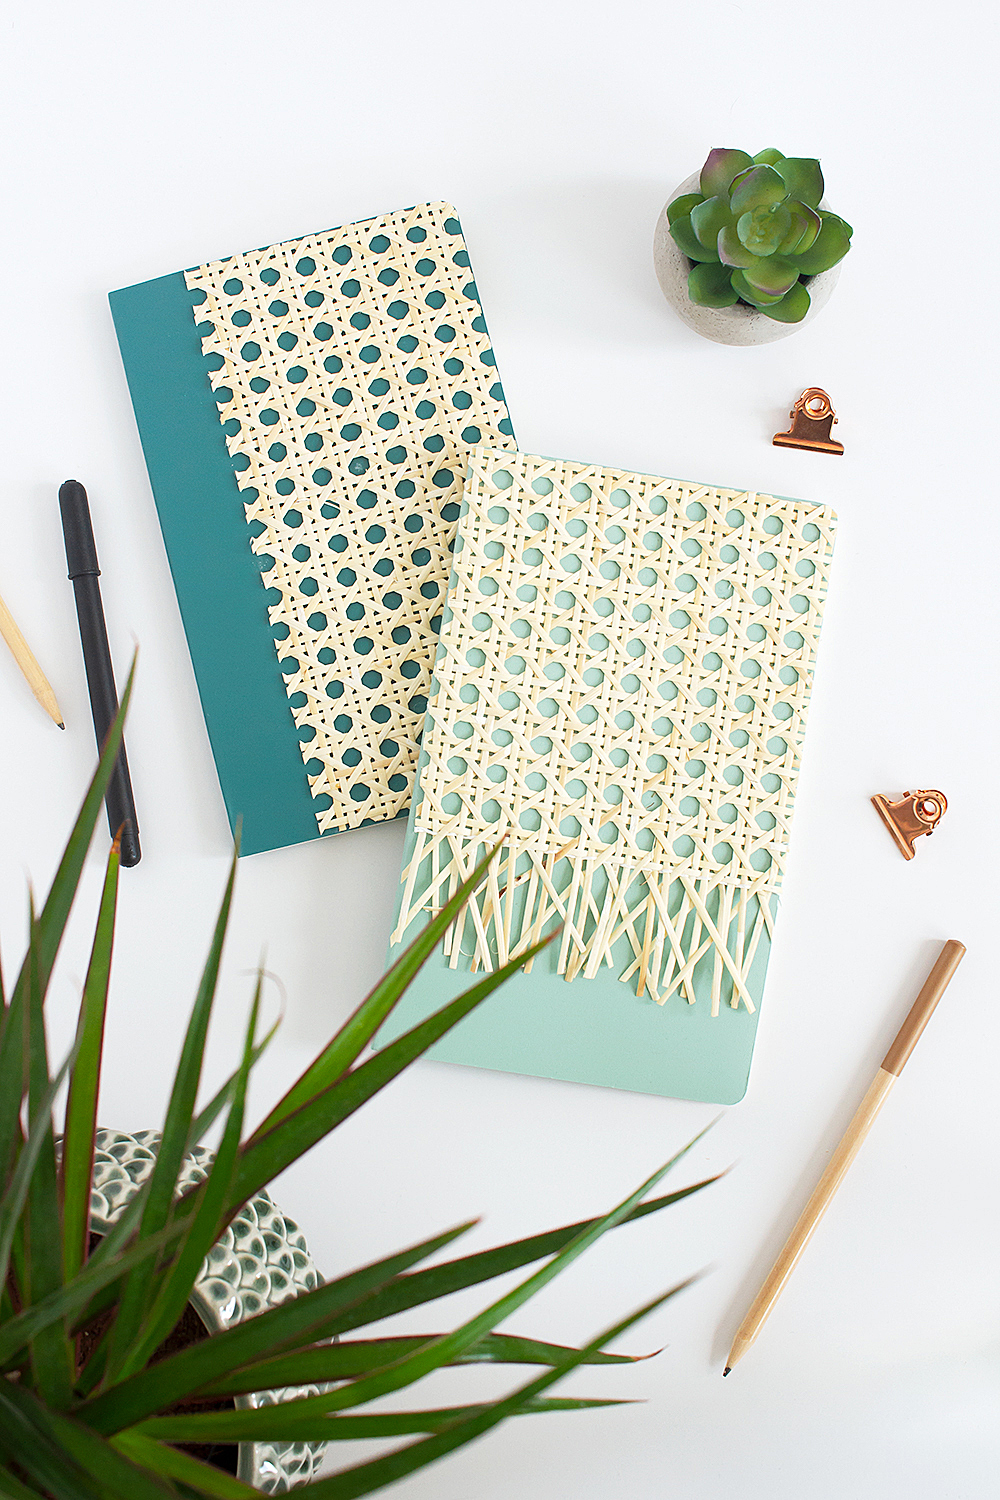
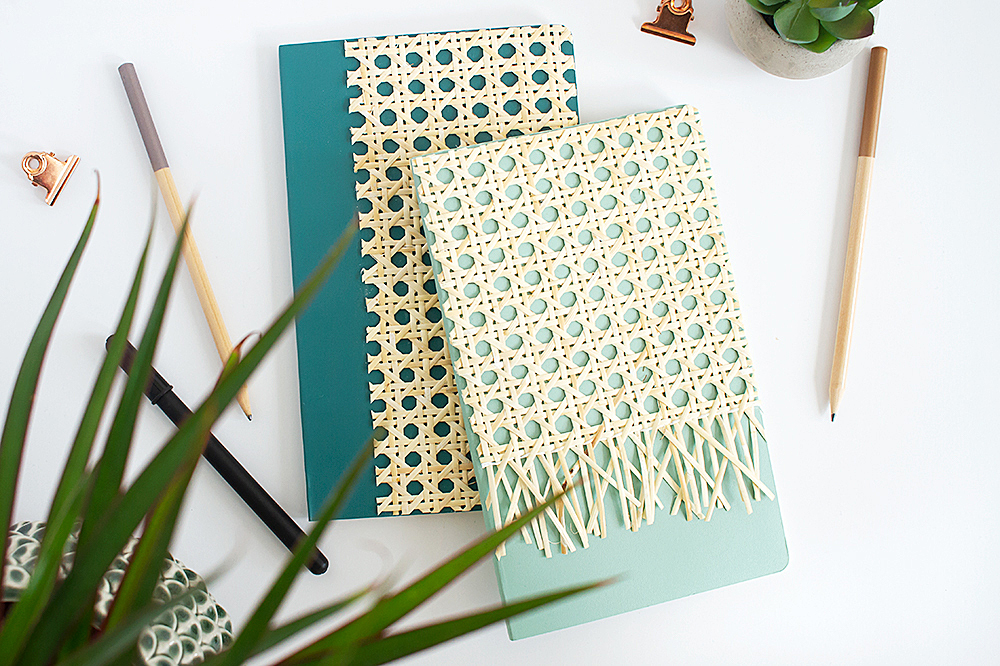
BUT, as usual when I’m having some sort of crafting complications, the end result makes it all worth it. Behold, I give to you: modern, boho, DIY rattan notebooks.
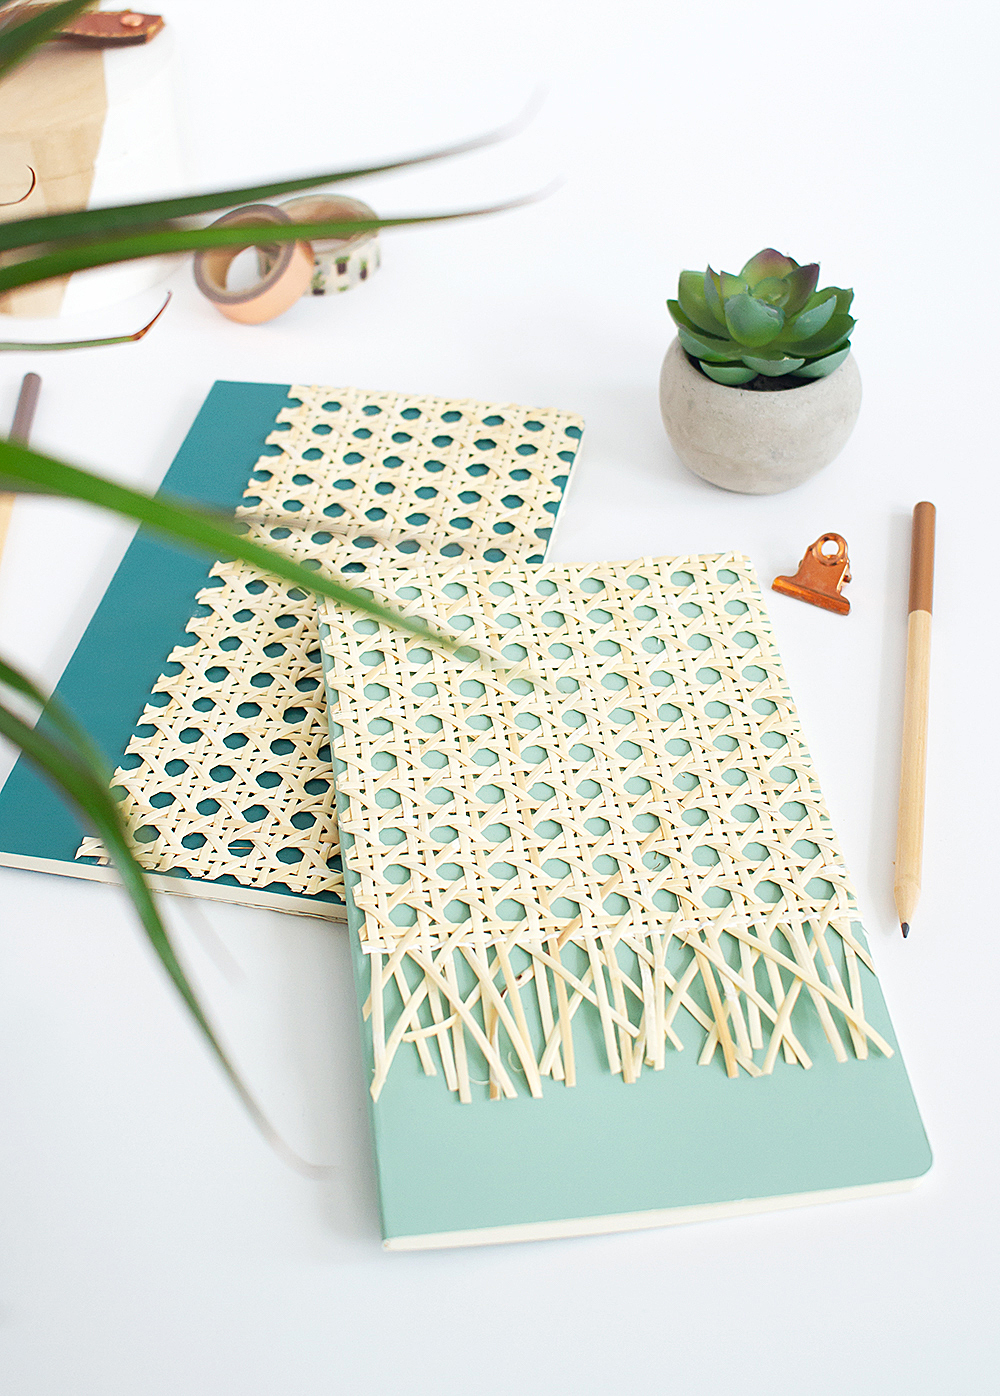
This is my first DIY project playing with how to use cane webbing and I AM HOOKED. I have been itching to use it for a project since I’ve seen it popping up all over Pinterest (see the end of the post for some of my favorite examples).
Cane webbing is a gorgeous material that’s modern and vintage all at once, AND it’s cheap and easy to use. If you’ve been wondering how to use rattan in modern decor — this is it!
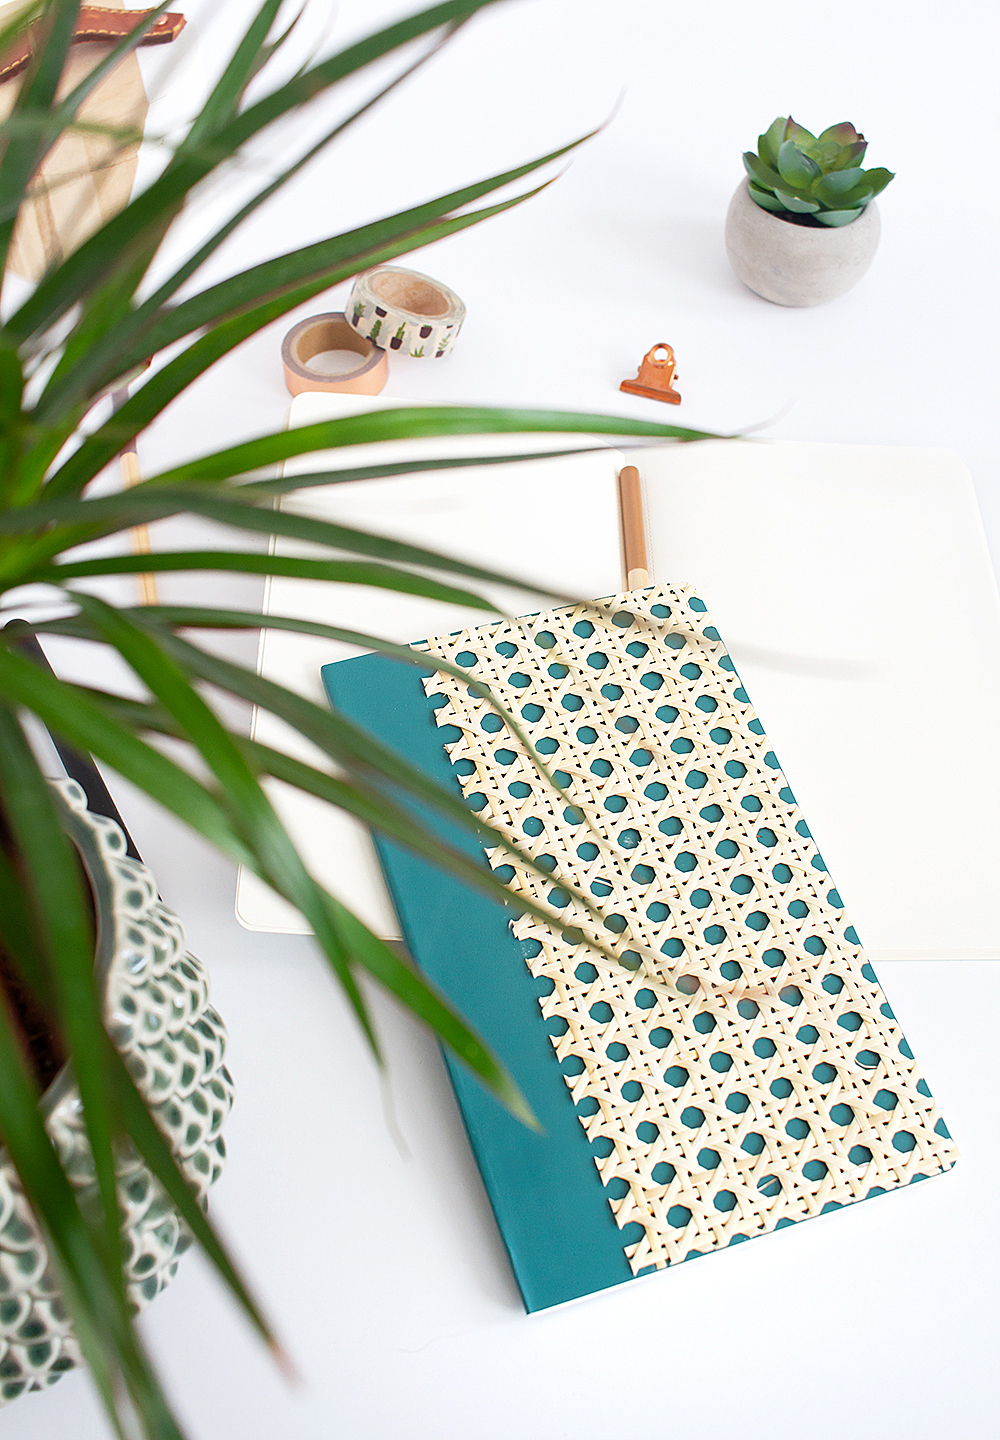
HOW TO USE CANE WEBBING FOR DIY RATTAN NOTEBOOKS
Skill level: Easy as pie, as usual
Time: 15 minutes active time, plus drying time overnight
What you need:
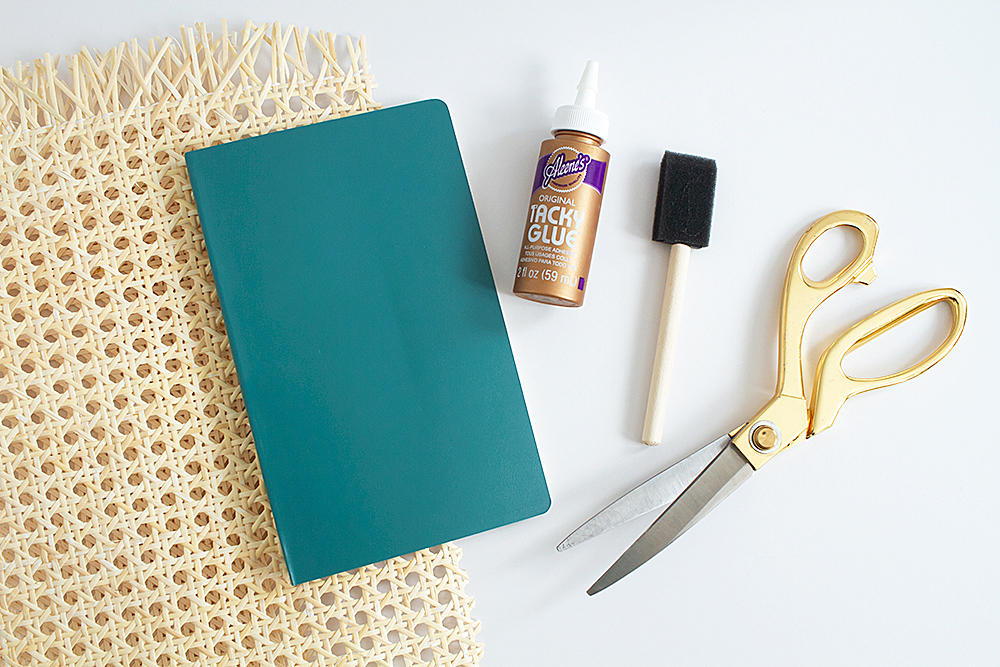
+ plain notebooks with a smooth cover, like these Moleskines
+ 1 or 2 sheets of cane webbing depending on the size of your project — don’t forget those JOANN coupons!!
+ tacky glue (This is the only brand I’ve used and it’s great! Dries hard and clear)
+ sponge brush for application
What you do:
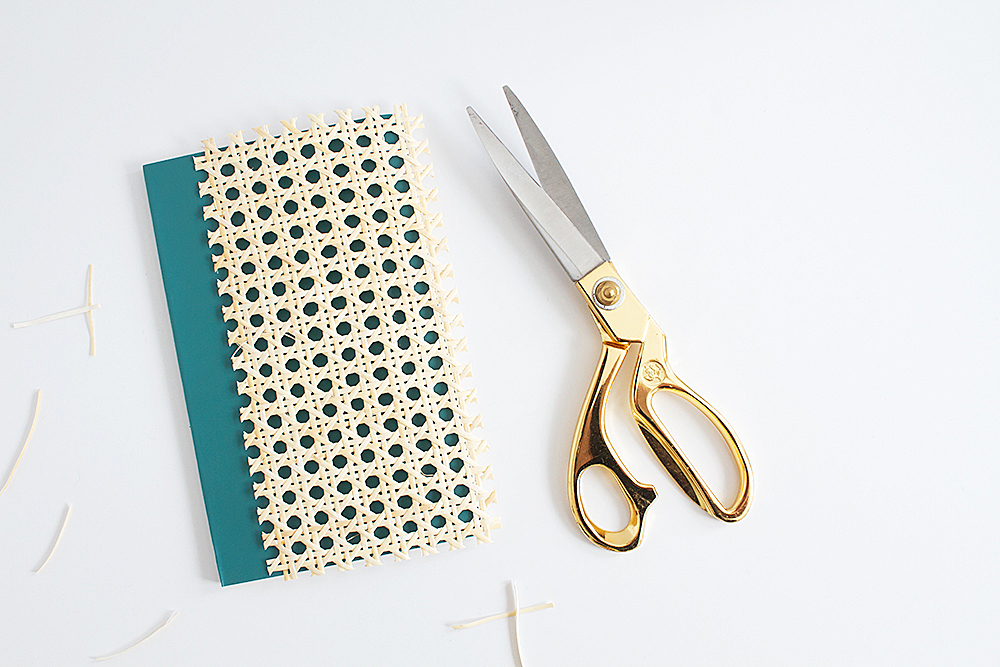
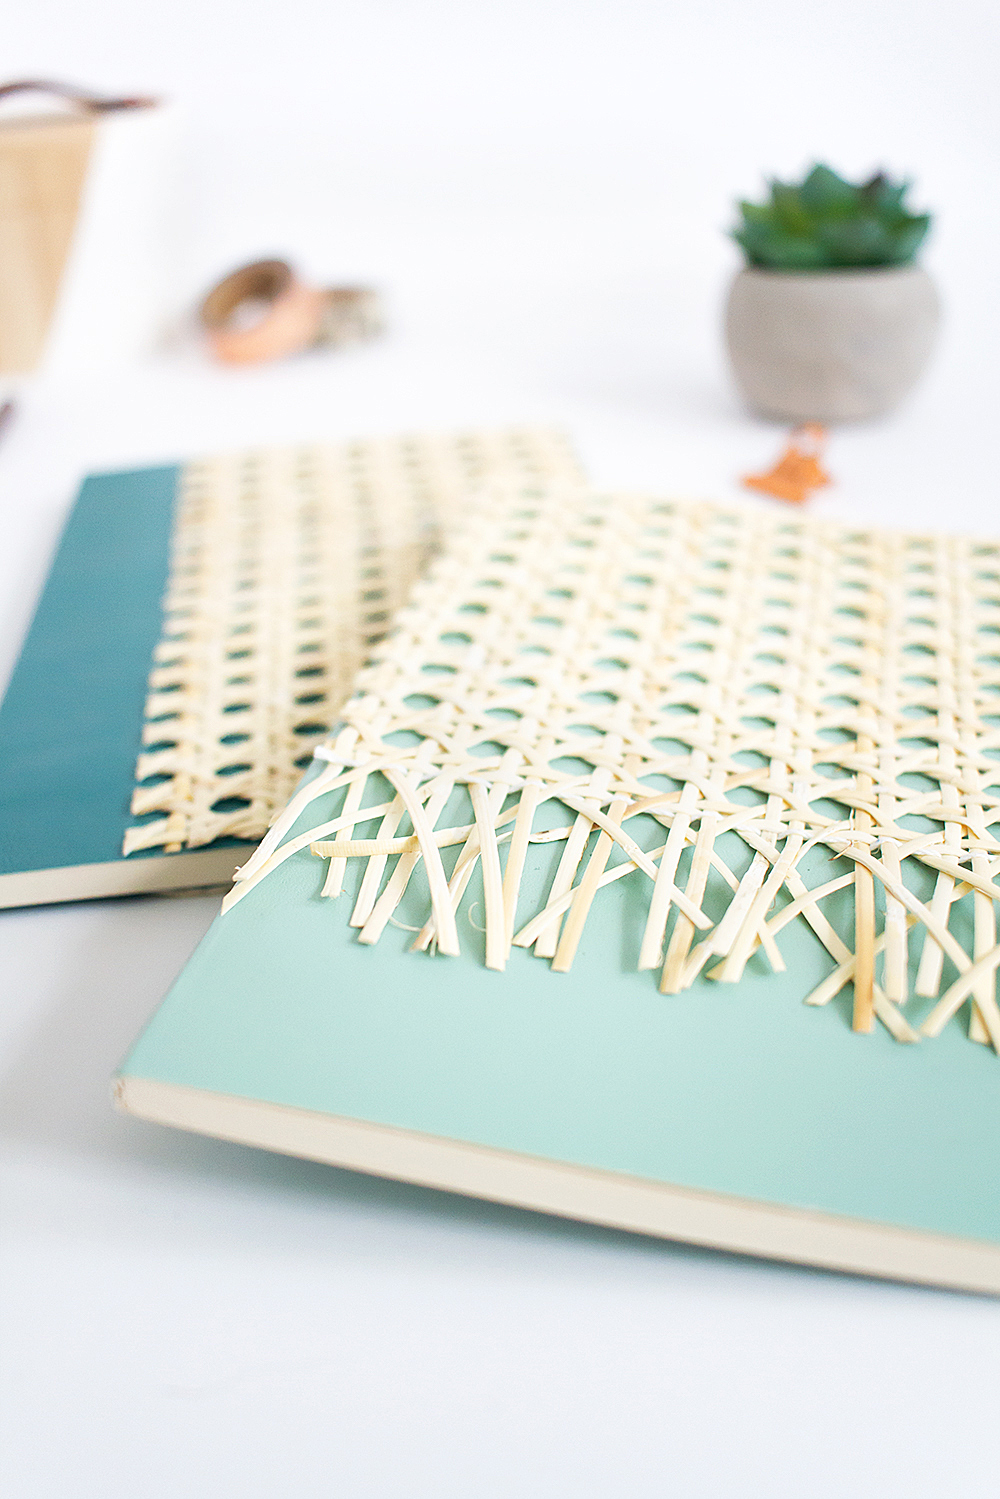
Step 1: Using scissors, cut a piece of cane webbing that’s slightly larger than you need to cover the notebook. (To make the fringed notebook in the pictures above, simply use the edge of the cane webbing to cut your piece).
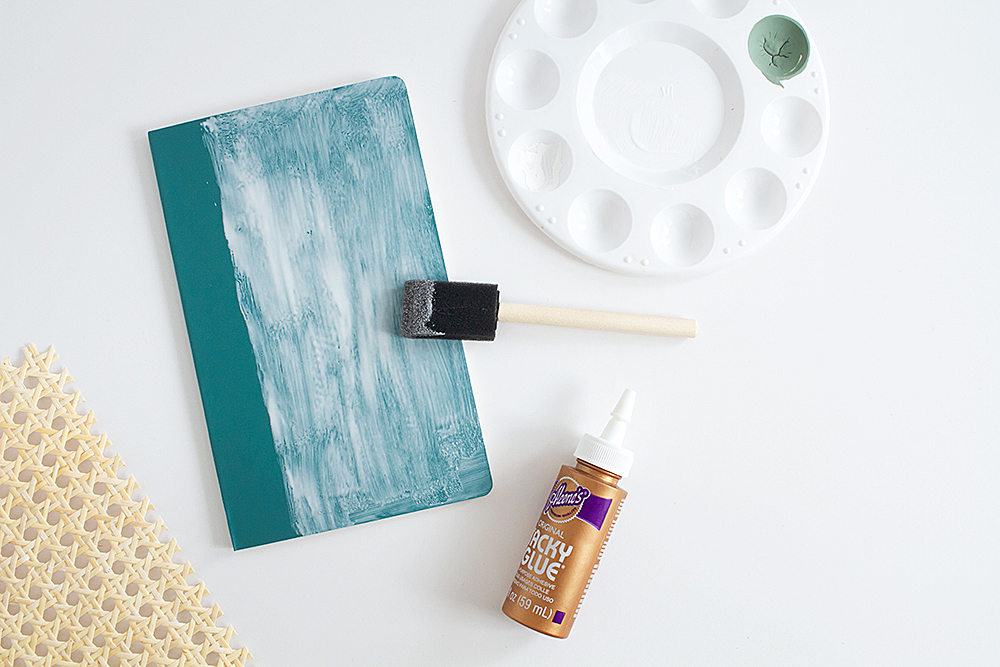
Step 2: Squeeze some tacky glue onto a palette or scrap of cardboard, then use the sponge brush to coat the notebook in glue. You want to apply what I would call a “medium” coat of glue; not so thin that you can barely see it, but also not so thick that it’s just piled on there. Note that if it’s 98 degrees and you don’t have AC, the glue will dry REALLY FAST (fun).
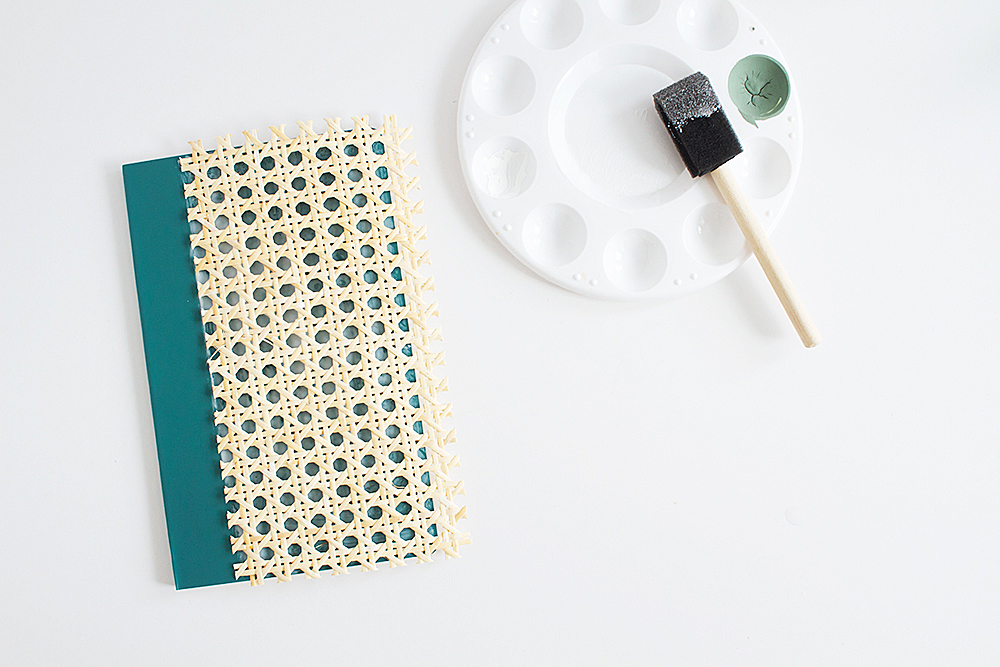
Step 3: Place the piece of cane webbing on top of the glue and press it down evenly, making sure that all the edges have contact with the glue. Weigh down the notebook with something heavy that covers the whole surface (I used my laptop!) And now we wait — always the hardest part of any DIY project, don’t you think?
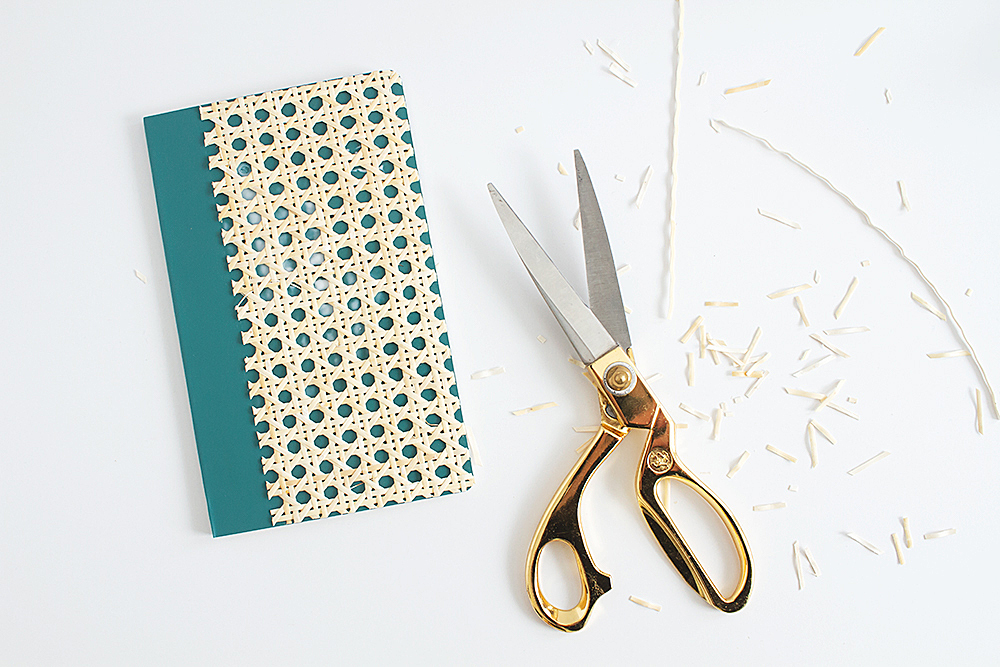
Step 4: The glue should be mostly dry in about 30 minutes, but I gave my notebook an hour before handling to be safe. Use the scissors to trim off the overhanging edges of rattan. And just to make sure the glue has totally cured, allow the notebook to sit overnight before using it! (You can see mine definitely needed longer before it was fully dry and clear!)
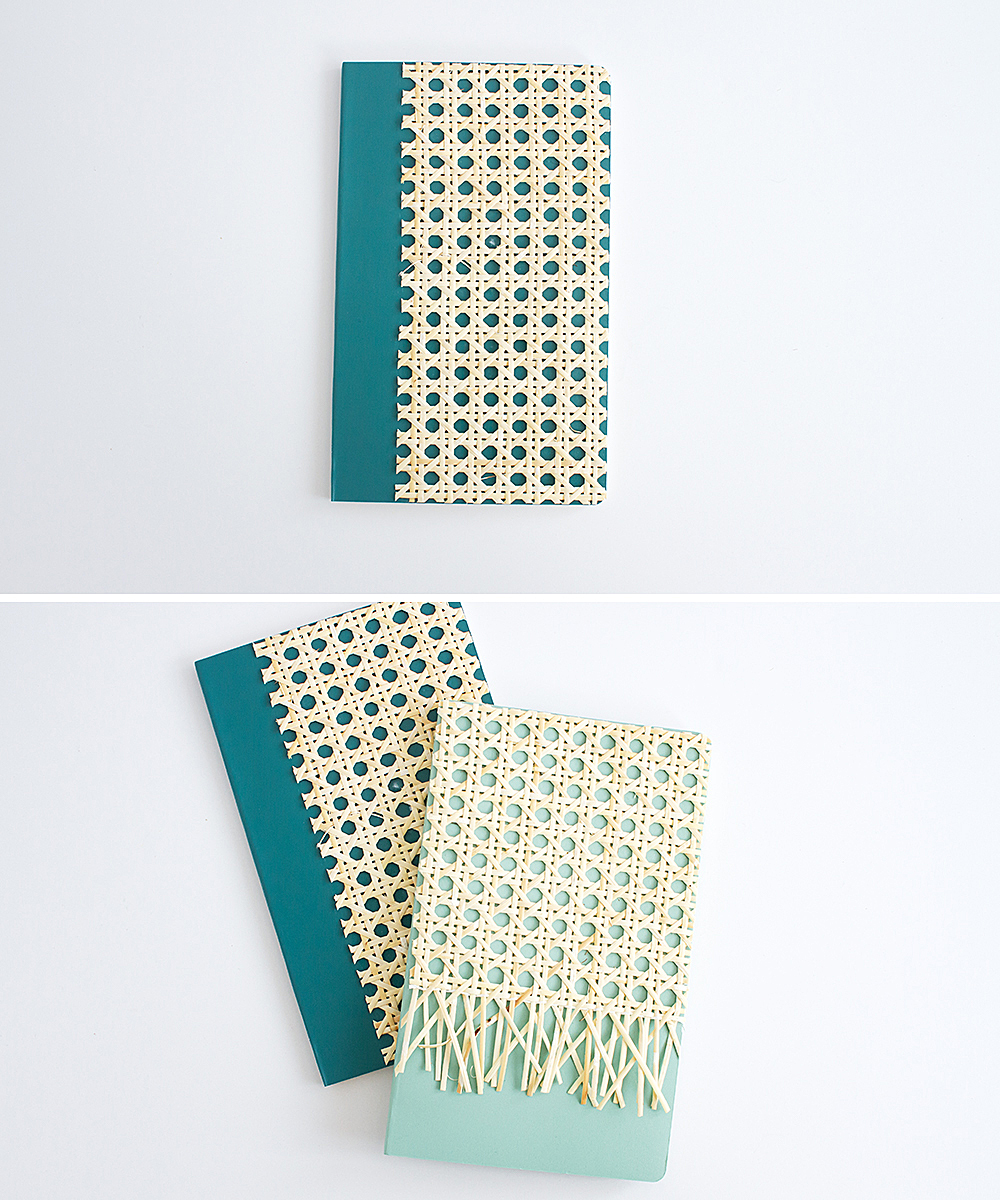
And that’s it! Enjoy your super stylish and totally unique DIY rattan notebooks.
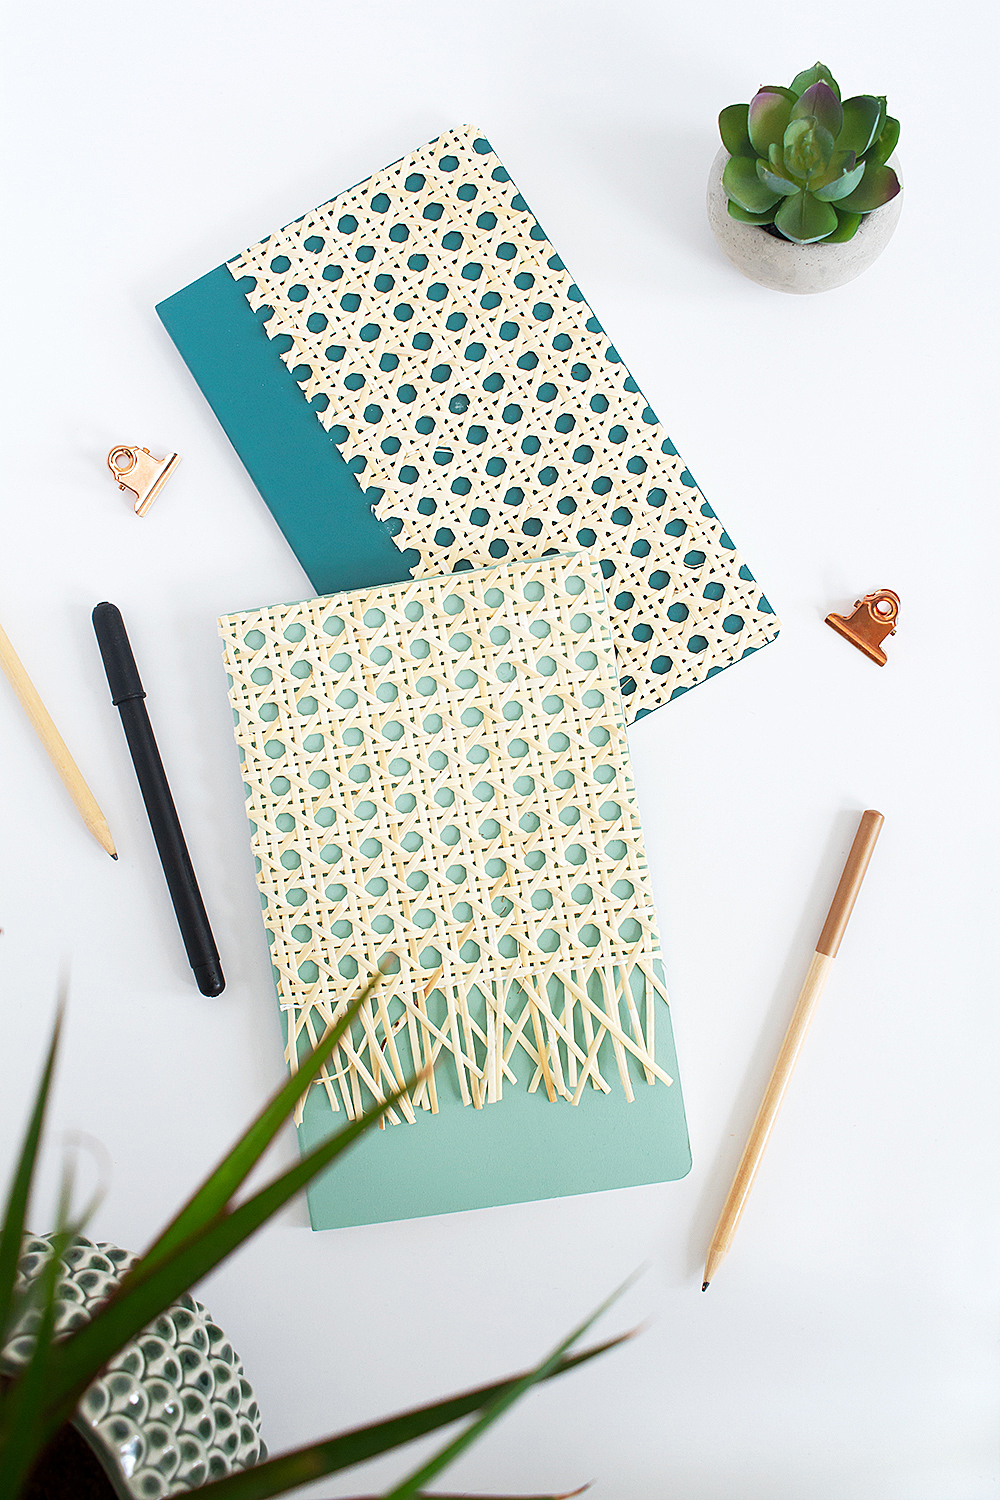
I’m just dying over this modern rattan trend, I can’t get enough. And now that I know how easy it is to use cane webbing, I want to cane all the things.
Take a look at these other DIY rattan projects with chair caning:
And if you’re looking for more ideas to make with JOANN supplies, check out my DIY terrazzo tile wall hanging right here.
Do you want to see more modern craft ideas using cane webbing? I’ve got a few I’d love to share if you’re enjoying the material too. Let me know in the comments below!

THIS POST WAS CREATED IN PARTNERSHIP WITH JOANN, BUT ALL OPINIONS ARE REALLY, TRULY MY OWN! THANK YOU FOR SUPPORTING THE BRANDS THAT ALLOW ME TO KEEP CREATING FRESH AND FREE CONTENT FOR YOU!



Absolutely loved this idea!!
Thank you so much, I am so happy to hear that! xx
Super cute! I hear you on crafting without A/C. We just moved to Hawaii where we lived on the third floor without air conditioning and it would get so hot in late summer!
Ouch, 3rd floor, that is rough!! And I bet it was hot aaaallllll the time. But crafts must go on, right?? Thanks so much for your sweet compliment! xx