THIS POST IS SPONSORED BY IKEA STOUGHTON, BUT ALL IDEAS & OPINIONS ARE ENTIRELY MY OWN.
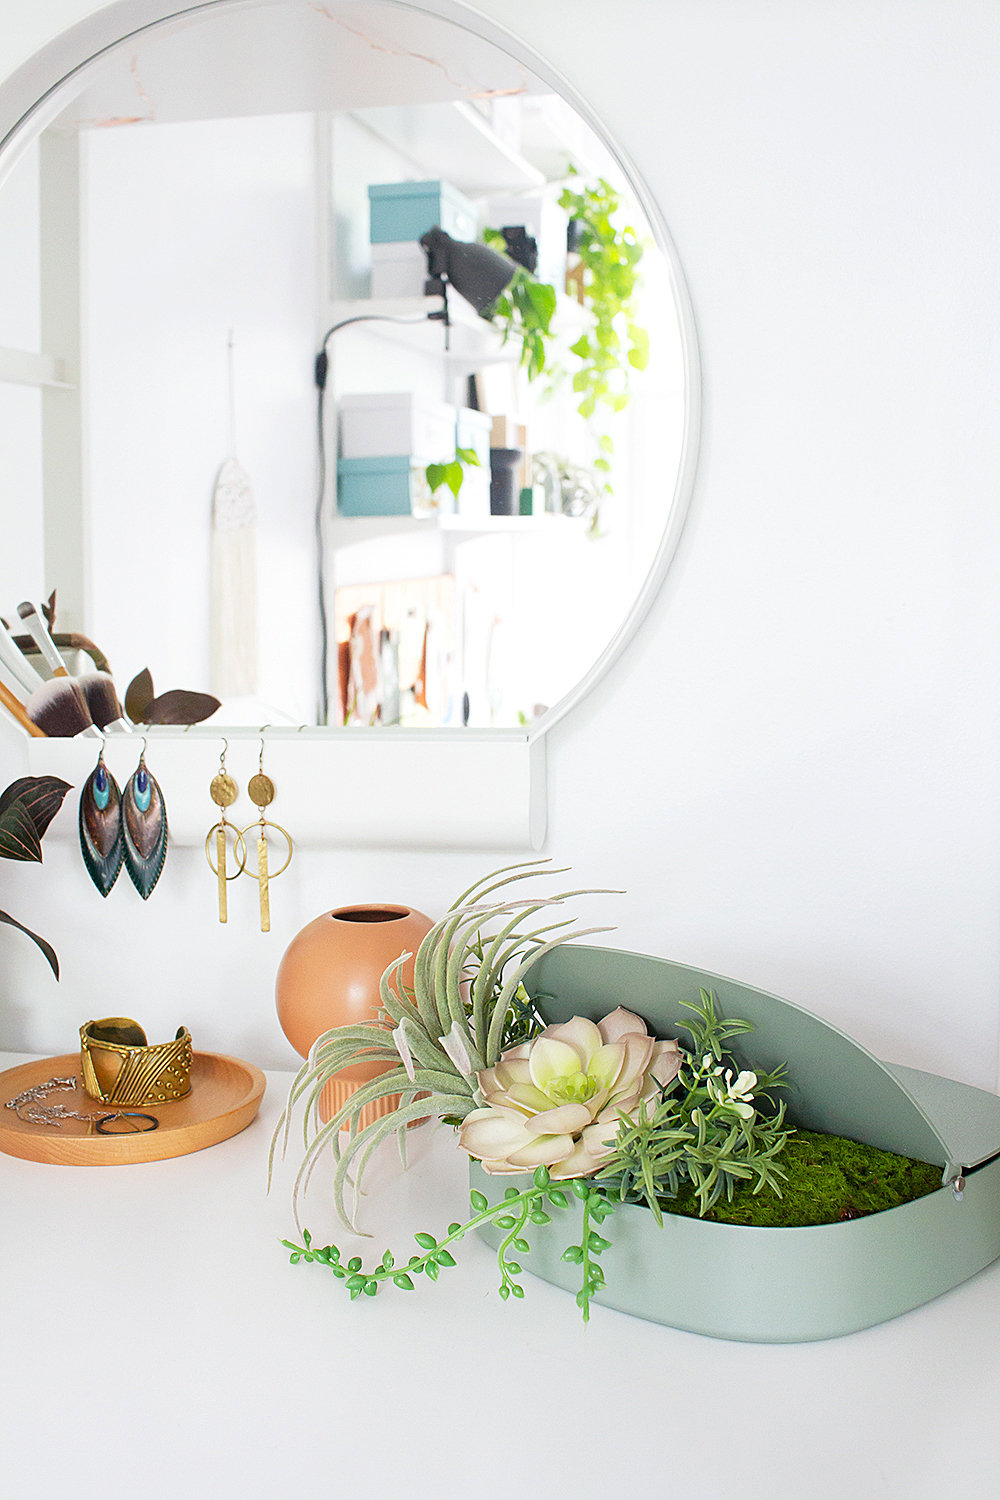
This past winter, I saw the YPPERLIG box at one of my many trips to my local IKEA Stoughton, and it occurred to me that it would make the perfect planter.
It’s cute. It’s petite. It’s a gorgeous shade of sage green.
And of course, you can never—EVER—have too many planters.
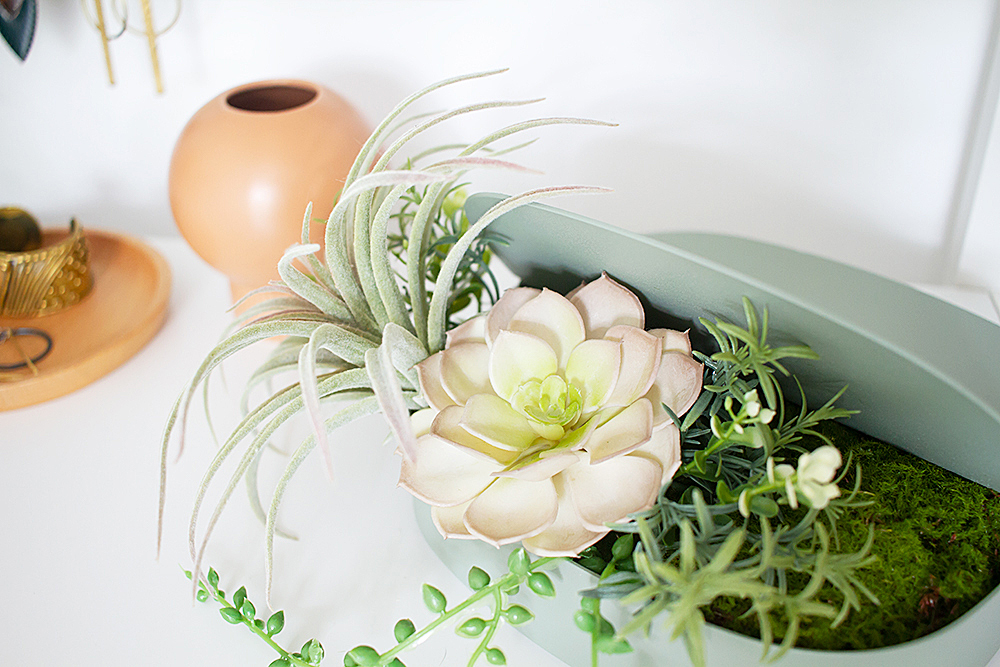
When I then discovered that IKEA now has faux air plants…well, obviously I couldn’t resist turning this adorable box into a DIY faux succulent planter. Check out the tutorial below to see how to make your own!
*THIS POST CONTAINS AFFILIATE LINKS. THIS MEANS IF YOU PURCHASE, I WILL EARN A SMALL COMMISSION AT NO EXTRA CHARGE TO YOU, WHICH IS PRETTY SWEET BECAUSE IT HELPS ME PAY BLOGGING BILLS, SO THANK YOU! I WILL ONLY LINK TO PRODUCTS I HAVE USED OR WOULD USE MYSELF, PINKY PROMISE.
DIY FAUX SUCCULENT PLANTER
Skill level: Absurdly easy
Time: Around 45 minutes
WHAT YOU NEED:
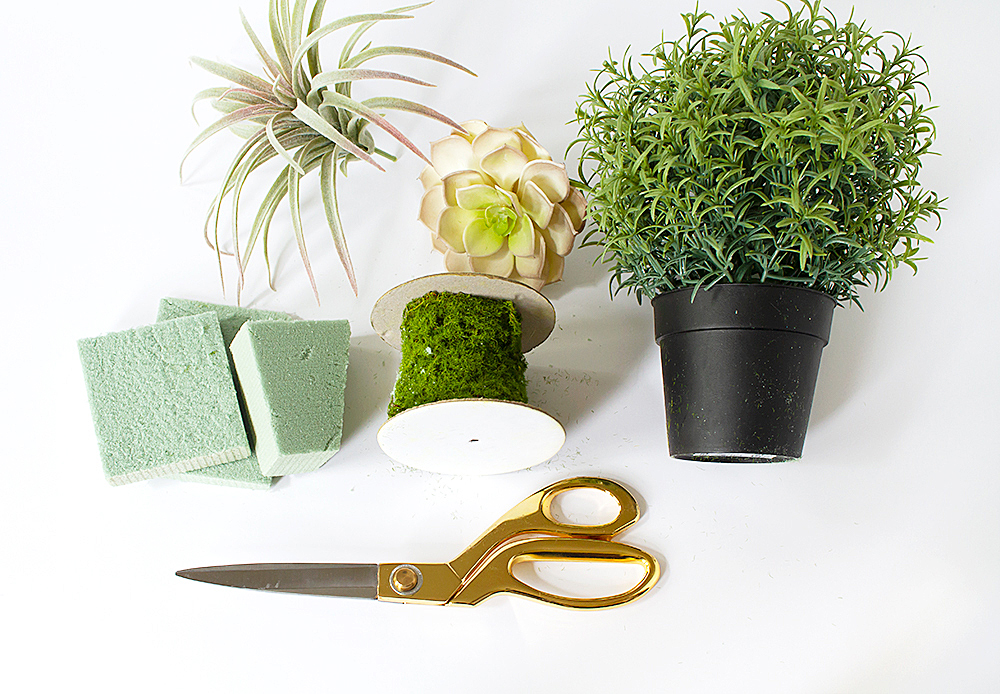
+ IKEA FEJKA artificial plants (I used two different varieties)
+ IKEA SMYCKA artificial air plant
+ additional faux succulents* or plants if you like
+ floral foam*
+ a kitchen knife! (I know, weird, but I’ll explain!)
WHAT YOU DO:
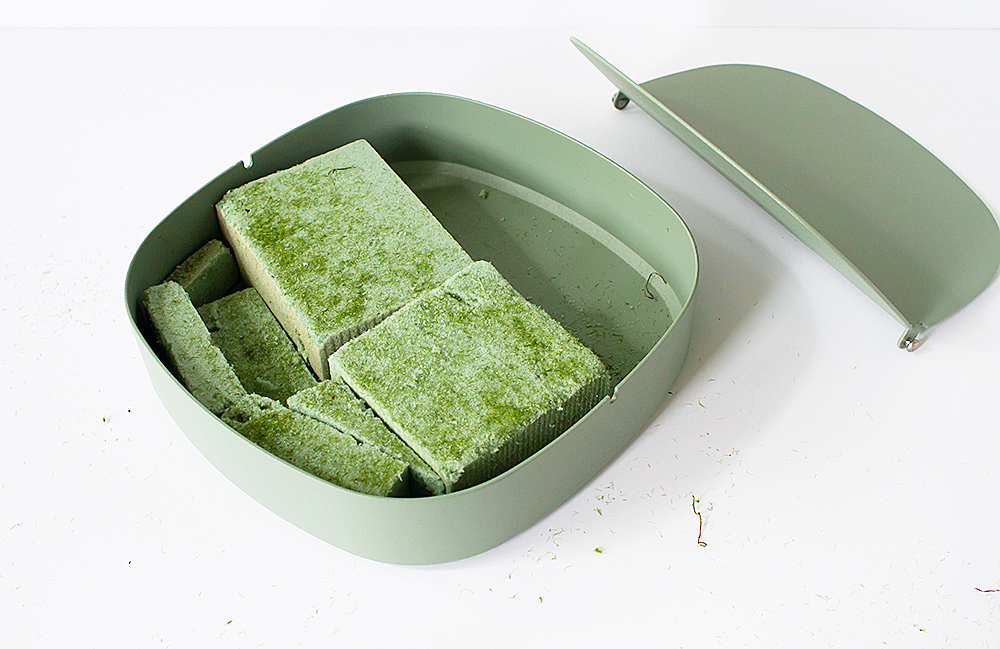
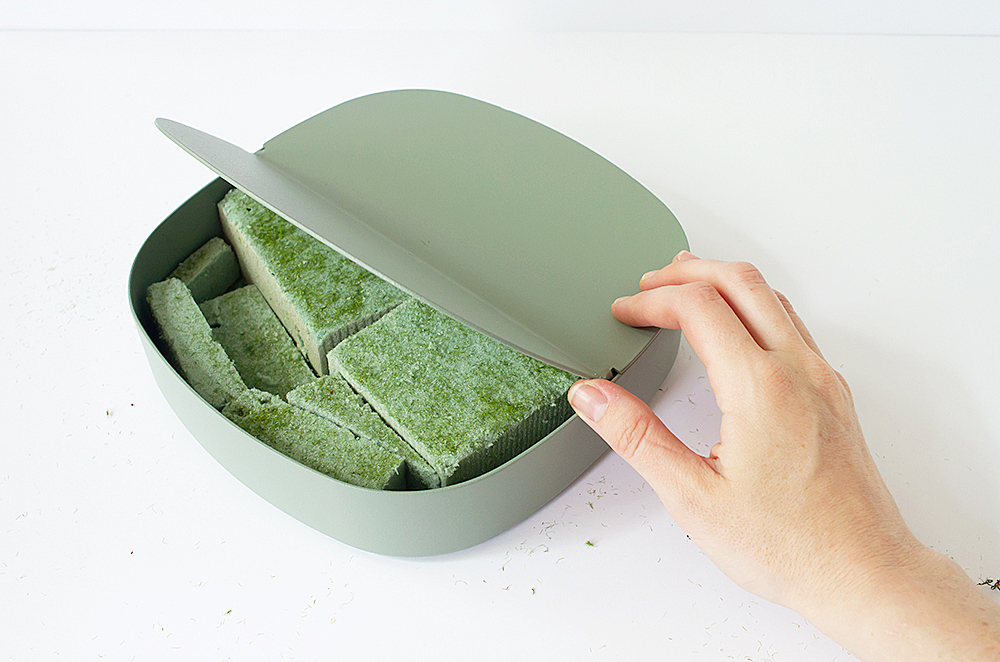
Step 1 — Use a sharp kitchen knife to cut the craft foam so that it fits in the box. I somehow didn’t get a picture of cutting the foam, I’m so sorry! It’s easy though, just slice it like you would any vegetable.
Arrange the pieces so that they fill in the “exposed” part of the box, and make sure they fit with the lid on.
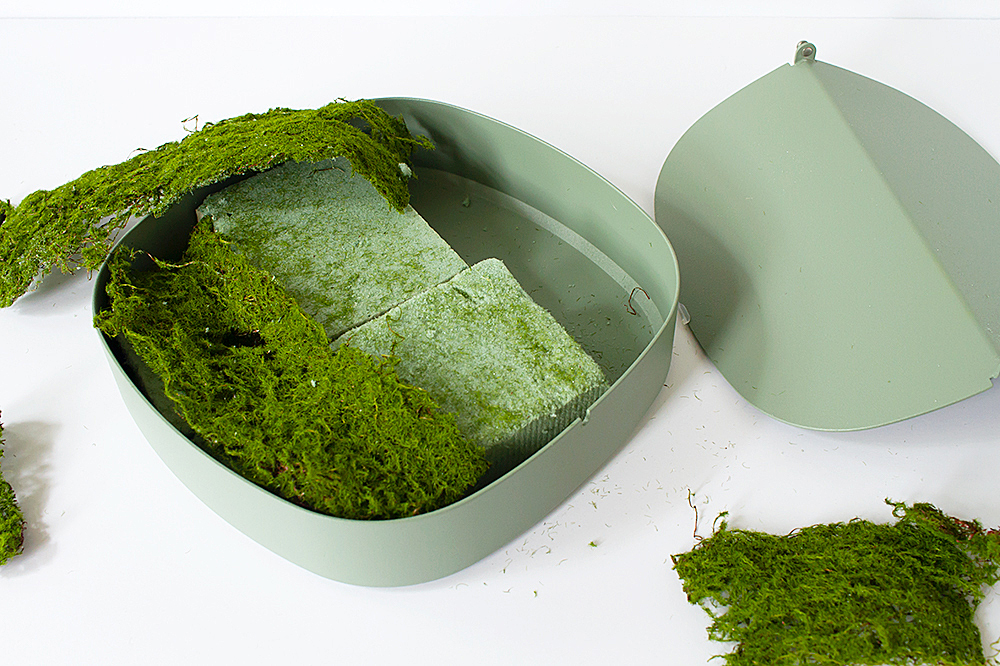
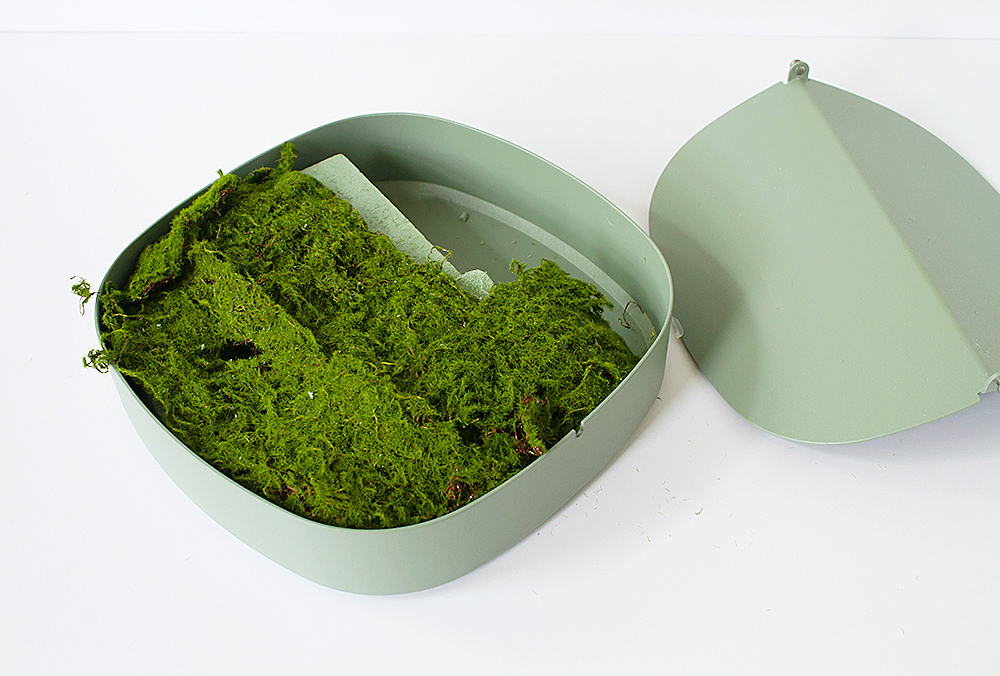
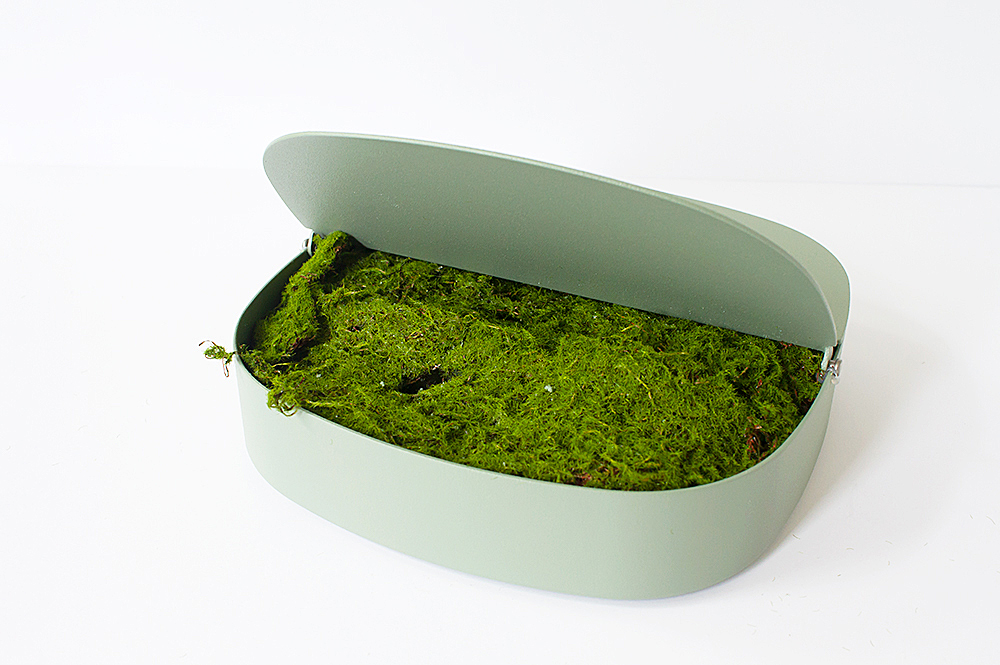
Step 2 — Cut and arrange pieces of the moss so that it completely covers any visible floral foam. I wedged the moss in there pretty tightly so that it stayed in place, but you could add dabs of hot glue to secure the moss if you need to.
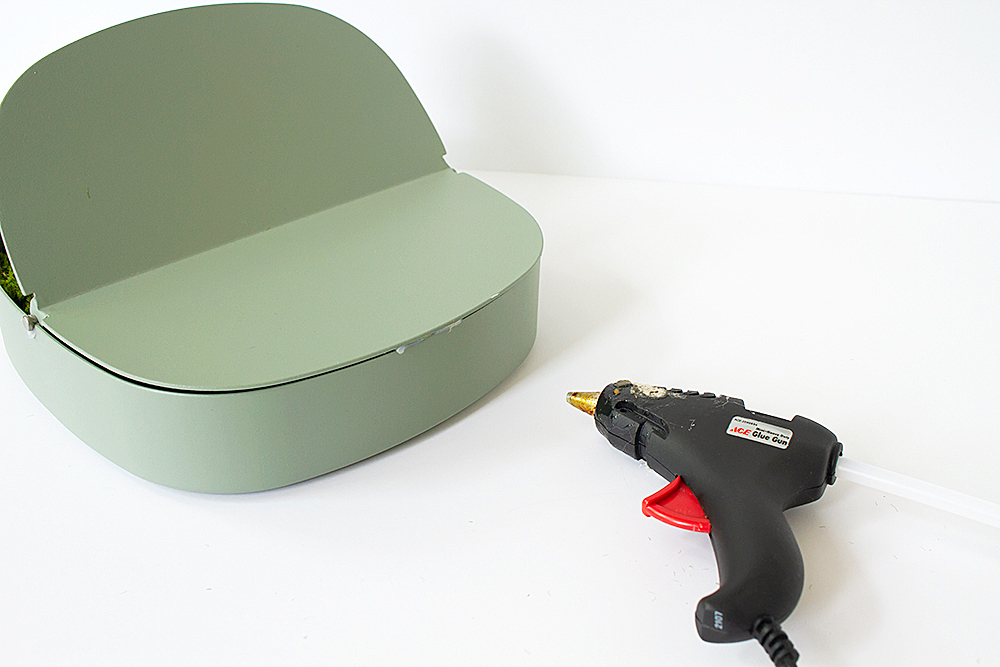
Step 3 — Since the YPPERLIG lid isn’t attached to the box, I added a little stripe of hot glue at the back edge to secure it to the box. Hot glue is perfect for this type of project because you can peel or pick it off without damaging the box, should you ever decide to use the YPPERLIG for something else!
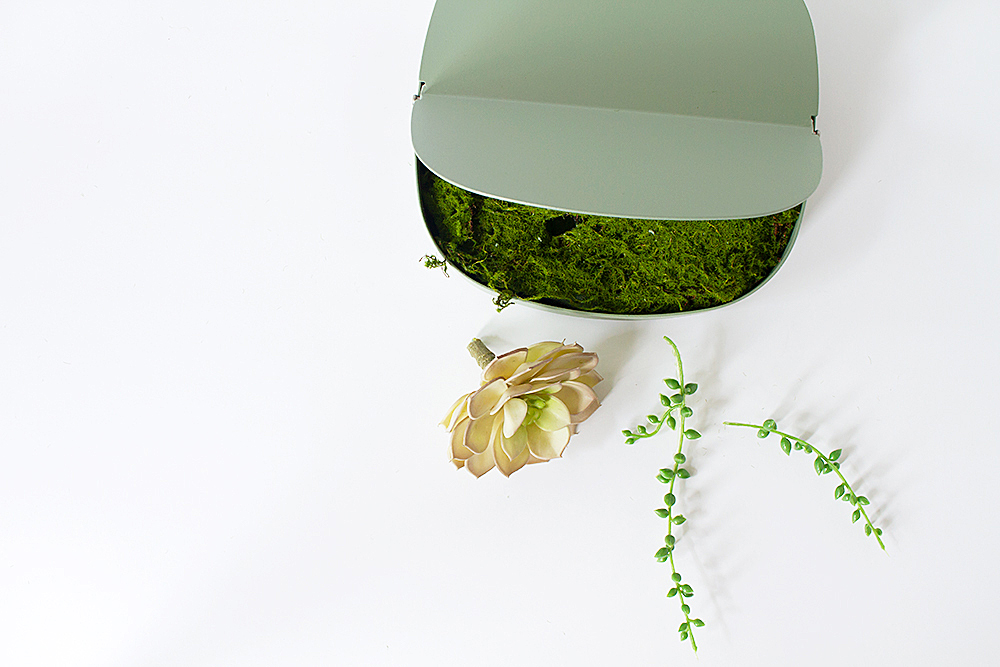
Step 4 — Now for the fun part: arranging the plants! Start by cutting any long stems shorter (not too short! they need to poke through the moss into the foam). Snip off pieces of the branchy FEJKA plants to use as filler.
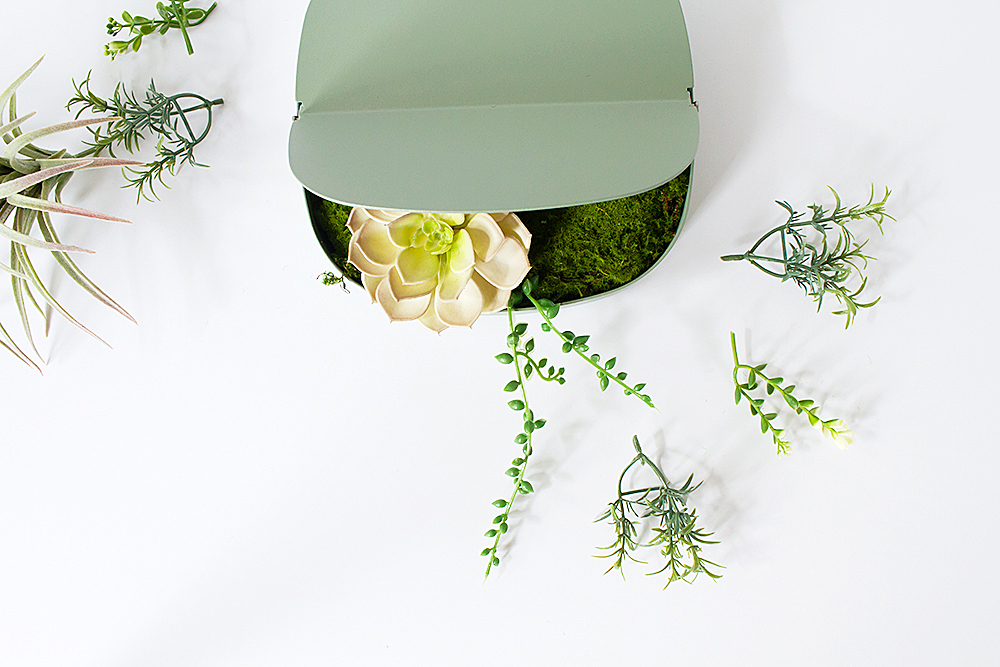
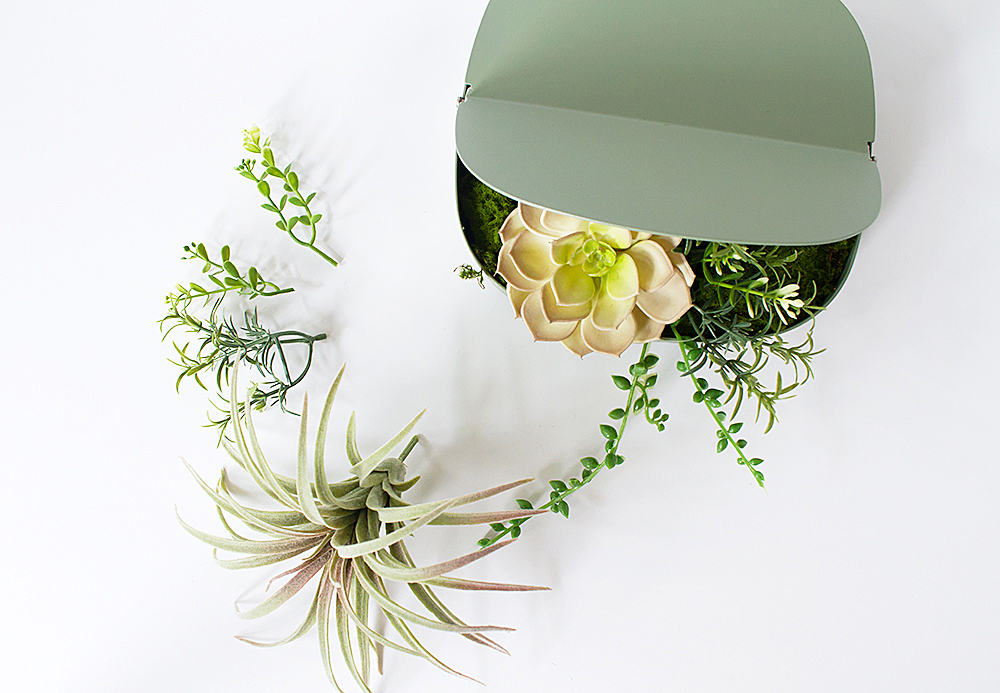
Step 5 — Add your focal-point plant first. I kind of have two (air plant and echeveria), which isn’t necessarily the best design since odd numbers of things are more pleasing to the eye, but I loved both of those plants and couldn’t choose!
Anyways, push the stem of the main plant through the moss down into the foam. You may need to use your fingers to widen a gap in the moss, if the plant has a thick stem.
Then, arrange branchy filler pieces around the main plant. Play with how the plants look together and where you want them. This is where you can let your creativity run wild!
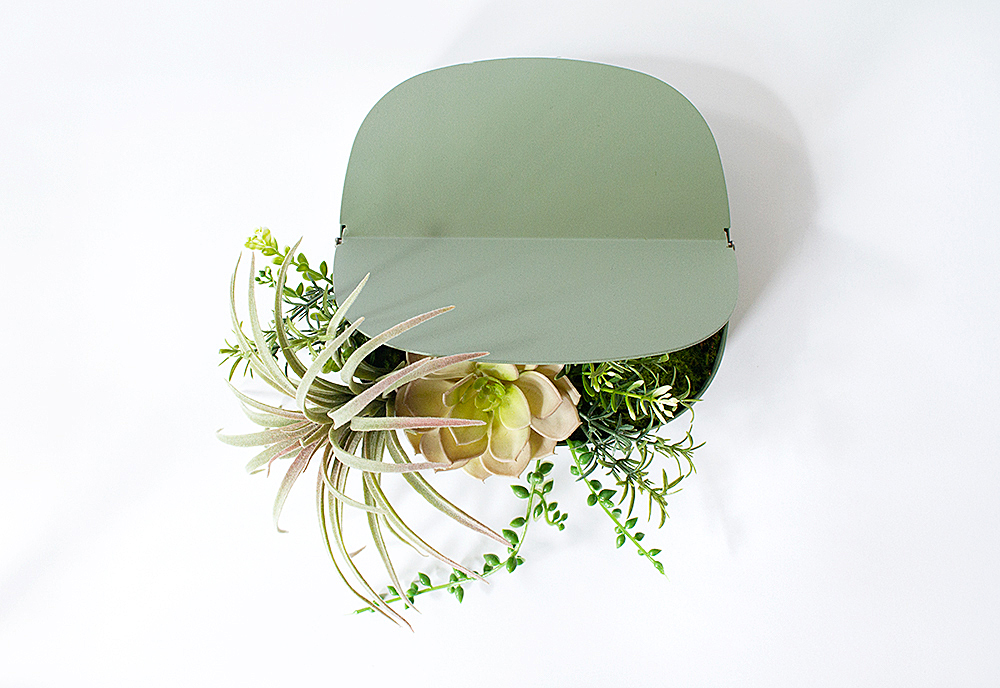
And that’s it! Enjoy your fancy DIY faux succulent planter!
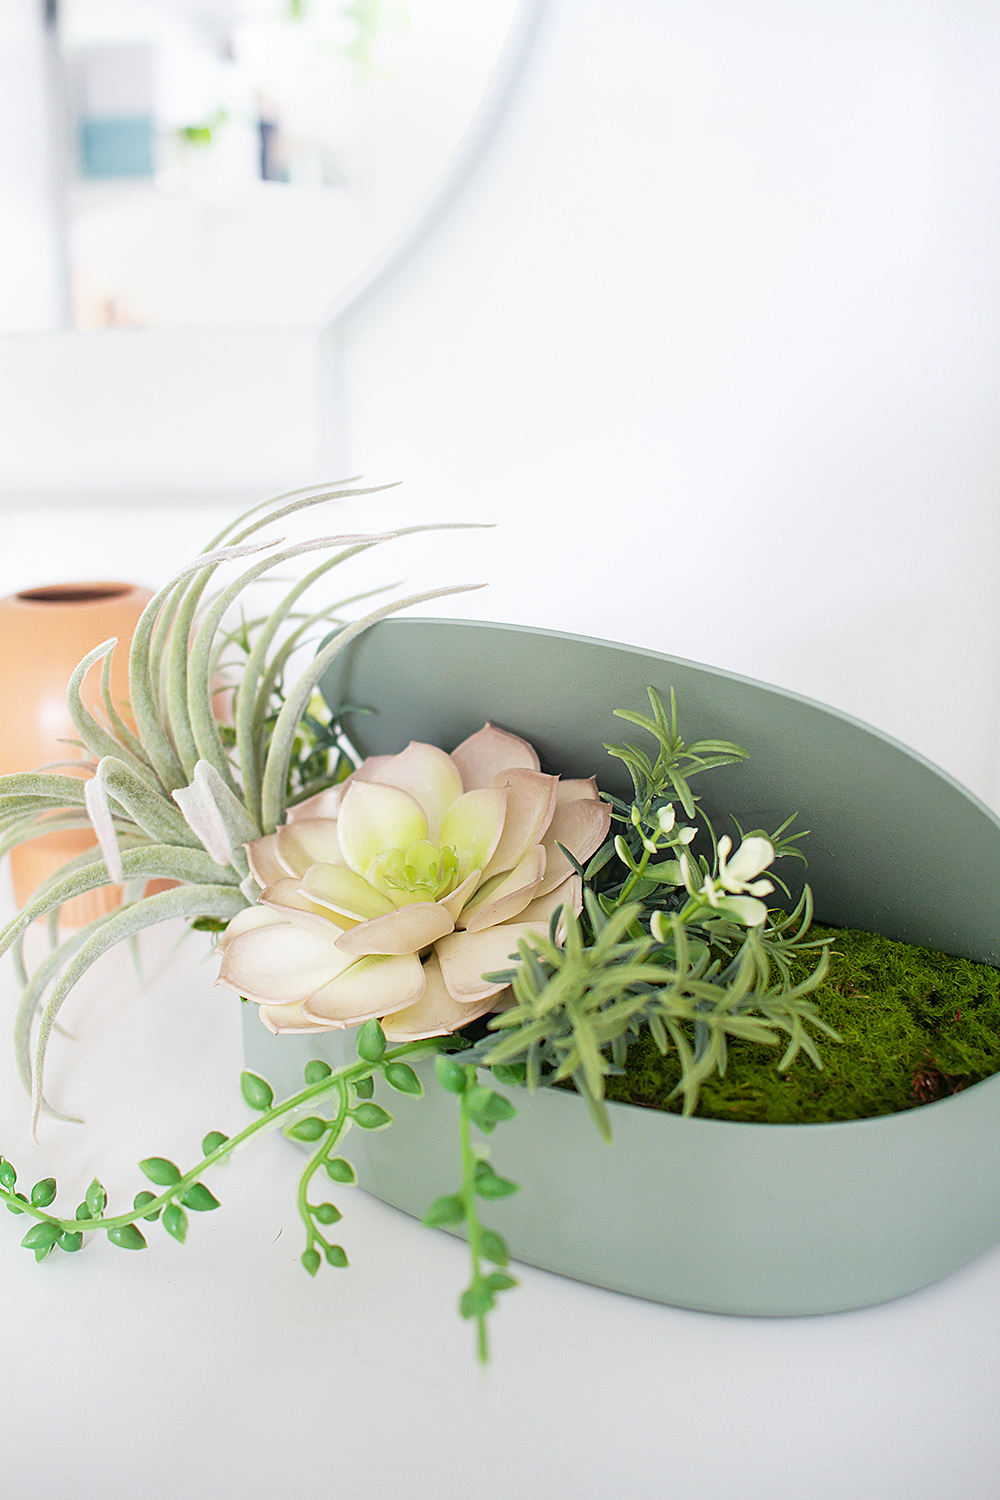

The BEST thing about this IKEA hack project is it allows you to put succulents wherever you want them, and then totally forget about them. No worrying if there are enough hours of direct sunlight, or whether you over or under-watered.
Don’t get me wrong, I loooooove real plants (have you even seen how many DIY planters I’ve pinned?), but faux plants are great when used sparingly to bring some green to an otherwise too dark space.
Or, to fool your guests into thinking you are super good at keeping gorgeous plants alive. Just remember to hide the browned and wilting real ones before they come over.
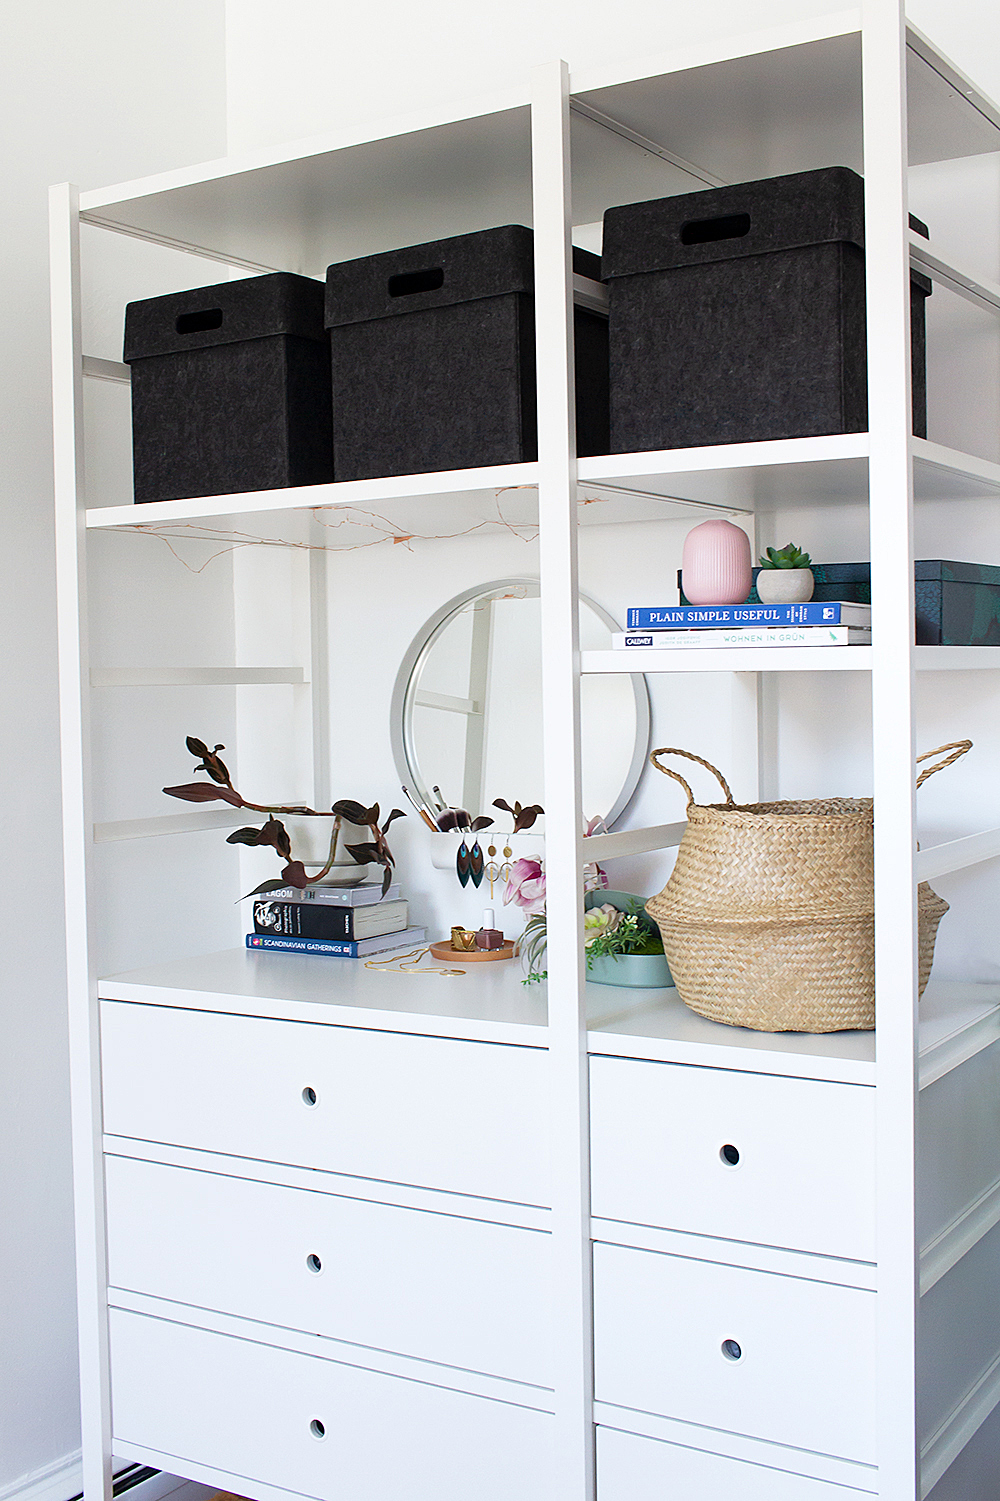
And don’t you think it looks lovely on my ELVARLI vanity? See how to set up a shelving unit as a vanity right here!
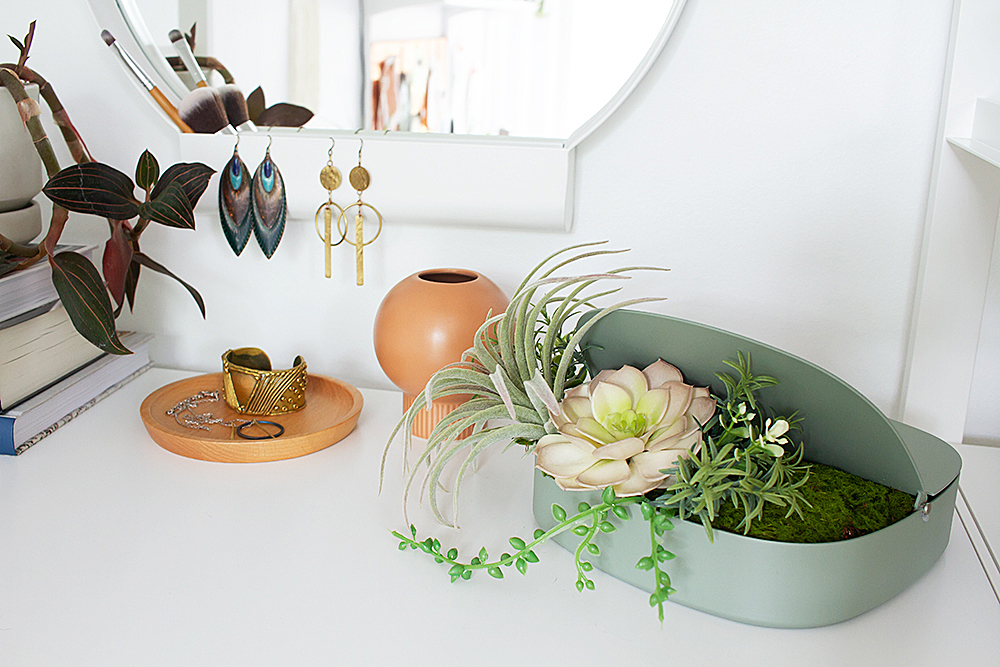
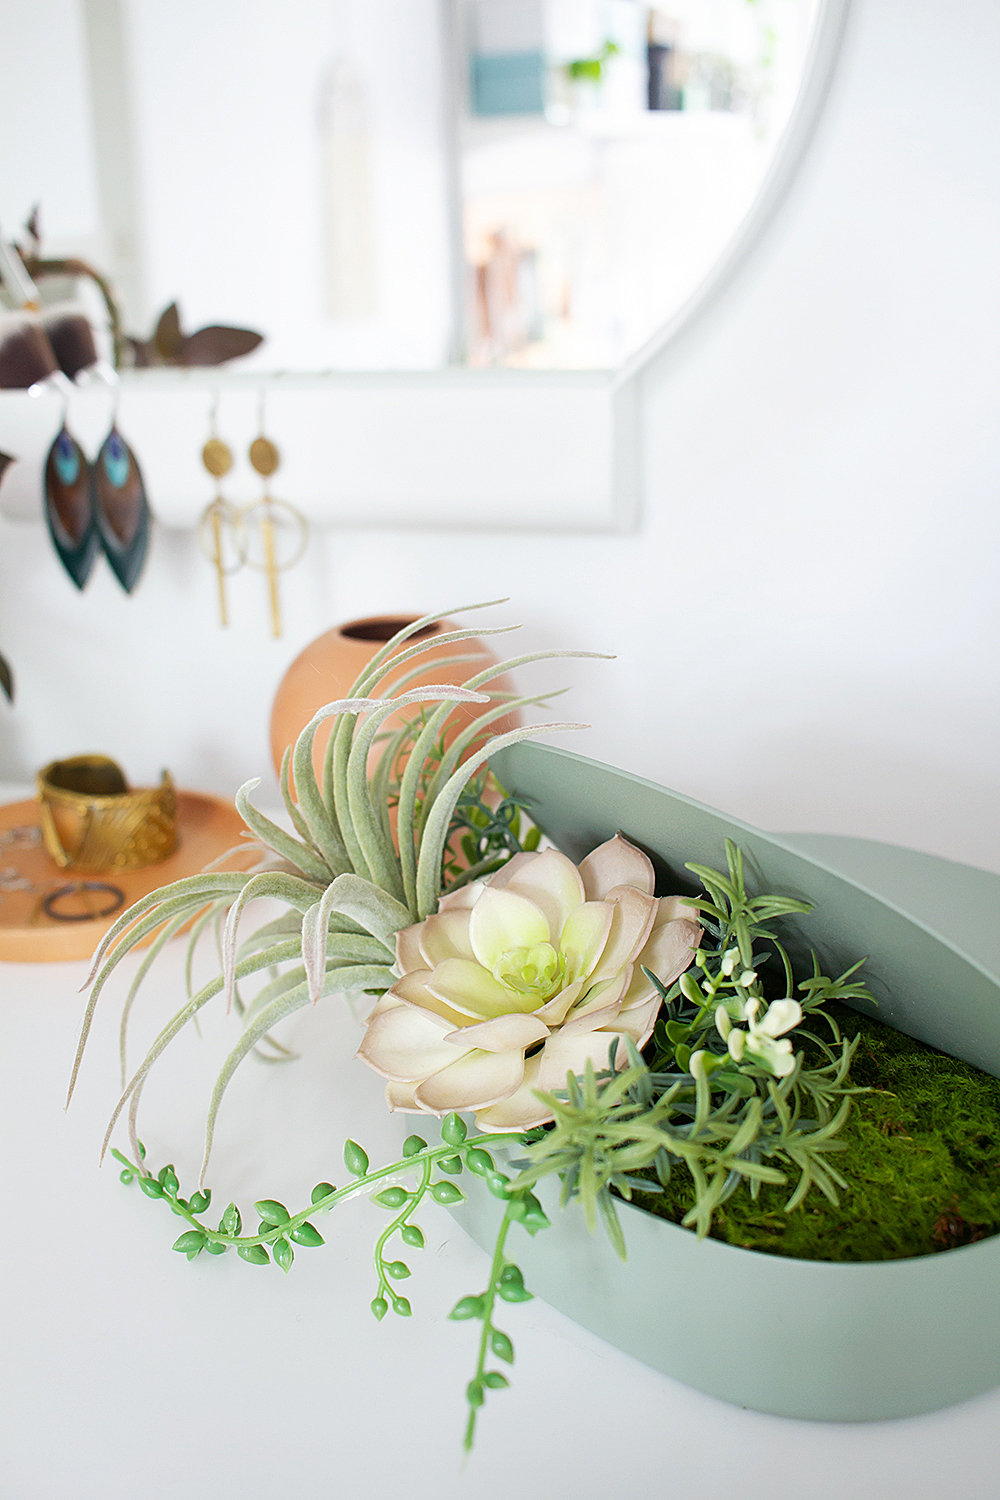
What do you think in the battle between real vs. faux plants? Do you fall in the middle of the spectrum like me, or are you passionately attached to one or the other?
THIS POST WAS GENEROUSLY SPONSORED BY IKEA STOUGHTON, BUT ALL OPINIONS ARE REALLY, TRULY MY OWN! THANK YOU FOR SUPPORTING THE BRANDS THAT ALLOW ME TO KEEP CREATING FRESH AND FREE CONTENT FOR YOU!

So elegant!! I love the way this turned out!
Aww, thank you Carrie, that is so sweet!