
This post is sponsored by WeaveUp, but all words/ideas/opinions are entirely my own!
“I have cat pillows. I want more cat pillows.”
Words said to my husband while brainstorming what to make when WeaveUp’s beautiful fabric arrived.
If you are new to the blog, you should know that I am a crazy, crazy cat lady (see here and here). And what crazy cat lady doesn’t want more cat pillows? Only the really crazy ones.

The good news about this DIY no-sew cat pillow is that you can make it without a sewing machine. The bad news is that there is only room on the couch for a few more cat pillows.
I was so excited when WeaveUp reached out to work on a collaboration because I’d already seen their beautiful Instagram feed and Sarah from Sarah Hearts had raved about the quality of their fabrics.
There was a catch, though: I don’t actually sew. I have a machine, and I can sew in a kinda straight line, but there is a lot more to sewing a cat-shaped pillow than that.
What to do? Consult other makers, of course. I don’t know why I didn’t think fabric glue would work well, but Laurel from A Bubbly Life convinced me to give it a try. And guess what — it totally works!
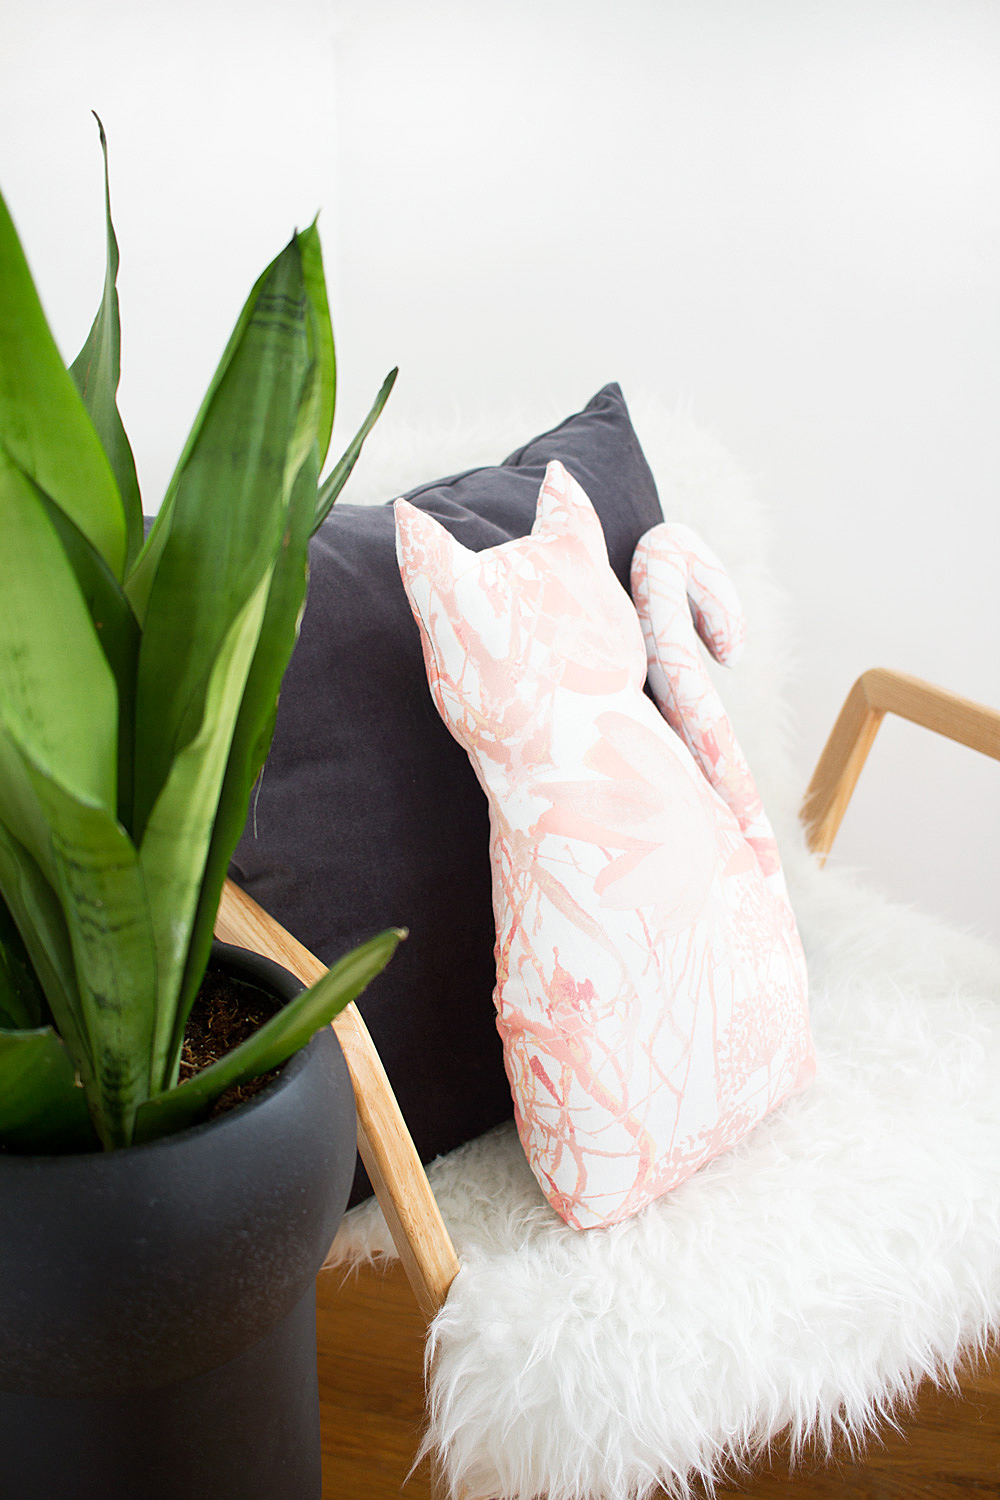
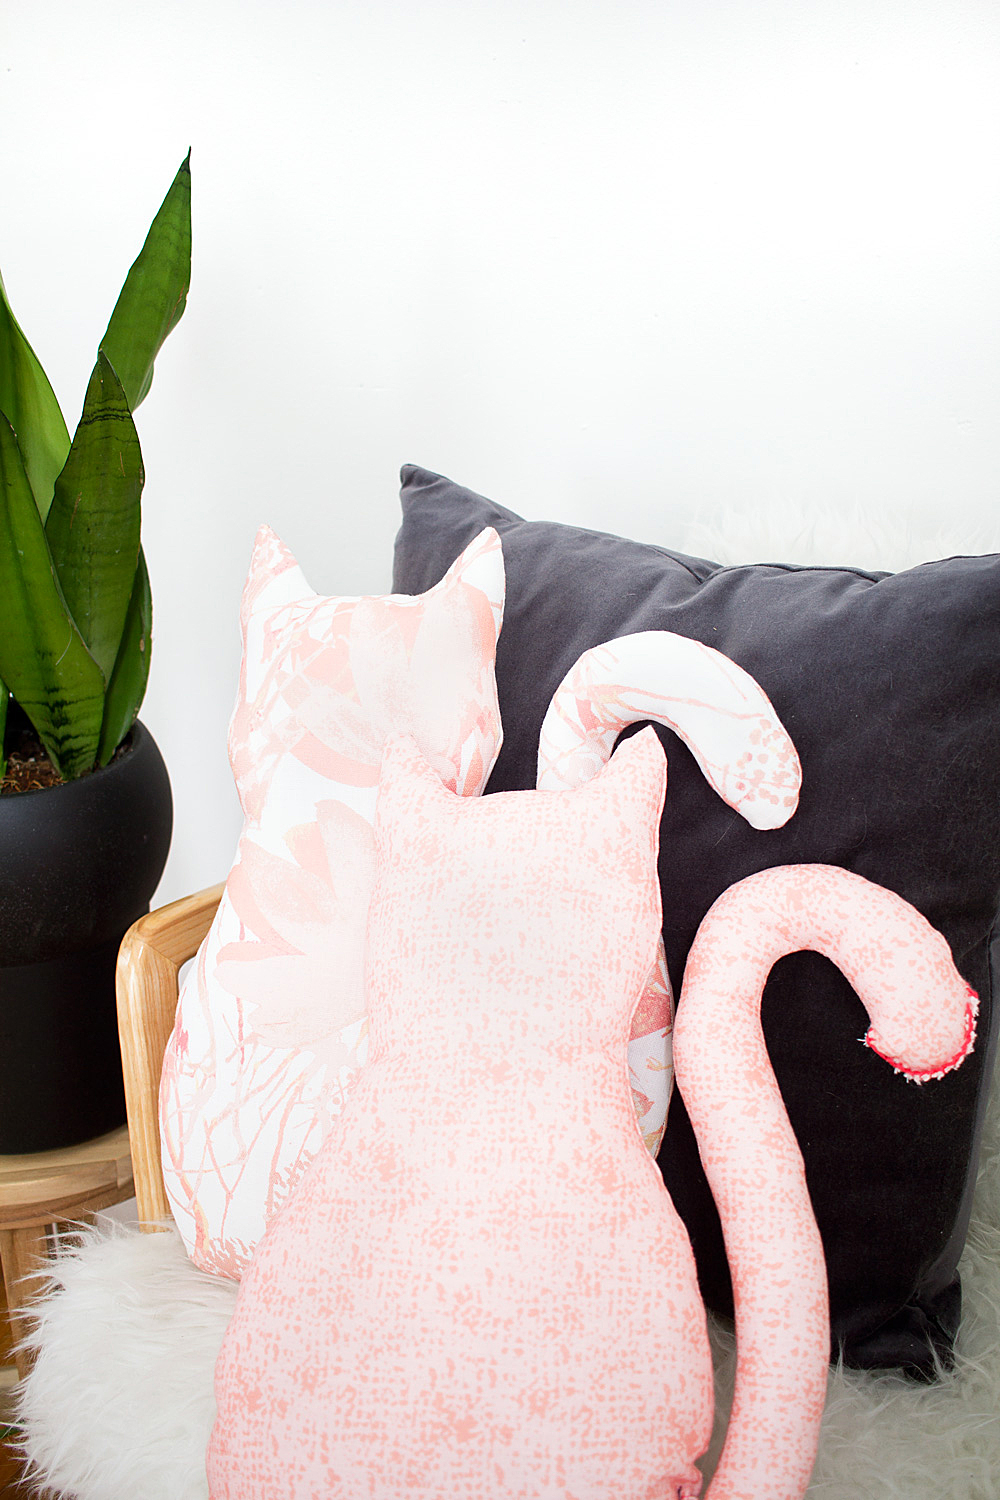
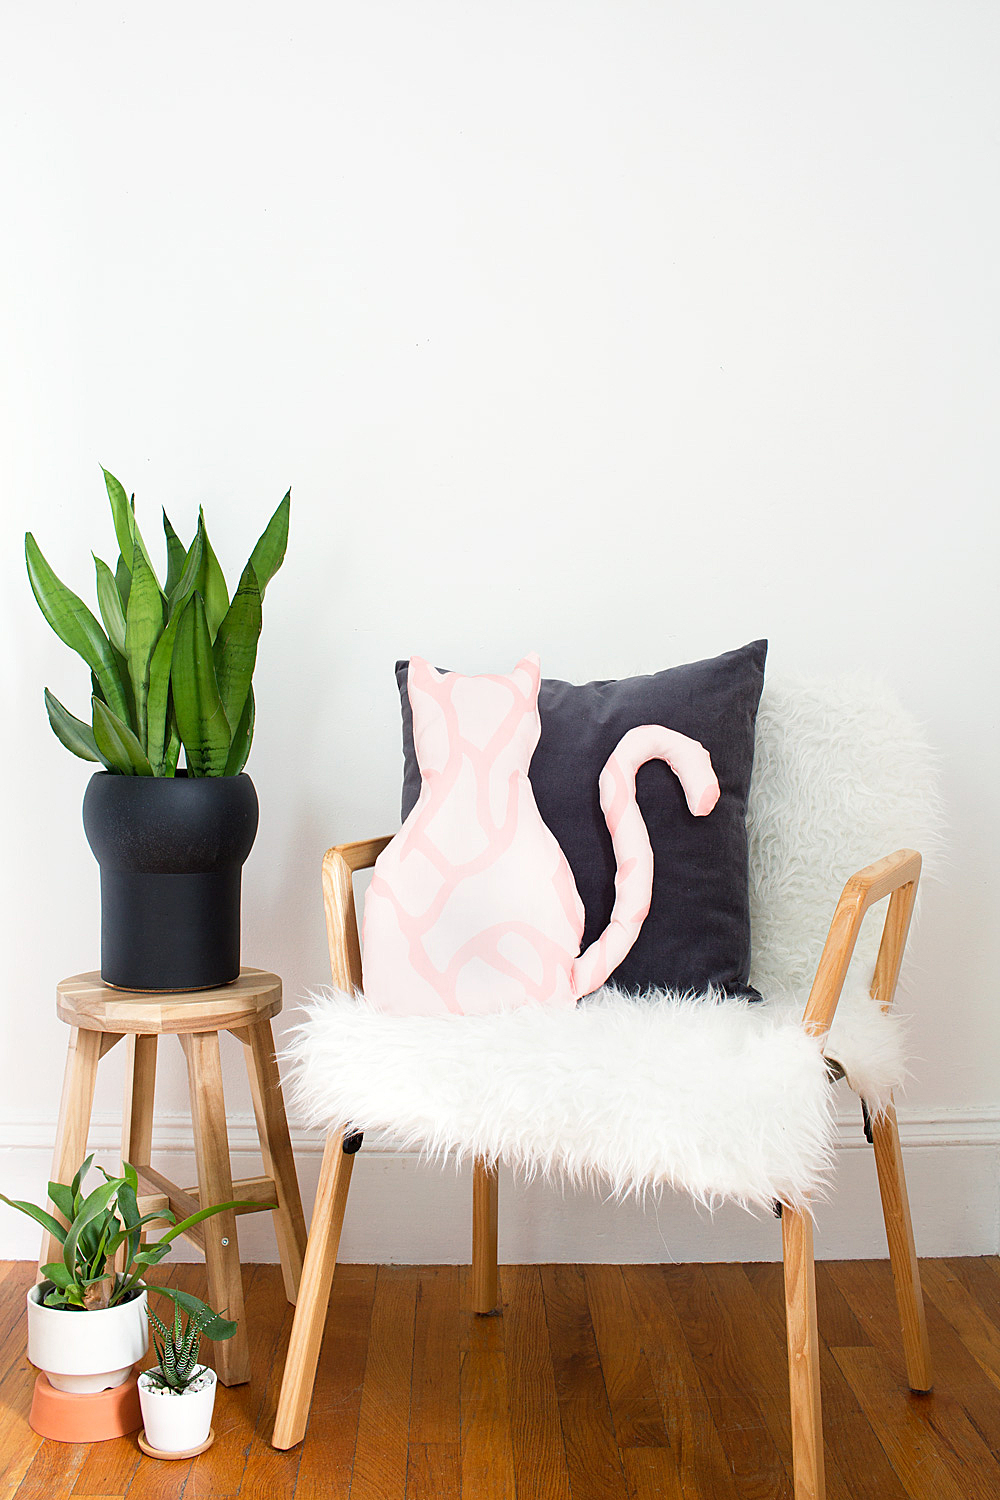
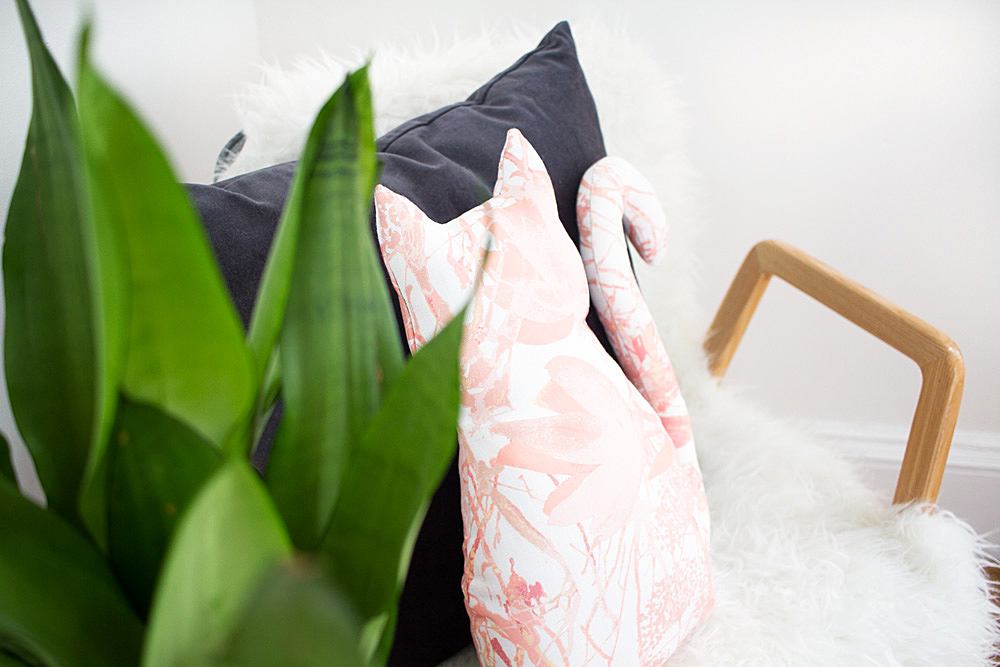
The floral pillow in this shot was sewn, and the one in the foreground was glued. Can you even tell the difference??
Before I dive into the tutorial, I want to show you around WeaveUp’s fabric shopping site a bit. Because, there’s something really unique about their fabrics — you can customize any pattern to your liking.
ANY. FABRIC.
Warning: you may spend hours just playing around with colors on their site. It’s addictive.
The original design for the Japanese Fields fabric (by Cassie Gorvetzian) was all in shades of blue. Which is totally gorgeous, but as you may have noticed I’ve been obsessed with blush pink lately and wanted to use this project as an excuse to bring more into my life.
How to customize fabric colors on WeaveUp:
Pick a color, any color.
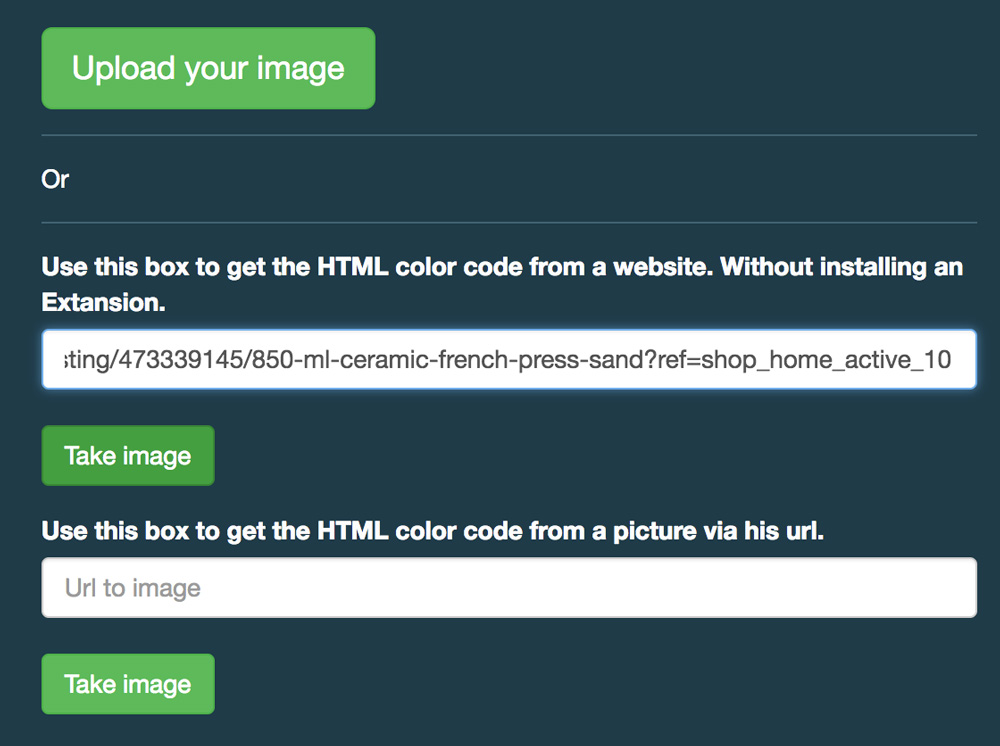
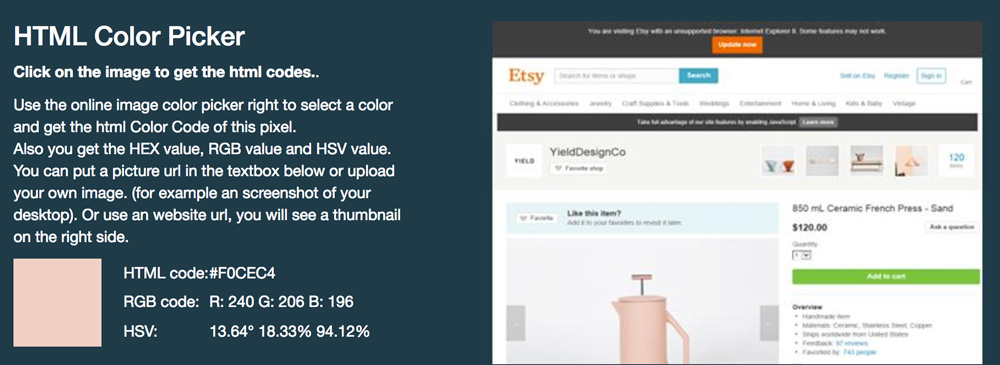
I fell in love with the particular shade of blush on this ceramic French press. To get the hex value for the color (this is the code that computers use to determine colors) I uploaded the url into Image Color Picker.
Just paste the url, click “take image,” and then click on the color that you want. (In this case, the French press). The hex value will be displayed on the left.
Head back to WeaveUp and click “customize design” for any fabric.
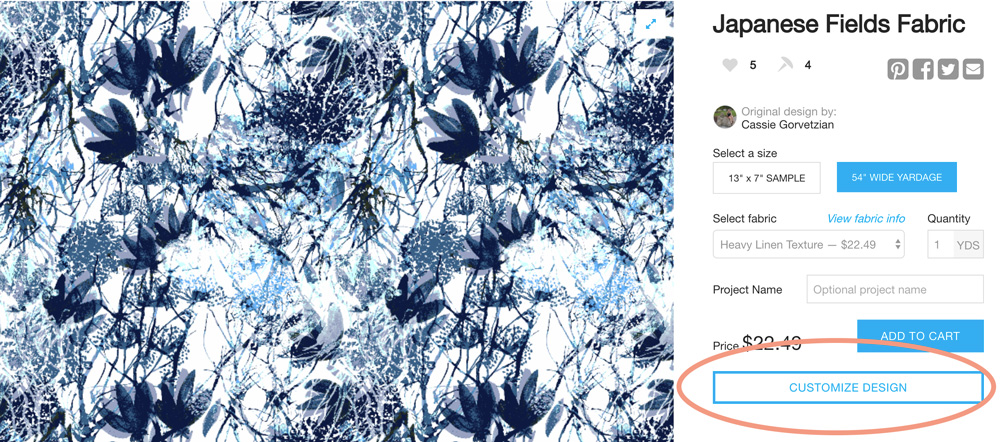
Do you like my super professional circles? Nothing but the best for you guys.
Select a color on the right side, and paste the hex value of your new color.
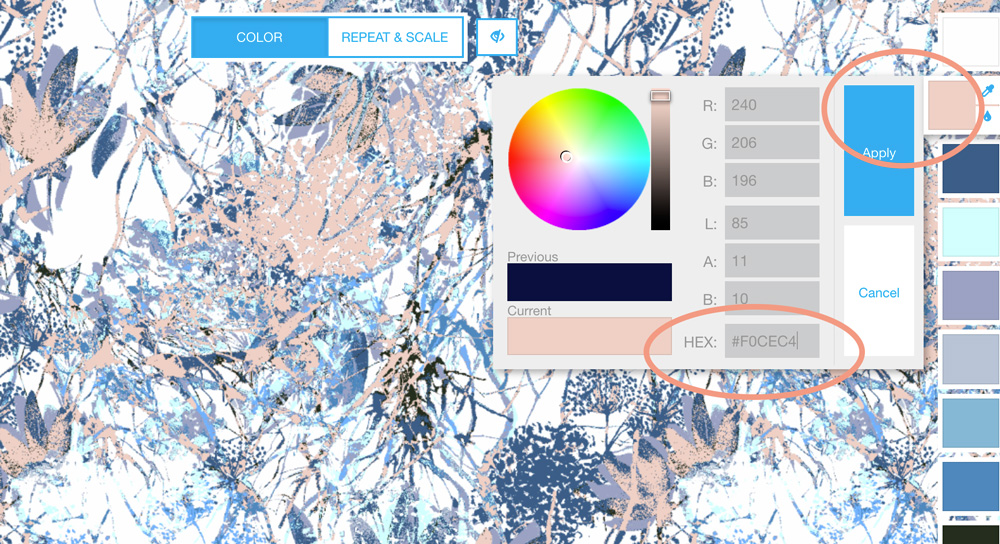
Obviously now it looks pretty funky! So keep adjusting more colors until you get a more cohesive look.
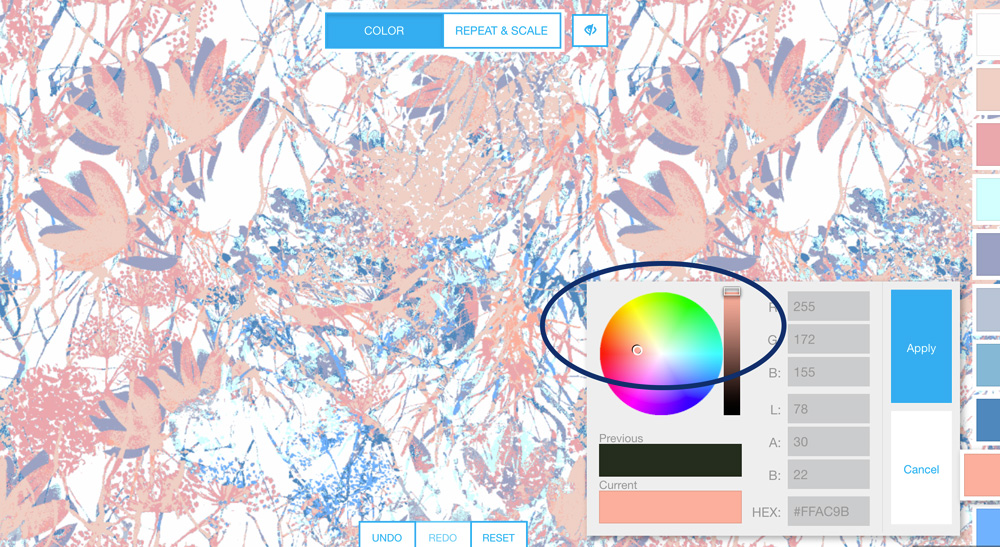
To get coordinating colors, keep pasting your new hex value, then drag the pickers in the color wheel and slider around.
This way you can easily keep all your colors in the same tonal range.
Keep going until you are happy with your design, then click “finish customizing.”
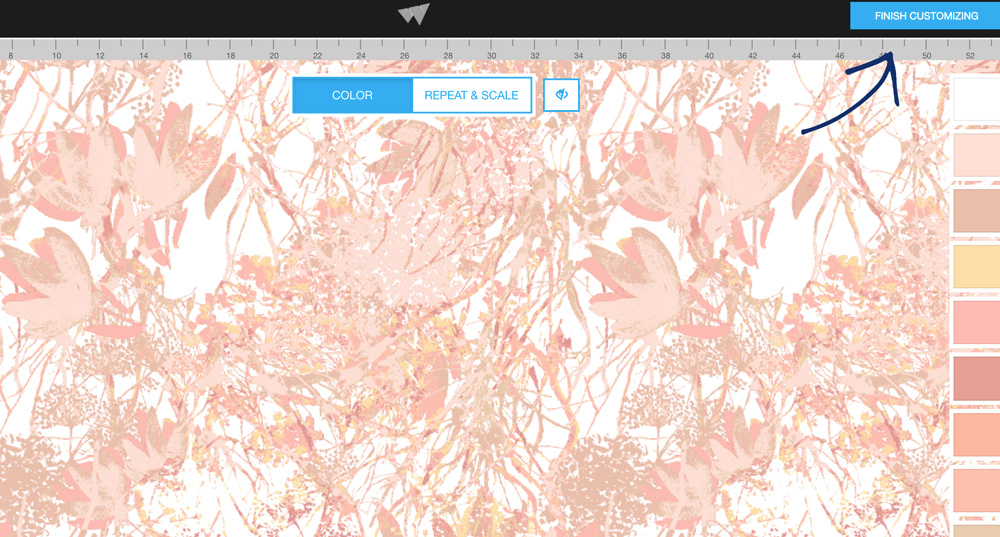
And your brand new design is ready to be ordered!
This is such an easy way to perfectly match colors across different prints – so if you fall in love with a hue in one pattern, you can apply it across designs, resulting in a cohesive look.
It’s still a good idea to order a swatch of your design before ordering the final yardage, because all screens display color a little differently. That way you’ll know that the color you want is printing true.
Ok now that you know how to make the most out of WeaveUp’s fabric designs, it’s time to learn how to make a cat pillow!
DIY No-Sew Cat Pillow
Skill level: Easy-peasy. There is a tiny bit of hand-stitching involved but I’ve found great resources to show you how. Otherwise it’s just cutting, tracing, and glueing.
Time: A couple hours, with overnight drying in between.
What you need:
+ my downloadable pattern, below
+ regular scissors and tape
+ fabric of your choice, about 3/4 of a yard per pillow (the patterns pictured here are Baltimore Texture 2, Leafy River, and Japanese Fields, in “faux linen”)
+ fabric glue, or you can sew it if you have a machine
+ fabric scissors (The first rule of fabric crafts is, never use your fabric scissors to cut paper. The second rule of fabric crafts is, never use your fabric scissors to cut paper).
+ marking pen (I used a regular marker and it bled through in some spots. Use one like this instead, the ink disappears if you spritz it with water).
+ fiber fill to stuff your pillow
+ a knitting needle or chopstick to help you stuff the corners
What you do:
Step one – Print and assemble the pattern as pictured. I know, seven pages! I couldn’t make it fit otherwise and I really wanted it to be printable at home for you (who wants to fuss with print shops?).
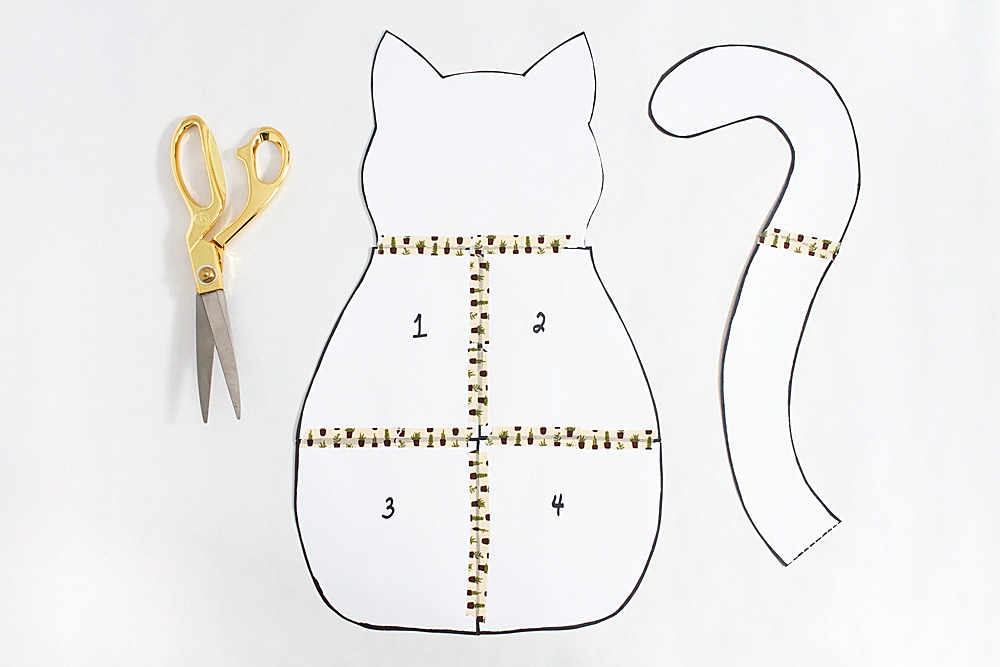
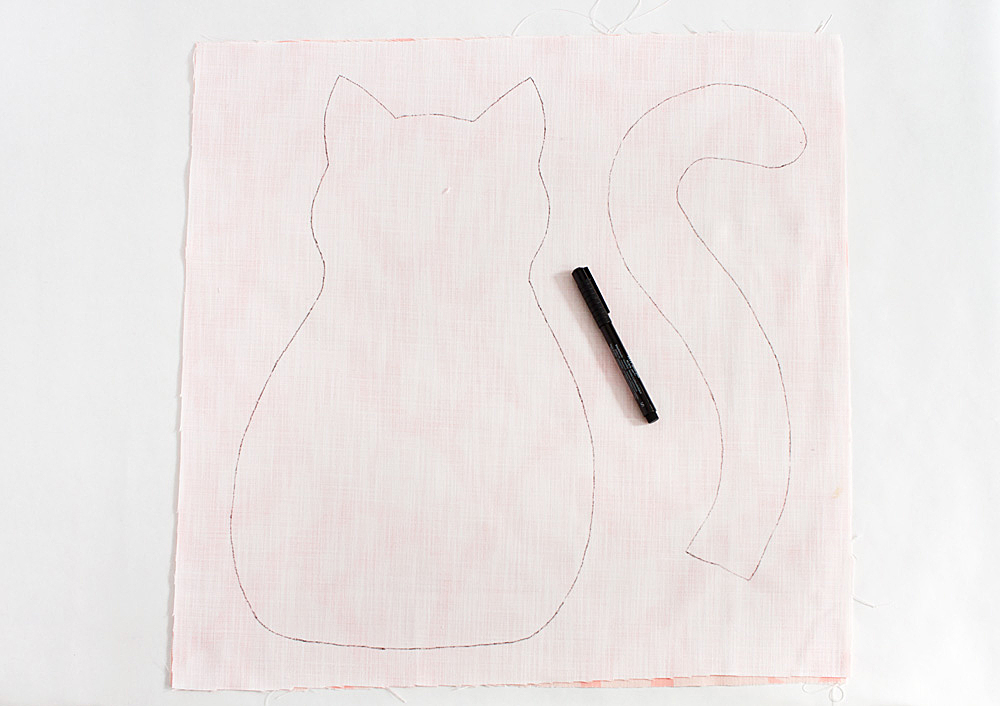
Step two – Place two pieces of fabric right sides facing together. Trace the pattern onto the back. Again, don’t use a regular marker, use a special sewing one that disappears with water.
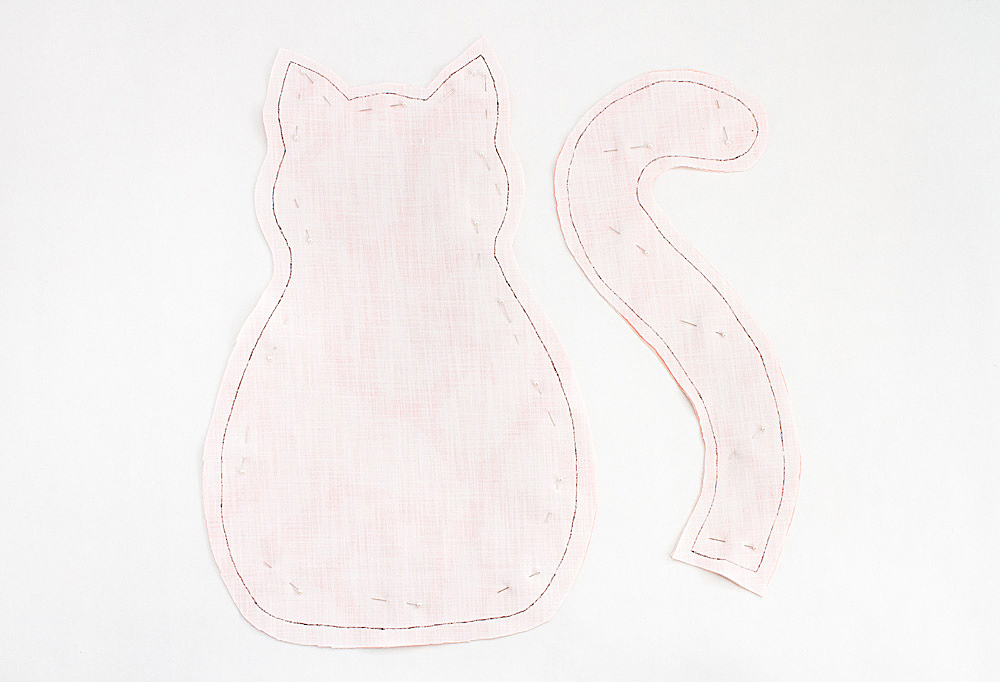
Step three – Pin the two fabric pieces together within the outline of the pattern, then cut out. Make your cut about 1/4″ larger than the marker line, this will make it much easier for you to apply the glue in the right place because you will be able to trace along the line. (Same thing if you are machine sewing).
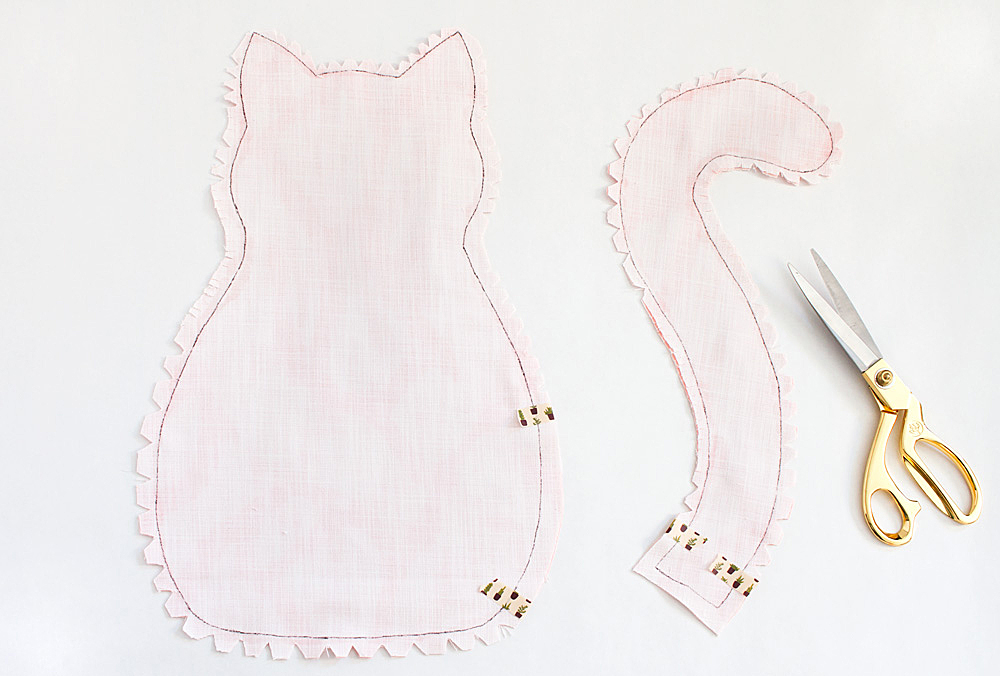
Step four – Glue your fabric pieces together, with the right sides still facing in. Even though I applied the glue in between the two fabric pieces, the marker line was visible through the upper layer of fabric and I could use it as a guide. Very important – don’t forget to leave an opening so you can stuff the pillow! You can use tape to mark where to start and stop glueing, like below.
If you look really closely you can see that this is succulent washi tape, because in addition to being a crazy cat lady I am also a crazy plant lady.

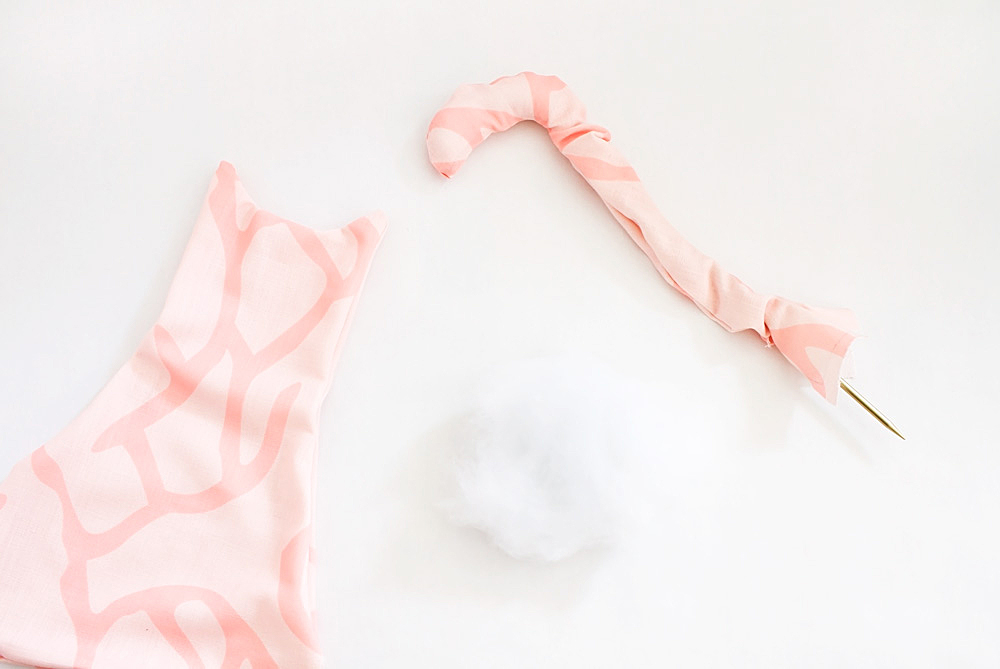
Step five – Allow the fabric to dry overnight (or follow the directions on your fabric glue if you are using a different brand). Then, cut notches and slits along the curves to help the fabric curve correctly when it’s turned right-side out. You will cut notches on the outside curves, and slits along the inside curves. See this post for more details on how to make the notches and slits.
Step six – Turn the pillow right side out and start stuffing the tail. Look how cat-like it already is! So exciting. Use your knitting needle or chopstick to help you poke out all the curves and corners for the body and tail (just be careful that you don’t poke through, the glue won’t hold if you jab at it too much). The pokey stick will also help you get the stuffing all the way into the tighter parts.
Step seven – When the tail is stuffed, you need to hand-stitch it to the body. Pin the tail along the inside edge on one side of the body opening. Use a basic running stitch. This video tutorial on how to sew a running stitch explains it perfectly if you’ve never sewn anything. Once the tail is attached, stuff the body!
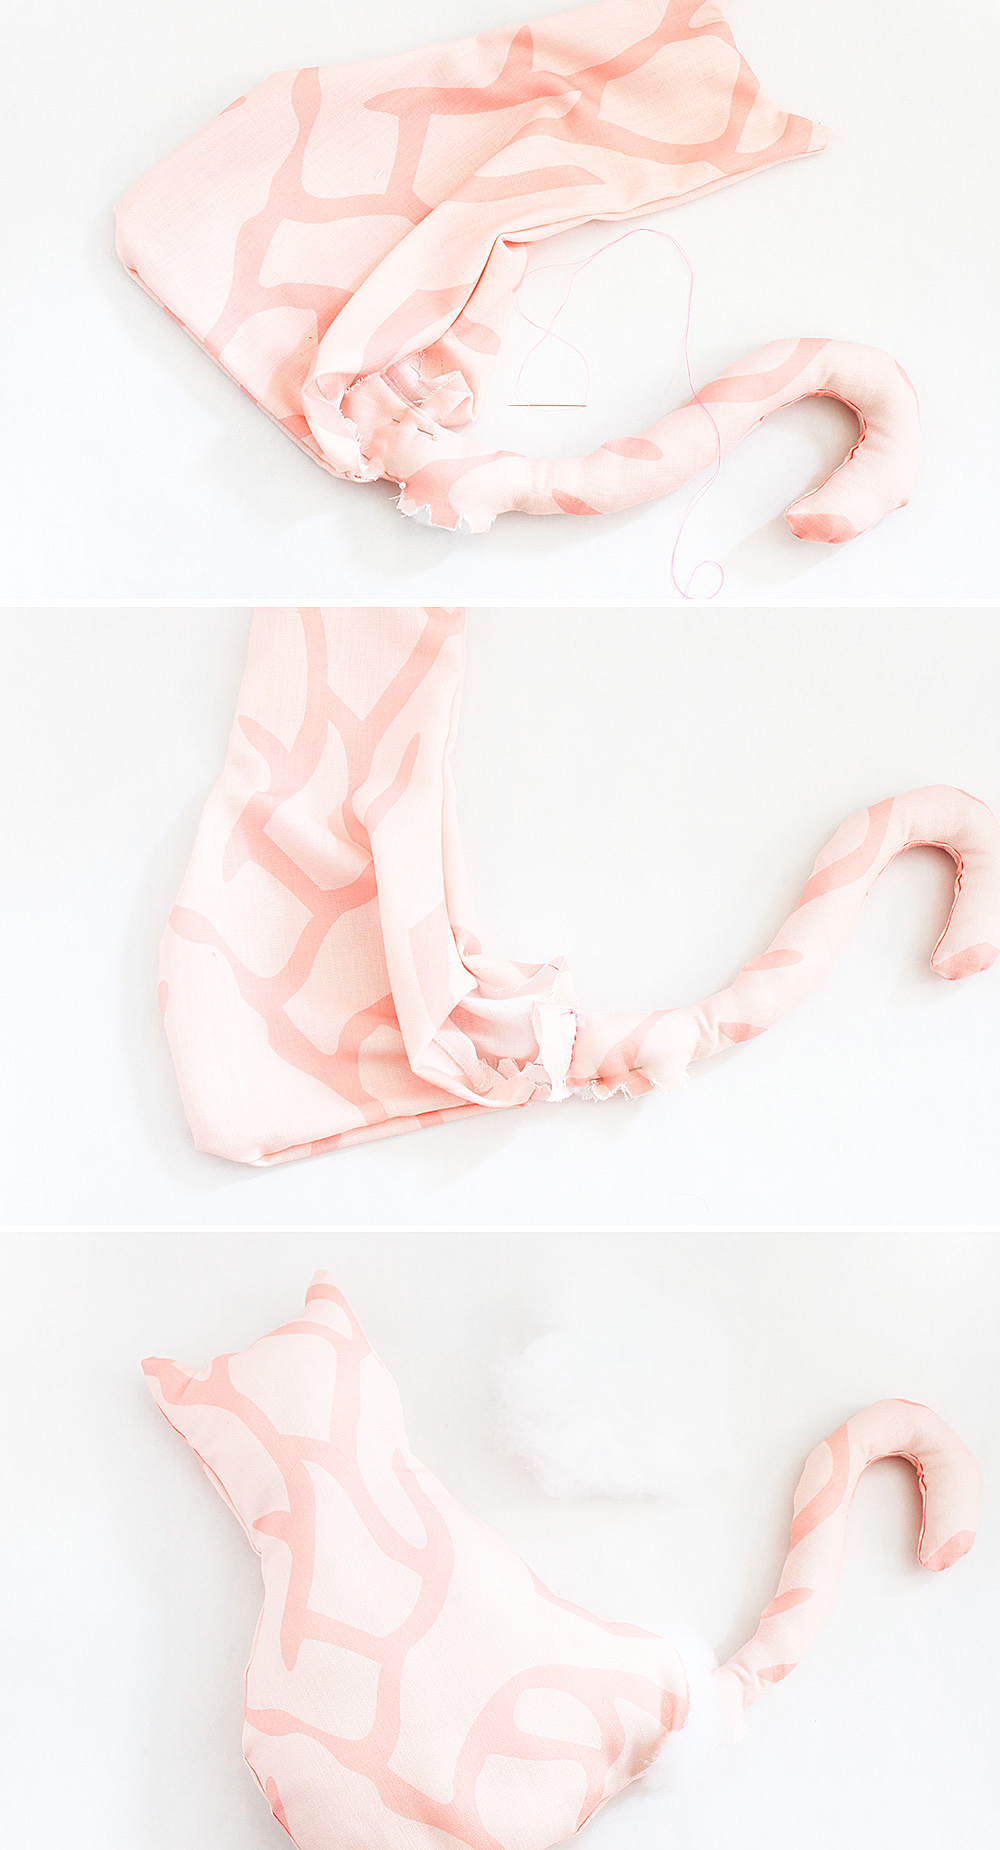
If you look closely, you’ll see that a little hole opened up along the tail, where I must have missed a spot when applying glue. But that’s easy to fix with a ladder stitch, which you’ll also use to close the pillow.
Step eight – Finally, sew the pillow shut using an invisible ladder stitch. I had never done this stitch before but that tutorial helped me learn it in no time.
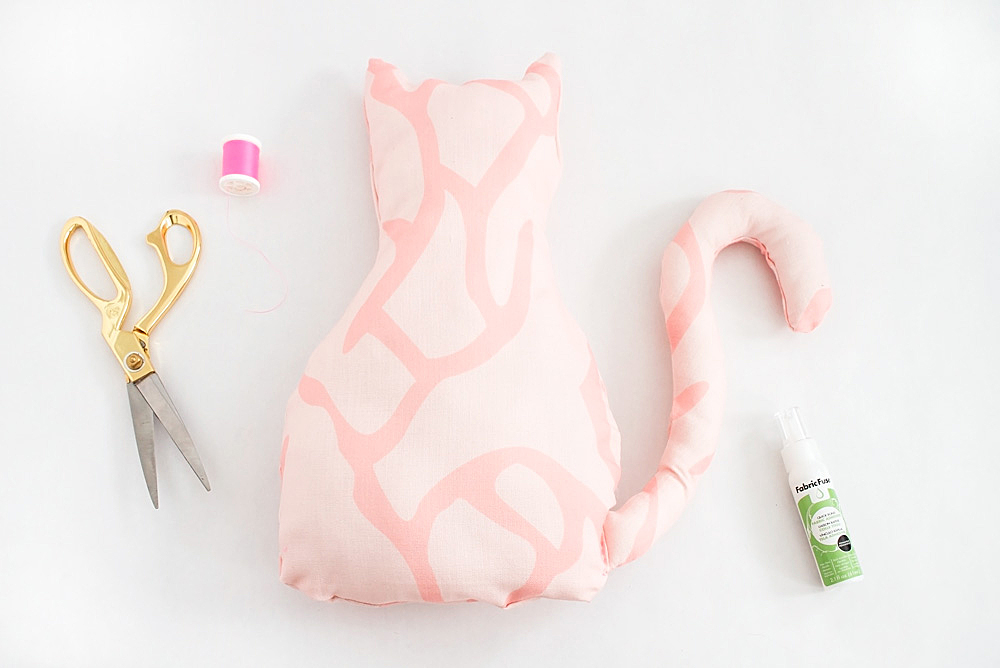
And that’s it! You can now make all the cat pillows.
If you think that three blush cat pillows isn’t really that crazy, allow me to introduce you to my complete collection:
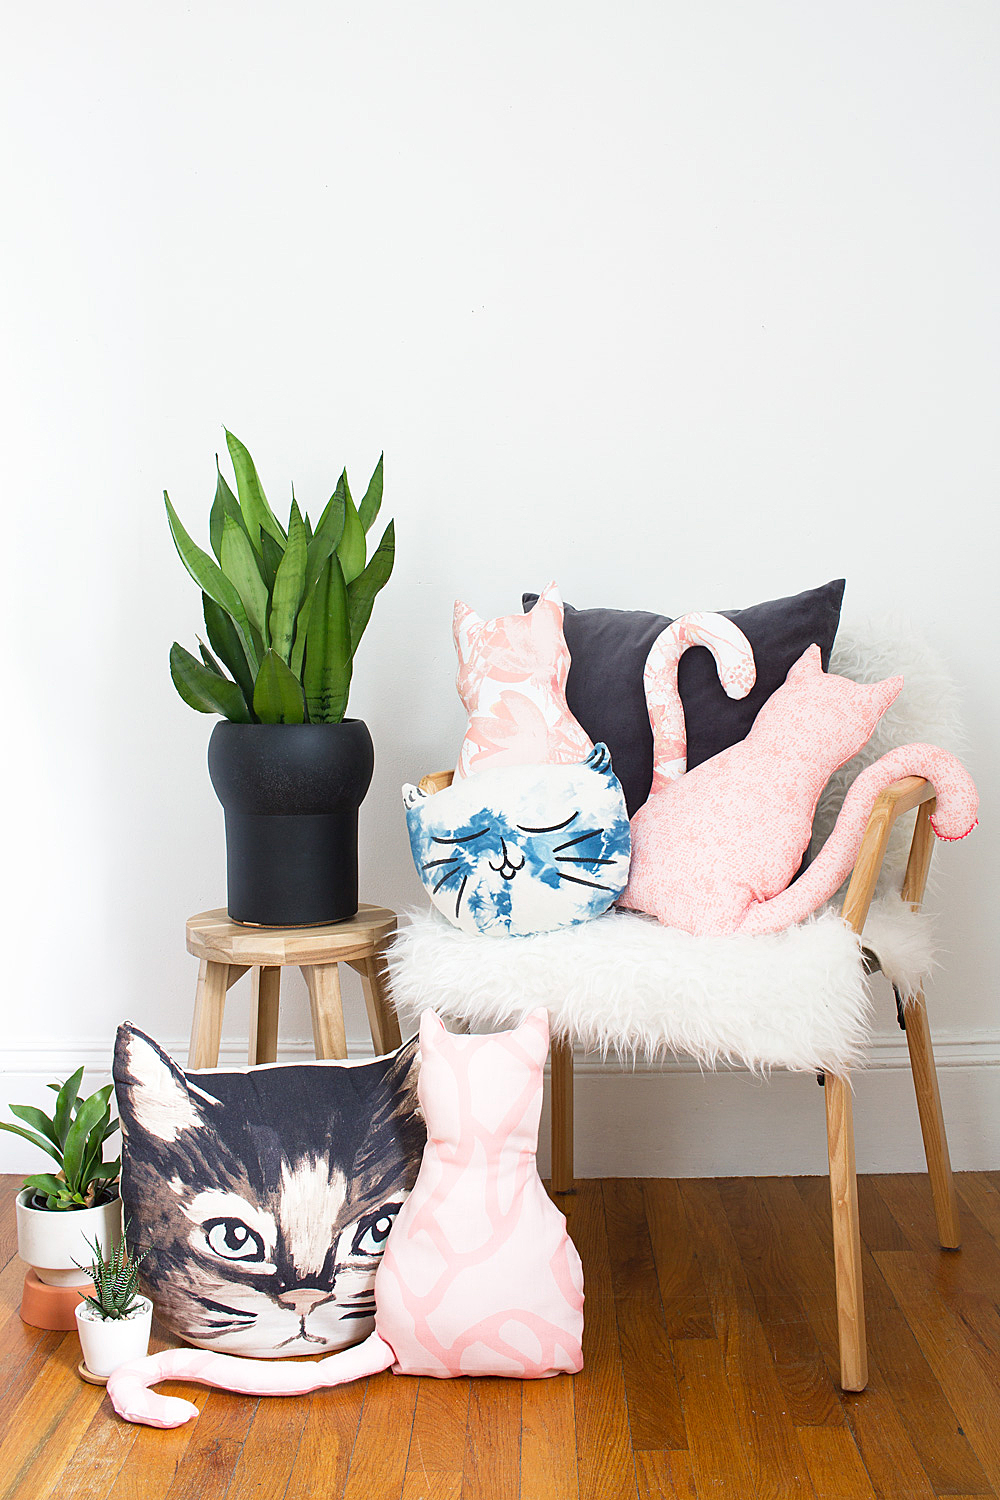
shibori kitty pillow by Treyummy | printed kitty pillow by Urban Outfitters (similar)
And because no post on crazy cat ladies would be complete without at least one real cat:
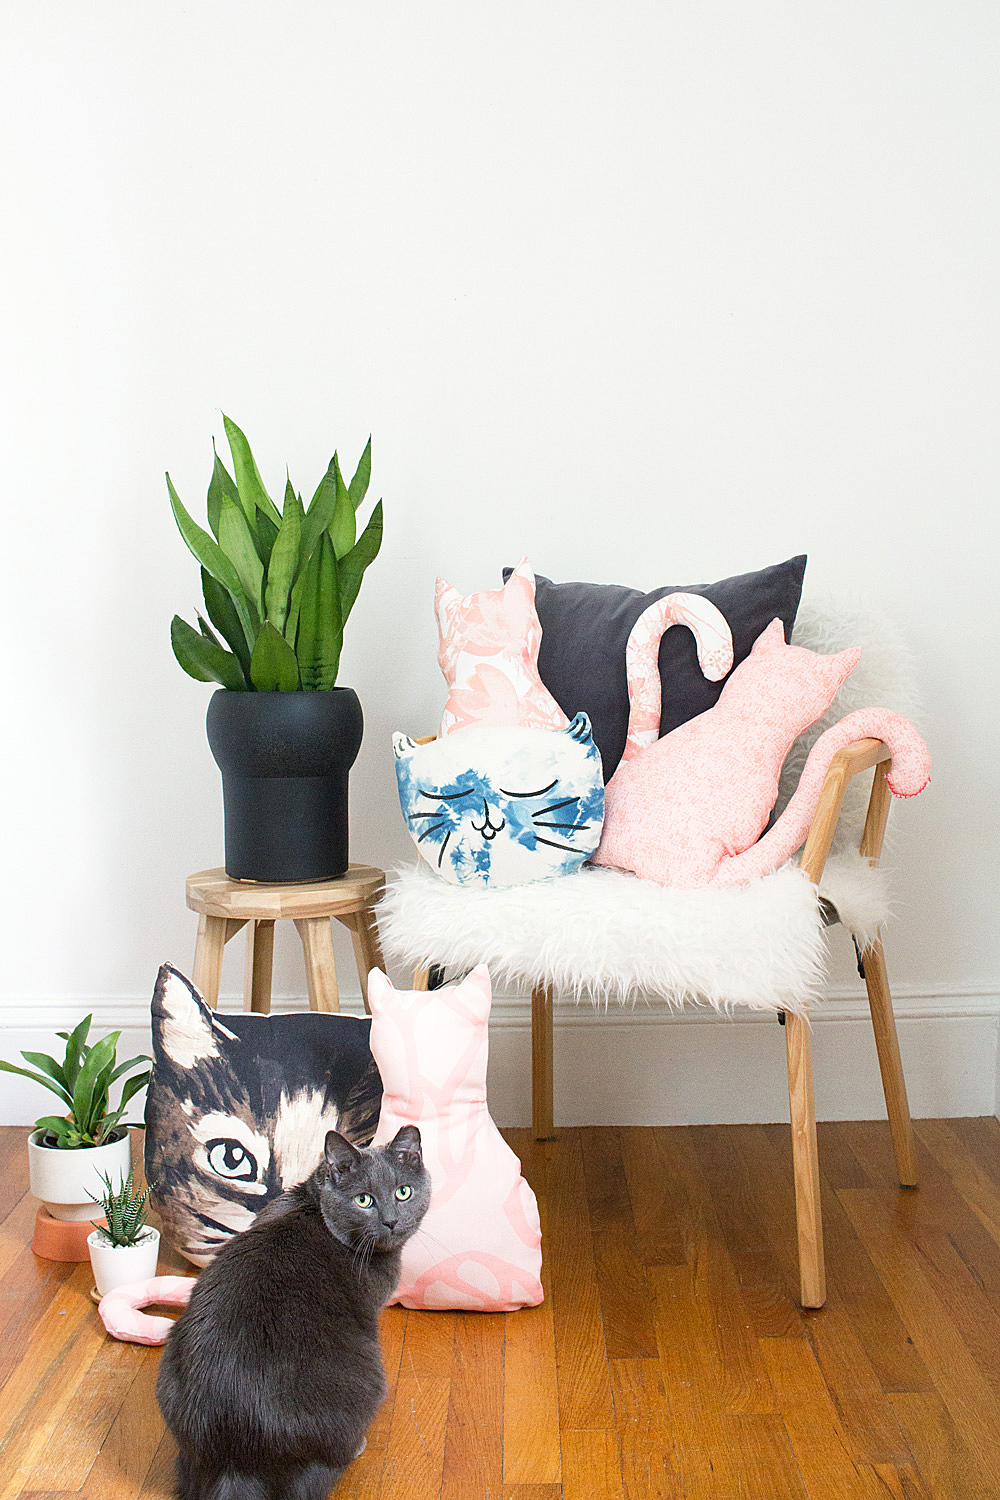
Jax was way more interested in the treats I kept tossing into the scene than in cooperating as a model, but when I gave up and went to do other things the real magic happened:
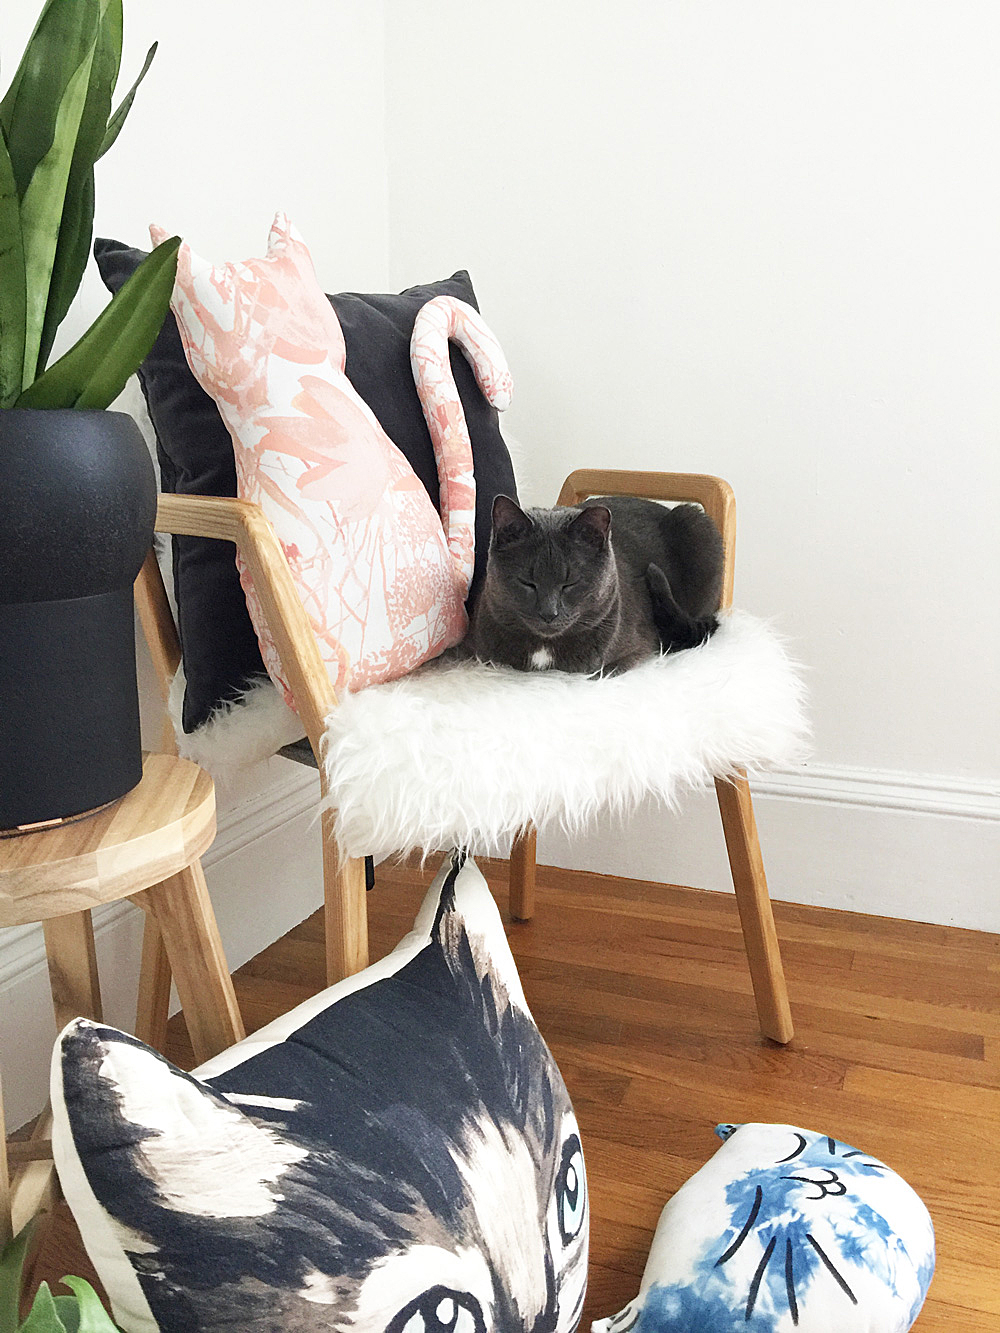
I can’t handle the cuteness.
So, how many cat pillows will you be making? You can tell me, I won’t judge.
And for a super hard question: what’s your favorite fabric design from WeaveUp??

For more ideas of what to do with your WeaveUp fabric, check out my friend Amy’s custom pillow project!

Ahh this turned out so cute! I love the tail especially — and the fact that it’s feline-approved. 😉
Feline-approved is the ultimate deciding factor in this house! 😉 Thank you girl, I love the tail too!
I ADORE the picture with all the cat pillows together! It’s like a little feline family of pillows, pinned.
Lol, that picture cracks me up every time! I wish I had space to just leave it like that. Thank you Amy! xoxo
These turned out so cute, Marlene!!
Thank youuuu! xoxo
Super cute!! Love that you used fabric glue. Has me thinking about all sorts of ideas. Also thanks for introducing me to weave up! I think I could get into real trouble there!!
Oh man, I literally had to cut myself off on WeaveUp after a while because I just kept playing with the designs! You should try them, you will be so pleased. And I am pumped that the fabric glue worked so well, I had no idea! Thanks Anne! <3
This turned out so cool!
Thank you thank you girl! xoxo
Oh my GOSH Marlene I LOVE these pillows!!!! They turned out so well! That site looks pretty amazing too. And Jax, what a handsome fella!
He’s a little cutie, that Jax! Thank you Tan! xoxo
These are just the cutest pillows ever! The tails! And that fabric is amazing. I need to try that out for sure.
The tails and the fabric make it! Thank you, Alexis! <3
Oh my gosh, these pillows are the cutest! Especially mixed with your other cat pillows. My cat-obessed daughter would love these!
Good for you for raising a crazy cat lady to-be! 😀 Thank you Haeley!
It turned out lovely. It’s not just the color you used which is amazing but how you managed to have the tail standing tall! Salute from another cat lover:)
Cat lovers unite! xoxo
this is seriously the cutest!
Thank youuuuuu! <3
YES! The fabric options on WeaveUp are absolutely jaw-dropping. I hope you check them out! And thank youuuu! I love my little cat pillows!
I absolutely LOVE this!! I’ve been wanting to get out the sewing machine and play, and this looks like a wonderful pattern to try out. Thanks for sharing!
Oh yay, I’m so glad to hear that! Thank you! I’d love to see it if you make it, just message me or tag #idlehandscreate on Instagra. 🙂 xoxo
I love this pillow and would love to make several. But I must be an idiot because I can’t find the pattern! LOL Do I print the picture? HELP!!!
Aww, yay, I’m so glad you like it! Ok the pattern is at the end of the post: there is a blue banner that says “click to download pattern”. When you click it, it will open a new tab with the pattern. You can download and/or print it from there. 🙂 I hope that helps! Let me know if you make it, I would love to see! xoxo
Thank you so very much! I found the button!
Woohoo! Happy making! 🙂
So well put together Marlene Have made heaps are wonderful little extras for Christmas so cute and love your Jax too A big Thank you
That is so lovely to hear, thank you so much! xx